In this video I work on a project which I previously failed on - repairing and re-veneering a mid century coffee table. This time I apply the veneer with wood glue!
Original video about this table: http://bit.ly/2SrcnoI
I did that until the bubble was as small as I could get it and then moved on to another one
So like I said earlier even though the ironing trick seemed to work quite well, I set up the table top on a couple of sawhorses so that I could start sanding it in preparation for adding a new layer of veneer as I figured I could do a better job of it this time. I used my belt sander with an 80 grit belt for this to get through the varnish and back to the bare wood of the layer of veneer.
I marked up a centre point along the length of the table, and I could use the old veneer joint as a reference for the centre along the width of the table
Next I needed to prepare the edges of the veneer and it's worth pointing out here that the veneer I'm using was in poor condition, it was cracked and warped and very old, but I wanted to make use of it anyway as the grain pattern was really nice.
I sandwiched the four pieces of veneer that I wanted to use between a couple of plywood boards, with the grain of each sheet of veneer in the same orientation, and a couple of mm of the veneer protruding.
This worked really well. When the plane starts to skim along the plywood edges it makes a different sound so it's easy to know when it's time to move along and start planing the veneer further down.
Here I'm just checking that the four pieces of veneer met together ok and all looked good.
And I marked up where I wanted to trim off some of the excess length from the veneer.
I did the cutting by making several scoring cuts with a sharp knife until I was all the way through.
I could also trim some off the width too.
Now I was ready to start applying the veneer, and I'd watched a few videos on YouTube about veneering to get some tips, but to be honest I didn't really find a definitive method that I knew would give me good results, so I wasn't feeling too confident - this was only going to be my second attempt at veneering after all so I didn't really know what I was doing but I decided just to go for it and see what happens. This isn't a how to video, it's a how I did it and what I learned kind of thing - but as always any constructive criticism is welcomed in the comments!
First I applied a layer of glue to the tabletop and as I wasn't confident that I knew what I was doing I decided to start with just doing one quarter of the tabletop as a test piece
I sprayed a bit of water on to the veneer to make it a bit more plyable. which I hoped would take care of some of the warps in it.
Then I positioned it up to the centre mark, and I used some more greaseproof paper and an iron to gently try to get the veneer as flat as possible.
To apply pressure while the glue was drying I used an offcut of veneered MDF and some weights on top. And what I should have done here is put some greaseproof paper between the veneer and the MDF but I completely forgot.
I cleaned up any excess glue at the sides and then left it to dry overnight.
The next day I removed the weights and that's when I realised I'd forgotten to add the greaseproof paper and some of the glue had soaked through the veneer and adhered to the MDF. Fortunately though it didn't cause too much damage so after a bit of sanding, it was fine.
I added some marks where the loose veneer was so that I knew where to apply glue.
I had a really thin piece of metal which I used to pry open the joint and I used super glue to glue it back down, working it in with the piece of metal.
I applied some tape and weighed it down with a brick, and when I came back later and removed the tape, it passed the tap test so that was good.
Then I did some scraping to clean up the area where the next piece of veneer would be added later.
So far it had been relatively successful, so for the next part I decided to tape together two pieces so that I could glue them on in one go.
I followed the same process before, adding glue, positioning it, adding a bit of water, and then ironing it on with greaseproof paper.
This time I remembered to add a layer of greaseproof paper on top before adding a larger panel and weights until the glue dried.
The following day I removed the weights and the tape, and these two pieces looked great, no loose glue areas this time, all solid.
Finally I applied the last piece of veneer in the same way yet again, and that one seemed good too.
To trim the edges of the veneer I used a flush trim bit on my router.
I did later find one more loose area of veneer along the edge, so I as before I added some super glue with the tabletop held upright so that it would run down in to the loose area, and taped it down tightly while it dried.
And later I removed the tape, and found that had worked well too.
I cleaned up the edges of the tabletop with a belt sander. In the first video about this table I added wax to these parts, but I wasn't really happy with the colour so later you'll see that I apply a dye to darken them. I then did lots and lots of hand sanding also easing over the edges with 100 grit first, and then 240 grit.
Next I added some white spirit to the tabletop, I mainly did this just to see if it was ready for finish to be applied and it didn't look as good as I'd hoped due to some glue squeezeout on the veneer, so after waiting for the white spirit to dry I did even more sanding.
Next I added some walnut dye to the edges to get them much darker in colour.
I did the underside of the tabletop too. You can see here that the plywood brace I added in the first video is barely visible once the stain was added.
Now I was ready to apply finish and another regret that I had from my first veneering attempt that I don't think I mentioned in that video was not using an oil finish to pop the grain of the wood before I applied the water based varnish. So this time I decided to do that. I rubbed on some boiled linseed oil and this added a really nice amber colour tone to the walnut, as well as bringing out the grain really nicely.
I then needed to wait a for the oil to cure before adding the water based varnish so I left it for three days. And then I applied the first water based varnish top coat.
After de-nibbing in the usual way using some water and 400 grit wet and dry paper, I wiped away any dust and applied the next coat. And then I de-nibbed again and added a third and final coat.
I also finished the underside of the table.
And even though I didn't make this table, I figured that by this point I'd spent more time on it that the original manufacturer probably did, and it was now a completely different table so I stamped on my makers mark to the underside.
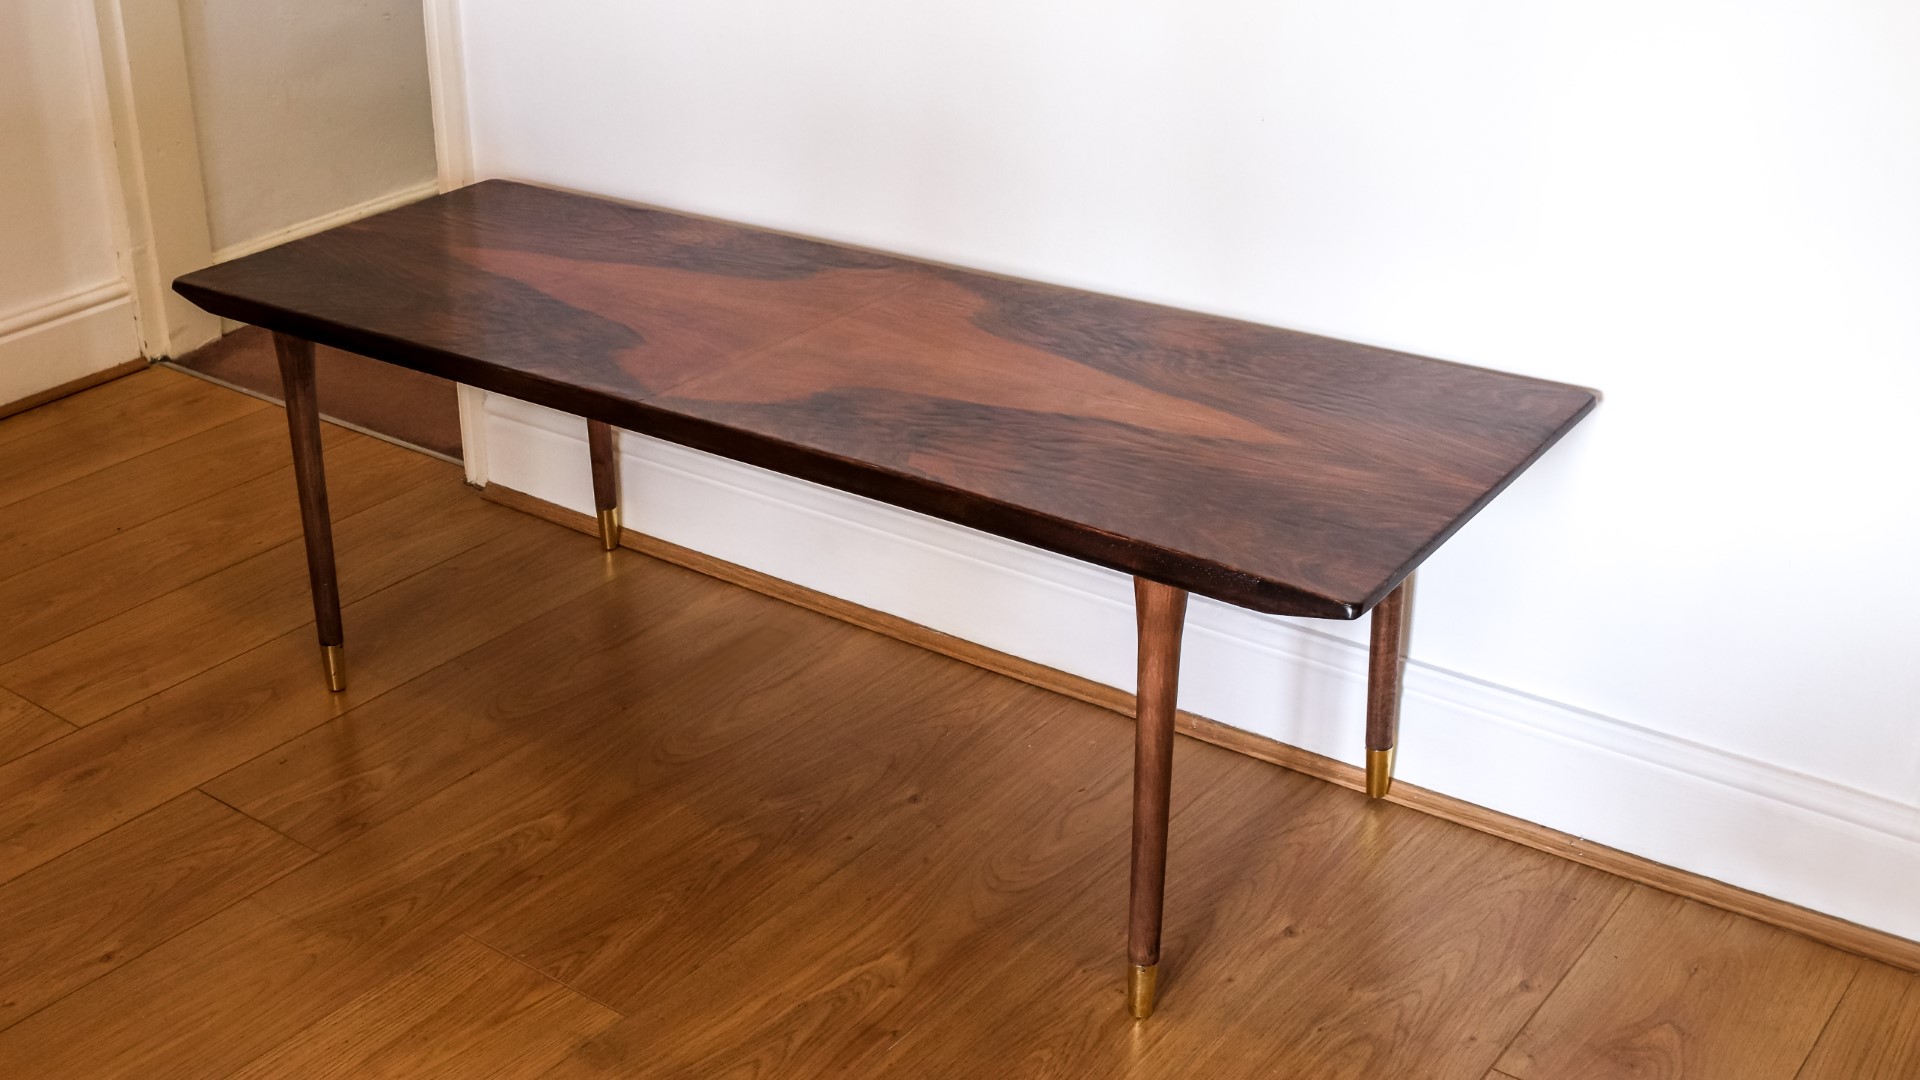
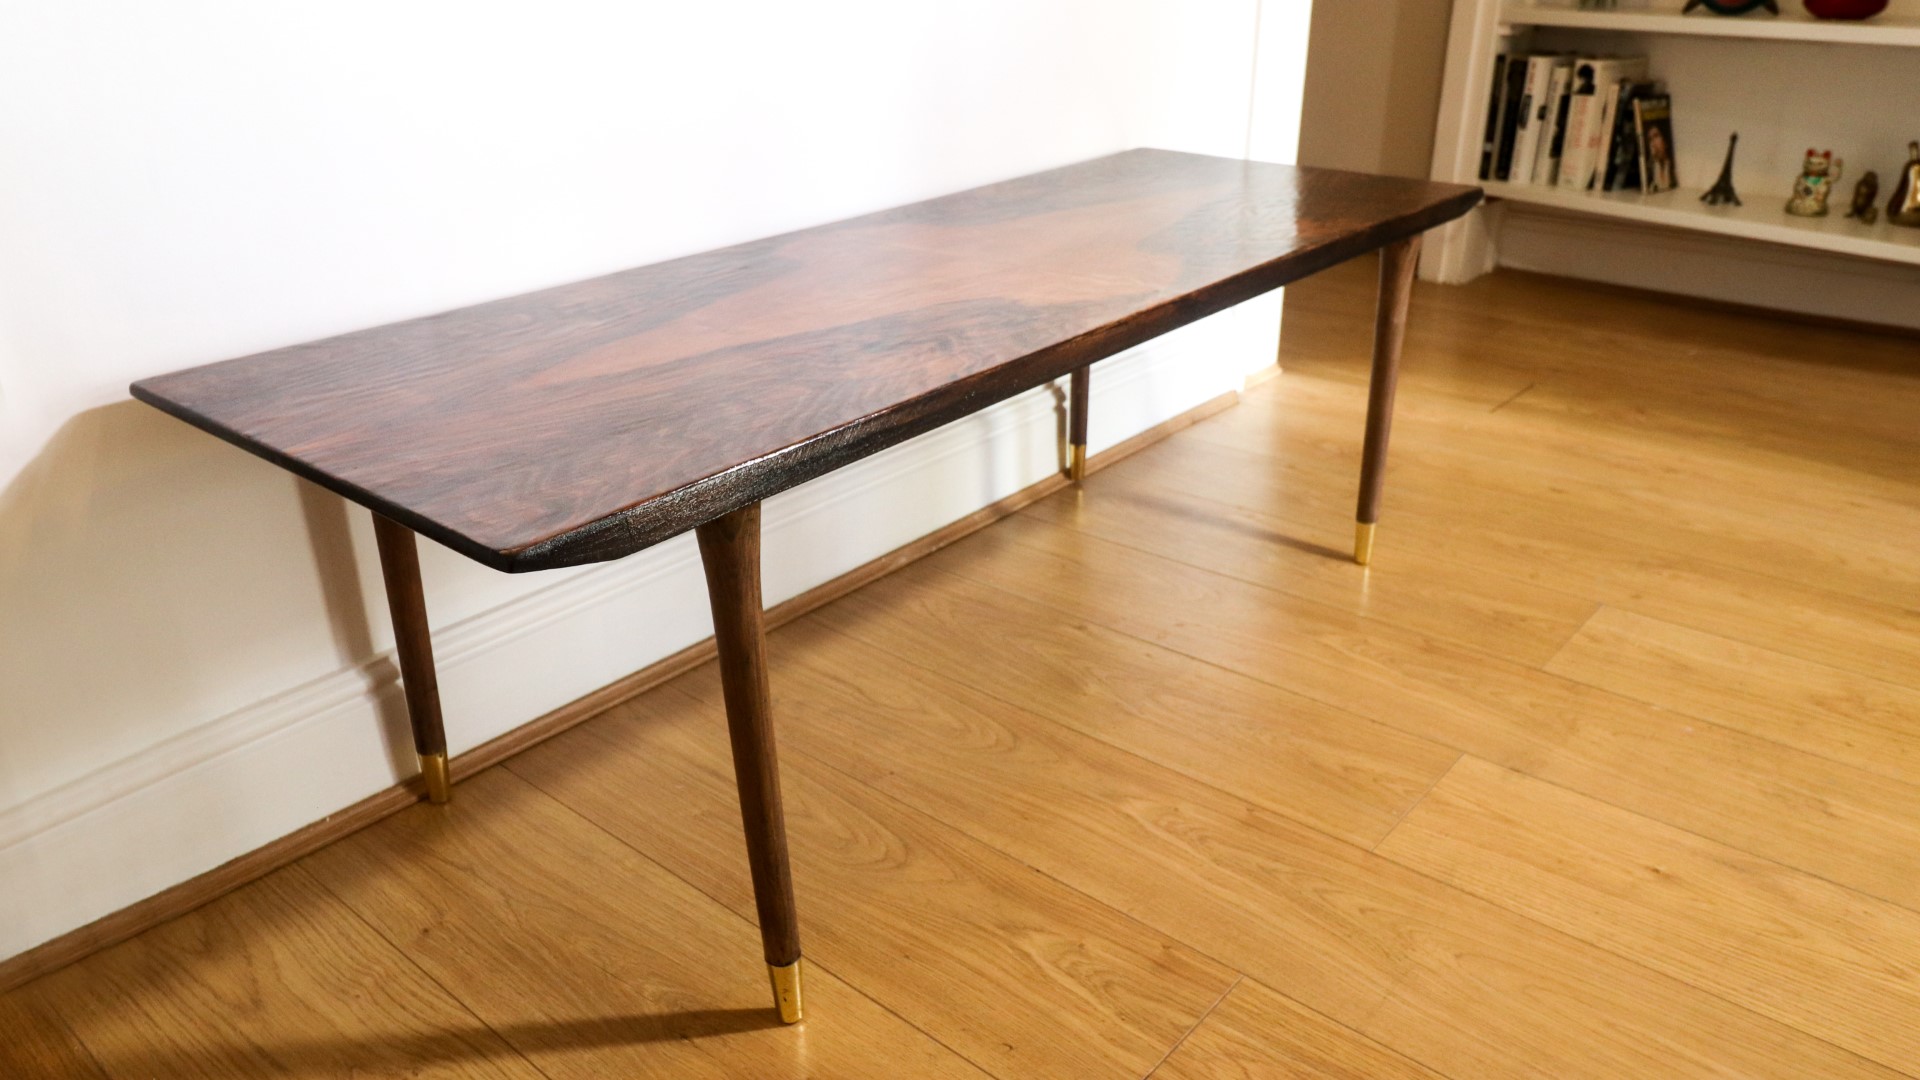
All the was left to do was to add the legs which I had worked on in the original video and that was the table finally completed.
This project was a challenge, and I'm still not sure if the method I used for adding the veneer is the best way to do things so I welcome any comments from those of you who've had experience with it.
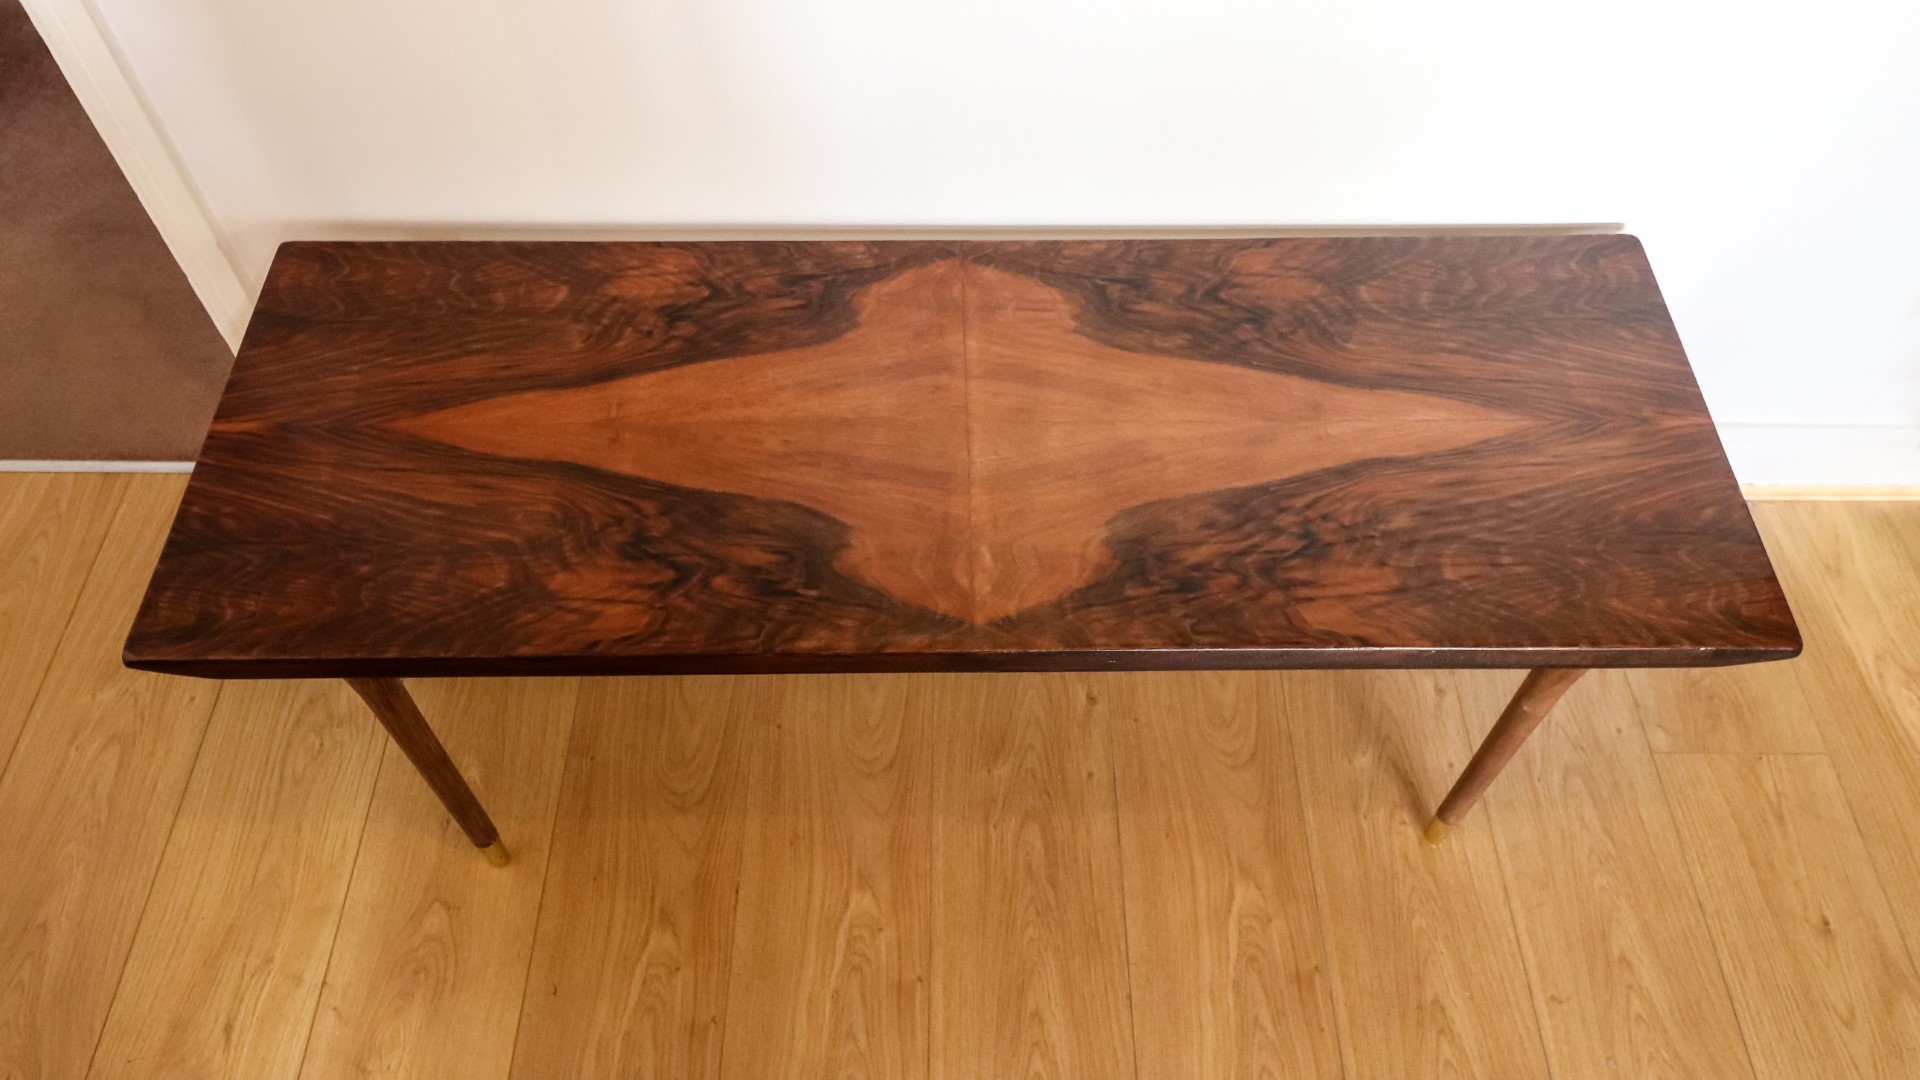
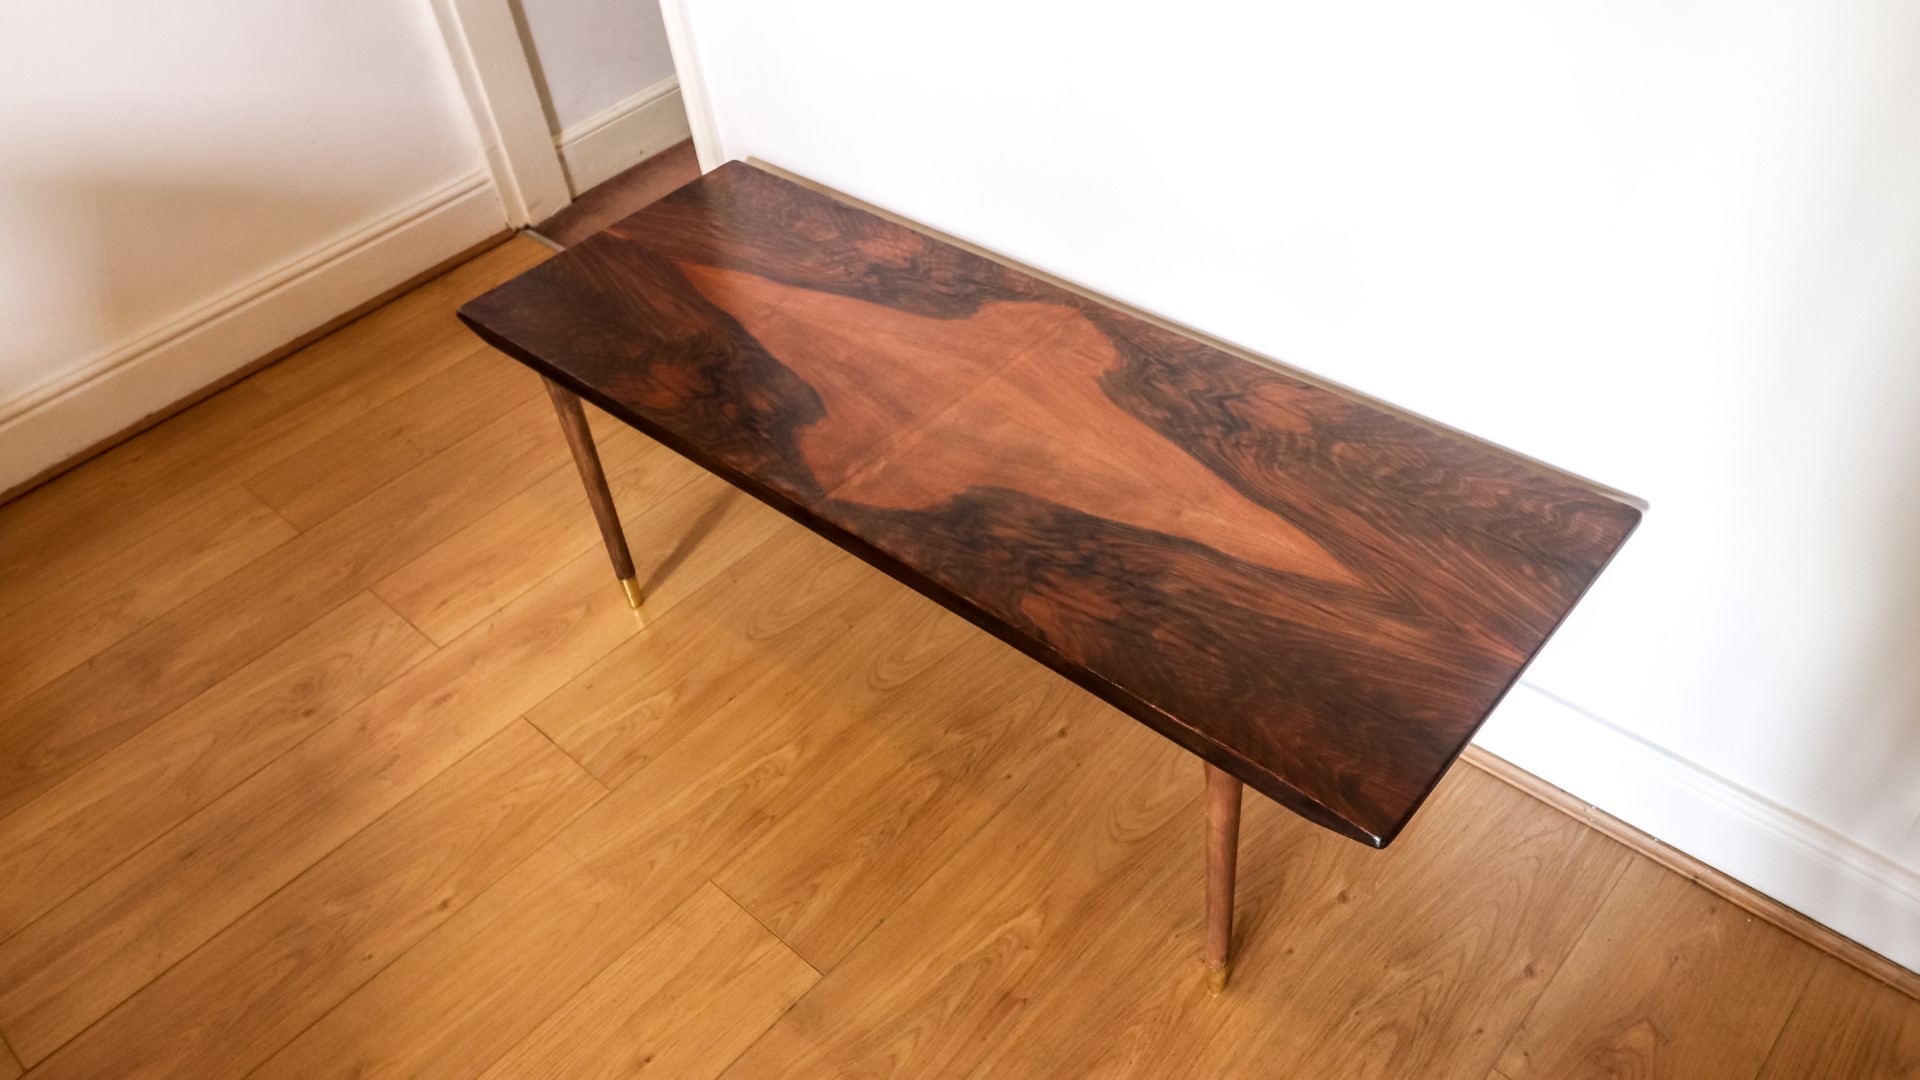
It didn't come out perfect, but it did go much better than my first attempt and I'm pretty happy with how the table looks now, I think it's really stunning. If you get up close, you can definitely see a few things that could be better, but considering I lack experience and don't have the best setup for veneer glue ups it's as good a job as I can do right now and it is now a useable and good looking table and I hope to find a new owner for it soon, I've actually listed it for sale on my Etsy store already if you're interested in checking it out.
I spent a lot of time on this project, too much in fact, but I have learned quite a bit so it's not all bad.
I hope you enjoyed this video. Please subscribe to my channel if you haven't already for more weekly woodworking videos. If you would like to show your support for my channel you can do that via Patreon where you can get early access to my videos, exclusive content, free woodworking plans and a credit at the end of my videos. There's a link to that in the description box below. That's all for now - thank you for watching.
Images: