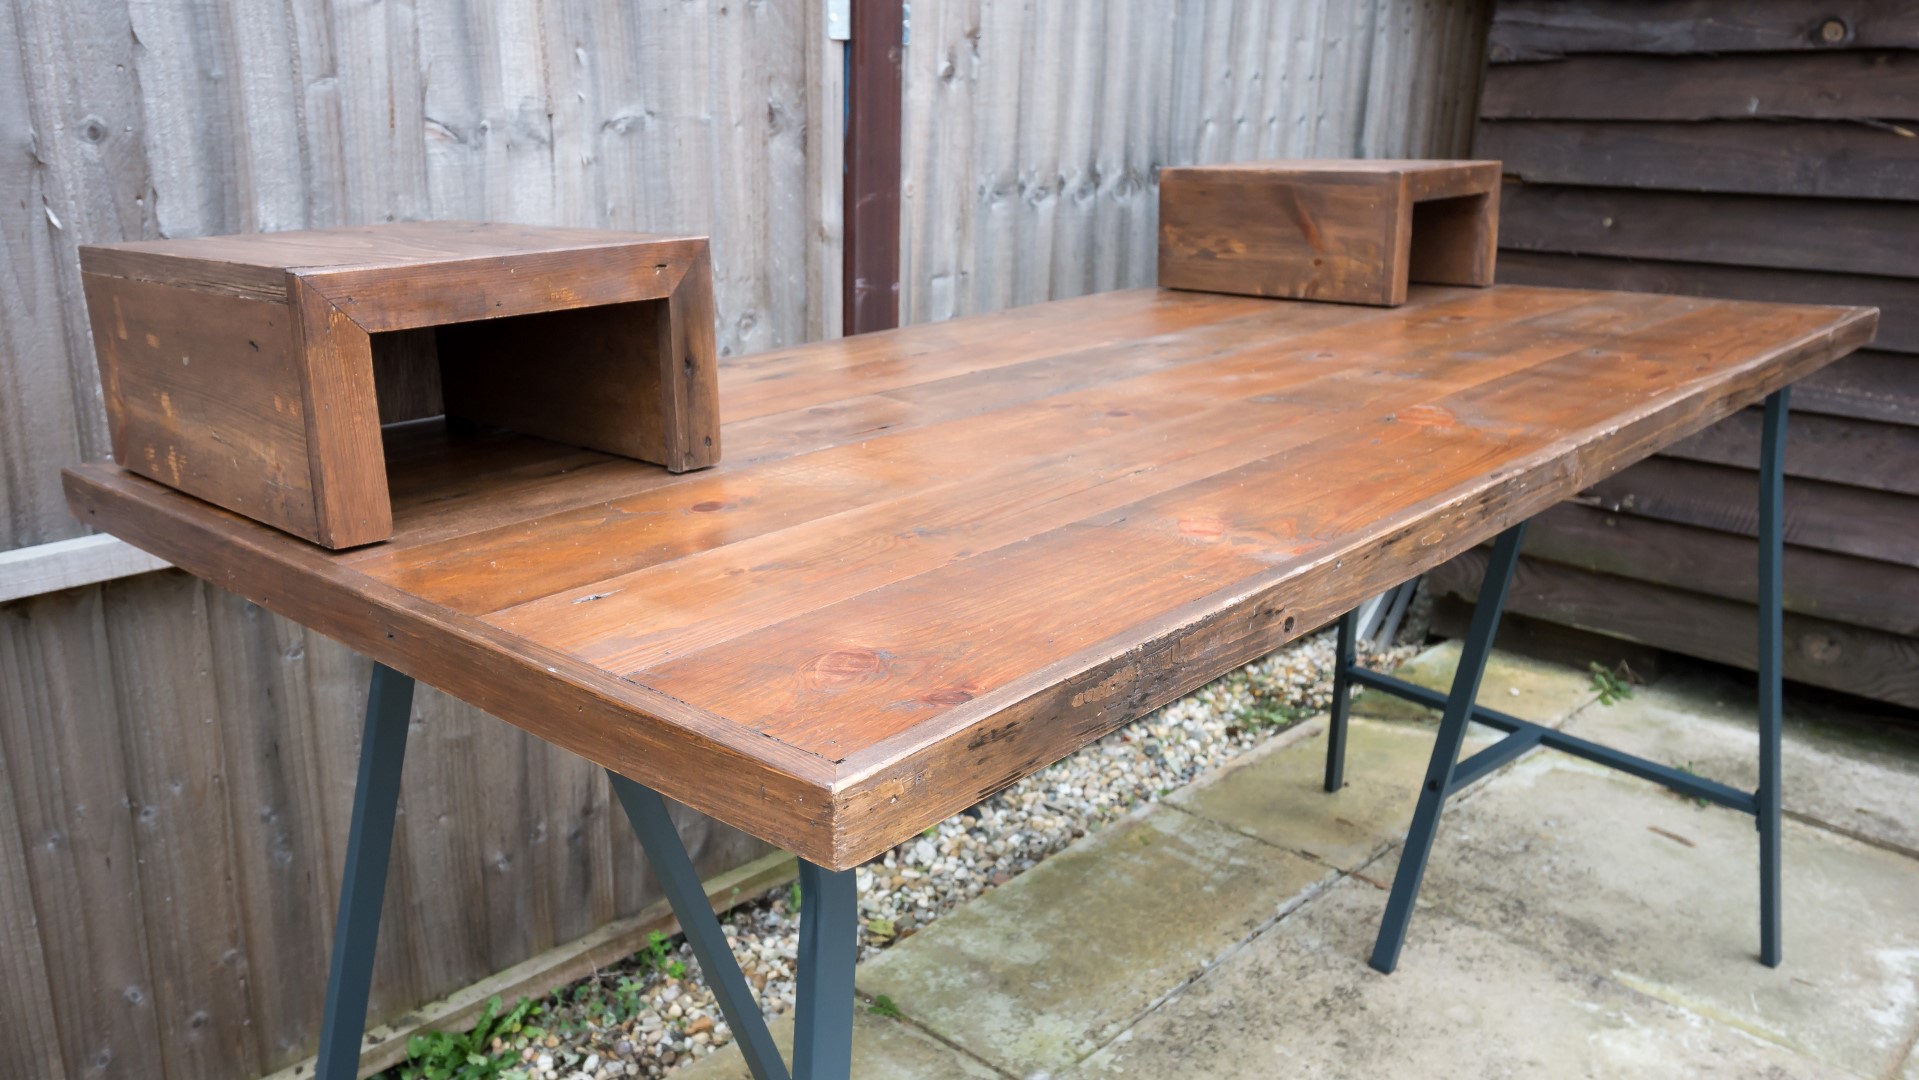
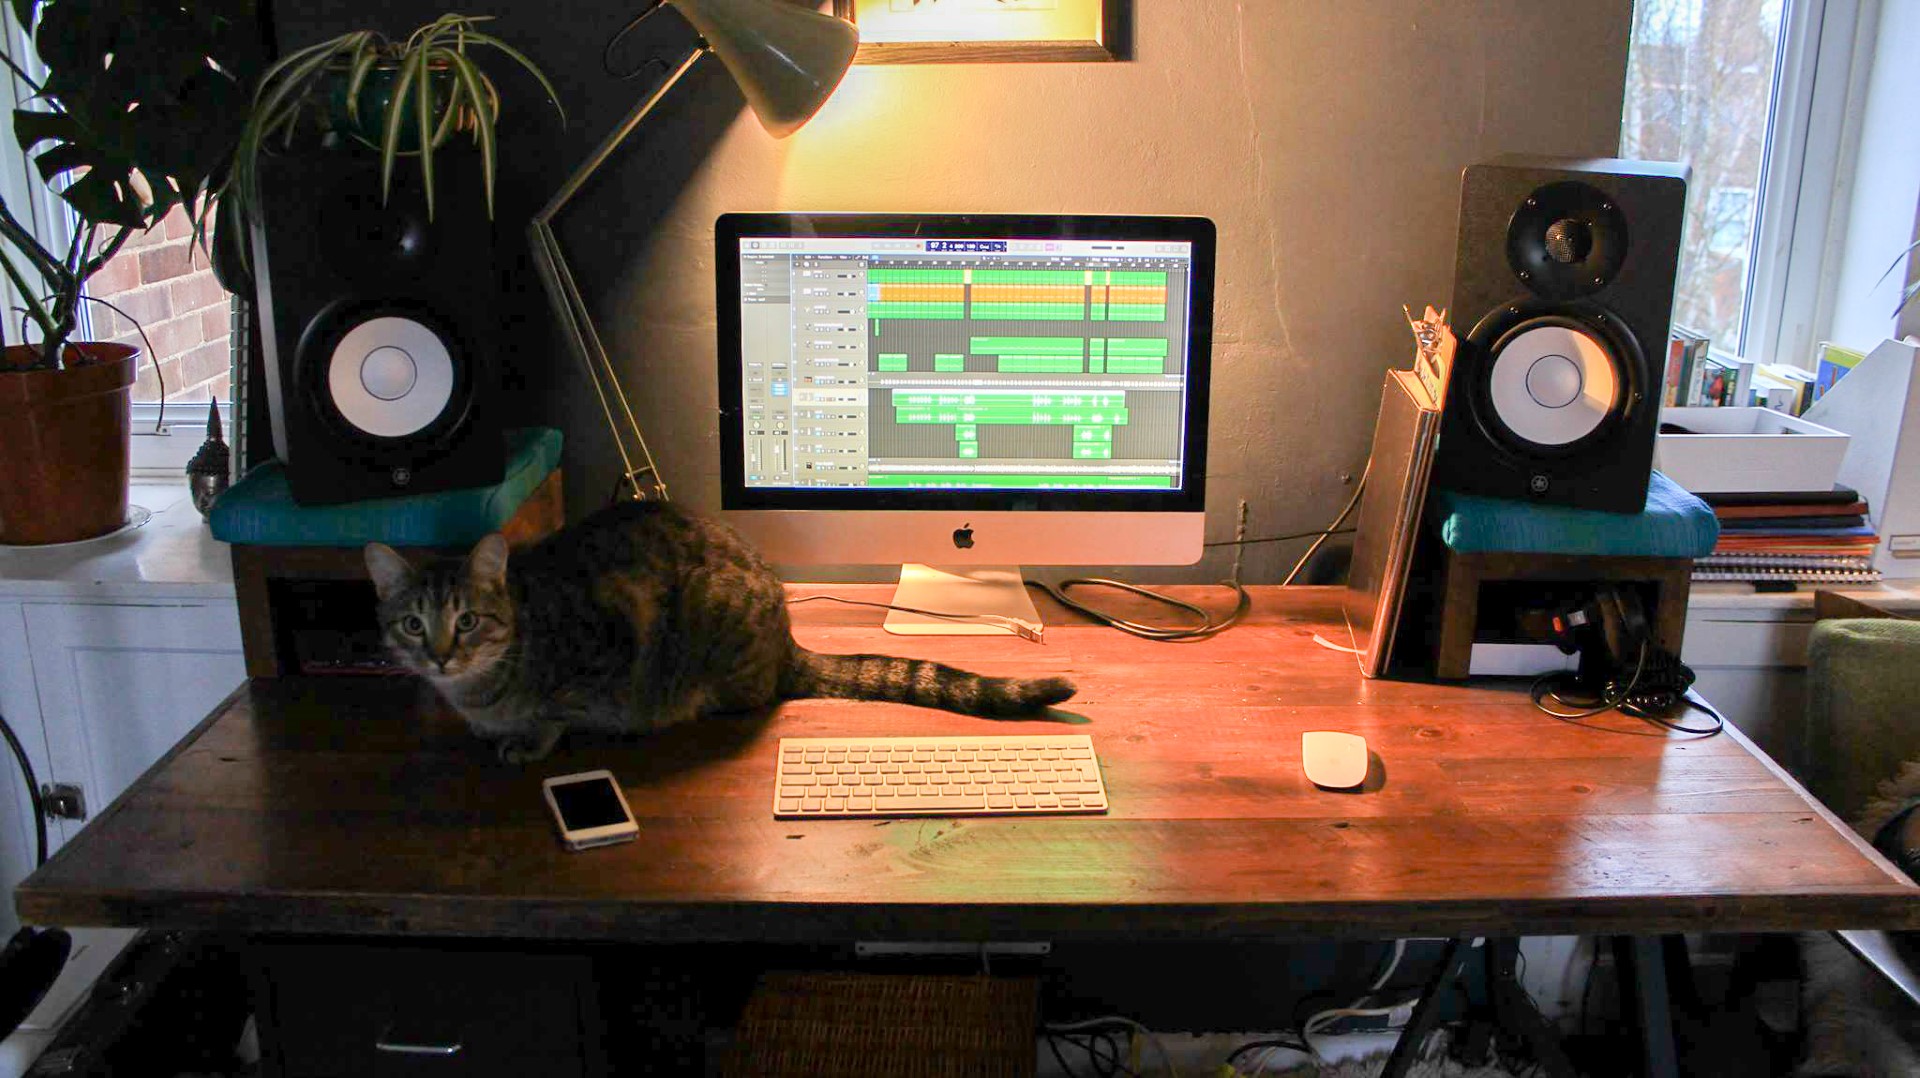
In this video I make a custom desk for a friend, who is a local musician. She was looking for a desk where she could sit and work on music production and mixing with some stands for her monitor speakers. She wanted a desk with character in reclaimed wood, and she sent me a few photos of the sort of thing that she was hoping for. I did some 3D drawings for her in SketchUp and we settled on a design.
For materials, I’d use some reclaimed pine floorboards which I acquired from a neighbour (they were going to be thrown away). They were 15mm thick and various lengths, and I’d had them on my wood rack for a couple of years just waiting for a project like this one.
The floorboards were not thick enough to glue up in to a strong desktop on their own, so I went to my local timber merchants and found two 18mm thick 8x4ft sheets of spruce plywood that had been pulled out because they were dirty and had some damage to the edges. They offered them to me for half price, so I bought both (even though I only needed one, I like a bargain!). The damage wasn’t an issue as it would be on the waste part of the board, and the dirt could simply be brushed off. The timber merchants cut the ply to 1.5m length which was the length that the desktop needed to be and also allowed me to fit it in to my car.
I started by cutting the ply to 750mm to give me a 1500mm x 750mm piece of ply.
Then I laid the floorboards on to the ply to get an idea of how much material I needed to clad it, and marked up the boards to keep them in the order that I wanted and also figure out which boards would be butted up against each other.
I cut the longer floorboards to length using a speed square and circular saw, and the shorter ones at the mitre station, and then I made some light repairs to the boards as some pieces were torn out – I used glue, masking tape and spring clamps.
Next I needed to rip each edge of each board to get clean edges and straighten them up.
Some of the floorboards had a lot of paint/varnish which needed to be removed, so I used my belt sander with a 40 grit belts. The belts clogged up pretty quickly with the paint/varnish so I went through 3 or 4 of them in the end.
I used glue and brad nails to fix the boards to the ply, firing most of the brads near the existing nail holes in the board so that they would be hidden. I also glued the edges of the boards together, until the whole desk top was covered. I wiped off excess glue with a damp cloth and filled some small gaps with a bit of sawdust.
Next I knocked the nails beneath the surface of the wood with a nail punch and then used my hand plane to remove any high spots and get the desktop flat and the boards flush. I worked across the grain first to even up the boards, and then with the grain to get a nice finish.
I used a flush trim bit in my router to get the edges of the boards flush with the plywood.
I ripped some more floorboards to 30mm wide to use as edging trim for the desk top. I mitred the corners at 45 degrees at the mitre station, and then I could glue and nail the trim to the edges. The trim gave the desk top a nice chunky look.
Then I did yet more sanding to the desk top with the belt sander, sanding in direction of the grain with 80 grit, and later switched to my random orbit sander with 120 grit.
Unfortunately my belt sander (Ryobi EBS 800) broke at this point – something was rattling inside and the drive wheel wasn’t turning… So I used a combination of my hand plane and random orbit sander to clean up the edges.
I used a block plane to break the sharp edges of the desktop to create a subtle roundover – mainly so that it would be comfortable on arms and elbows.
Then I applied a walnut stain by Liberon which the client wanted, to match the walnut stain applied to her floorboards in the room.
I used a spray varnish to finish the desk top – I chose it because I knew it would be hard-wearing and provide a seal to the surface. I applied 3 coats in total, wet sanding in between each application with 400 grit paper to help keep the surface nice and smooth, then removed the dust with a wet cloth prior to the next coat.
I applied my makers mark to the bottom of the desk top
Images: