With the four sides of the box assembled, I needed to flatten the edges ready for the top and bottom panels to be added. I used some sandpaper stuck to a piece of flat melamine with sticky back tape for this.
I cleaned up the edges of the box and the dovetail joints at the belt sander.
With the remaining piece of mahogany from the same wardrobe panel as the sides had been made from, I could get a top and bottom panel. I marked them up and cut them out oversized with a circular saw. I then cleaned up the faces of the panels with a handplane and checked for flatness with a steel ruler.
I then glued and clamped the top and bottom panels on to the box at the same time using F clamps.
When the glue had dried I could trim off the excess from the panels at the bandsaw, and refine the edges with a hand plane and belt sander.
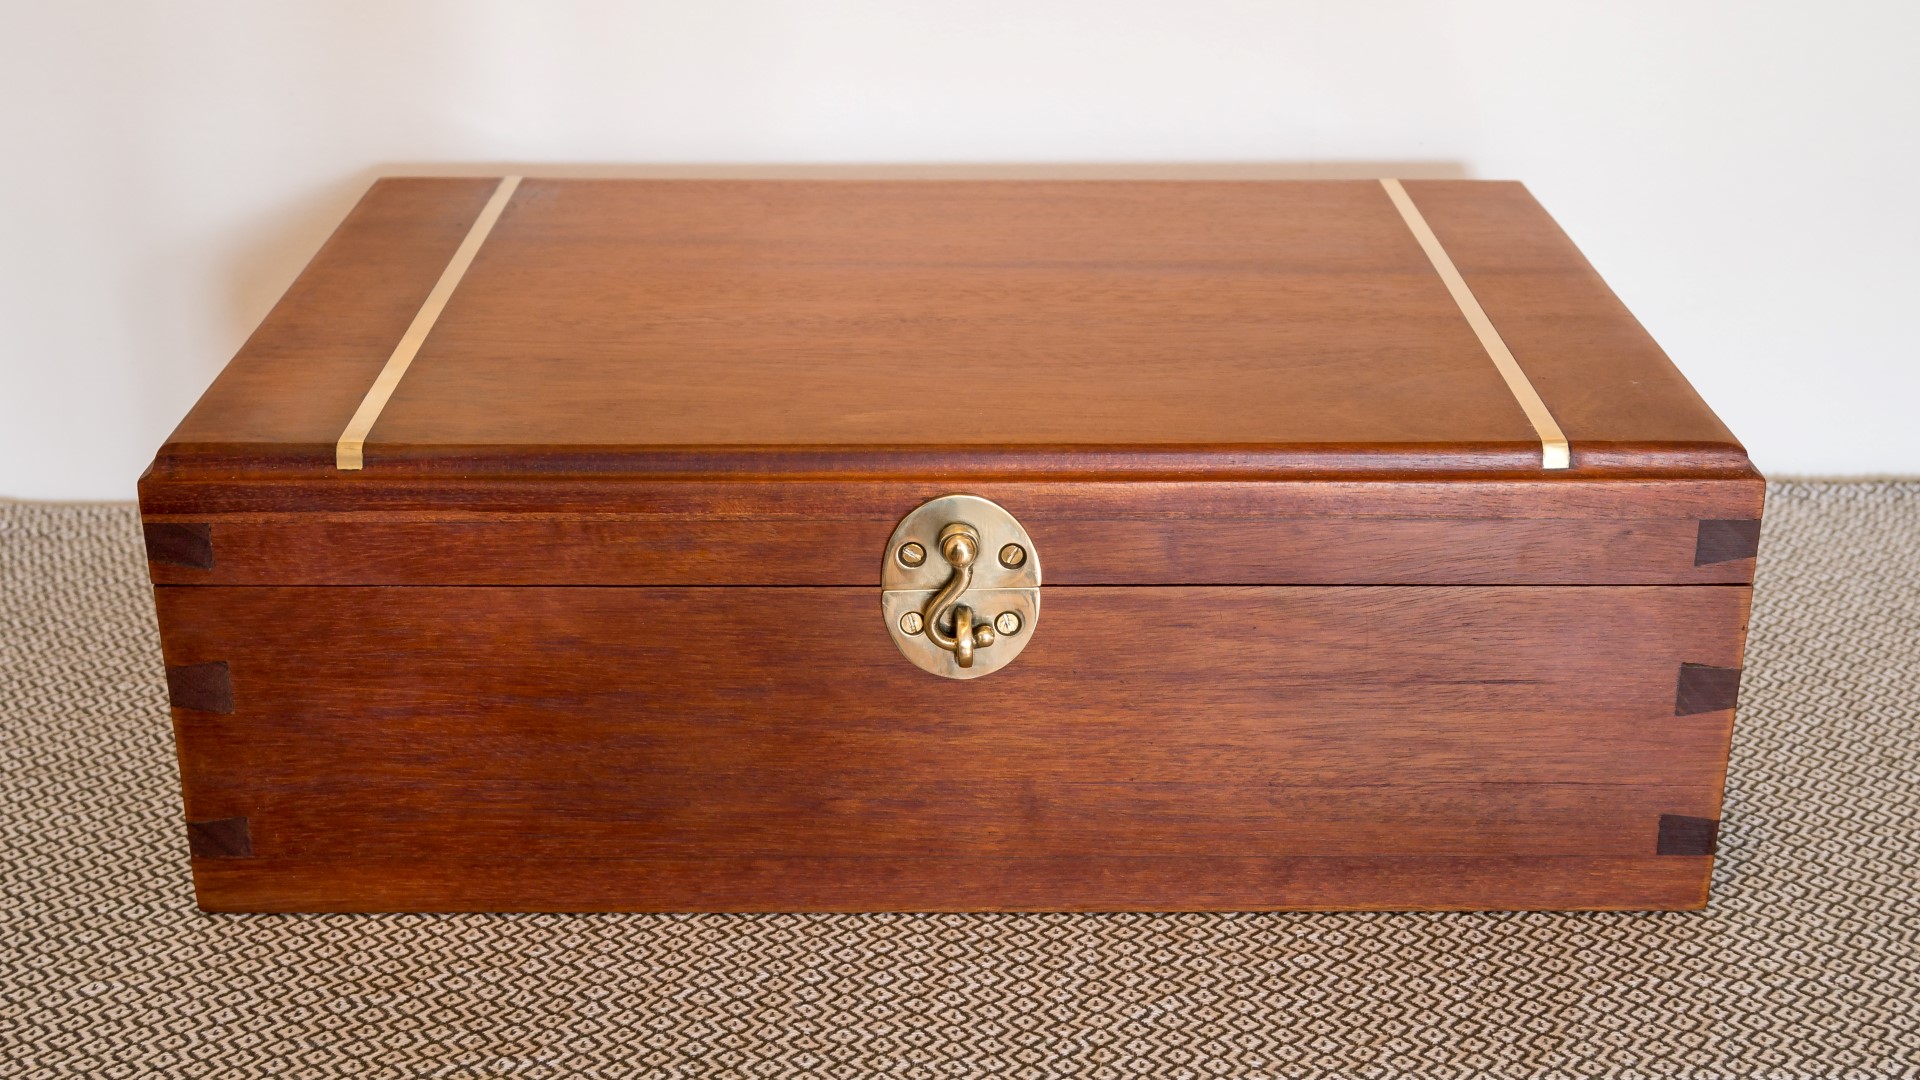
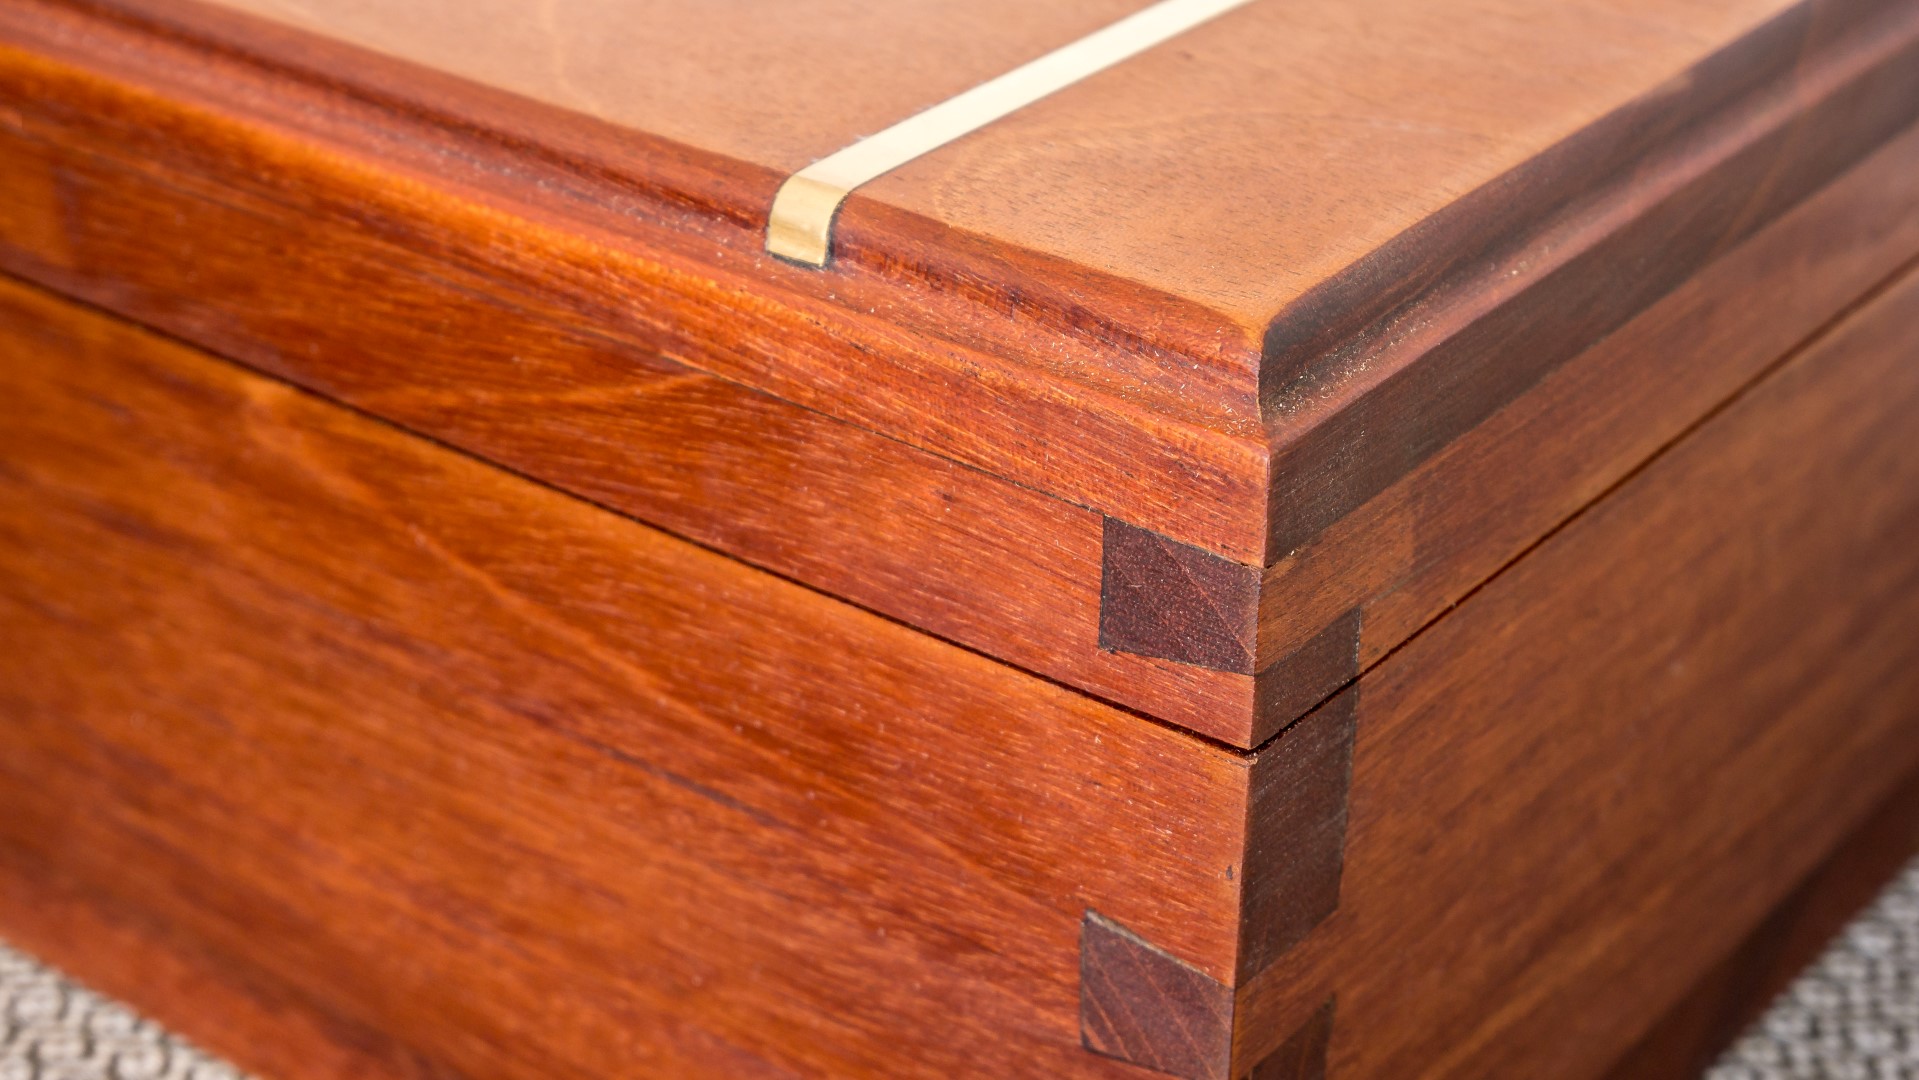
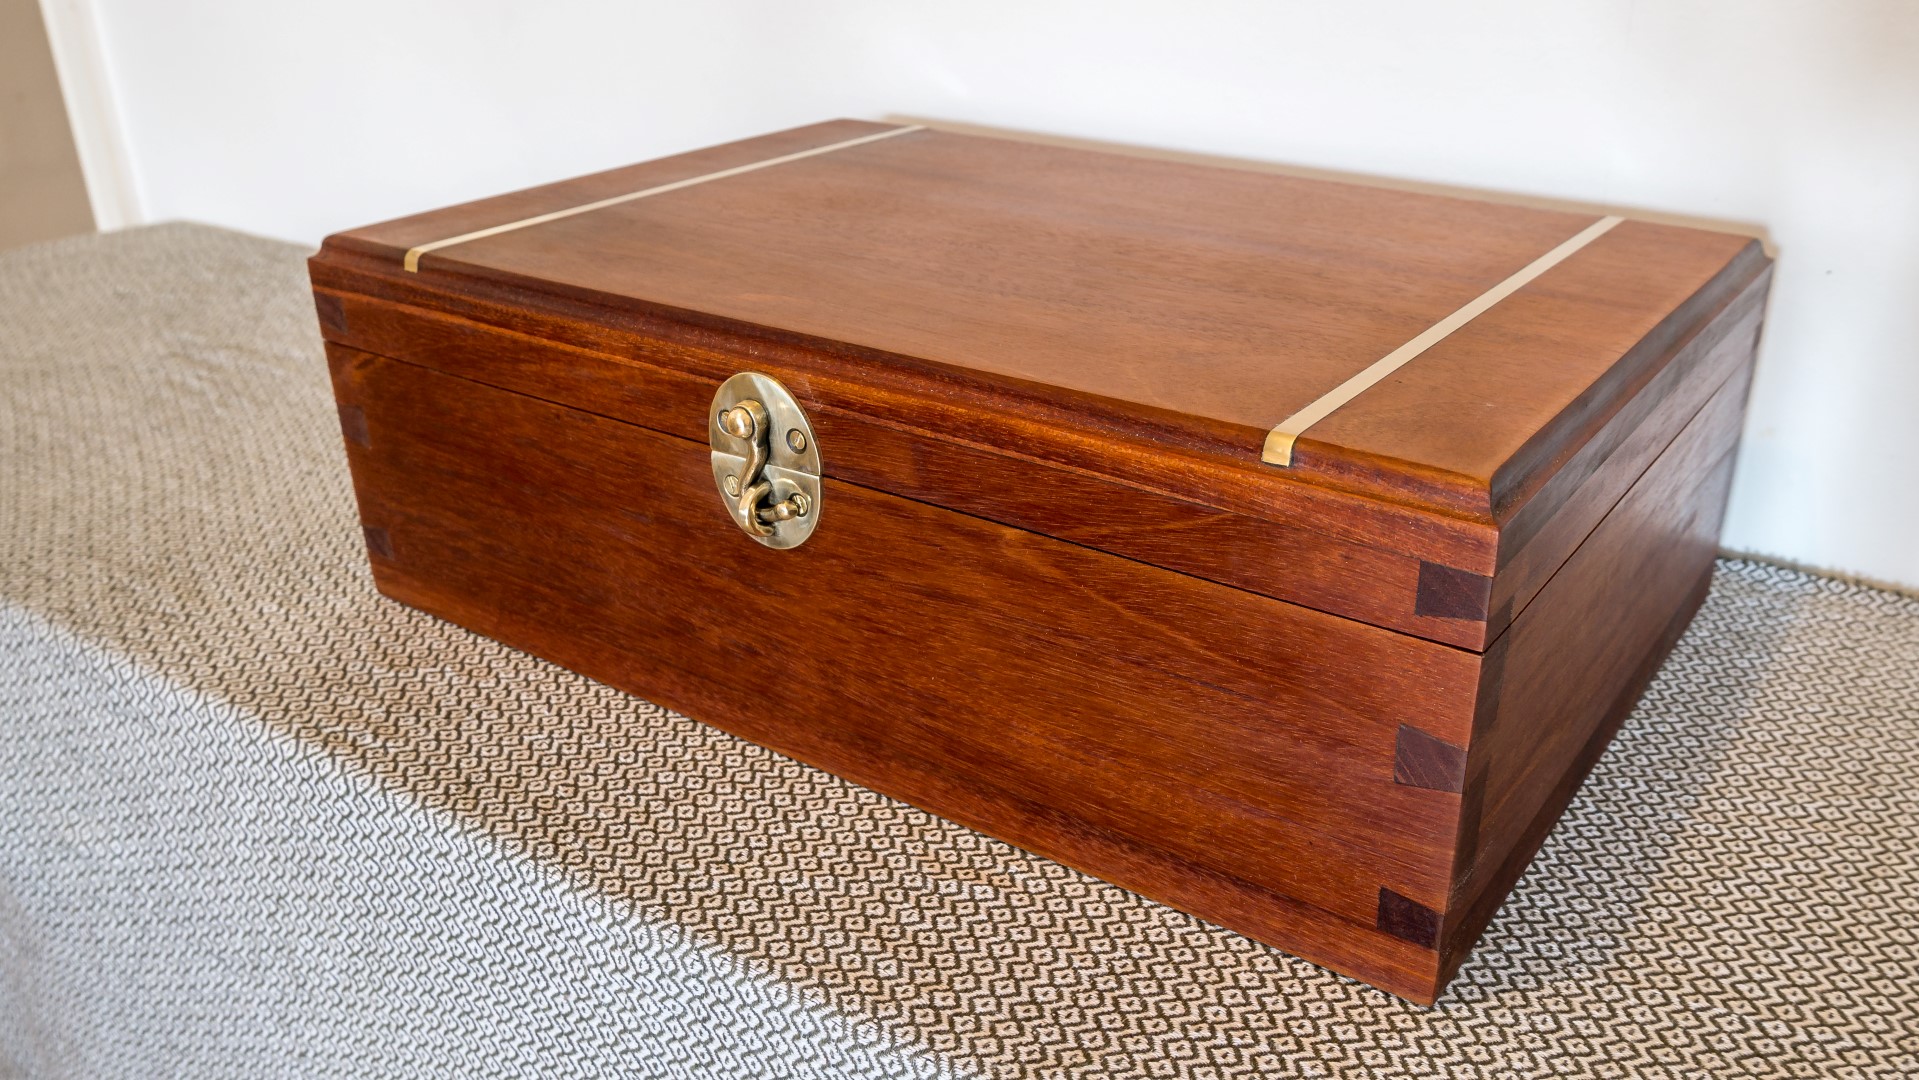
I wanted to add a brass inlay to the box, so I contacted some local metal suppliers and one company could cut off some 1/4 inch brass square bar for me - just the amount I wanted.
I cut a housing joint in to the lid of the box at the tablesaw by setting my blade height to the thickness of the bars and making two passes for each inlay.
Once the brass bars fitted nicely, I glued them in with epoxy.
My 1/4" chisel wouldn't fit in the joint, so I cleaned them up by using a small screwdriver as a scraper.
I wanted to give the top of the box a decorative look so decided to use an ogee bit in my router to cut an "s" profile around the edges.
I was surprised that I could route through the brass as well as the wood - I had googled and found it could be done!
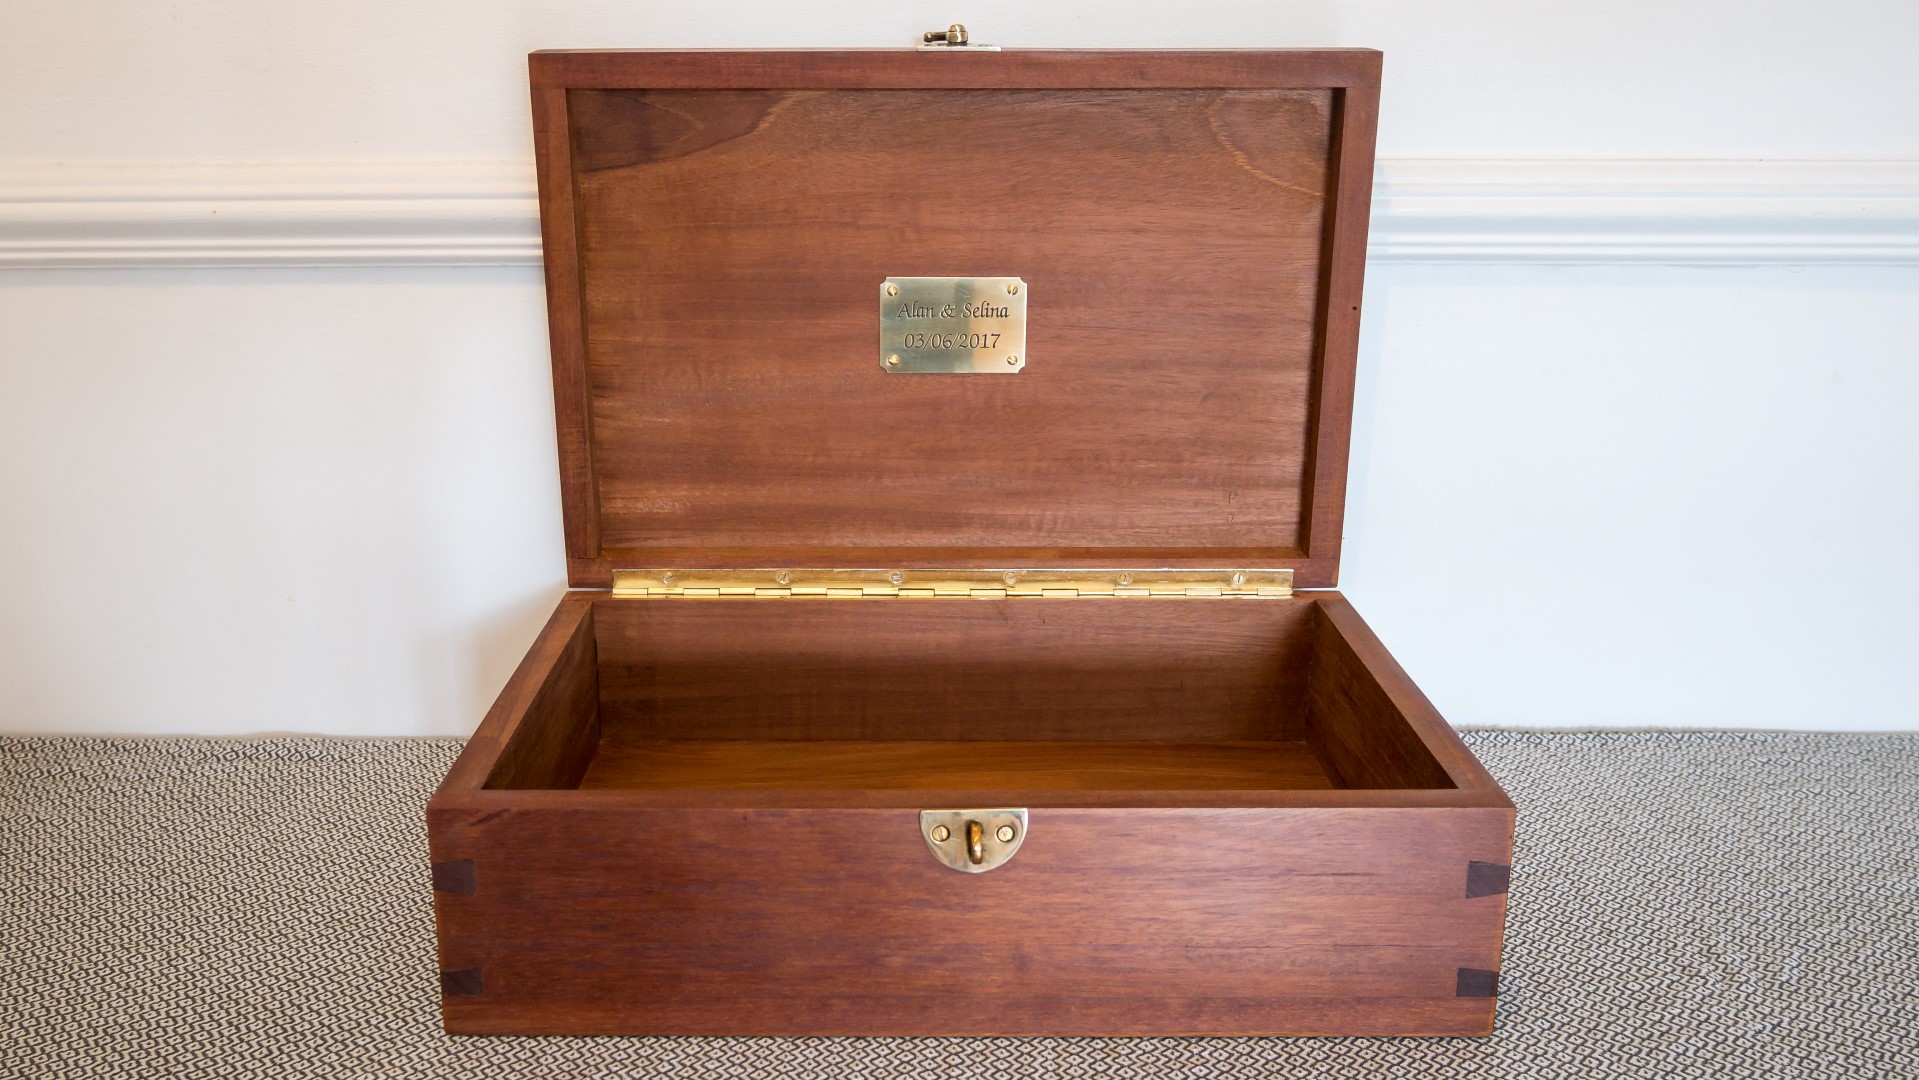
Next I cut the lid free from the box at the tablesaw.
I could then use the piece of melamine with sandpaper taped to it to flatten the lid and box so that they met nicely.
Images: