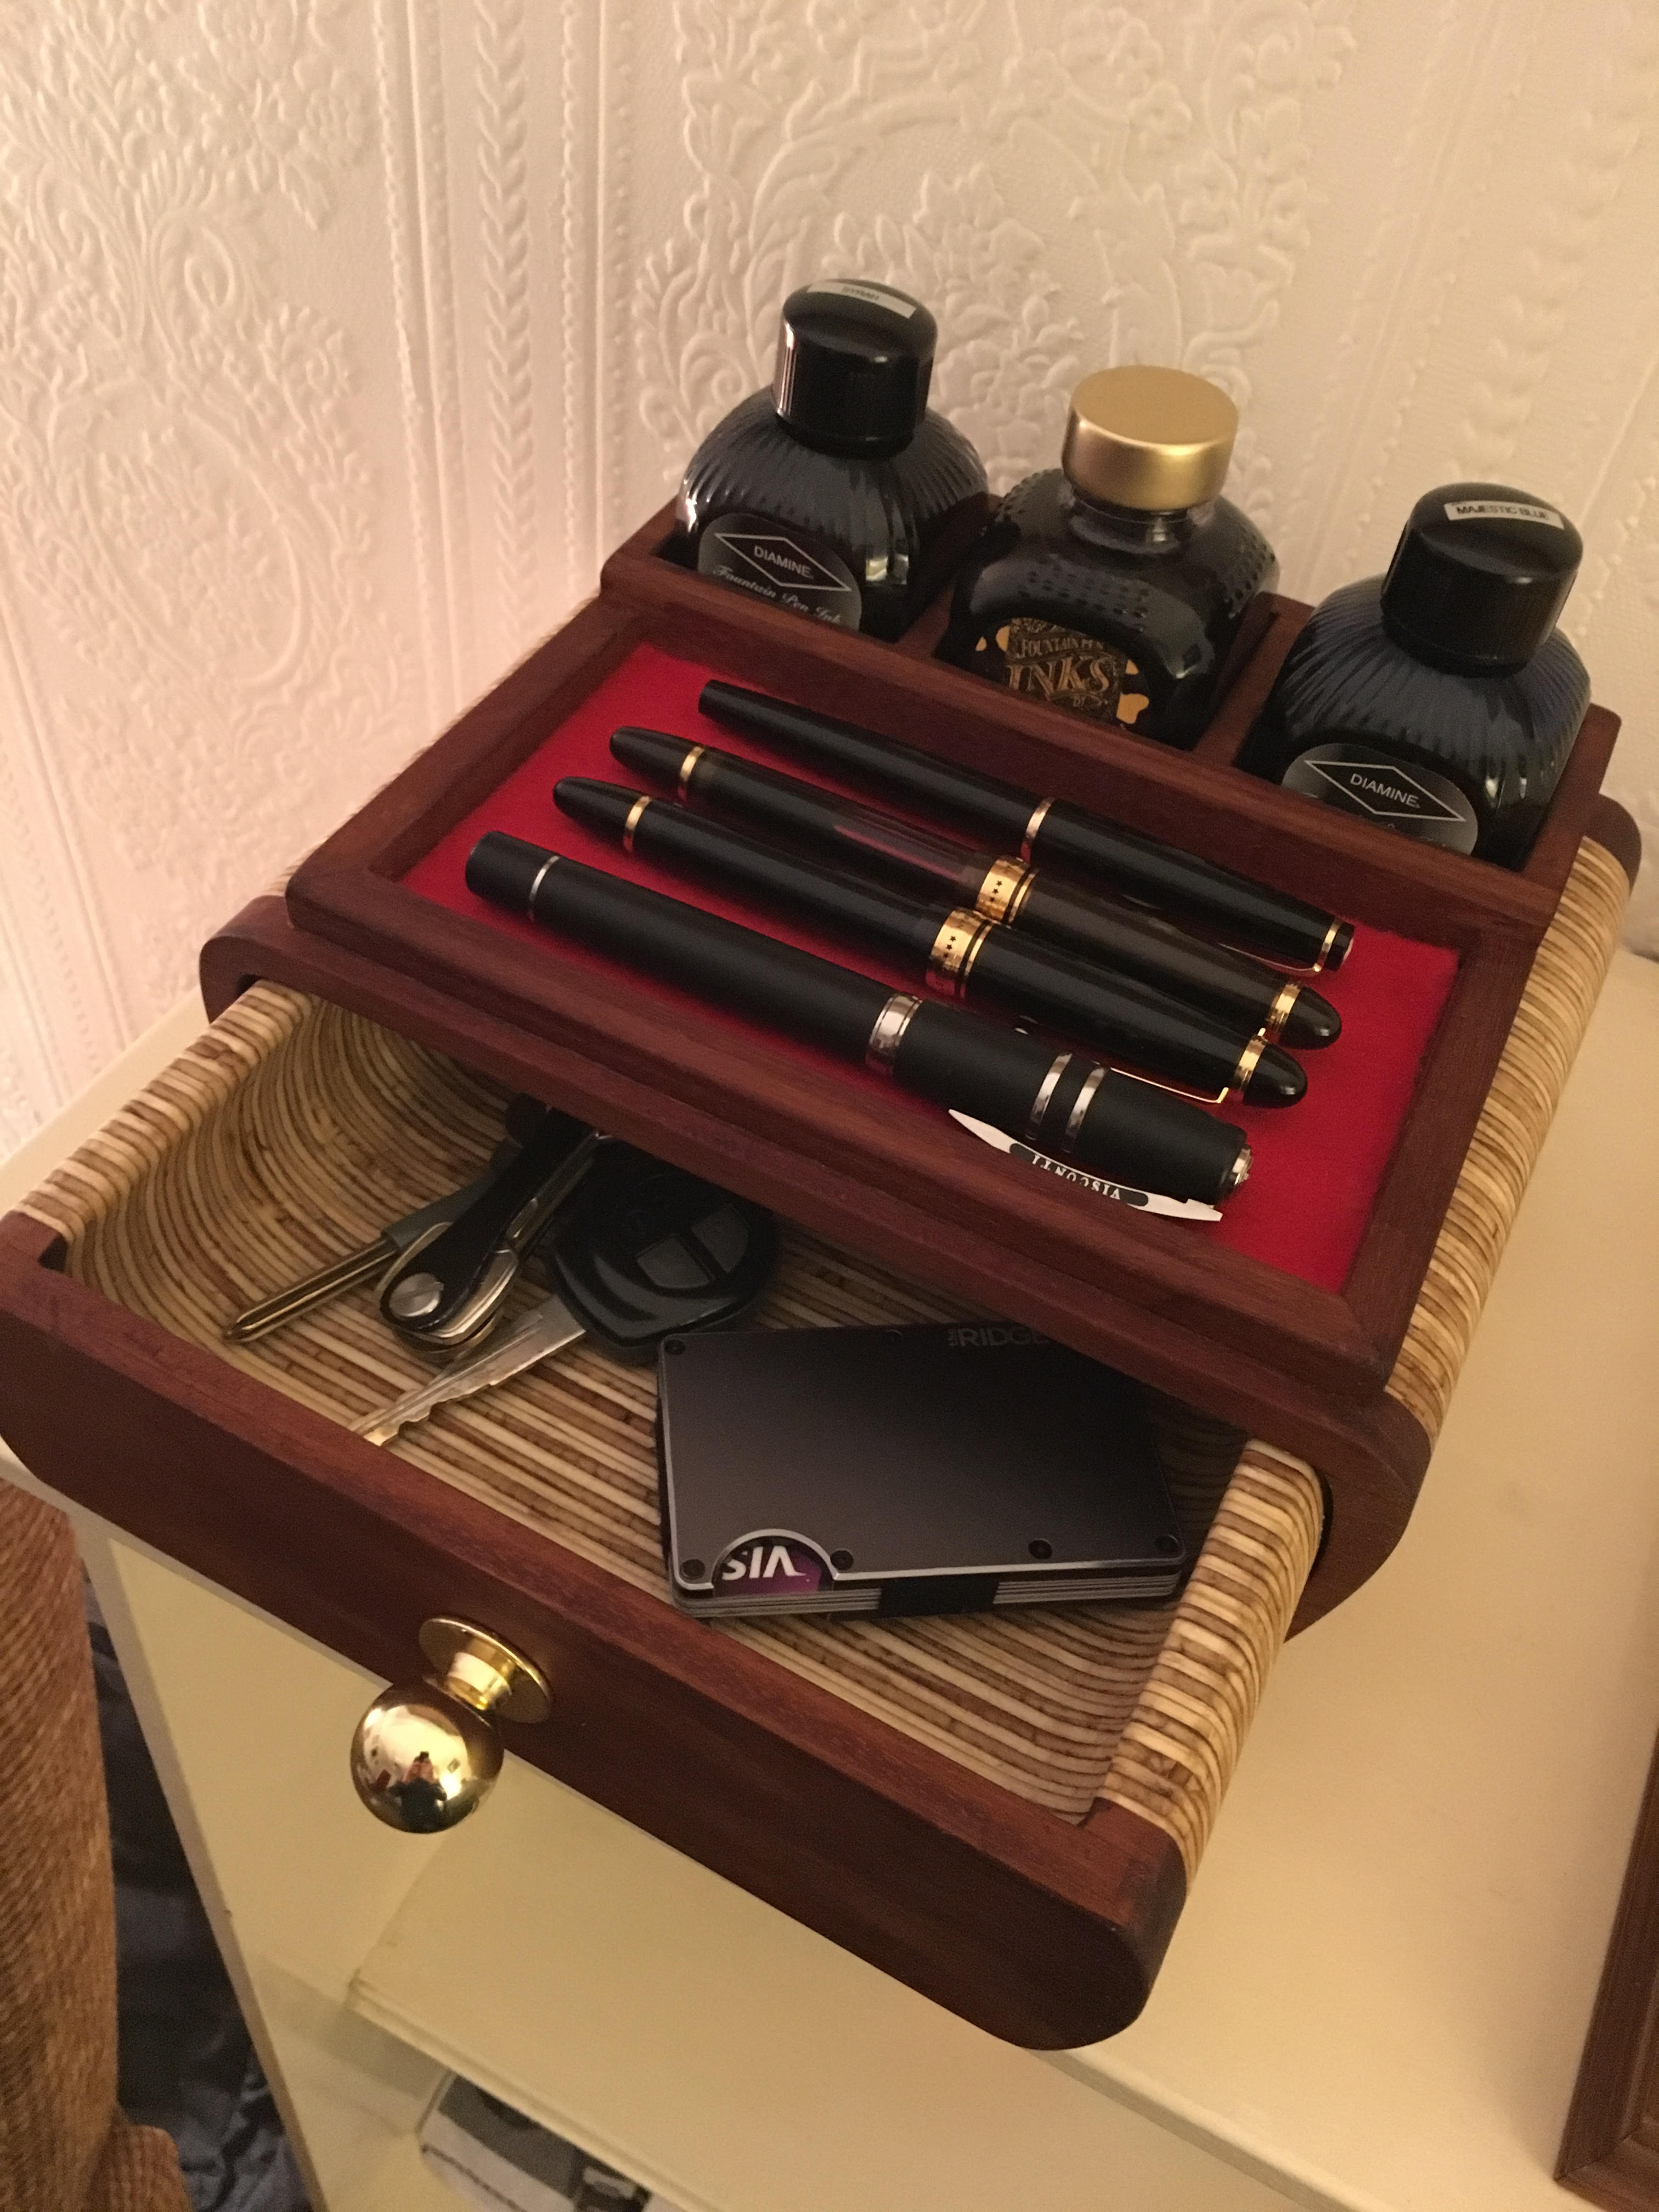
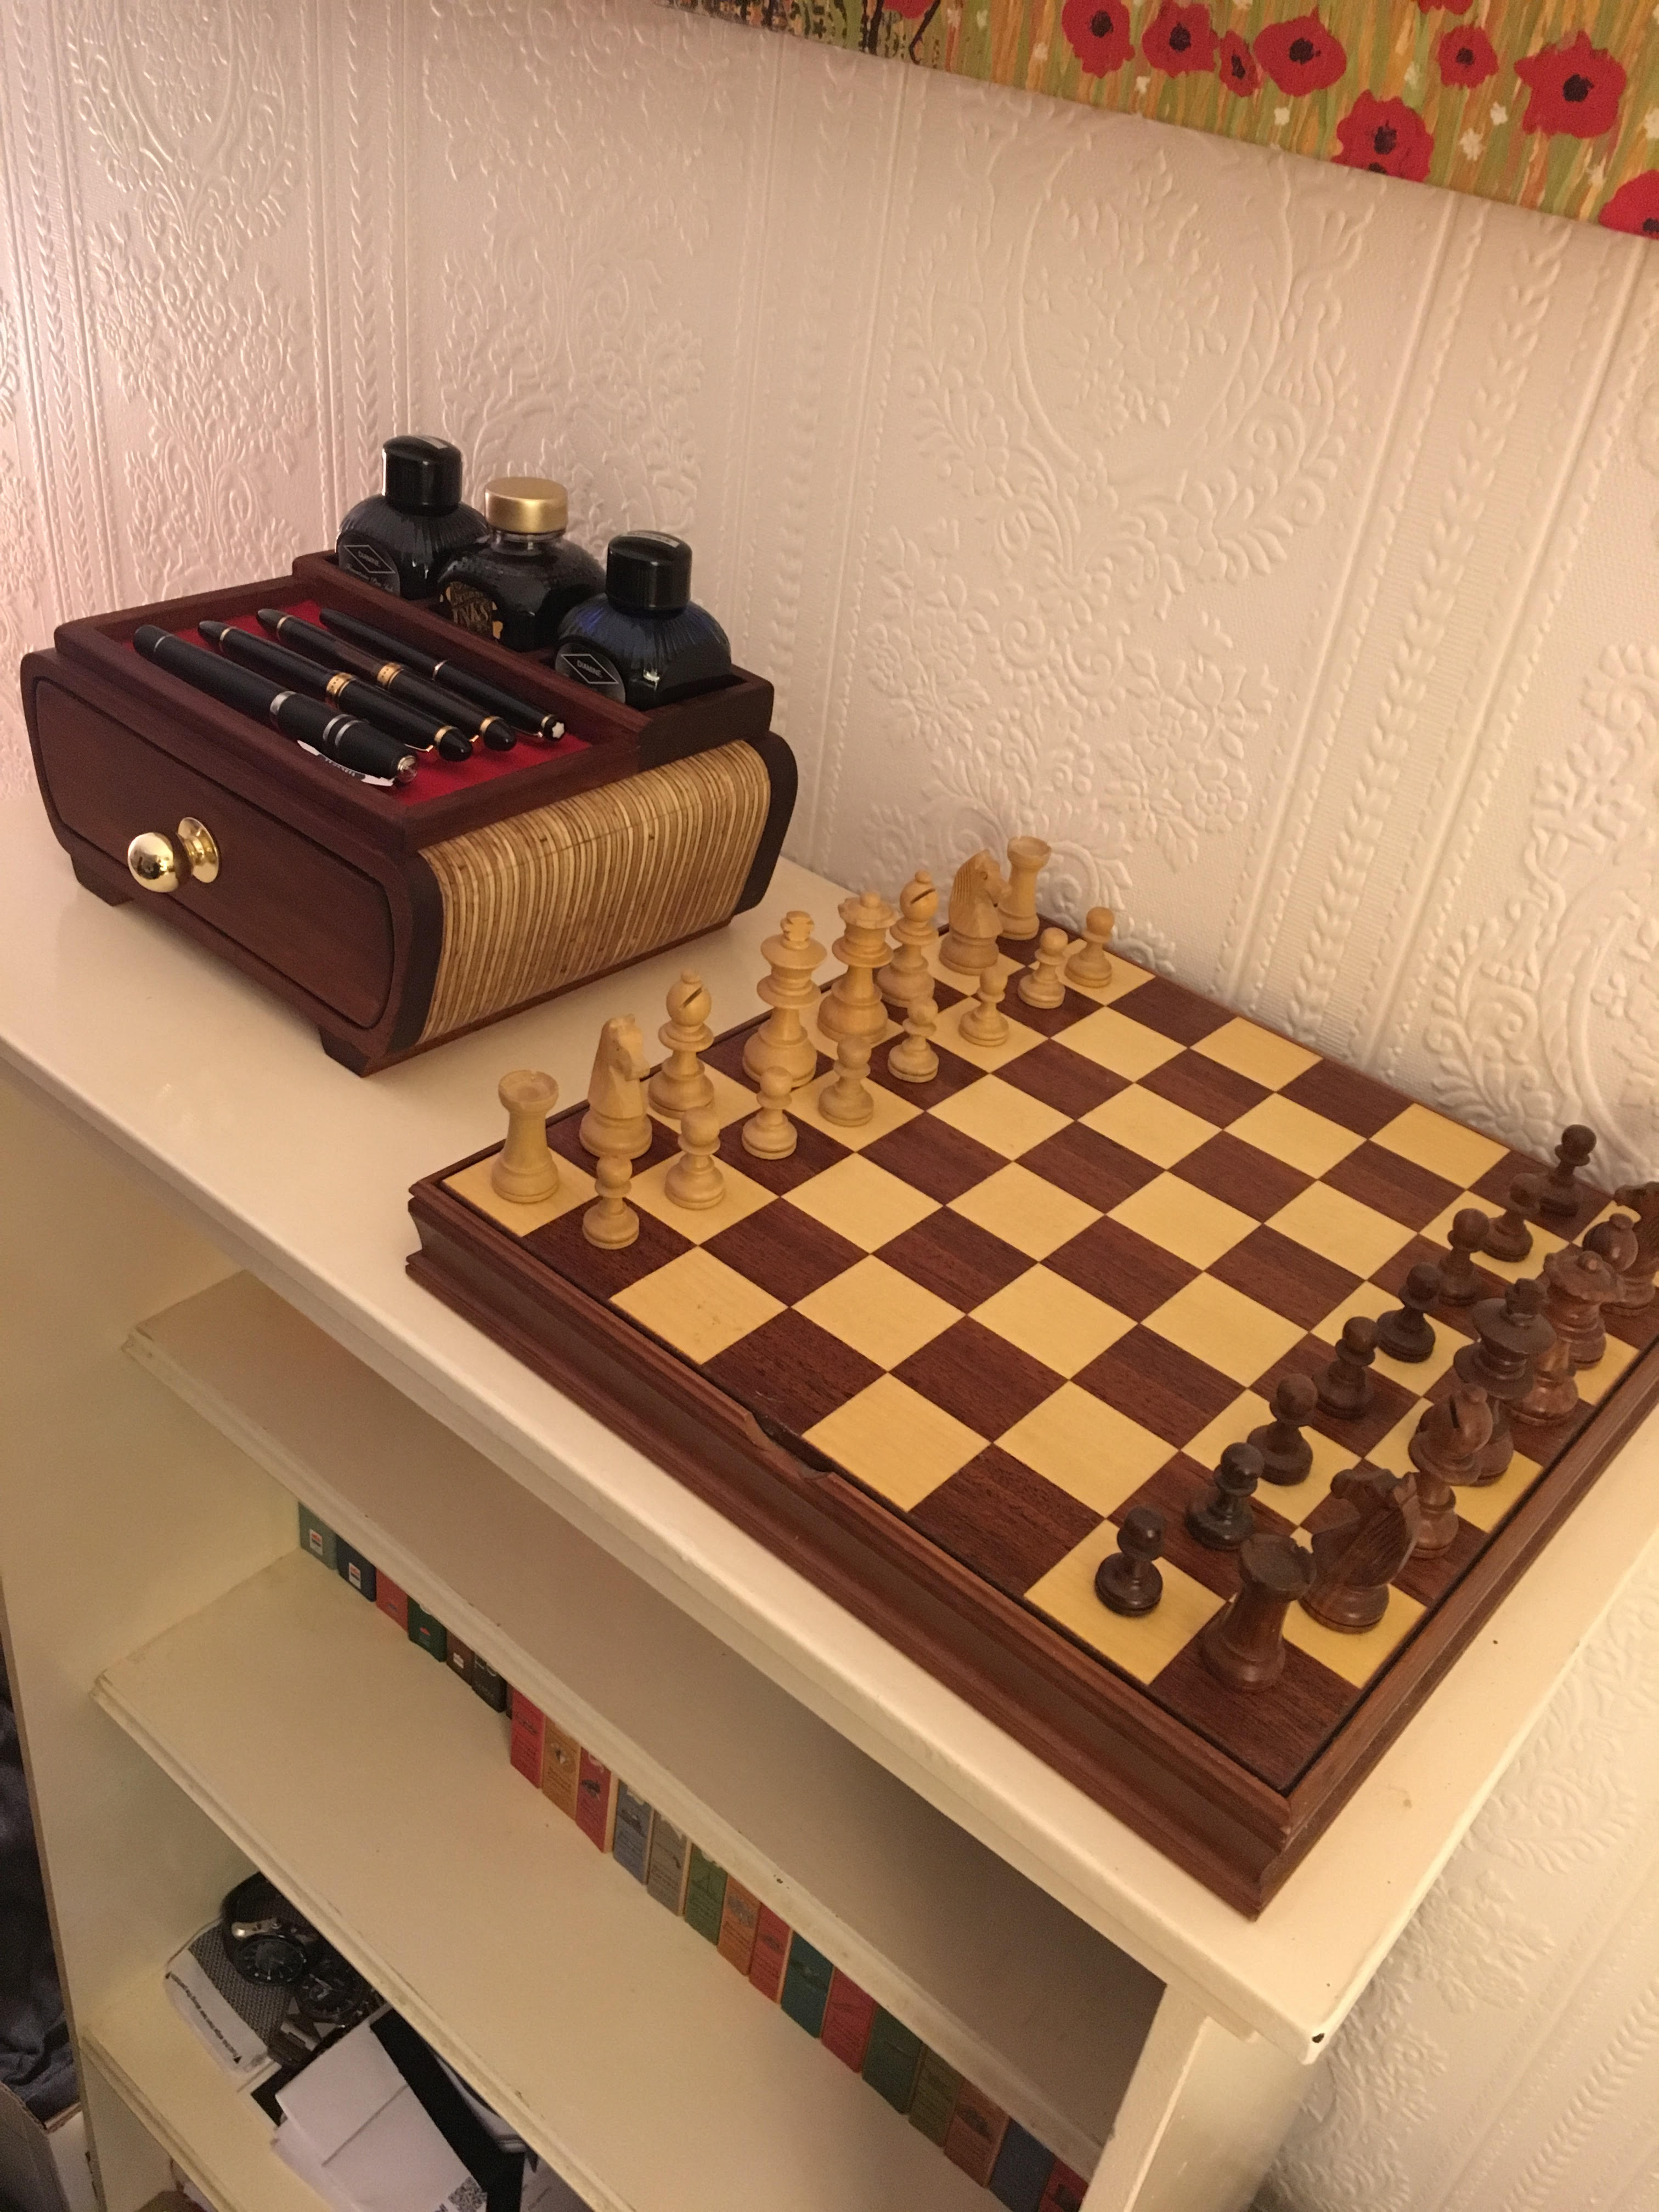
Recently one of my YouTube viewers got in touch about a commission. He was looking for a desk tidy to hold some bottles of ink, and some pens with a drawer where he could put his phone, wallet and keys.
He mentioned that he liked the wedding box and chess set that I'd made and said he was happy to let me design something.
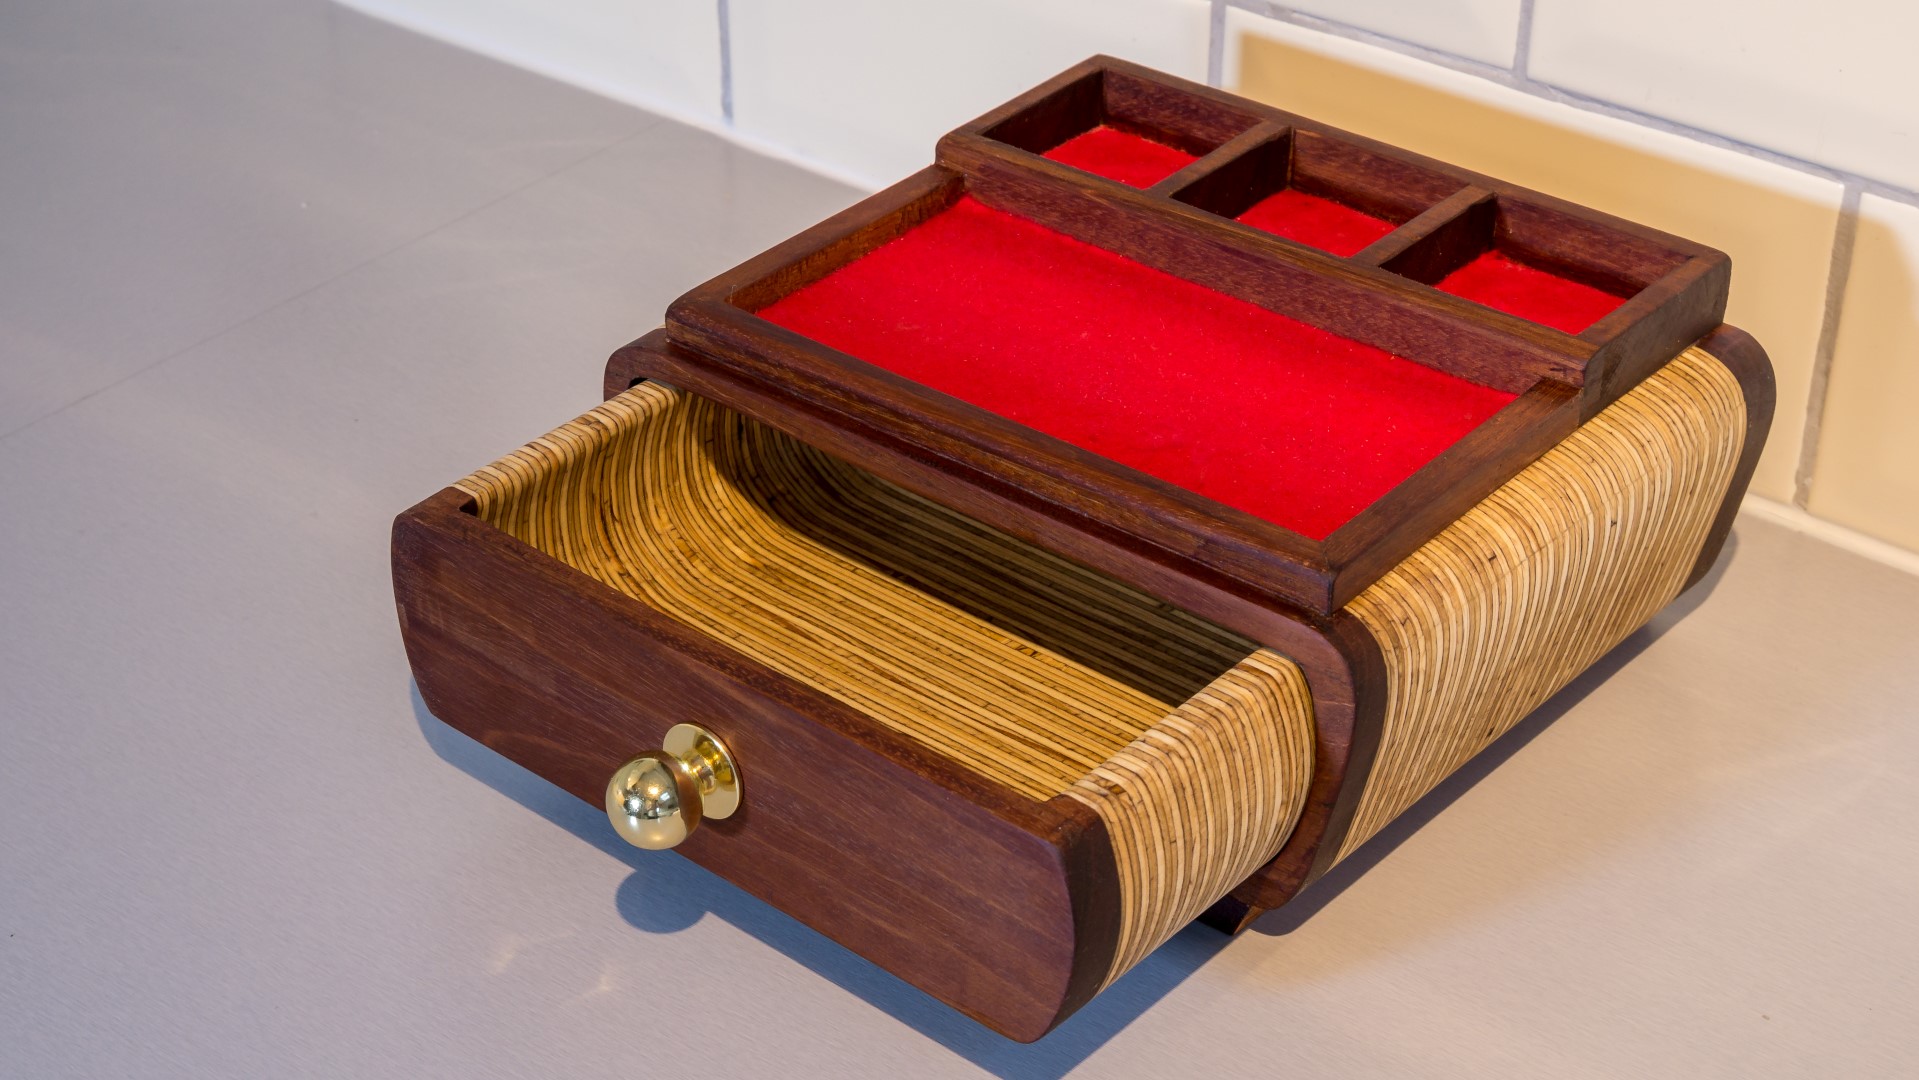
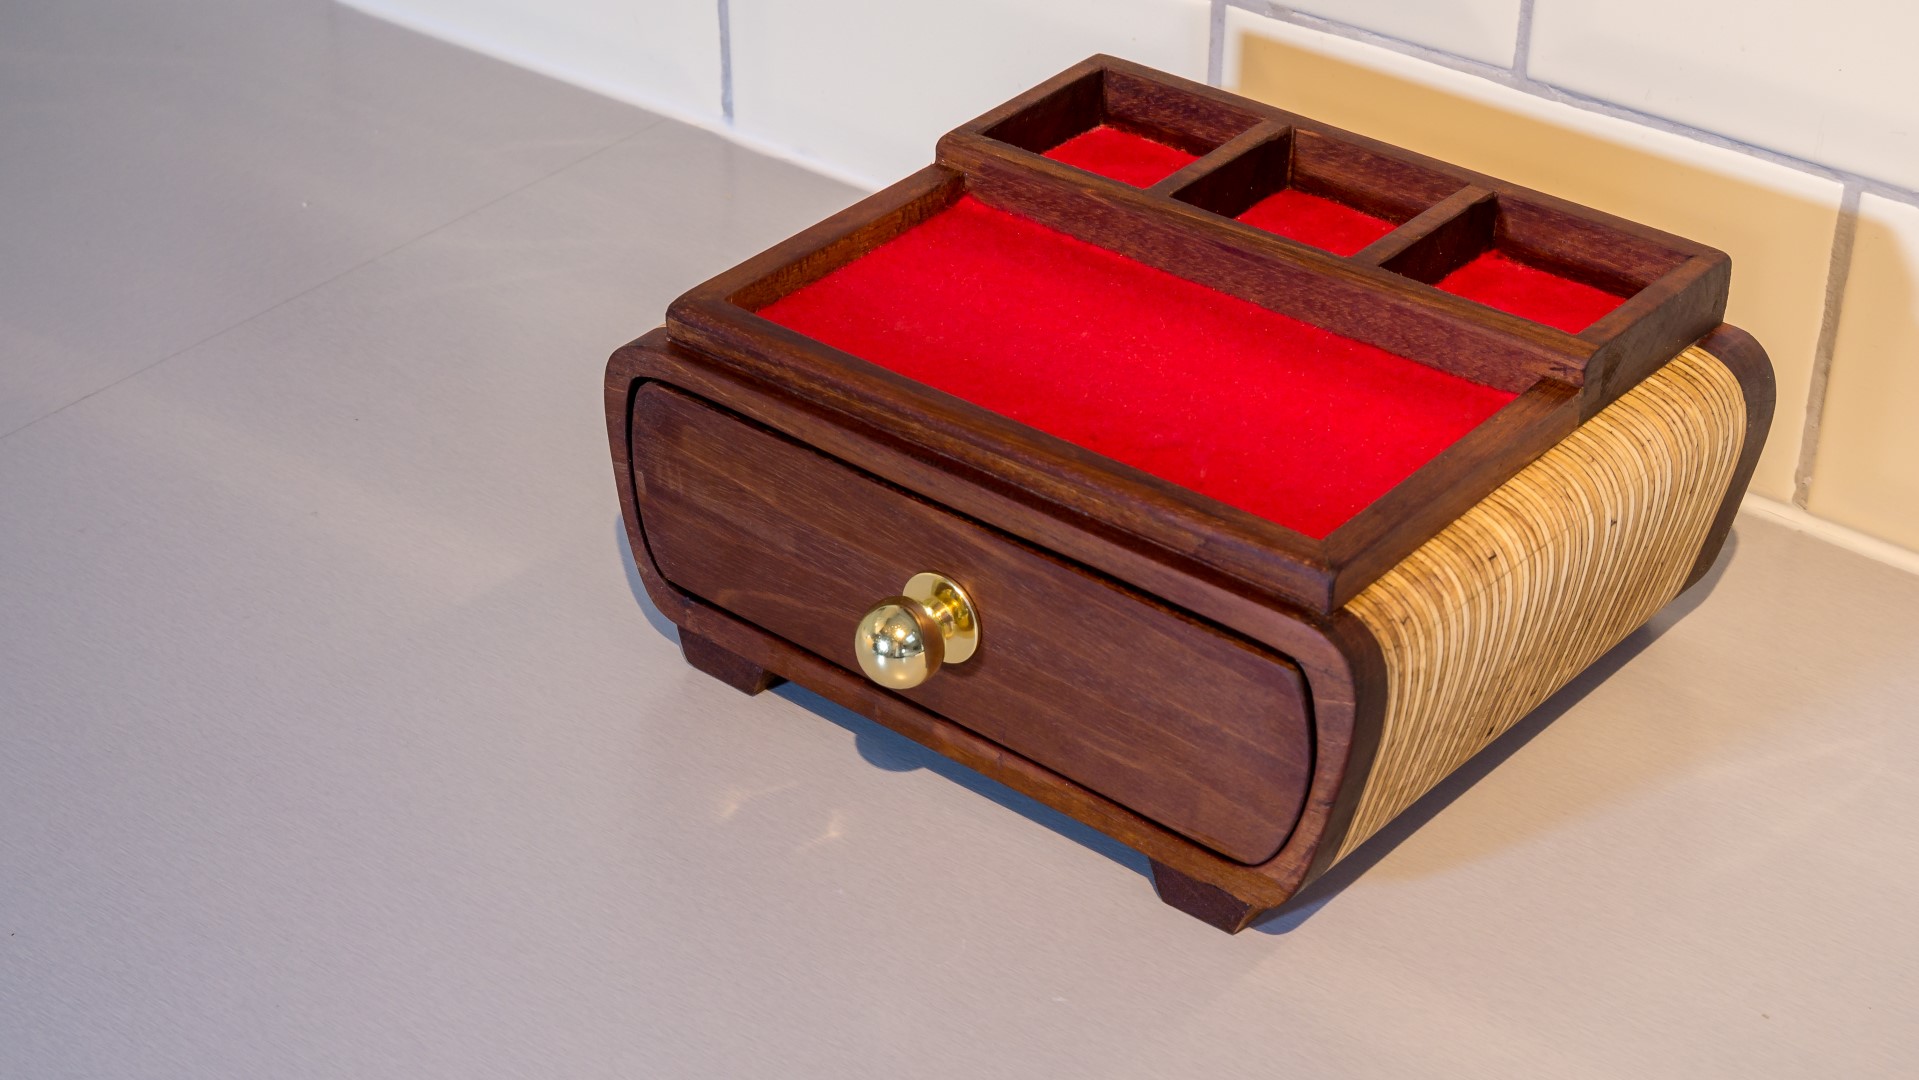
So here's what I came up with as a concept. And my idea was to build the bottom drawer section first as a bandsaw box, and then mount some pieces on top to form the pen tray and ink bottle holders.
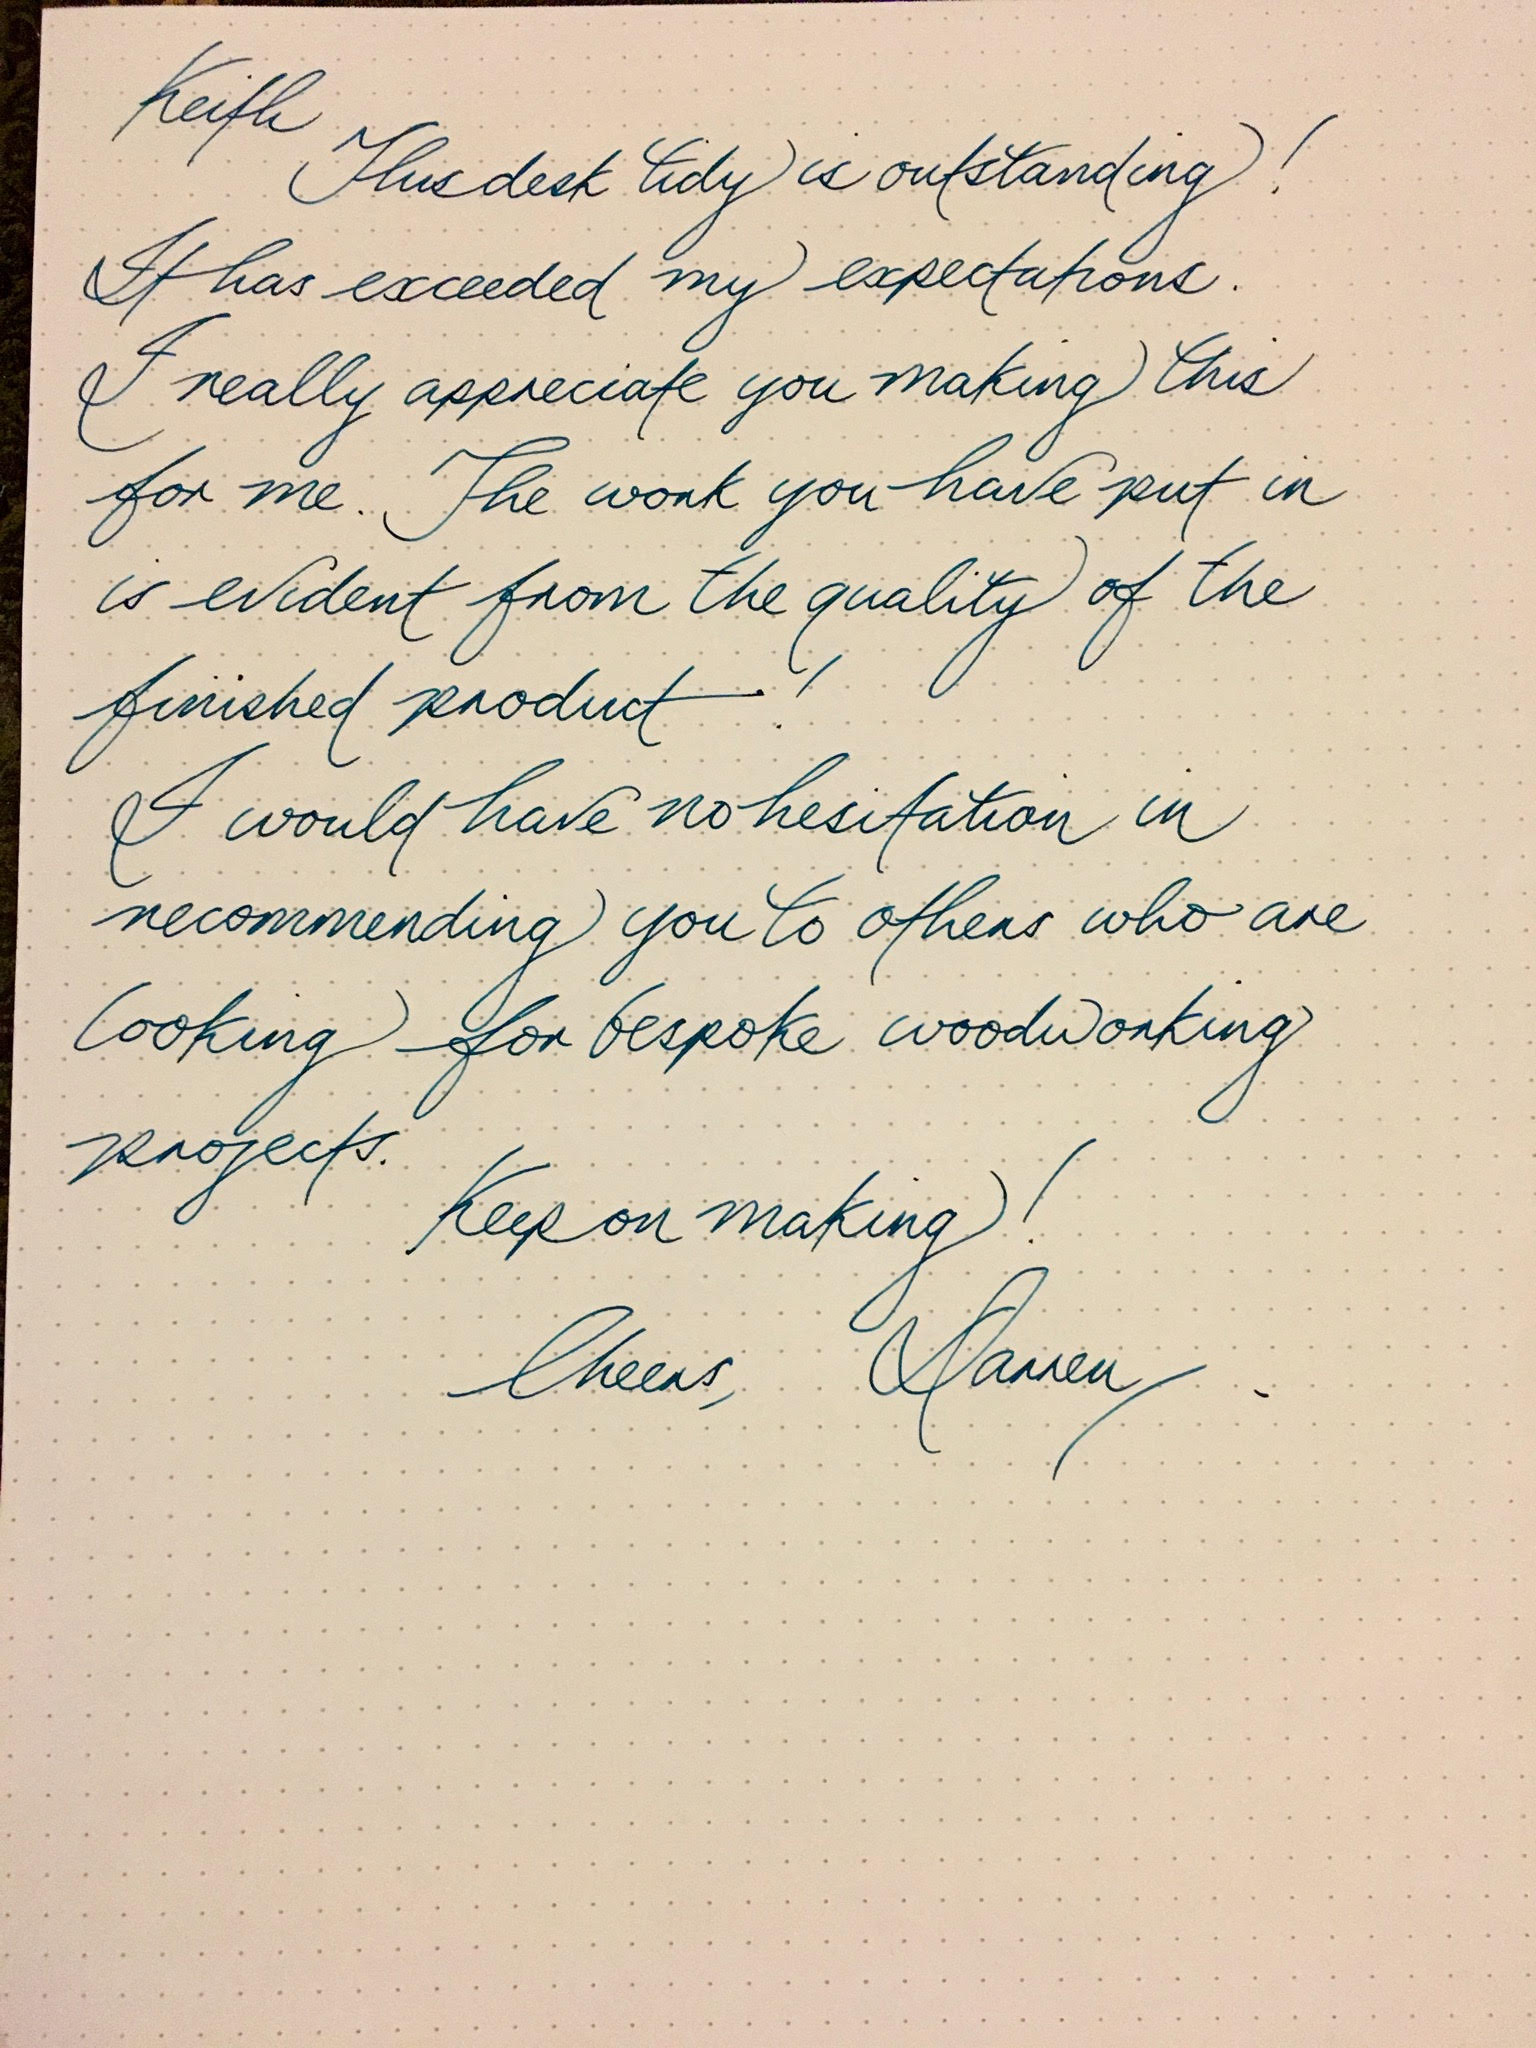
The client was happy with the design, and he sent me one of his ink bottles for reference to get the sizing right, and also this beautifully handwritten letter.
For materials I'd use these offcuts of mahogany left over from the wedding box build, and some pieces of 18mm spruce ply.
I started by cutting the plywood to roughly the size of the mahogany pieces - these pieces of ply will be stacked up and laminated together get the box to the required depth. I used the tablesaw for the rip cuts and the mitre saw for the cross cuts.
The pieces of mahogany would form the front and the back of the box. I cleaned up the faces with a handplane to get them nice and smooth.
And then I could glue up the pieces using wood glue and some bar clamps
I let that dry overnight and then I could remove the clamps
I scraped off as much of the glue as possible using a cabinet scraped and then cleaned up one face of the block with my hand plane. That gave me a flat surface to reference against my tablesaw fence so I could clean up the opposite side on the tablesaw. I did this in multiple passes, raising the blade each time. The blade didn't quite reach the centre, so I finished off flattening that part with the hand plane, checking with a ruler to make sure it was flat.
And then I cleaned up the front and back faces of the block and marked up the shape I wanted the box to be using a bevel guage to mark up a taper. I also rounded over the corners using a cap from a bottle.
So now I had the block prepared for the bandsaw box. And this is only the second bandsaw box I've ever attempted, the first one was a couple of years ago and that one didn't go so well. But since then I got a new bandsaw and I also learned a lot more about how to set them up correctly. I normally tend to use 12mm wide 3 or 4 tpi blade on my bandsaw as I find that's good for most bandsaw jobs. But as this bandsaw box was going to be quite small and with some quite tight curves to cut, I ordered a new narrower 6mm 3 tpi blade. I thought that would be narrow enough to cut the curves I wanted, but a low enough tpi to handle cutting through a block as big as this.
Last time I made a bandsaw box I got a lot of blade drift - and I've since learned that was due to me using a higher tpi blade - I'm not going to explain why in detail in this video, but I will include a link in the description box to an excellent video by Matthias Wandell which will explain that better than I ever could.
So after swapping out my 12mm 4 tpi blade for a 6mm 3 tpi blade, and setting up the guide bearings, I was then ready to start cutting out the shape of the box.
Here you can see that the low tpi blade doesn't leave a very clean cut, but the main thing was I didn't get any drift, so I was happy so far.
I used my handplane to refine the shape of the box, rounding over the corners to match the markings I'd made.
Next I did a rip cut on the bandsaw to create the back panel of the box.
And then I could mark up the shape of the drawer on to the front panel which I set in about 8mm from the edges
I started to make that cut on the bandsaw, and this is where I had a problem. I had planned to make two exit cuts, one on each side of the box which I could glue together later, but when I got here, I realised that the blade was not going to let me cut as tight a curve as I needed. So I ended up making an exit cut here.
Then I cut the rest of the shape out and fortunately this time I managed to cut the curve on the other side of the box without any issues..
So here's what I had now for the carcass: the left panel, the right and bottom panel as one piece, a top panel, the back panel. And the piece the block will later form the drawer.
Before working on the drawer I decided to put the carcass together just to make sure it would work out OK, as I was a bit worried that I might have ruined it at this point.
I cleaned up the bandsaw blade marks on the belt sander, and also flattened where the glue joints would be. THen I glued together the exit cut that wasn't meant to happen, I used tape and some clamps to hold it while the glue dried.
And once the glue had set I then glued on the top panel, and applied a couple of bricks to get a tight glue joint.
Next I started working on the drawer, first cleaning off the bandsaw blade marks.
Then I ripped the front and back panel of the drawer at the bandsaw.
And then after cleaning up the drawer front I then marked up the shape of the drawer.
And I cut that on the bandsaw, and this time the cuts went really well.
I sanded the inside of the drawer using my random orbit sander and also an electric file for the curves.
Then I glued on the front and back panel to form the drawer.
There were a few voids in the plywood pieces that made up the drawer, so I mixed up some epoxy and applied some masking tape to the inside of the drawer and then filled them on the outside of the drawer. The tape was there on the inside just to stop it possibly leaking through.
Then I did some sanding to clean up the carcass, and glued on the back panel. And more sanding,. I sanded up to 240 grit, first with power sanders through the lower grits and 240 grit by hand. I also eased over any sharp edges to make it more comfortable to touch.
I decided to make some feet for the box using some more mahogany. I cut some small pieces to the same size as the depth of the box, and then I used my hand plane to put a bevel on each side to give the legs a tapered look.
And the position of the legs also meant that the exit cut I made on the bandsaw earlier that wasn't meant to be there would be hidden - which was a nice bonus
I fired in a couple of brad nails to secure the legs, making sure to choose a nail size that wouldn't break through to the inside of the box.
And I also stamped on my makers mark to the bottom.
I wanted the drawer front to be flush with the front of the carcass, so I used a combination of a handplane with the grain of the wood, and a chisel to clean up the cross grain at the sides of the box until it was flush.
Next I started working on the top part of the box and again I used some offcuts of mahogany. I first squared up the edges at the table saw and mitresaw, and then used a hand plane to clean up the faces. First I made the trays for the ink bottles to sit in.
The bottles measured just over 55mm wide, I marked up a centre point and then working from that centre point outwardse I marked up the space for three of the ink bottles
The plan here was to cut out the waste where the bottles would be, and then re-assemble it with wood glue so that the wood grain matches nicely.
So ripped the first piece. Then I realised I hadn't accounted for the kerf of the blade so I needed to extend the markings I'd made by about 3mm and then I cut the centre piece.
And I tested the width of that centre piece and the measurement was 56mm which was perfect.
So then I could cut out the tray dividers using my cross cut sled.
And after cutting another horizontal piece, I could then reassemble it using wood glue and masking tape.
Then I cleaned it up on the belt sander.
I applied glue and positioned it where I wanted it.
Next I'd make the pen tray, and this would be assembled with mitre joints. I first ripped three thin strips of mahogany at the table saw and 1 45 degree on one end of each piece.
Then I offered up what would be the front piece to the ink tray to mark it up at the same length and then cut it to length and I checked that was ok.
Then I measured the depth they needed to be, marked them up and cut them to length
And then I could glue the pieces in place. I used a scrap of plywood to distribute the weight from my brick. Then I cleaned up the joints
with my block plane. I also rounded over the front pieces of both the pen and the ink trays.
After blowing away the dust, I then applied some boiled linseed oil. I tried not to get the oil on the bottom of the inside of the trays as this is where the felt would be glued later and I wasn't sure it would stick so well to oiled wood.
I got some of this red felt and cut it with a knife to fit inside the trays.
I used epoxy to glue the felt in place.
And I used a block of wood to push it down and then applied some weight.
For the ink trays I could use the offcuts from when I cut the pieces for the ink trays to clamp down the felt.
Finally I applied some clear Briwax to the drawer - I thought this might help it slide better and it did seem to help, but I later added a bit of candle wax and that worked even better.
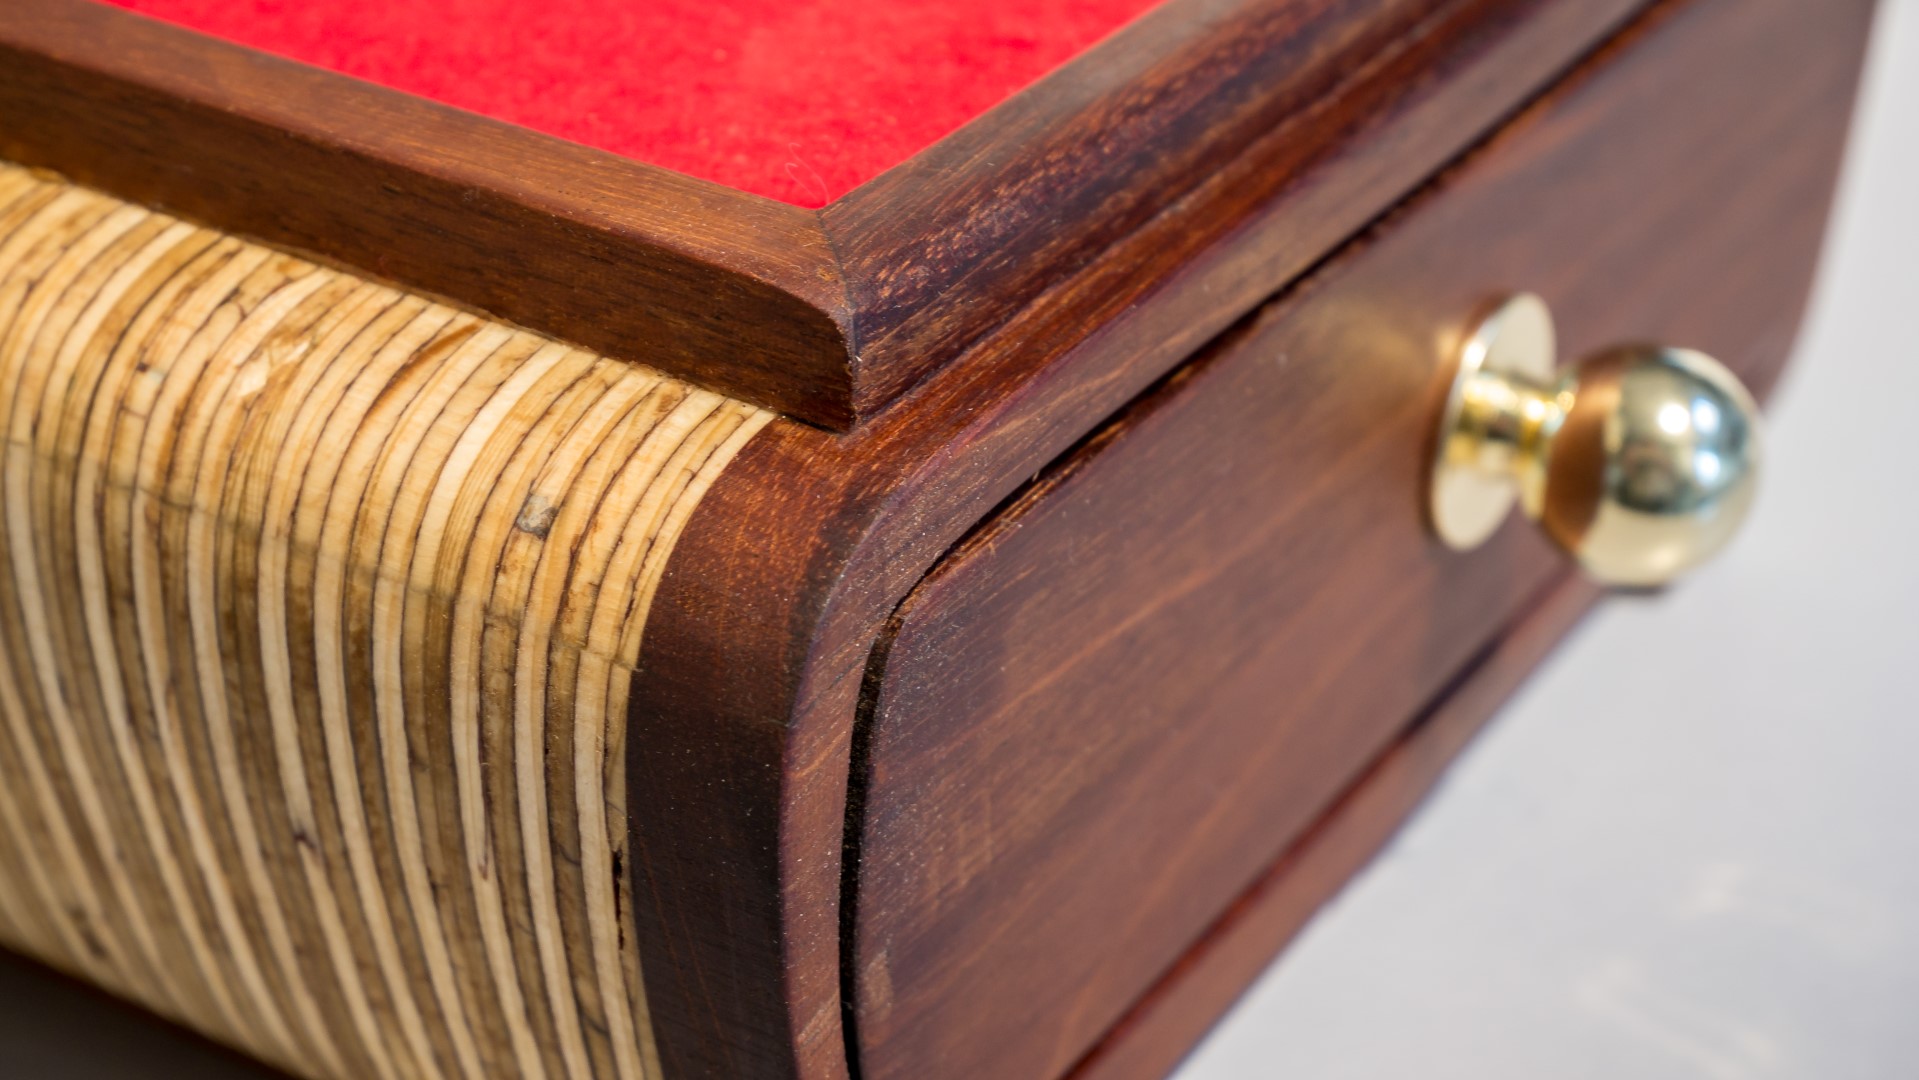
I wanted to find a small brass handle, and this was the smallest I could find at 20mm. I found this in a shop called WIlkinsons in the UK.
The bolt was a little long, so I cut it down to length with a hacksaw.
Then I marked up a centre point, drilled a hole and fitted the handle.
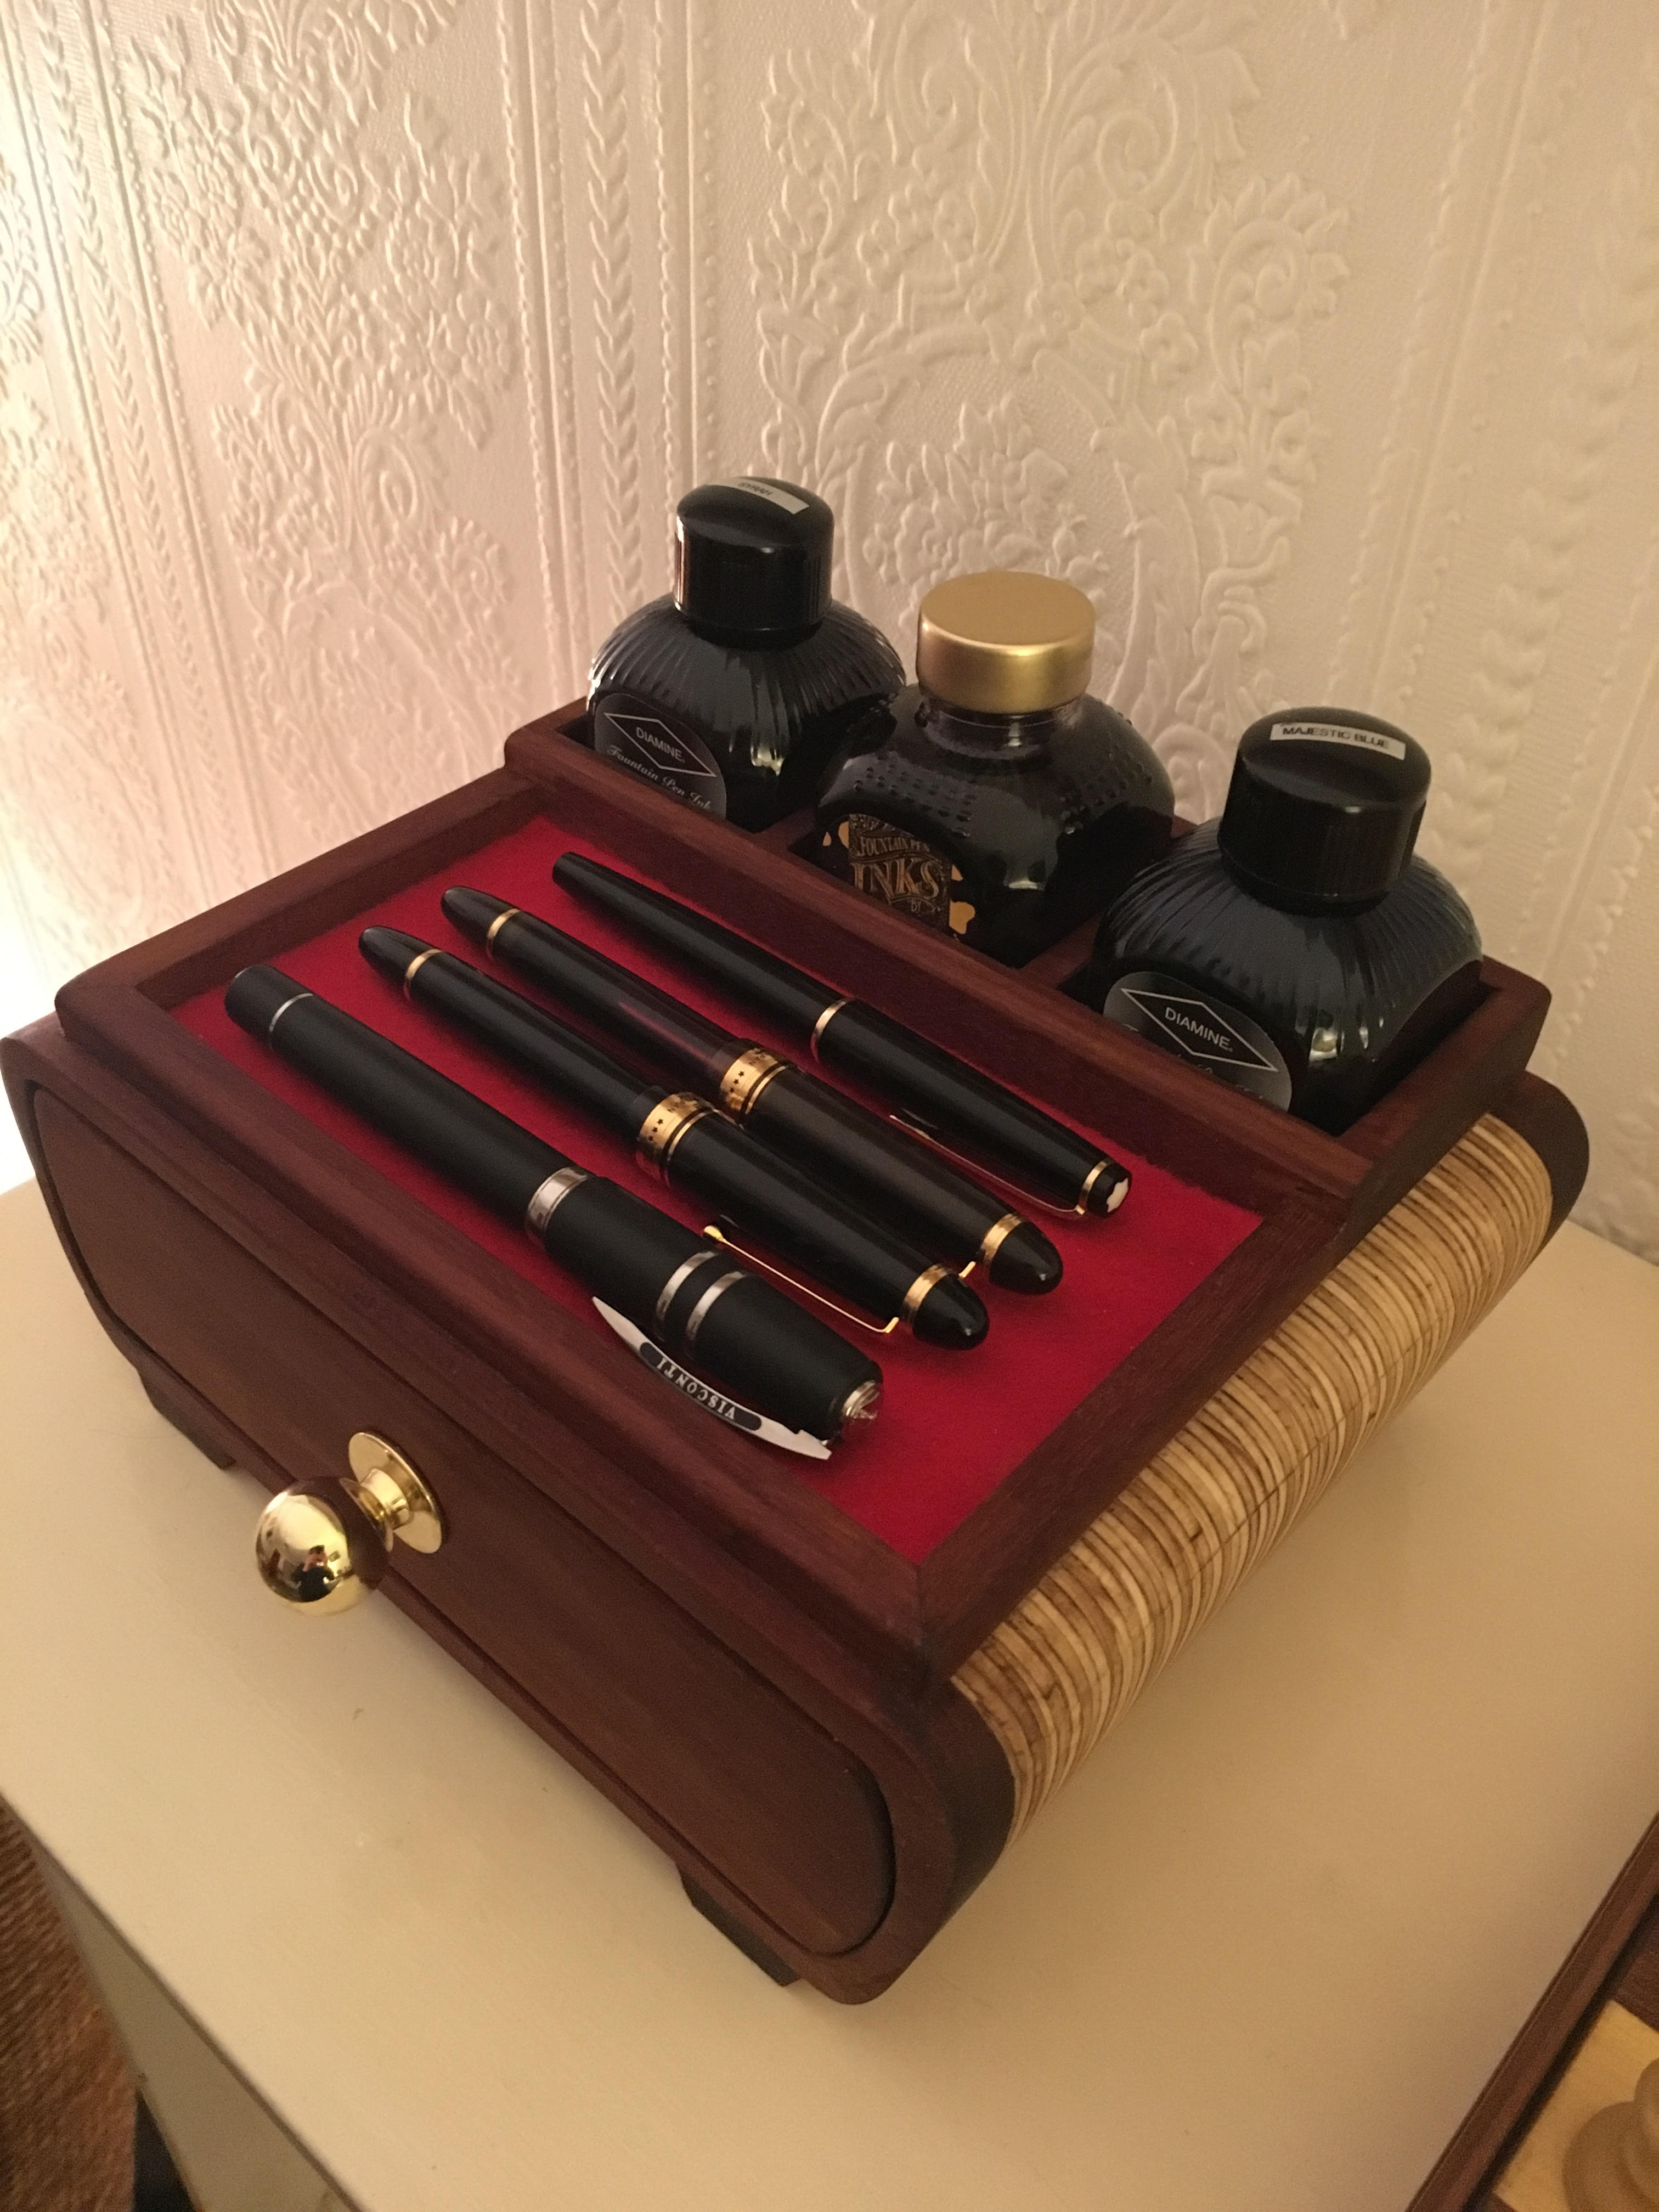
After a final buffing of the wax, I could package up the box and send it to the client.
Images: