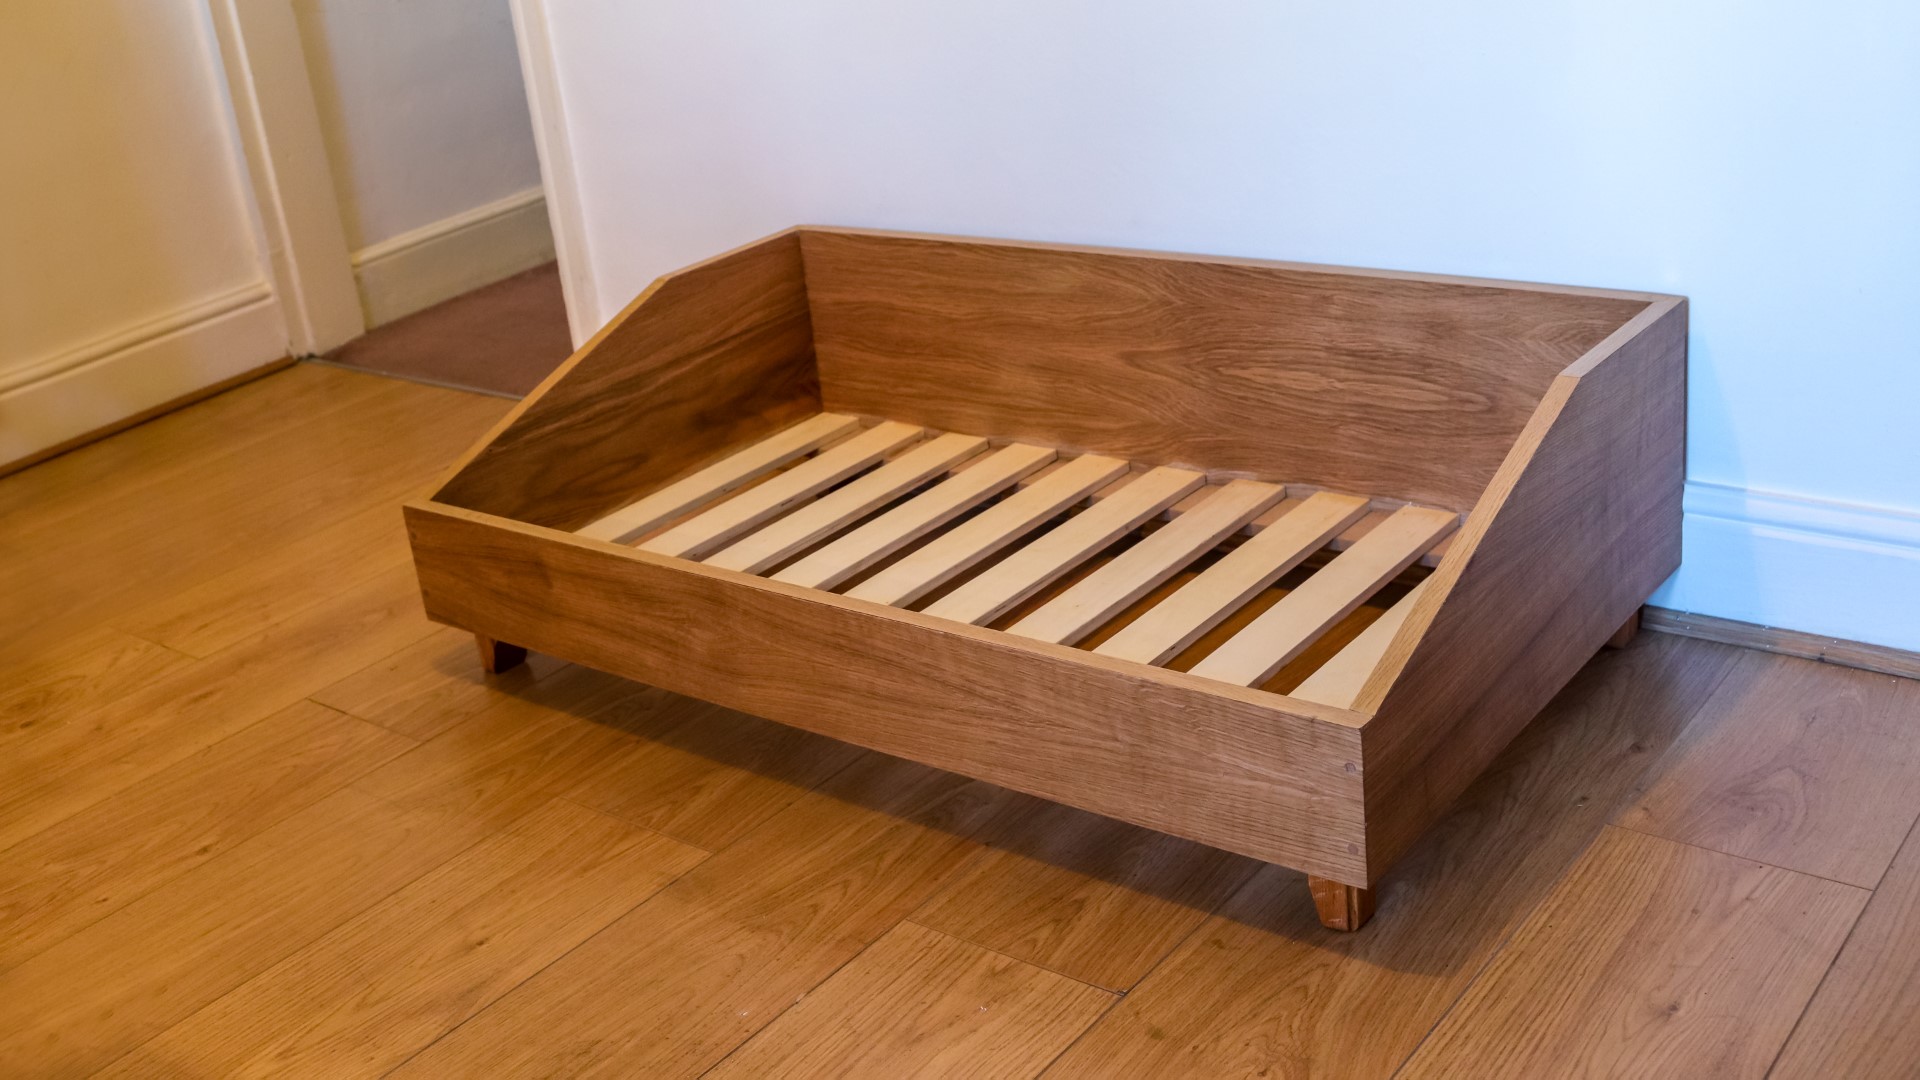
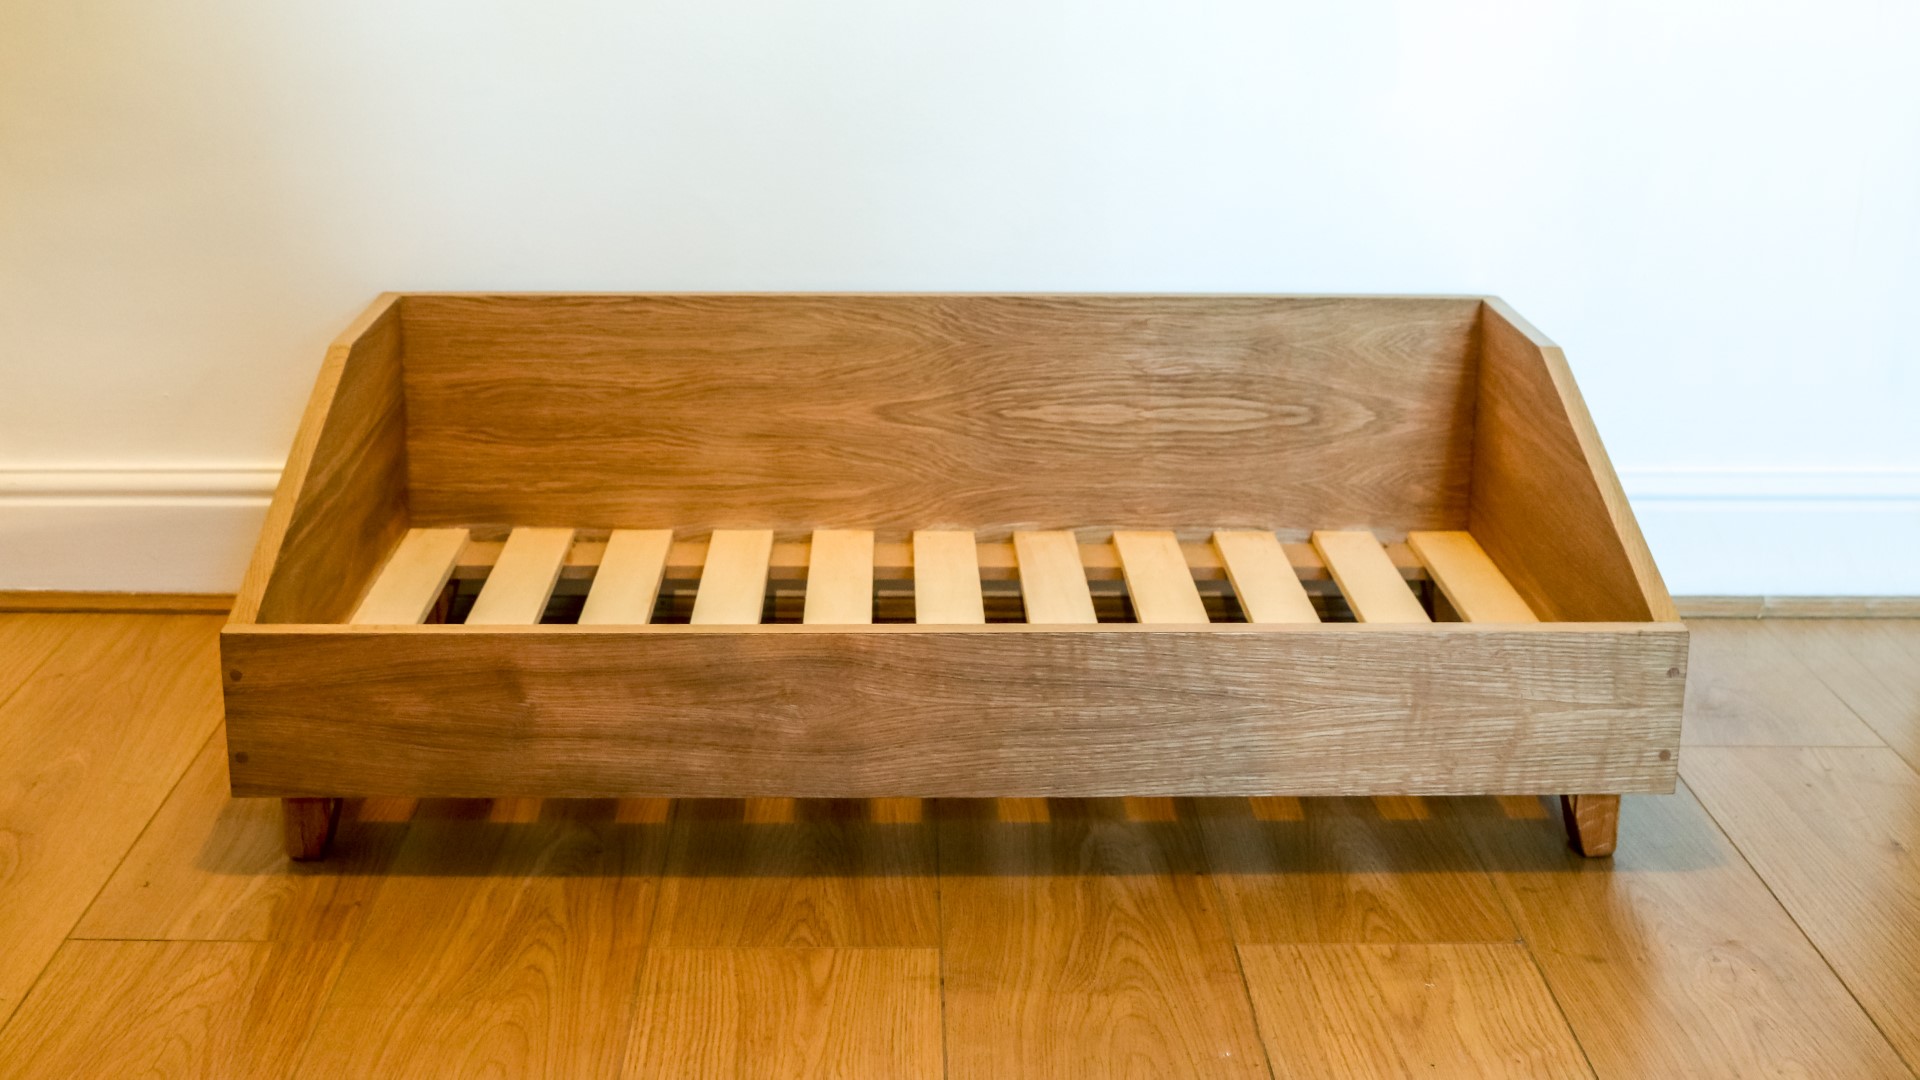
In this video I'm going to be making a large dog bed as a commission for a client.
It's going to be based on a design I've made previously on my channel, but with a number of improvements.
For this build I'd use some oak veneered MDF, I had this piece left over from a previous commission, but it had a few dirty bits from where it had had things spilt on it last time it was in the workshop, but I worked out that I had just enough material to work with providing I didn't make any mistakes
I made the cross cuts with my circular saw with a straight edge guiding the cuts
And then I made the rip cuts at the tablesaw
I then swapped out my insert, set my blade to 45 degrees and I'd use my panel cutting sled to cut the ends to form mitre joints.
I sanded what would be the inside face of all the panels - it was easier to do this before it was assembled.
I also used my card scraper to clean up any marks or imperfections on the panels.
Here I'm marking up the shape for the side panels, I marked the height of the front panel on to one of the side panels by offering it up, and then I set my combination square to the thickness of the material, made a mark from what would be the front of the side panel, then marked up for an angled cut to give the bed it's shape.
Then using a square I marked up where the side panel mitre joint would meet the front panel.
I didn't really like the way that looked so I ended up making a second line a little bit further toward the front.Then I placed the two side panels together making sure that the mitred corners were facing inwards towards each other, and I made sure they were perfectly flush before adding some tape to secure them together.
I could then cut the shape on the bandsaw, with a consistent cut to each panel.
One of the problems I had last time I built some similar dog beds was glue squeeze out internally, and as this is veneered MDF I didn't want to risk sanding through the veneer when trying to cut through the glue, so this time I added some masking tape to keep things clean. I did that on the outside of each joint too.
I could then start applying glue and assembling the beds using some ratchet straps to pull the joints tight.
Another problem I had last time was that the ratchet straps caused some indentations on the corners of the beds, so this time, I used these corner brackets that came with the ratchet straps, they just hook on to the straps and these would protect the edges from being crushed. These are fiddly and awkward to get positioned correctly but it made sense to spend the time to get it right.
I used a speed square to make sure the joints were square and they looked good, however after tightening the straps some more, I found that it had skewed slightly.
So to force the corners back in to square I clamped on some of these clamping squares. Peter Millard has a great video about how to make these, that's where I got the idea from - and I'll link to that in the description box.
The client wanted oak trim and feet to match the panels of the bed, so while I was waiting for the glue to dry, I started looking through the oak I had, and I thought I had the perfect piece at the bottom of the shelf that I could just rip in to strips to use as edge banding. But after measuring the thickness of the panels at 19mm I found that it wasn't quite thick enough by 1mm.
Then I remembered that a long time ago someone gave me some oak edge banding, and so I went looking for that - I found it underneath my tablesaw.
And this measured 19mm which was perfect, but I've always had reservations about iron on edge banding - I guess I had a fear of it becoming unstuck and not as robust as a real strip of hardwood which is what I usually use to trim edges. But I thought I should at least try it out so I put some on to a scrap piece of the same MDF, and I was really surprised at how well it bonded. So that gave me the confidence to use it.
I got on with as much as I could while the bed was clamped up, like flushing up the top of the mitre joints with a chisel. And a block plane.
And I could mark up and add a few of the dowels that would be used to help re-enforce the mitre joints. I drilled 8mm holes and then glued in some 8mm dowel.
Once the glue had had a couple of hours to set I removed the clamps. At this point the glue wouldn't be fully cured but strong enough to allow me to hold on it's own so I could remove the clamps and carry on working
Peeling off the tape was a bit tricky, but it definitely beats cleaning off glue so I'm glad I used it.
I cleaned up the ends of the dowels with a chisel.
The back of the bed got three dowels on each side and the front got two on each side
The next improvement for the bed was to make a lightweight base for it. The previous dog beds had solid MDF panels and those made the dog beds really heavy, which meant moving them around was difficult and when they sold on my Etsy store, sending them via a courier was expensive.
First I marked up where I wanted to route a rebate to the inside bottom edges at the front and back of the bed.
I clamped on a piece of wood along the long edge to give the base of the router more surface area to rest on.
I then squared up the corners of the rebate with a chisel.
I took some internal measurements and then cut some 12mm MDF to size.
I cold then glue them in place, firing in some brad nails to hold everything in place before re-enforcing with some screws.
I'm holding the drill at an angle here because I want the screws to go through the MDF and in to the side panels. These MDF strips would support some bed slats that I'll be adding later.
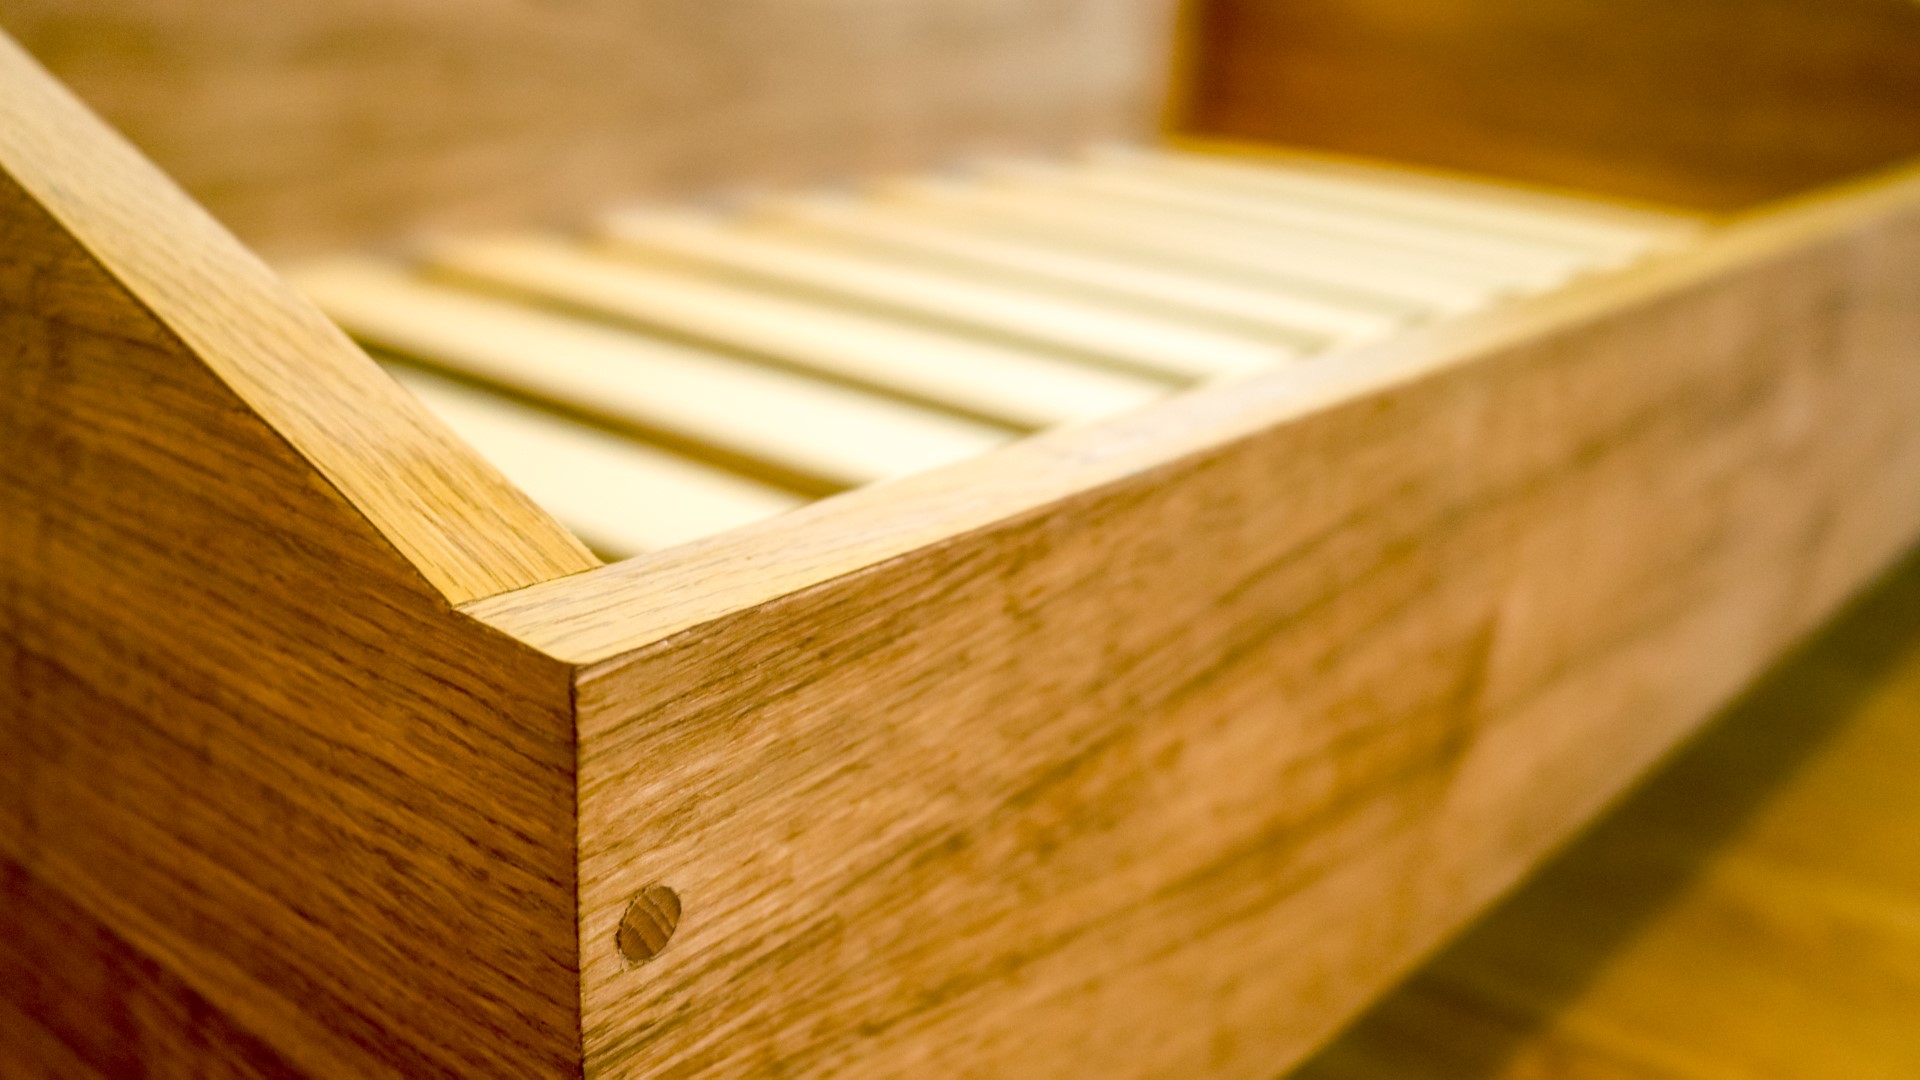
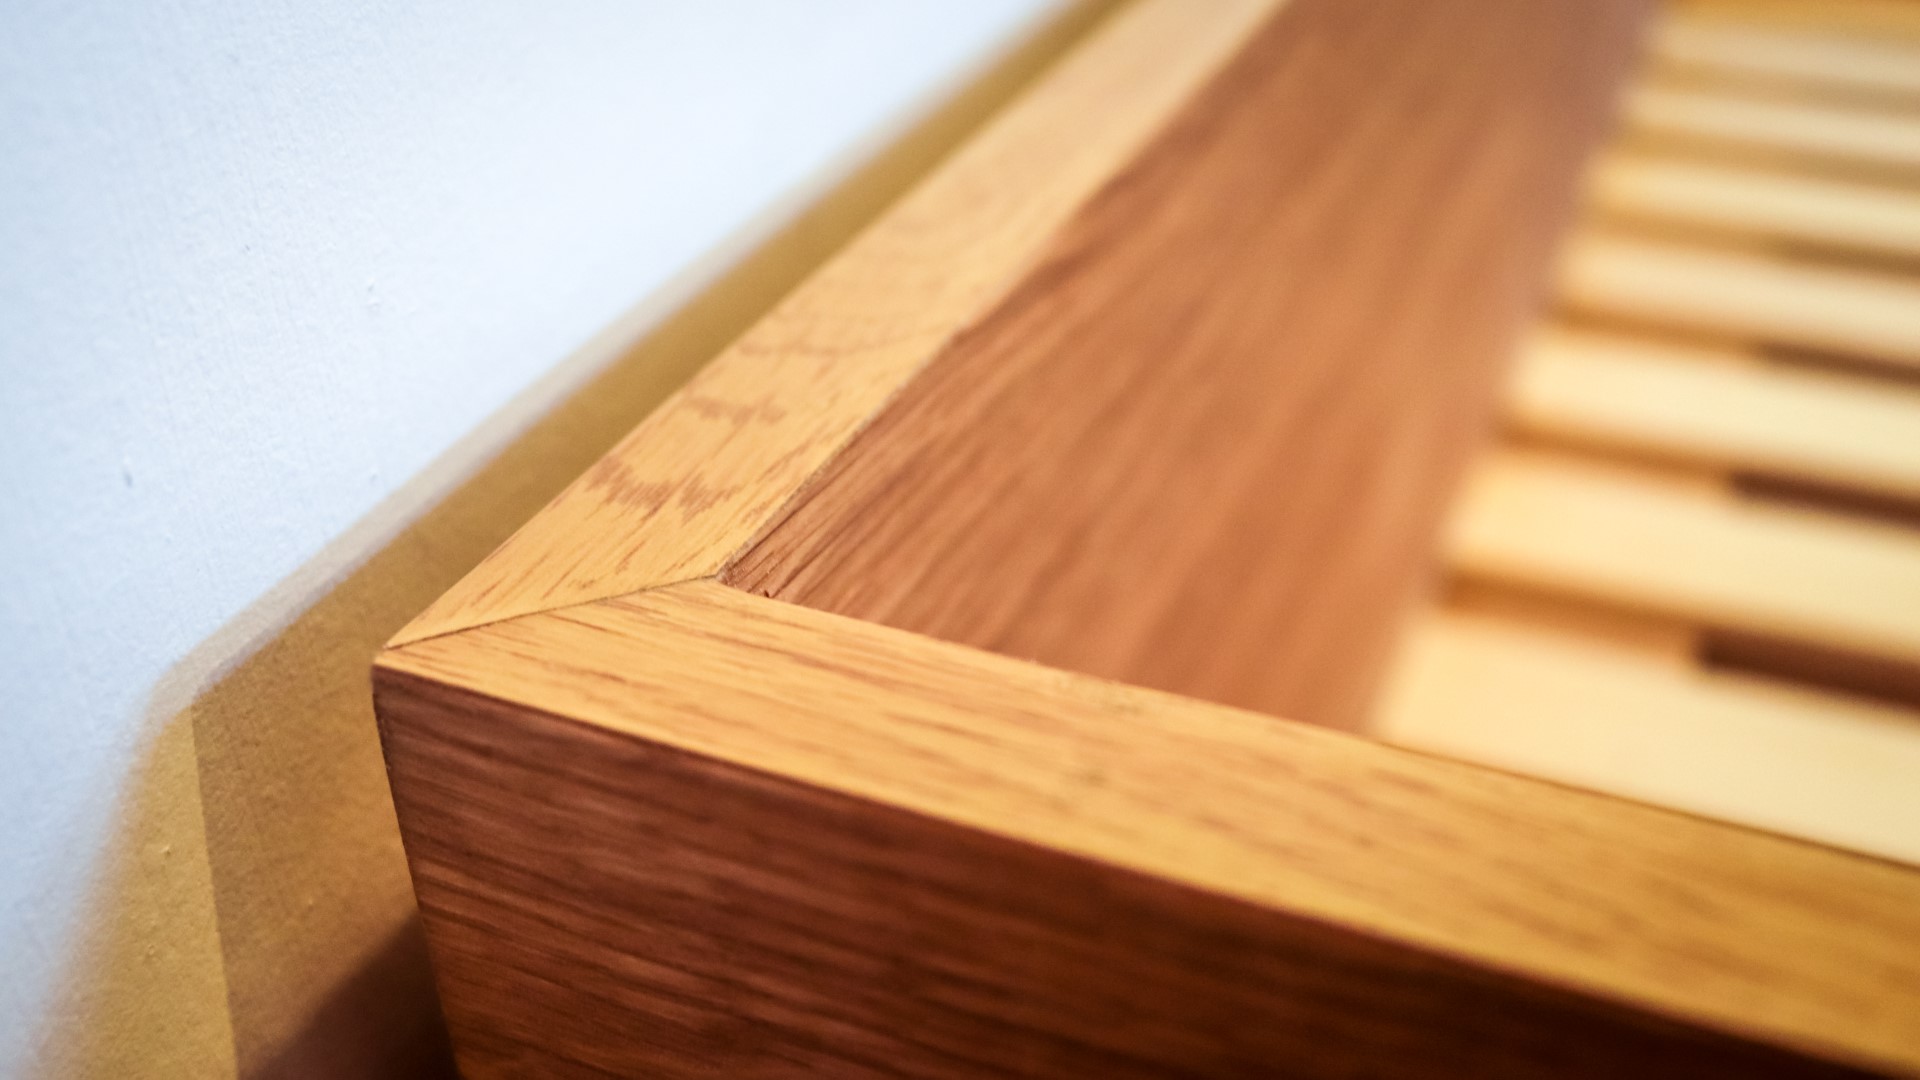
Next I started applying the edge banding
The piece at the front was just one straight piece running the length of the bed and that went on fine.
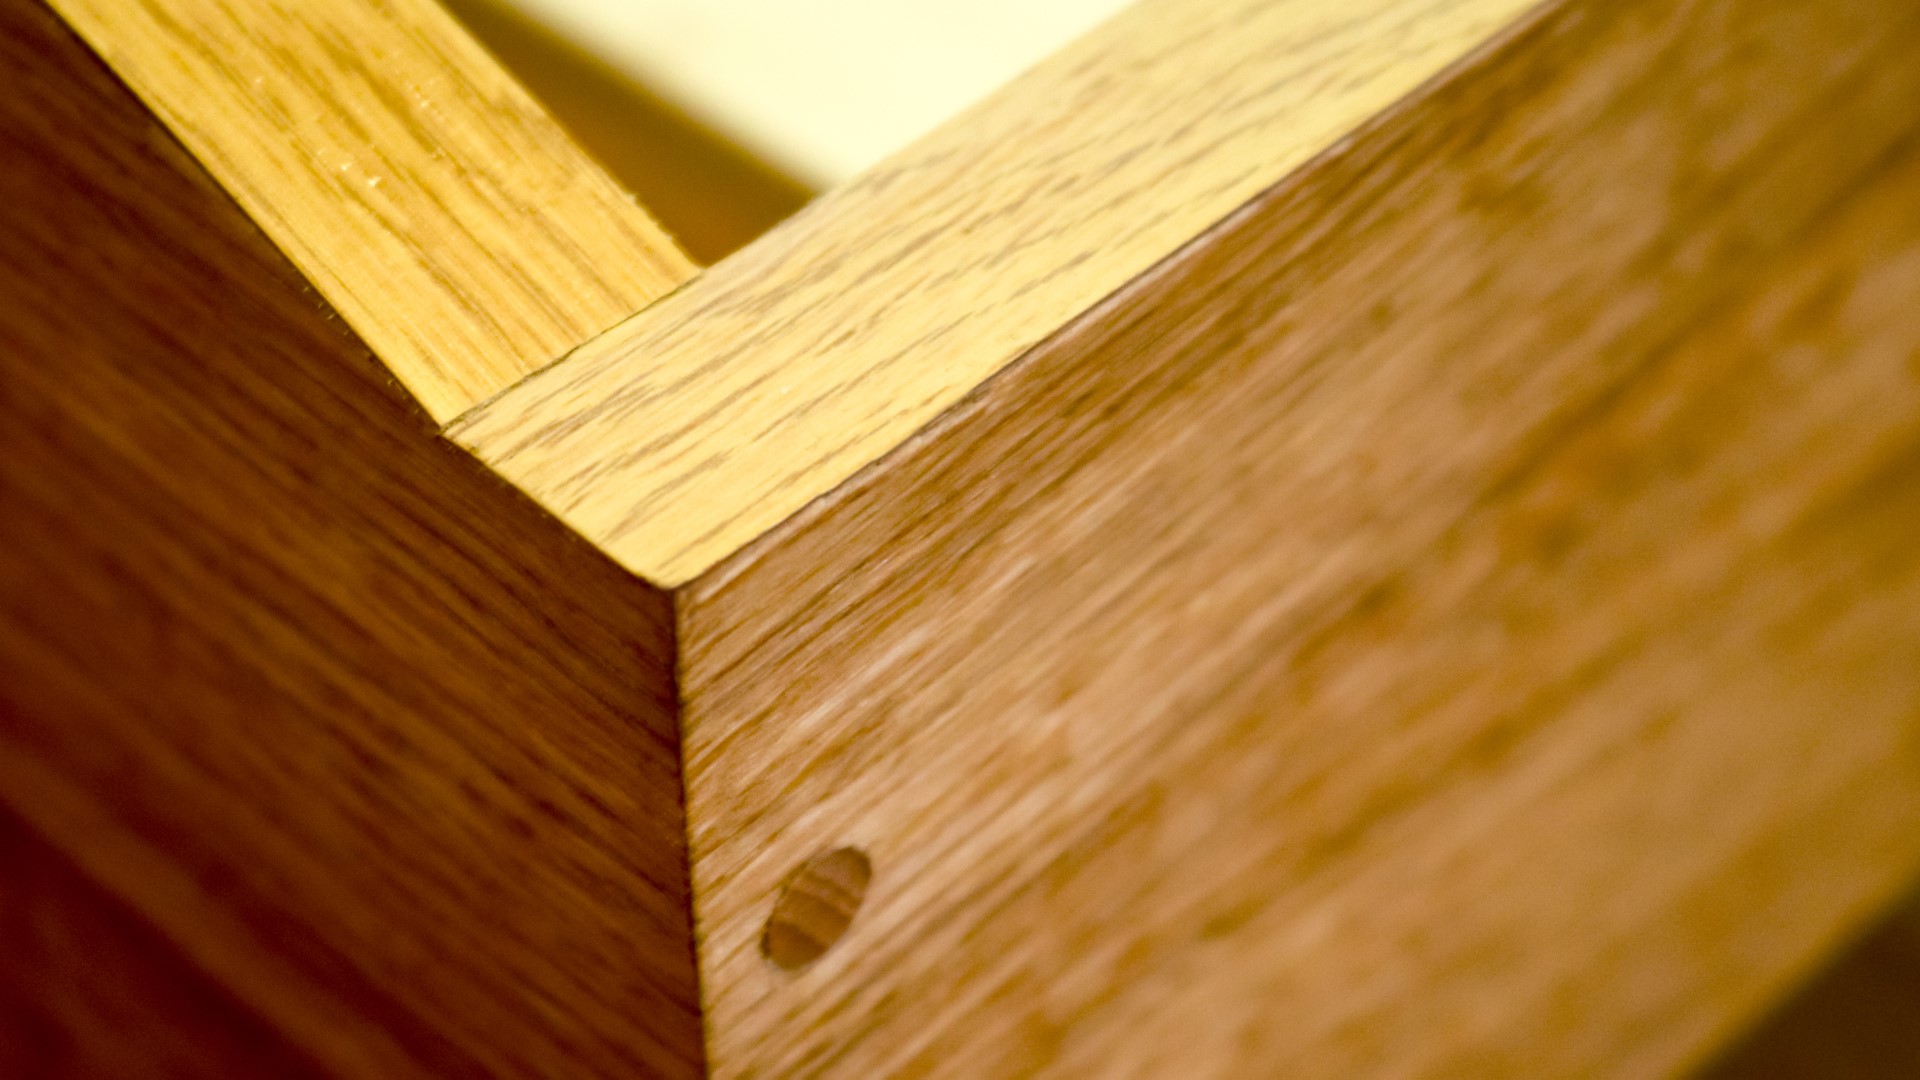
And for the side and back panels I cut mitre joints at the corners using a chisel
I wasn't sure if I would be able to get the edge banding to bend to the angle here, but it actually worked just fine.
I used a block of plywood just to really push it down firmly. I sanded all the edges and the edge banding blended in fantastically well with the oak MDF, so I thought I was done with the edge banding, but later in the video you'll see it came back to haunt me.
Here I'm measuring up for the bed slats, and for this I'd use some slats which I salvaged from a cot that I found dumped in a supermarket car park. I knew they'd come in handy at some point.
I cut them to length until it looked like i had enough.
And with this sort of job where I want to space things out nice and evenly, I always tend to start from the centre outwards, I find it saves me having to do lots of maths to work out how to space things.
So I glued and nailed a centre slat, and then I used a few slat offcuts as spacers between each one while adding the rest, and it worked out to be just about perfect, more by luck than judgement. But I knew that if I ran out of space, I could always rip the last slats down to be less wide - but no need this time.
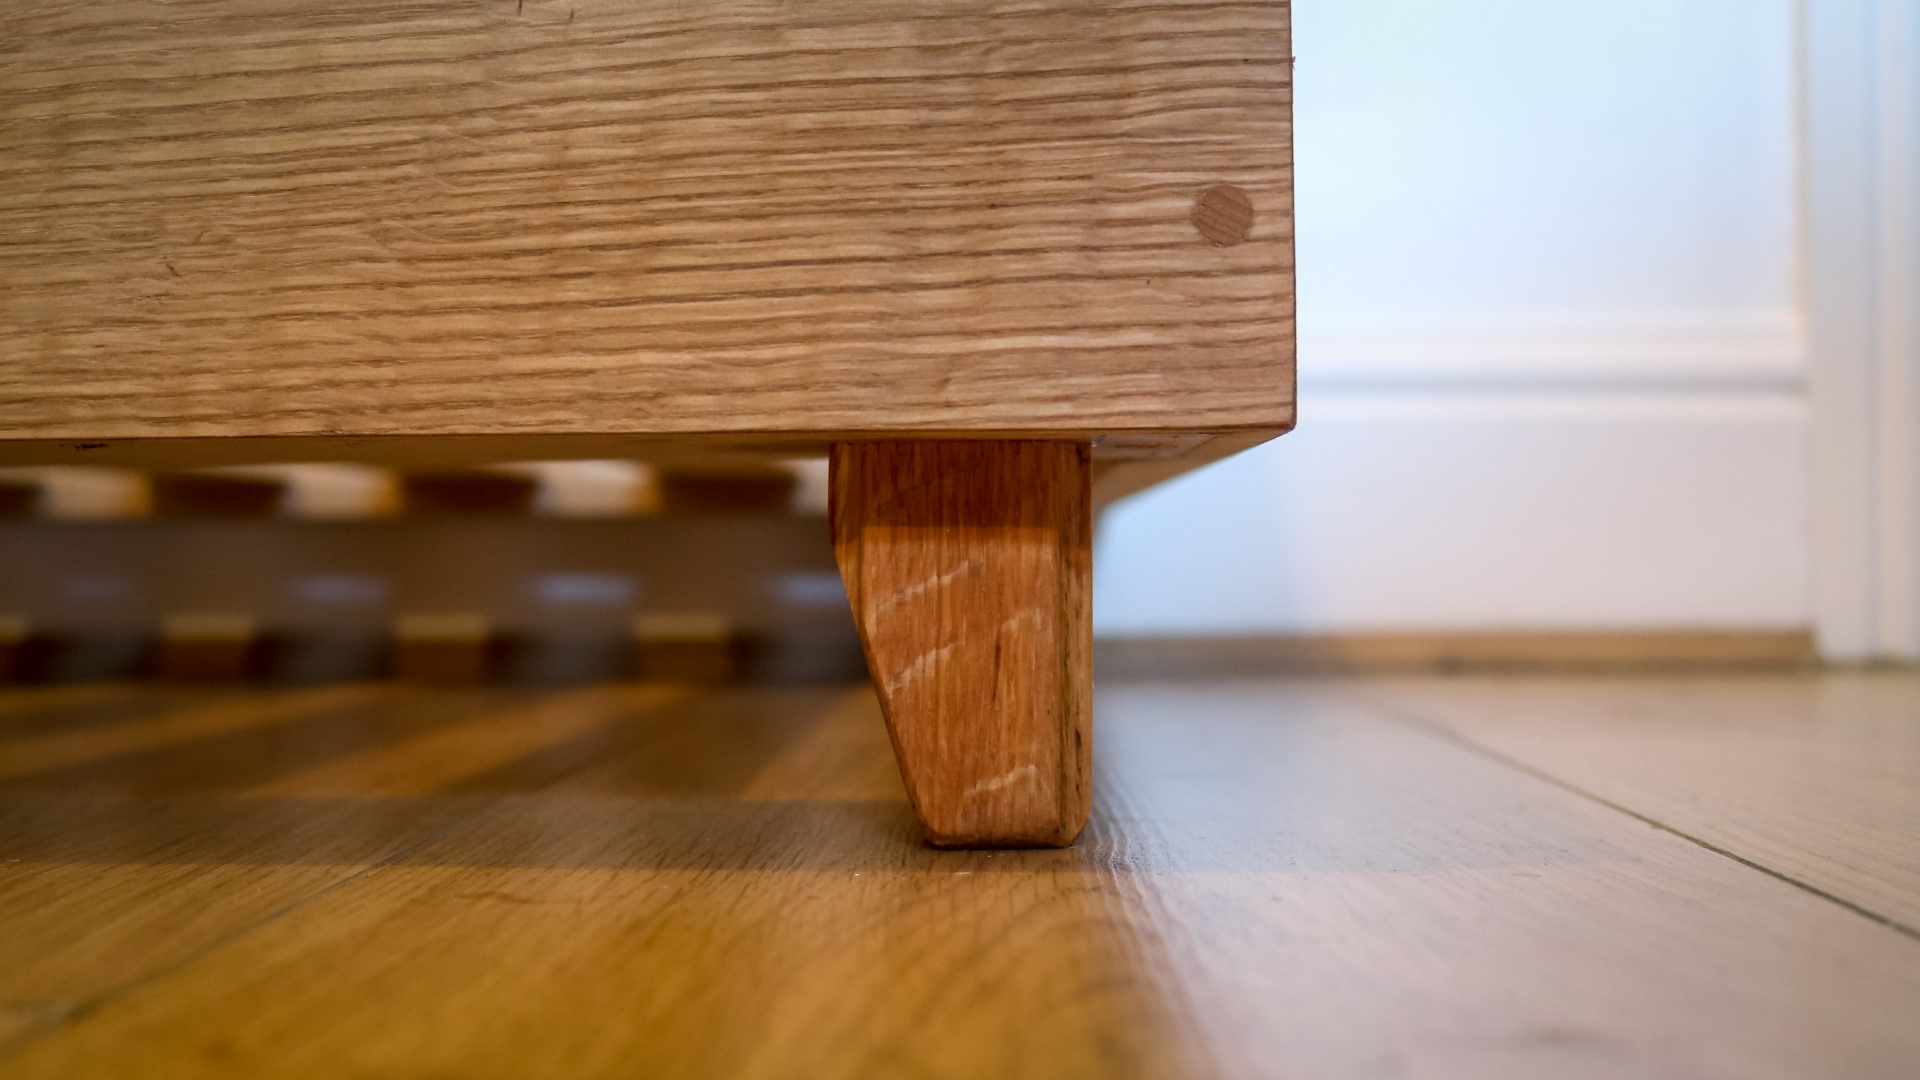
The last thing I needed to make was the legs of the bed, and I found an offcut of oak. Some of my long term viewers will recognise this stuff - so a shoutout to the #hatandcoatstandcrew
These legs would need to be quite short because the client had a specific height in mind for her dogs to be able to get in to the bed.
Then I marked up a taper for the legs, and I cut that out at the bandsaw.
I did some final sanding at the belt sander to shape them. Usually I would have removed the fluted edges but for these legs I thought that they'd look interesting with it retained.
After marking up where I wanted the legs to be positioned I added some epoxy and glued and clamped them in place for 15 minutes or so and then when i was confident that the glue would hold well, I tipped the bed over and added a screw in to each leg to secure them.
After doing some final sanding just to break over any sharp edges I applied a couple of coats of mineral oil, and I sanded lightly with 400 grit paper in between coats to keep things smooth.
I added my makers mark to the bottom of the beds, and all that was left to do was to wait for the cushions to arrive - the client wanted two of them with the bed, and the cushions were full of air so there was only one way to get rid of that. These cushions would get packaged up with the bed and I'd get it all sent in one package. I'm going to be releasing another video to follow this one which is all about packaging things up and sending them. Sounds boring doesn't it? Well, maybe, but I've been doing it a while and I think I have some good tips to share, plus I see a lot of questions about how to send handmade items in woodworking groups and forums - so hopefully it'll be useful to some of you!
This dog bed took between 10 and 11 hours to build. I'm really pleased with how it turned out, and for me this project was all about refining a previous design to make it as good as possible, and I think this one was a success, it came out much nicer than the original ones. Usually I just make one thing and never make anything quite like it ever again, which means I don't often get the chance to hone in on something like I did with this, so that was cool. I really hope the client will be happy with it, and ofcourse the dogs too.
Images: