In part 1 I did all the cutting and assembly for the main carcass of the unit and in this video I need to build the leg assembly, add the back panel, apply finish and then deliver the unit at my brother's house
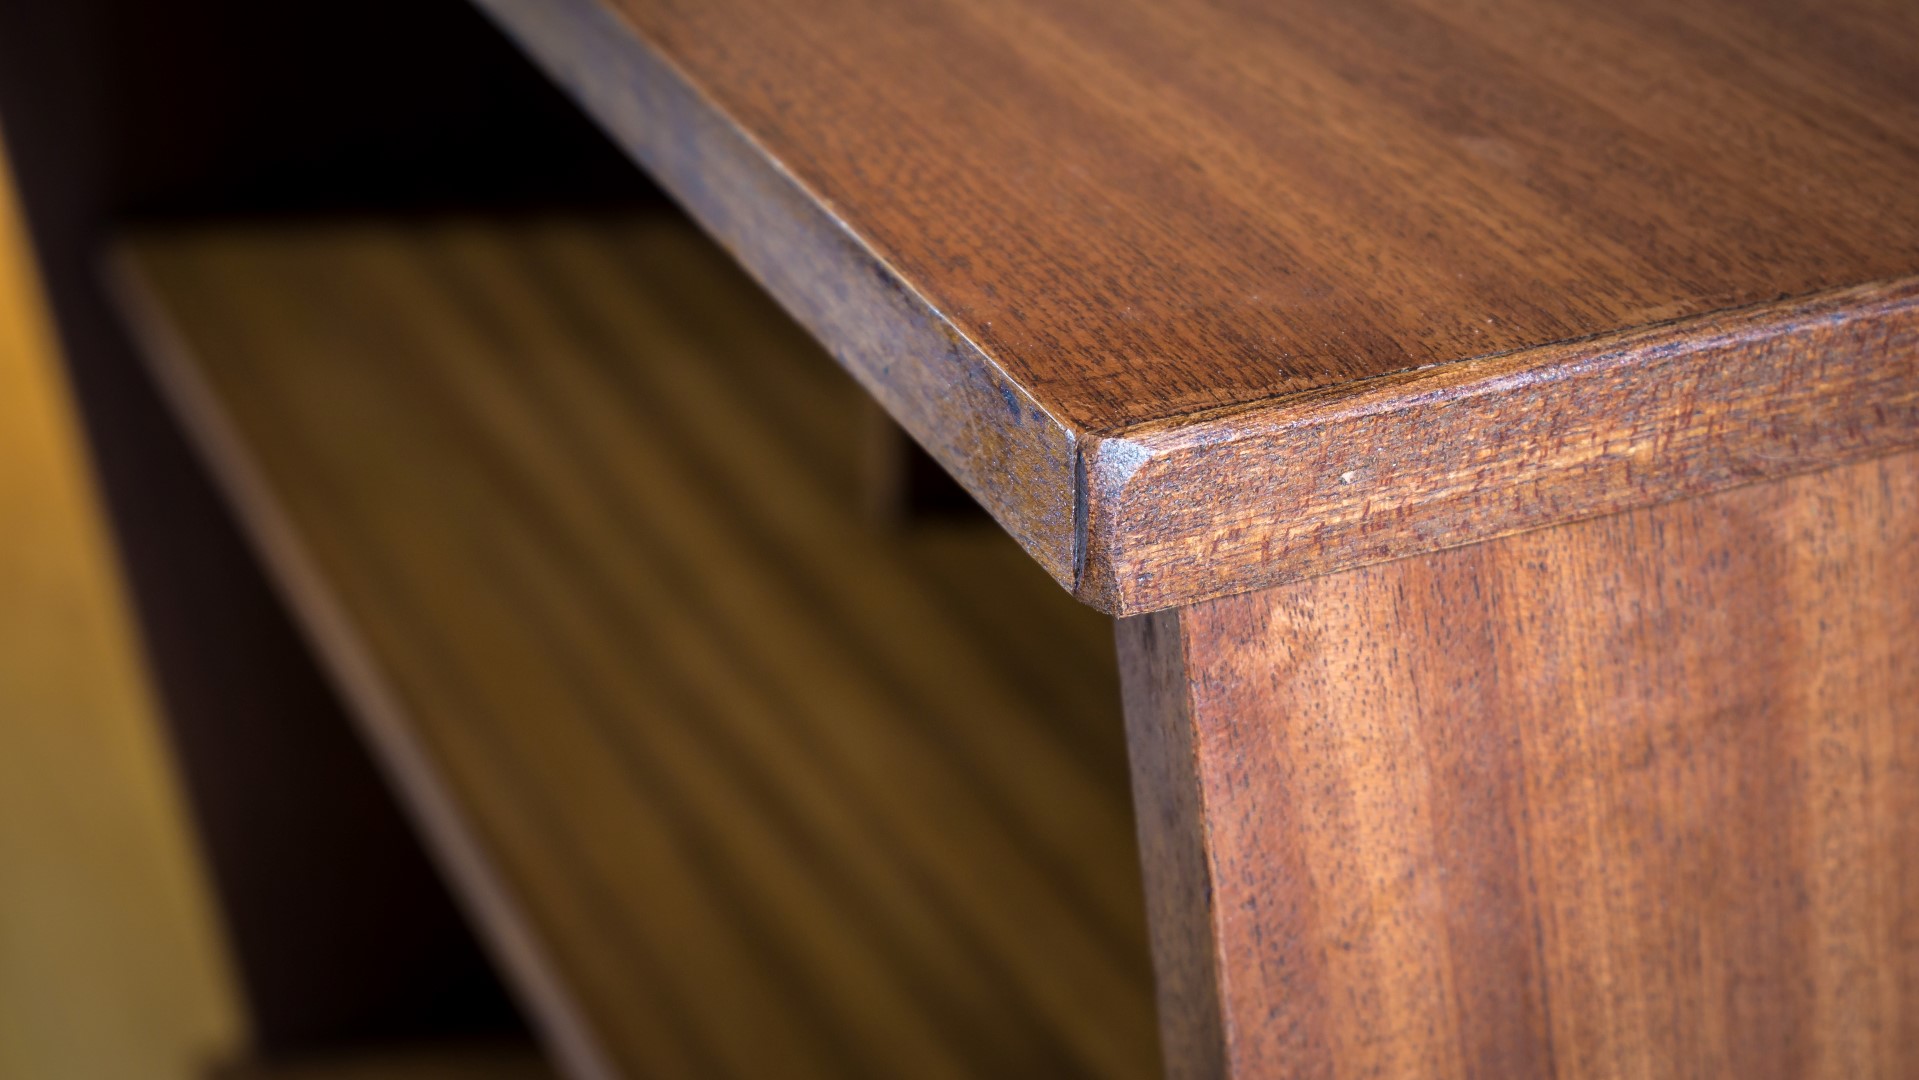
First I found some wood that looked to be a good match for the veneer on the chipboard panels that I could use to trim the chipboard edges. I used my thickness planer to plane it down to 15mm in thickness which is the same thickness as the panels. Then I set up a sacrificial fence at the front of the tablesaw using a scrap of pine and some hot glue. Doing this enabled me to move the tablesaw fence in between cuts up to the block and cut some consistently sized thin strips of material in a much safer way that cutting thin strips against the actual fence.
I added wood glue and used some pin nails to secure the trim and hide the chipboard edges and then cut the trim pieces to length.
I then sanded the trim pieces flush and eased over the sharp edges using my random orbit sander and sanded the rest of the unit too.
Next I'd make a back panel. I used a rebate bit in my router to cut a channel raound the back edges of the panels and finished off the cuts to the central dividers with my multitool and a chisel to square up the round corners. This created a recess at the back of the unit for the back panel to sit in.
I'd used a 3mm thin piece of plywood for the back. The piece I had was salvaged and a random shape so I first needed to mark up a square and straight edge which I the cut on using my circular saw before measuring and marking up the panel to the size I needed and making the rest of the cuts.
When I first offered up the panel it was slightly too big in one corner so I made some refinements with my block plane and then it fitted quite nicely.
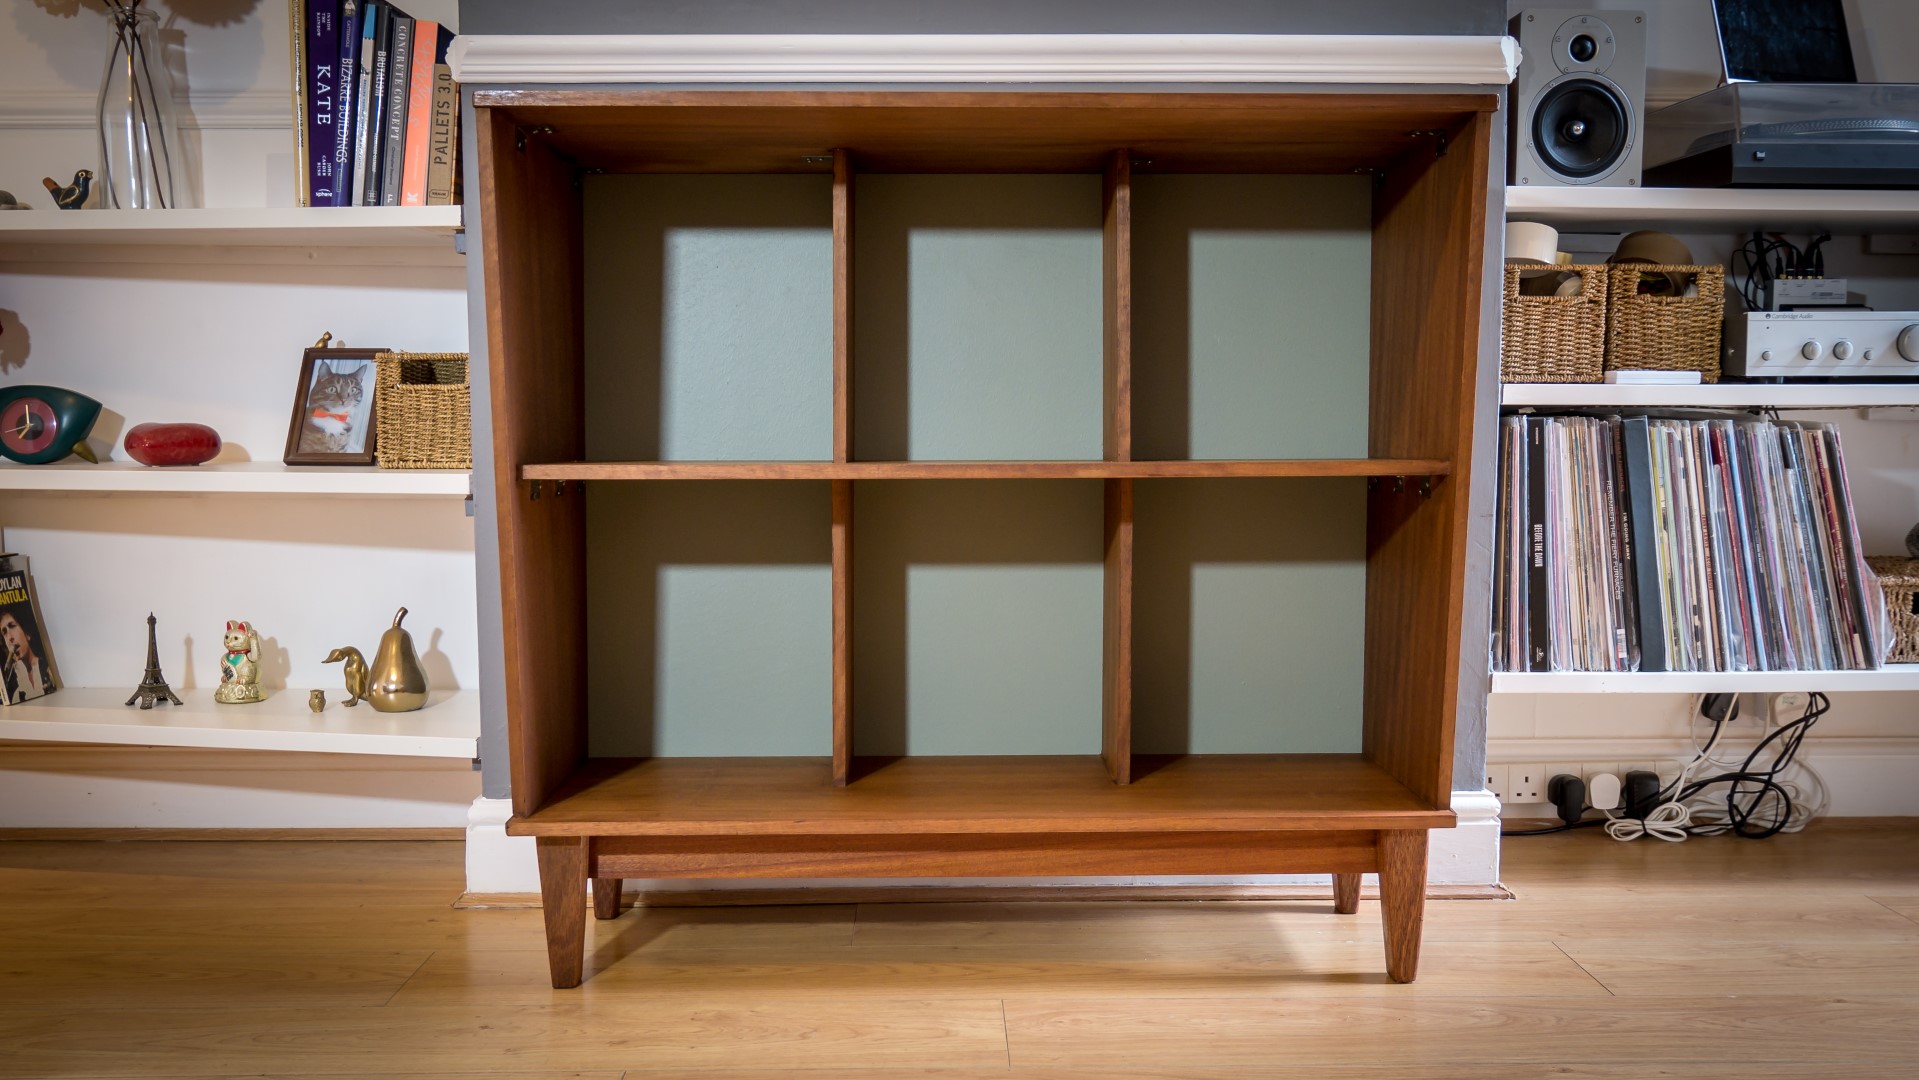
The back panel would be painted green to match the colour of the wallpaper in my brother's living room. As usual I like to make use of what I have in the shed rather than buying things, and I had some paint in a green colour called Sea Moss. It had quite a blue-ish colour tone so I added some magnolia which I also had in my shed to it to give it a warmer and lighter colour.
I applied the paint with a mini roller.
I sent a photo to my brother and he asked for it be less vivid and have of an olive green tone so then I mixed in some brown paint that I also had It would have been much better to mix this while the paint was in the glass jar rather than the mixing tray but I just mixed it up as best I could in the tray and it turned out ok.
In order to choose a finish for the unit I first did some tests on an offcut. I tested some shellac sanding sealer, boiled linseed oil, then Rustic Pine Briwax and Clear Briwax. The Rustic Pine Briwax looked most like the colour I would associate with mid century furniture as it had a brown almost teak colour so that's what I'd use, but before applying the wax I first applied some spray varnish to the unit to give it an extra layer of protection. This brings out the grain really nicely.
After applying the first coat I sprayed on a bit of water and then wet sanded at 400 grit just to de-nib the finish and keep things smooth and then applied a second coat of spray varnish.
And then I could apply the Rustic Pine Briwax which would add a brown colour tone, another layer of protection, and also a nice subtle sheen.
I left it over night and then used a buffing pad in my drill to buff out the wax finish and it looked and felt really nice.
Next I needed to add the back panel and I first made some refernce marks where the section dividers were I connected the marks with a line using a straight edge and I could then use those lines as a reference for where to fire the brad nails.
With the nails added I was quite nervous to turn over the unit just to check to see if there were any blow outs from the nails - as that could have completely ruined this project especially because the veneer on the chipboard woud have torn out and it would have made for a really difficult repair but fortunately there wren't any which was a relief!
Because the plywood back was so thin at 3mm I was a also a it worried that the nails would fire right through the plywood even with the nailer set to fire them in gently, and it seemed to be fixed pretty well but just for an extra bit pf piece of mind I also added some hot glue around the perimeter to help hold it in place.
Next I could find some wood to make the legs and again I checked it would match the veneered board ok - I added some water to see what it would like like with finish on and it seemed a pretty good match.
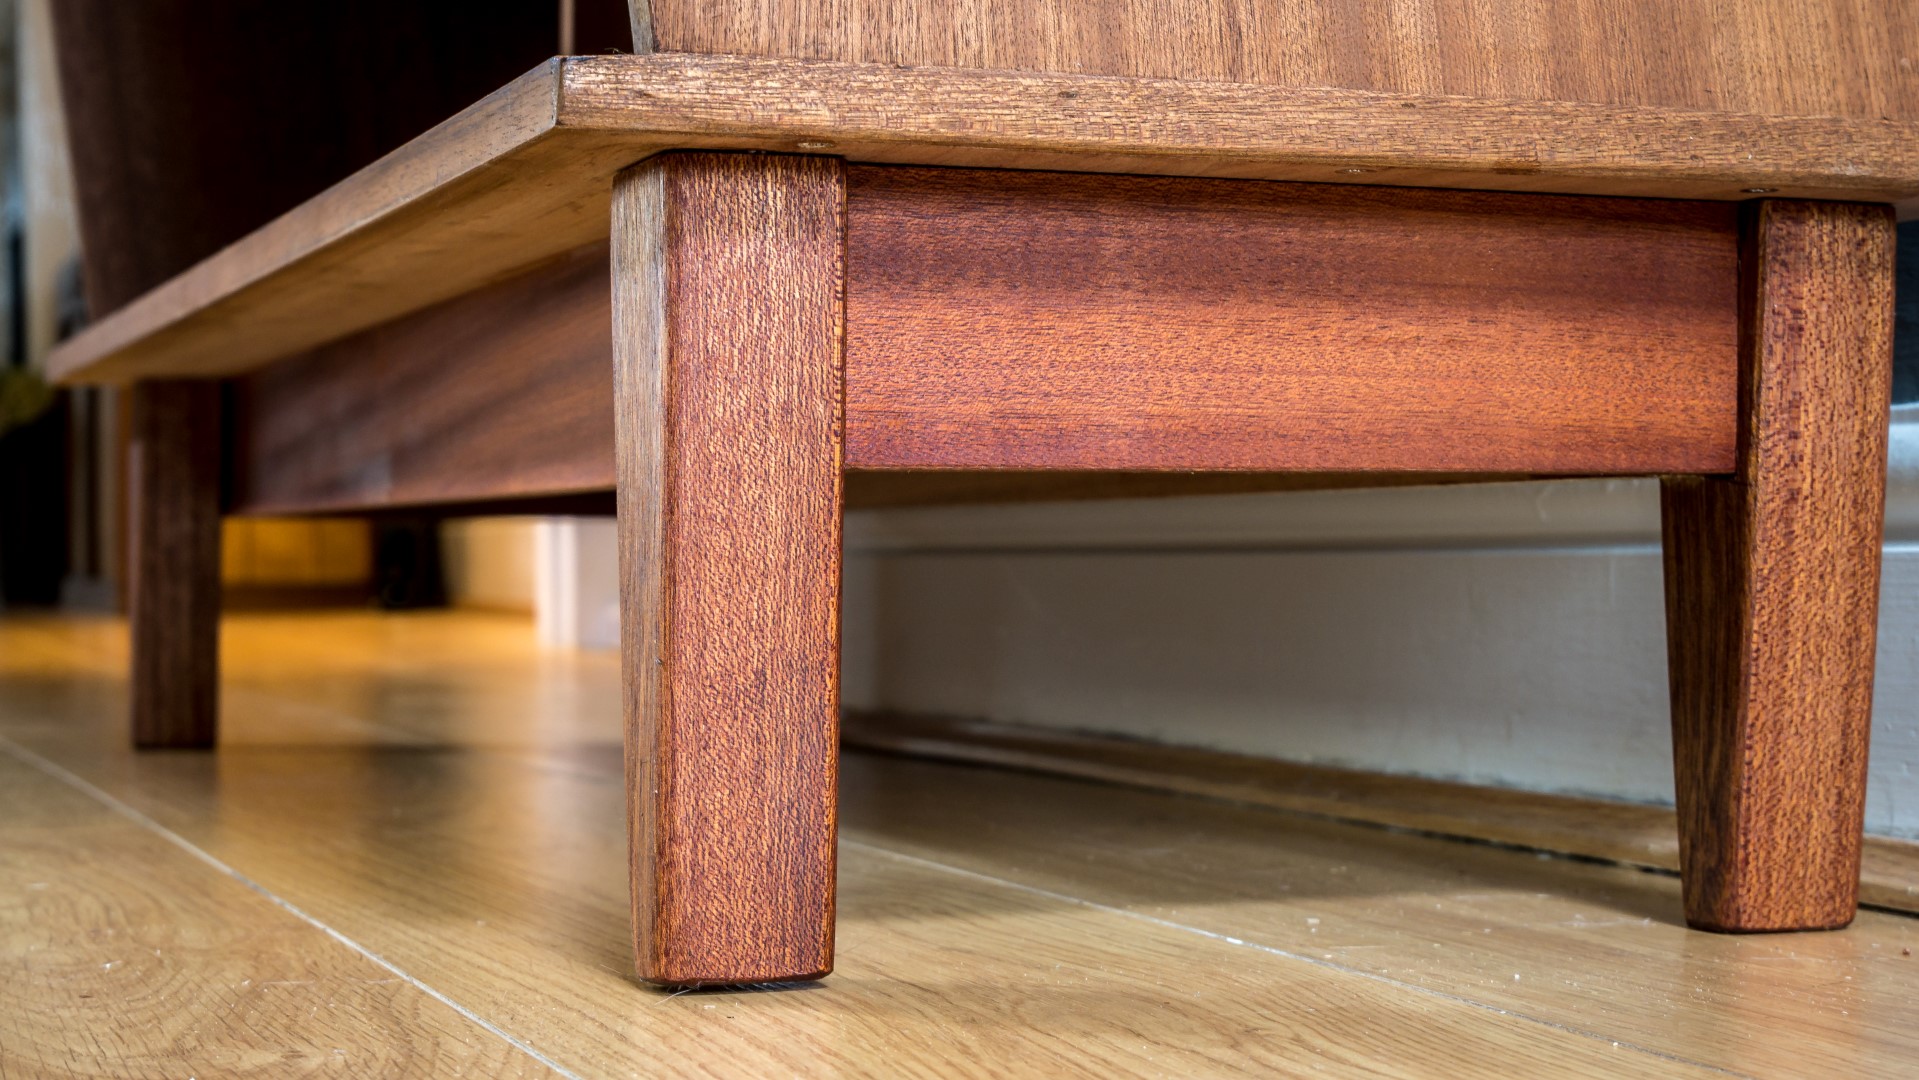
I cut the legs to length at the mitresaw and these were cut at 16cm as that's the heght the unit would need to sit off the floor in order that the unit would sit above some electrical sockets on the wall where the unit will be placed.
I wanted the legs to be tapered on two sides so I used my combination square to mark up the tapers. And I used the bandsaw to cut the shapes and a hand plane to clean up the bandsaw cuts.
I also rounded over the sharp edges on the legs using my block plane.
For the apron rails between the legs I could use some offcuts of the veneered board.
I positioned them where I wanted them to meet the legs and used my marking knife to mark up where I could cut a housing joint.
I decided to cut all the joinery by hand. Usually I'd drill out the excess material with a forstner bit and then chisel it away but I was in the mood for using chisels, so that's what I did.
And then I did a dry assembly and the joints fitted ok.
So I marked up the opposite side and cut that in the same way.
And then I glued up the legs and used a couple of bar clamps to pull them tight.
And I wiped away the excess glue with a damp cloth
So that was one short side complete, and I did the second leg assembly for the short sides in the same way.
Then I cut some more chipboard for the apron rails for the long sides at the tablesaw.
I positioned the legs the right distance apart for the size I needed the leg assembly to be and then offered up the rails, marked them for length and cut them at the mitresaw.
And I wouldn't need to cut any joinery for these rails as I could just glue and screw them to the inside of the legs. That would be plenty strong enough and also it means the apron rails would be less visible on the front of the unit as they'd be further back.
I sanded the bottom of each leg - this should help prevent tear out of the grain when the unit gets moved around.
To attach the leg frame to the unit I cut some cleats out of some scraps of veneered blockboard.
I glued and nailed the cleats to the unit to hold them in place temporarily before re-enfor cing them with screws.
And then I drilled holes through the top for the scews to be added later.
I gave the leg frame a sanding and then wiped on some boiled linseed oil for finish. This was a different finish than I used for the main part of the unit but that won't really matter.
I added glue to the cleats and apron rails flipped the unit upside down and then I could position the leg frame where I wanted it and add screws.
Finally I added one of my stickers to the bottom.
Then I could deliver it to my brother.
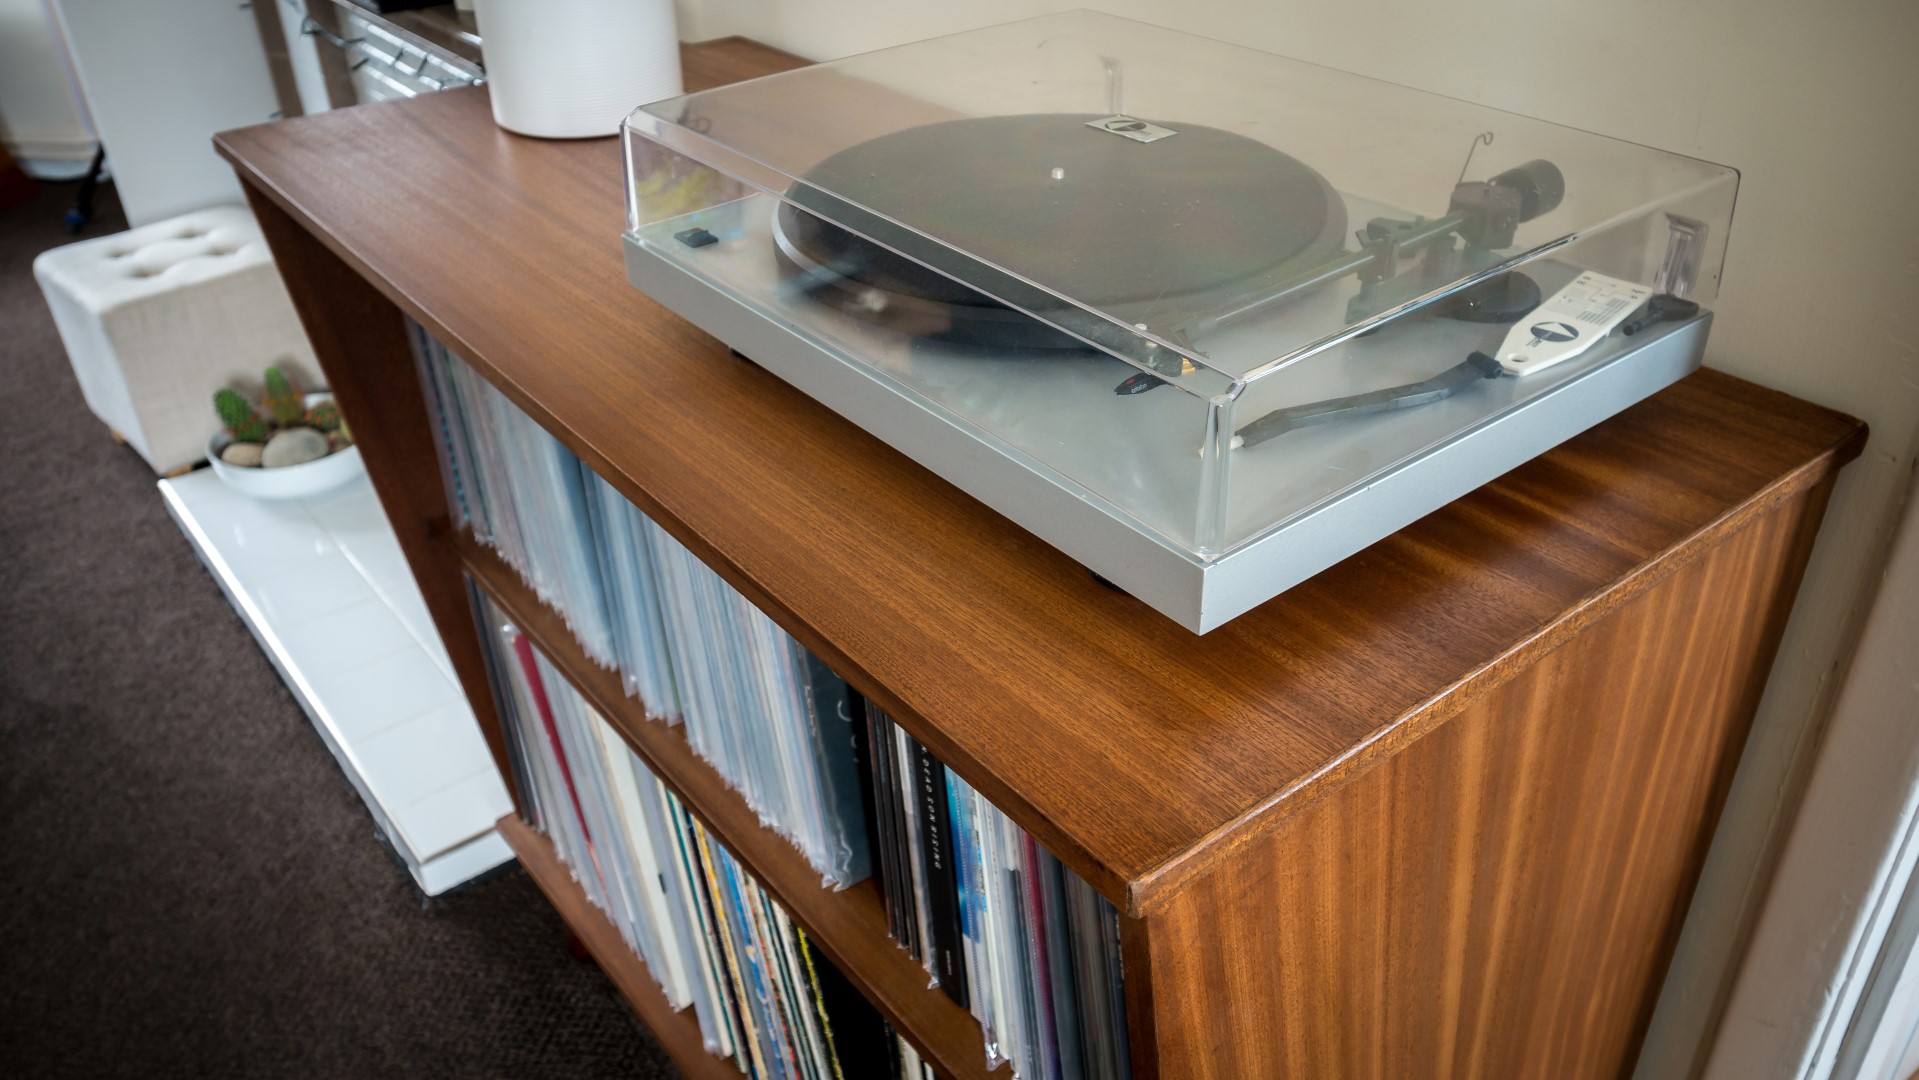
Here's a time lapse we took of putting the records in. I can't vouch for his taste in music.
I'm really happy with how the unit turned out and my brother is too.
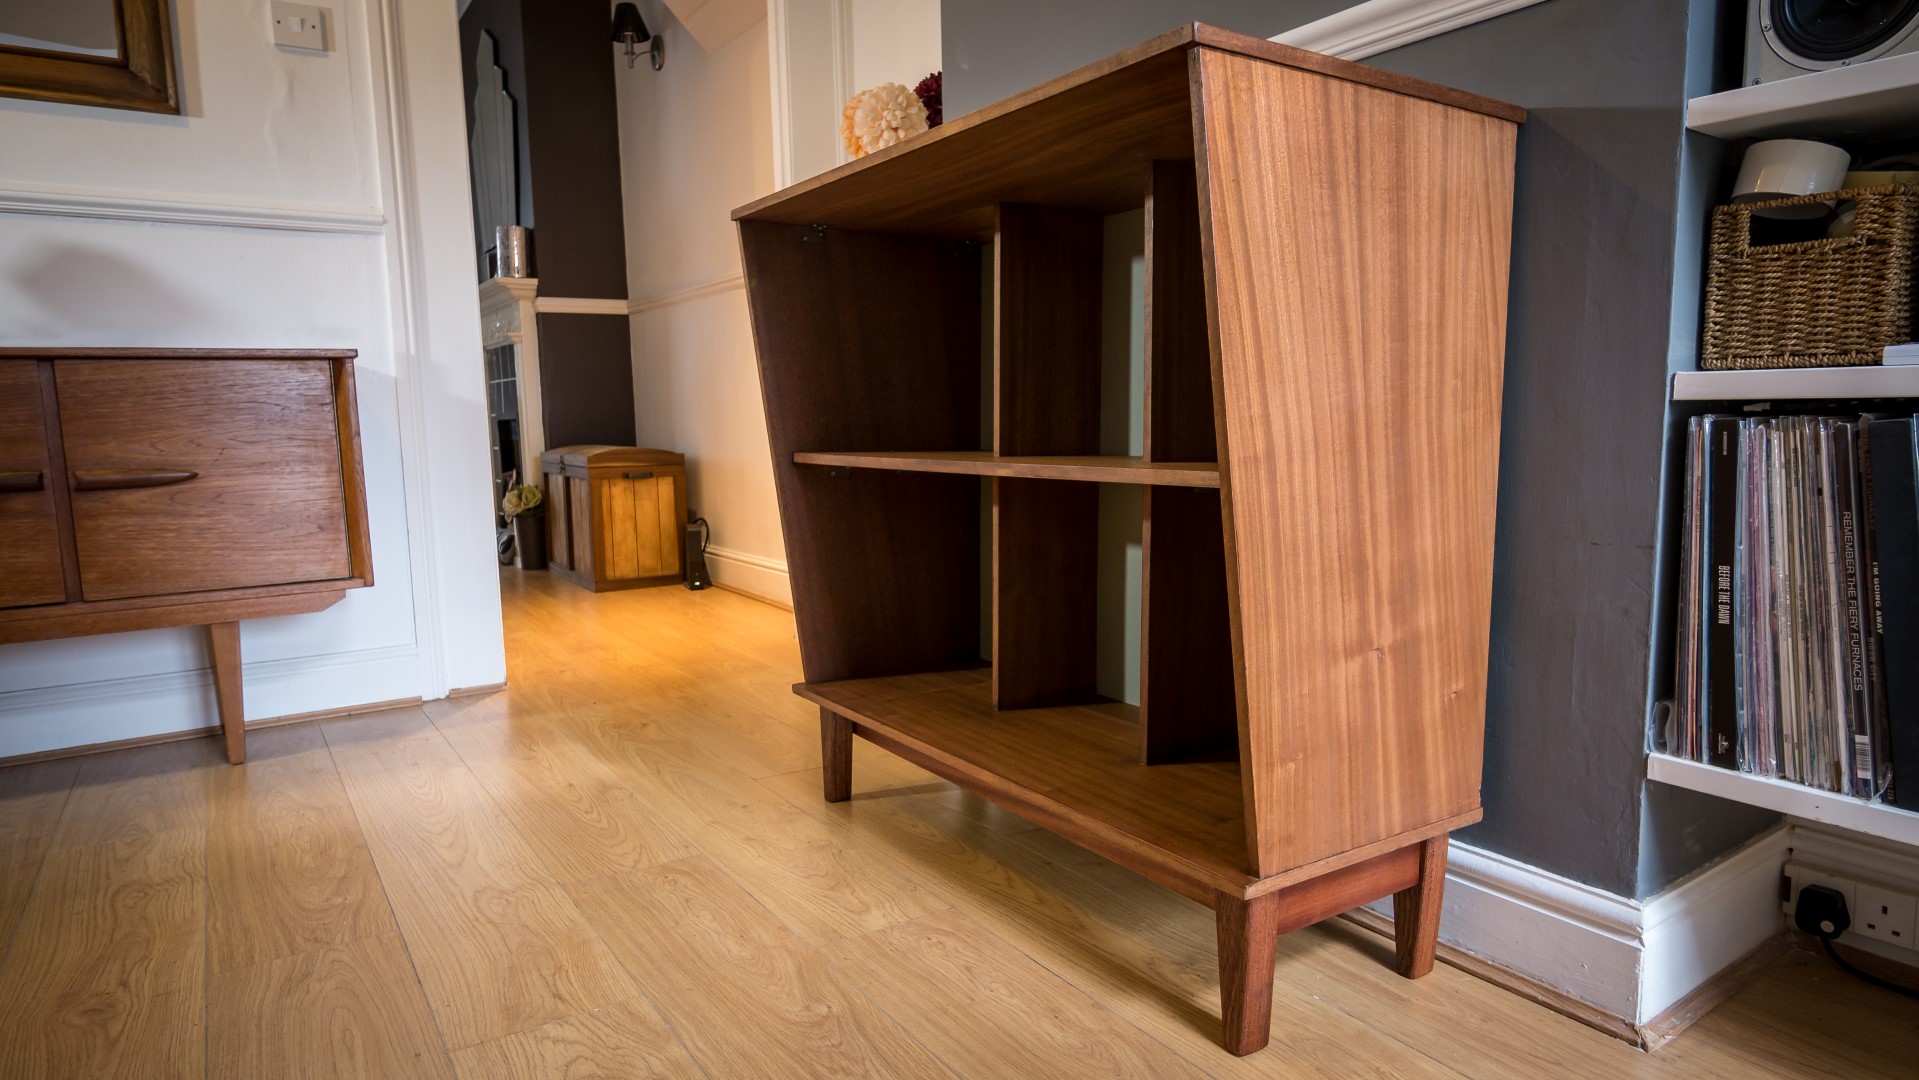
It wasn't a project I particularly enjoyed though, mainly because working with chipboard can be pretty frustrating, it's very unforgiving because if you damage the veneer then it's pretty much ruined unless you can find a way to patch it up or repair it. I much prefer working with plywood or blockboard to a veneered board, because you don't have to be as careful with it. But I'd much rather make use of it in a project like this than throw it away and the veneer on this board is actually really nice looking it's pretty decent quality stuff compared to most of the stuff you can buy nowadays
If I were to make this again I would have cut a housing joint in the side panels to accommodate the central shelf as I mentioned in the first part of the video. The only other thing to mention is that I think the apron rails look a little bit too prominent when you look at the side of the unit, so perhaps I could have designed the leg frame joinery and assembly slightly differently.
This project took about 22 hours in total to complete. And all of the materials used were either salvaged or given to me so the costs were minimal.
I hope you enjoyed this project, please subscribe if you haven't already and thank you for watching
Images: