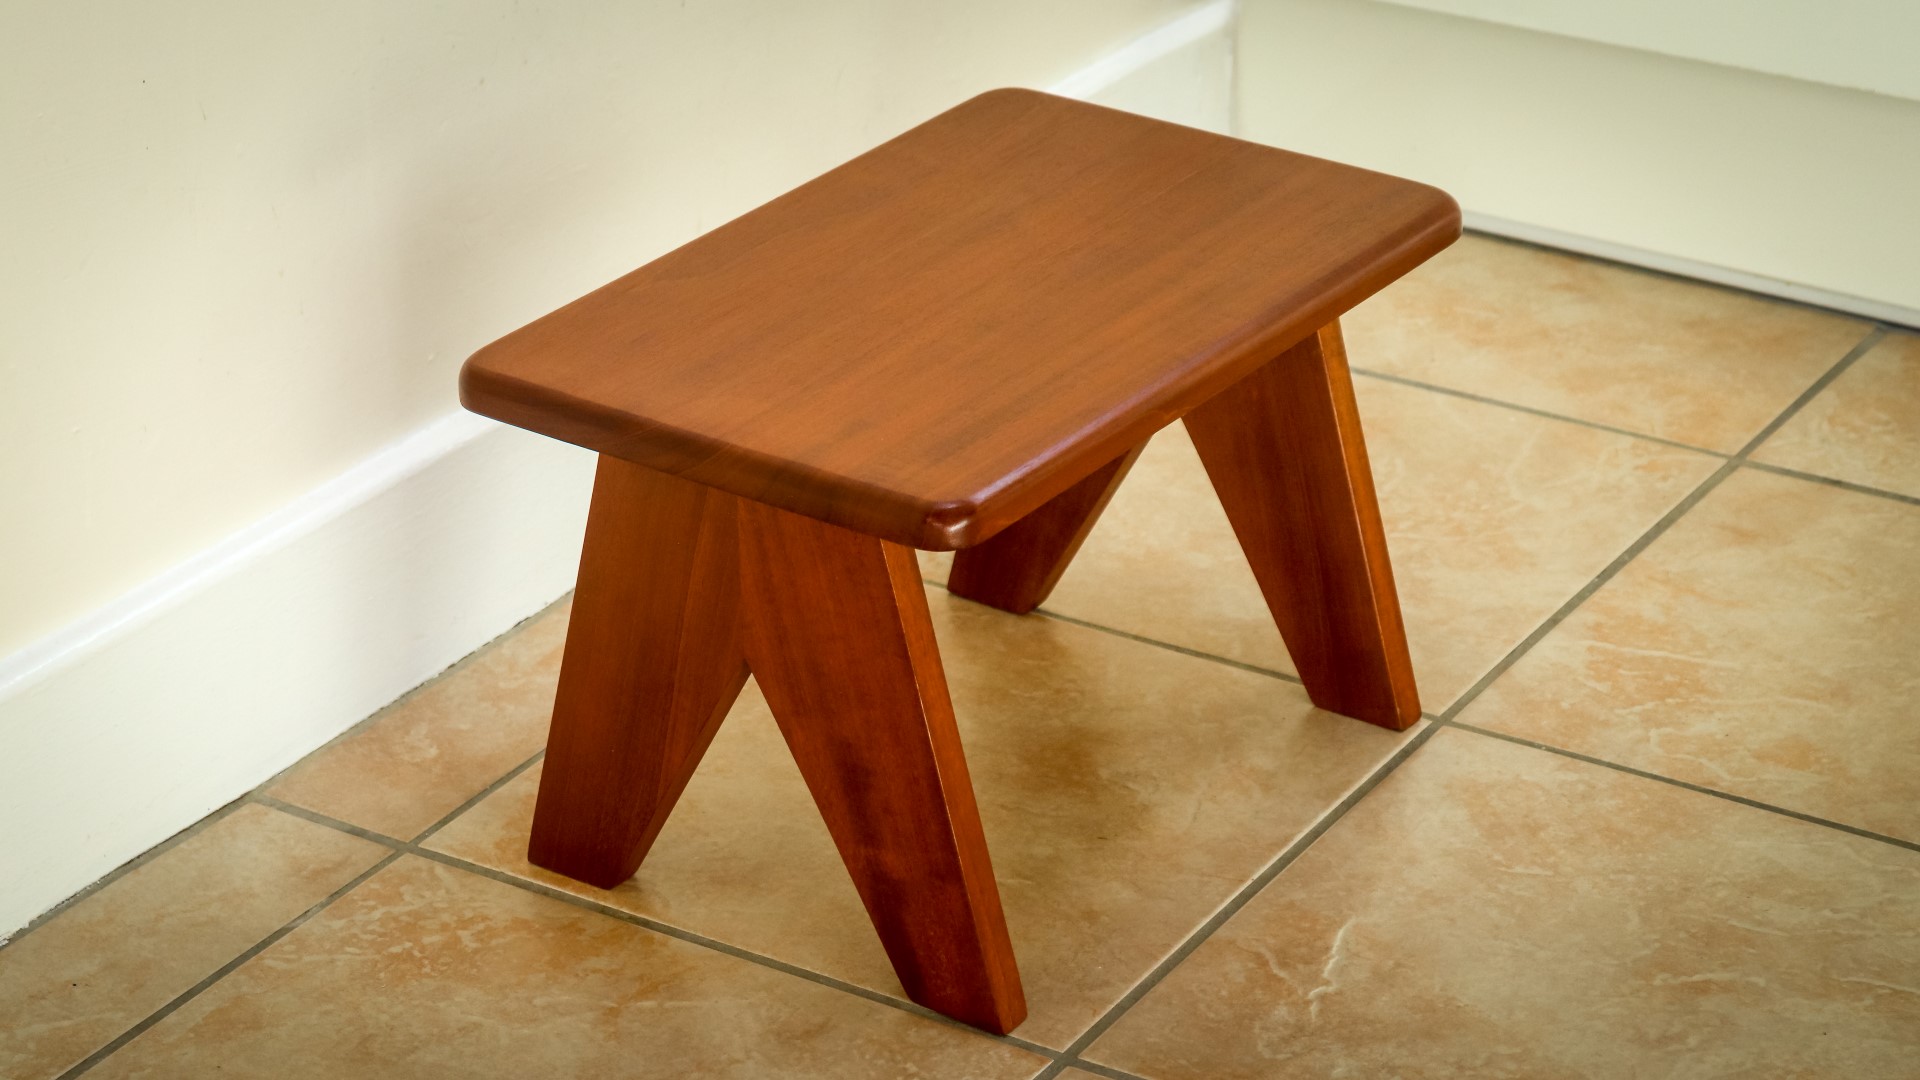
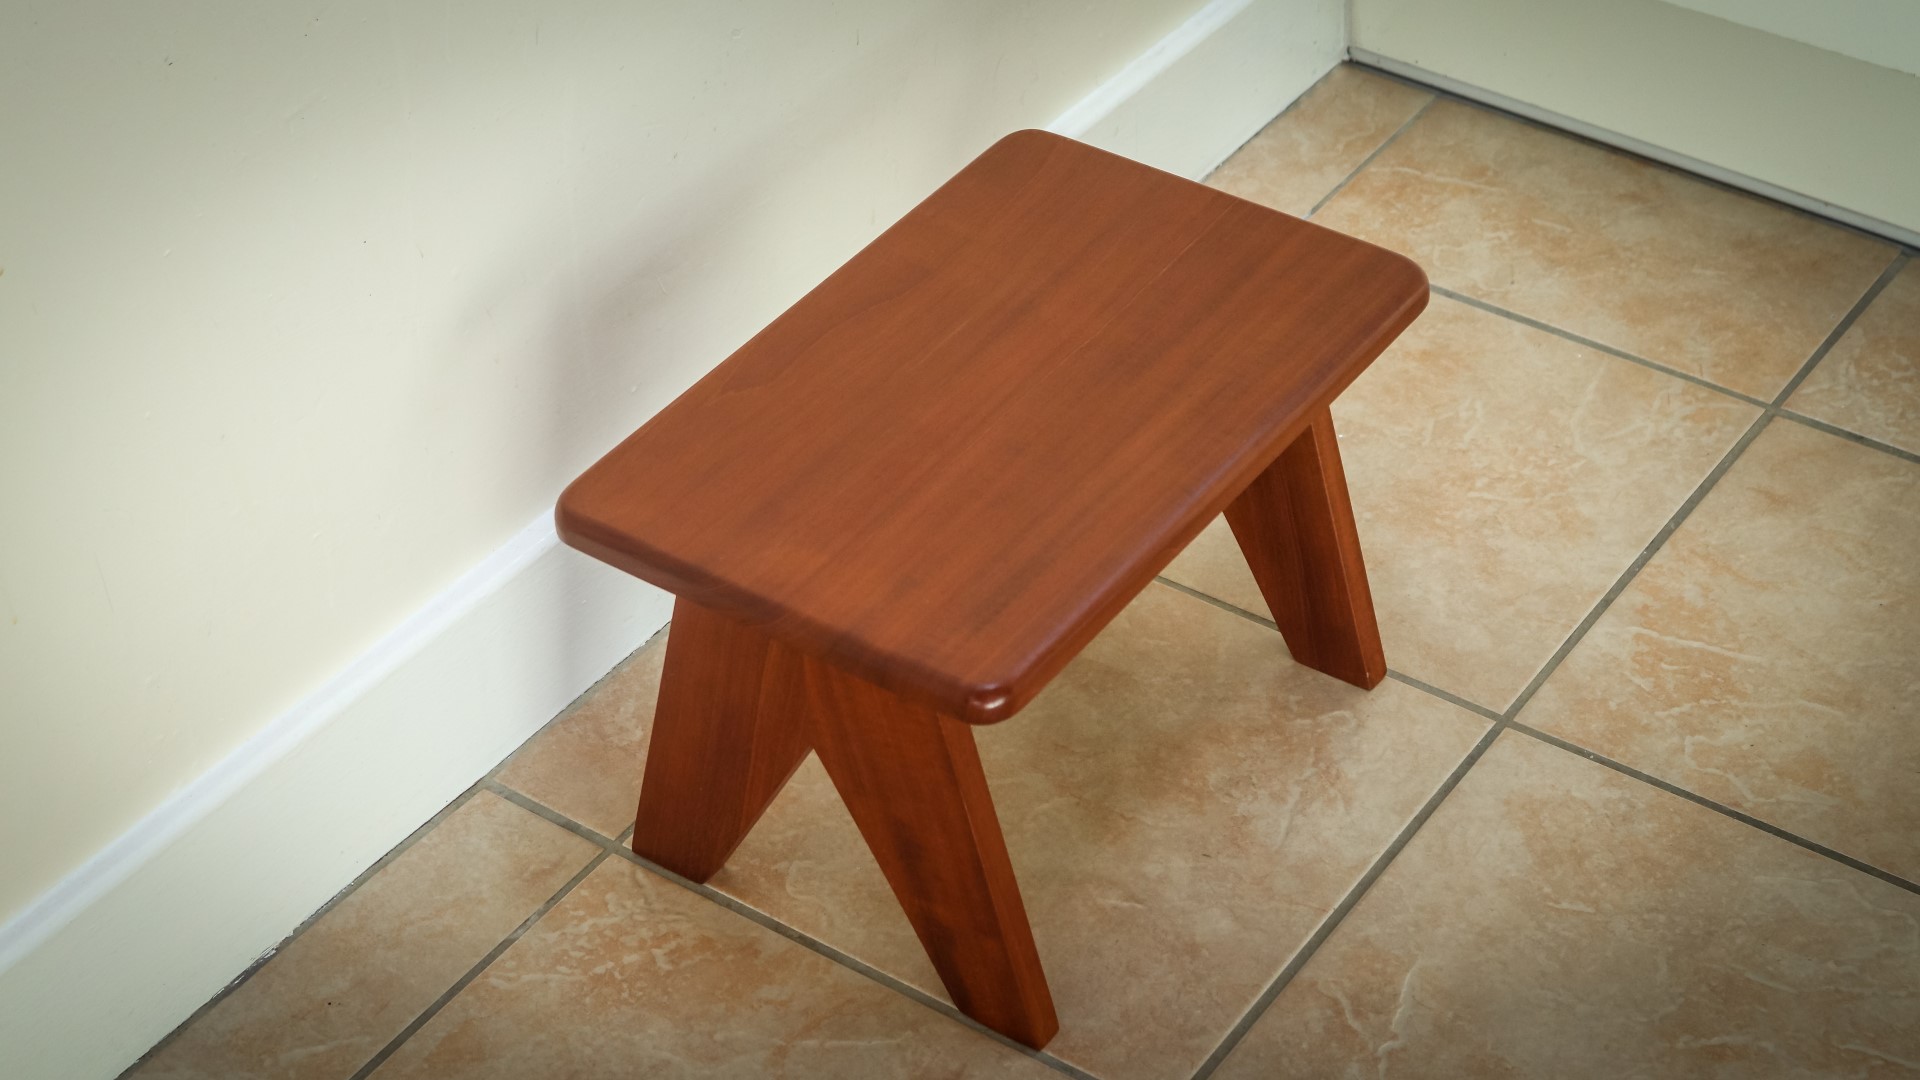
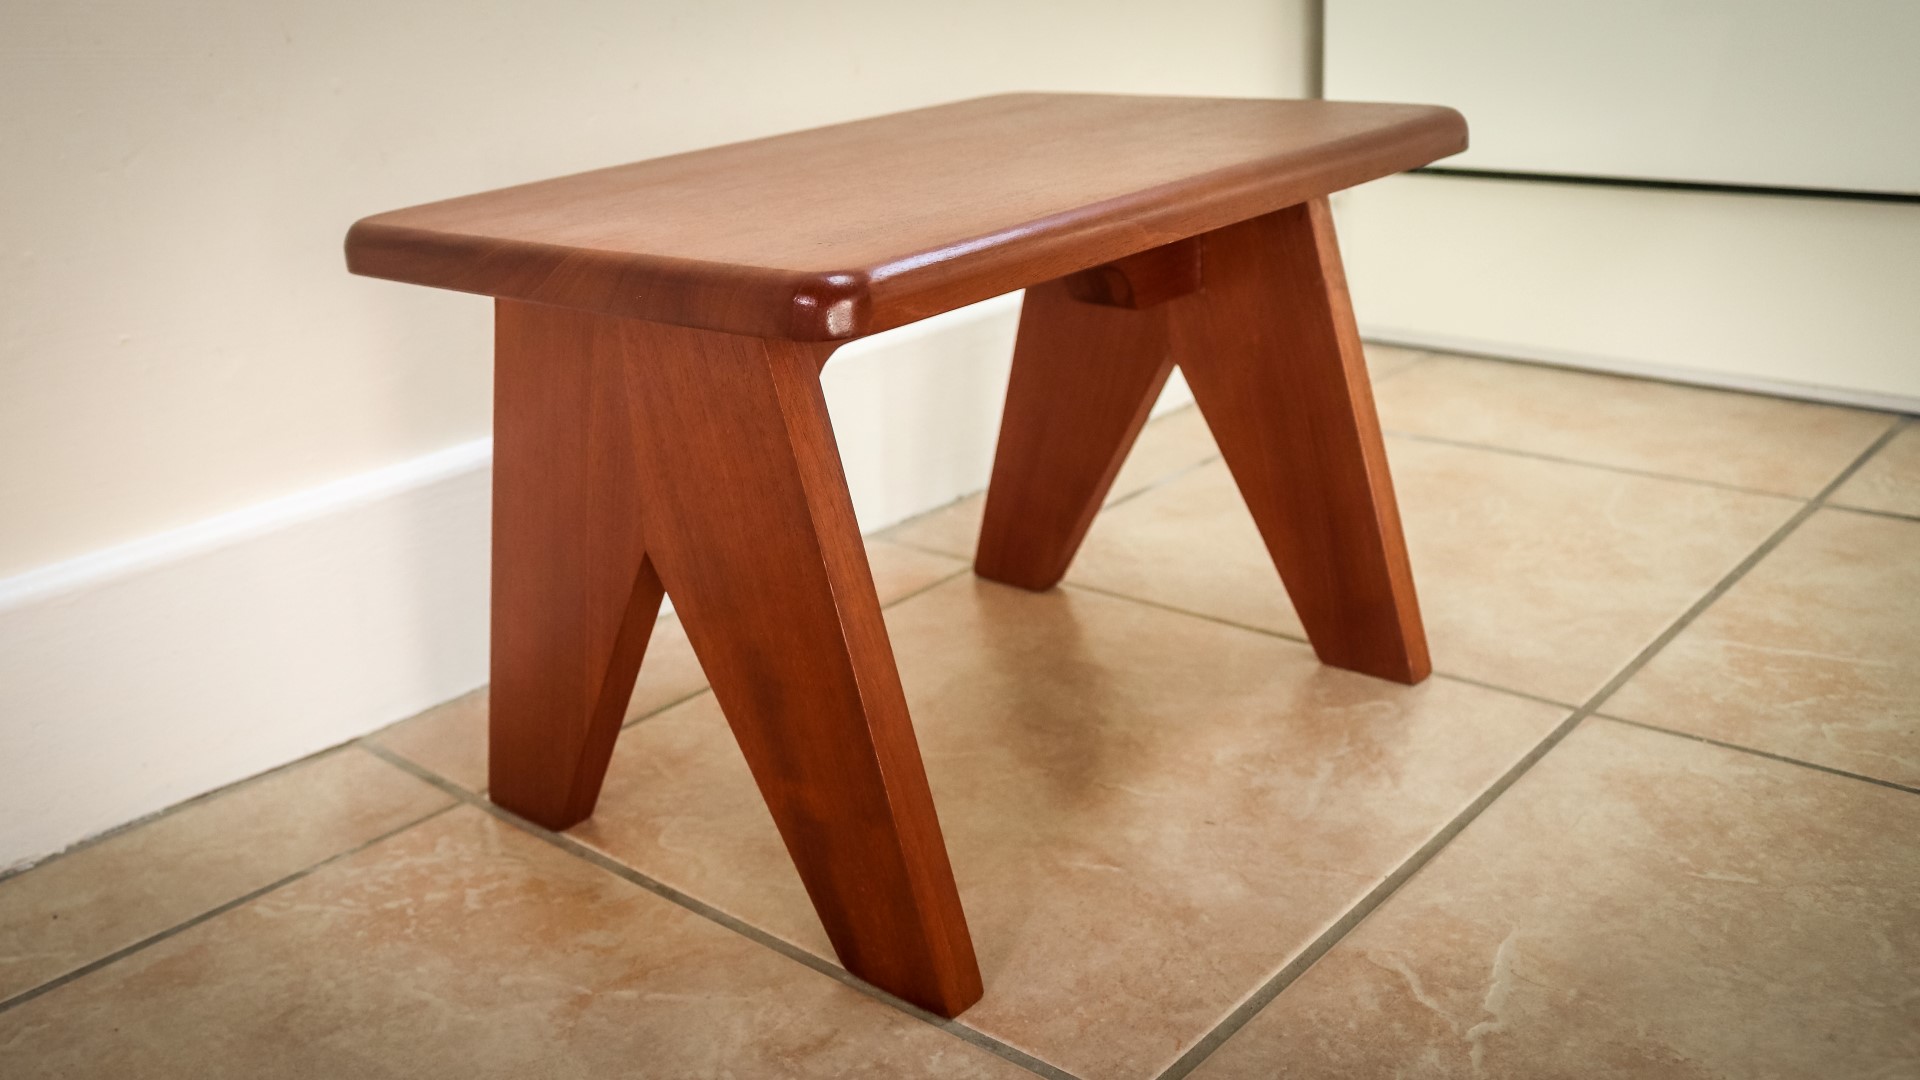
In this video I use a salvaged mahogany wardrobe panel to make a step stool (or foot stool) with a mid century feel.
First I cut a clean and straight edge along the length of the panel using my circular saw with a straight edge clamped down to guide the cut.
Then I could reference that straight edge against the fence of my panel cutting jig at the tablesaw so that I could cut make a clean 90 degree cross cut.
I measured and marked up to cut what would be the length for the top panel of the stool.
And then I ripped it to width.
I could then use the rest of the workpiece to rip some pieces I could use to make the legs
The legs would be angled, so I set the mitresaw to 15 degrees based on the angle used on my drawing and cut that angle on to the end of each of the leg pieces
I used a small square to reference 90 degrees from that angled cut, and then I marked up the length I wanted for the legs
I set my bevel gauge to the 15 degree angle and then I could mark up a cut line for the bottom of the legs
I lined up the blade and made the cuts
The two legs on each side of the stool would be joined together, so I marked up where I wanted to remove some material - and made the cuts at the bandsaw
Then I could position the two legs flush with one another, and I popped them in the vise to clean up those bandsaw cuts with a block plane. And then I checked my cuts were square.
The legs went together really nicely, but before gluing them up I wanted to also cut a taper to the legs so I made a mark where I wanted the bottom of the taper to end, and then I used my tapering jig to cut away from the inside from each of the leg.
Now I had the top and legs cut, there'd be one more component I'd need for the stool, and that was a centre support rail which will tie both leg panels together and support the top. I measured up how long I wanted that to be and then ripped two pieces at the tablesaw before cutting to length at the mitre saw. I then laminated them together as I wanted the support rail to be nice and thick.
Once the glue was dry I cleaned up the edges. And then I marked up a shape for the underside of the rail, just to give it some shape. And I cut that at the bandsaw.
Because the mahogany had some old varnish on one side, and quite a few knocks and dings too, I ran both sides of all of the pieces through the thickness planer just to clean them up and get all the pieces to a consistent thickness.
When I cut the top panels to width, I'd already sized them so that they just fit through the width of the planer with only a couple of mm clearance.
Then I could start assembling. I first glued the legs together and I added some masking tape to the sides to add a bit of traction for the glue ups, and then I could use the offcuts from cutting the angles earlier to help clamp them up. Using masking tape here seemed to work well at the time to stop the angled blocks slipping out of place under the pressure of the clamps, but I later found that the clamps were loose, so obviously some slipping had occurred, but by that point the glue had set and the legs were good and solid anyway, so fortunately the joints were fine. Next time I do this I'll probably hot glue the clamping blocks on to the masking tape to help stop them moving around, and the masking tape should prevent tearing out wood grain when the blocks are removed.
I used a card scraper to clean up the surface of the top panel because my thickness planer hadn't left a great surface due to my blades being old and dull. I've been meaning to replace the blades for a while now, but it's a job that I keep putting off.
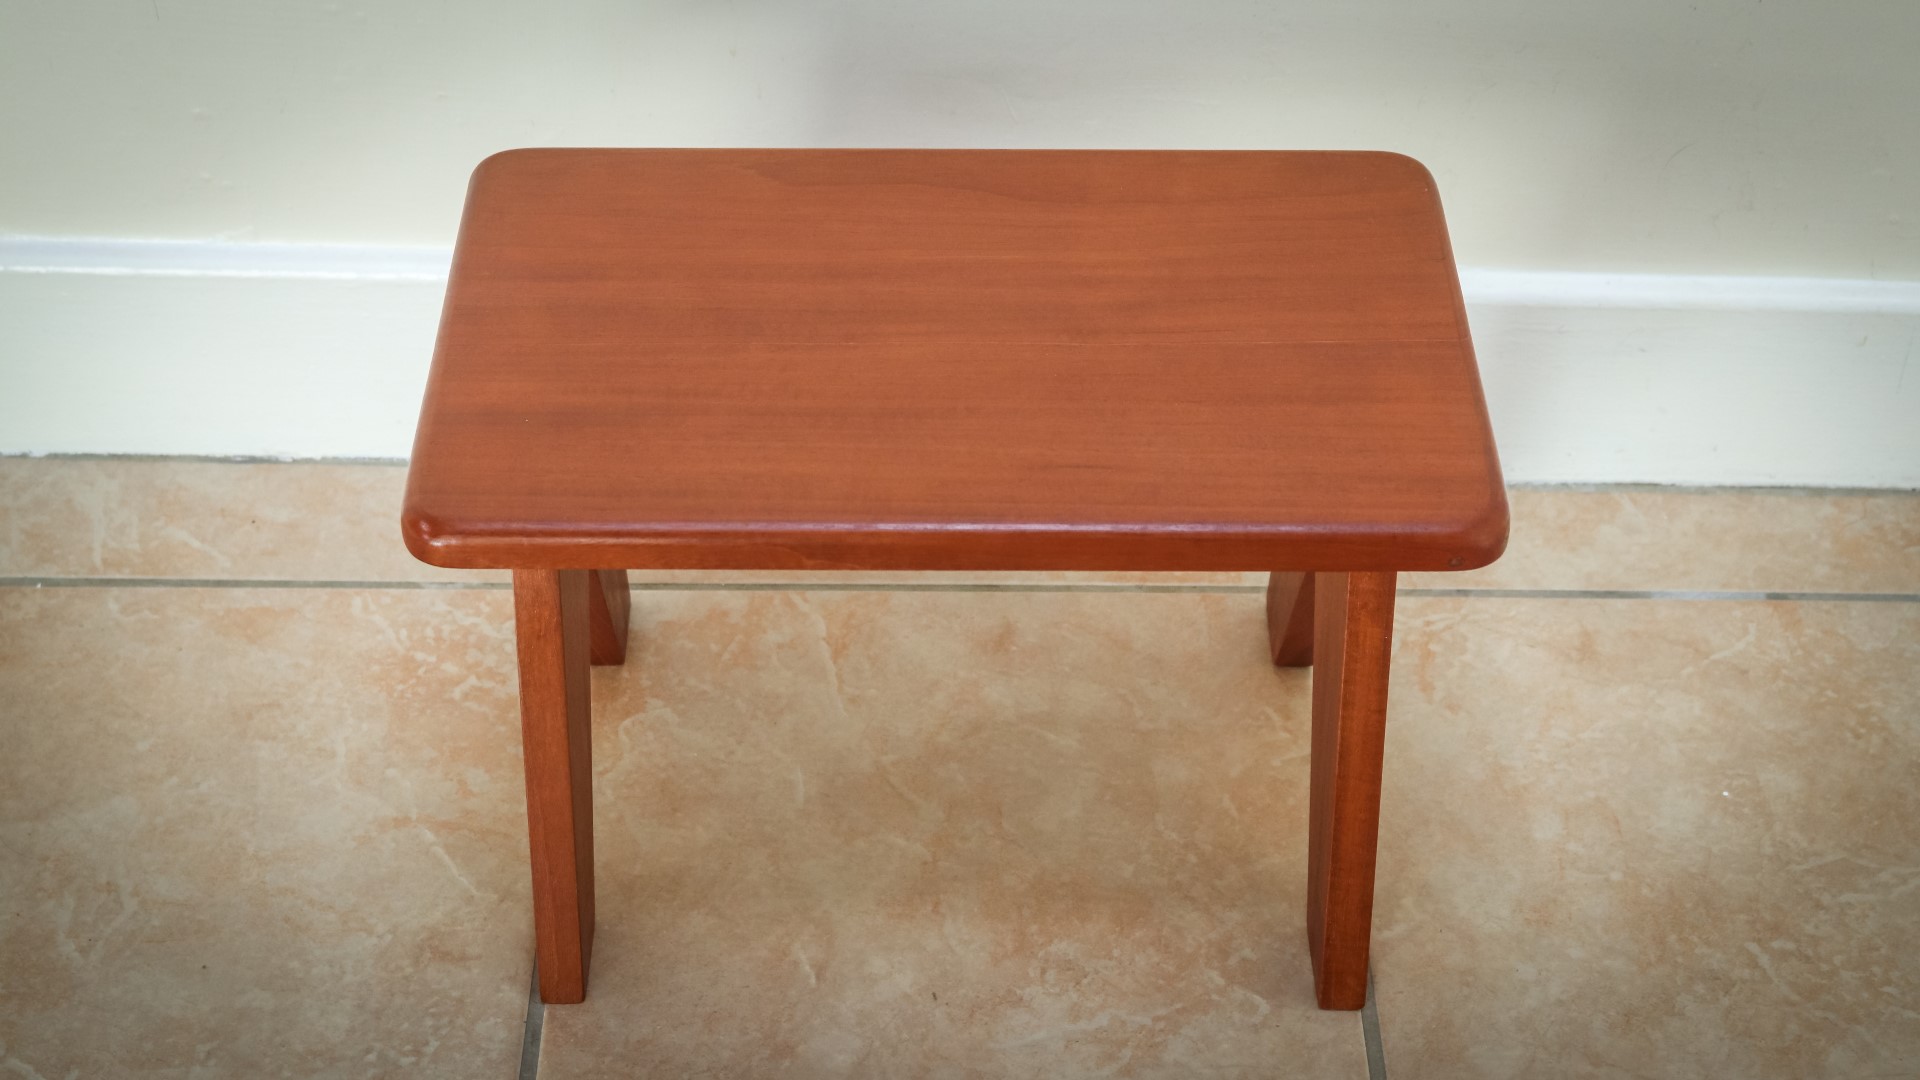
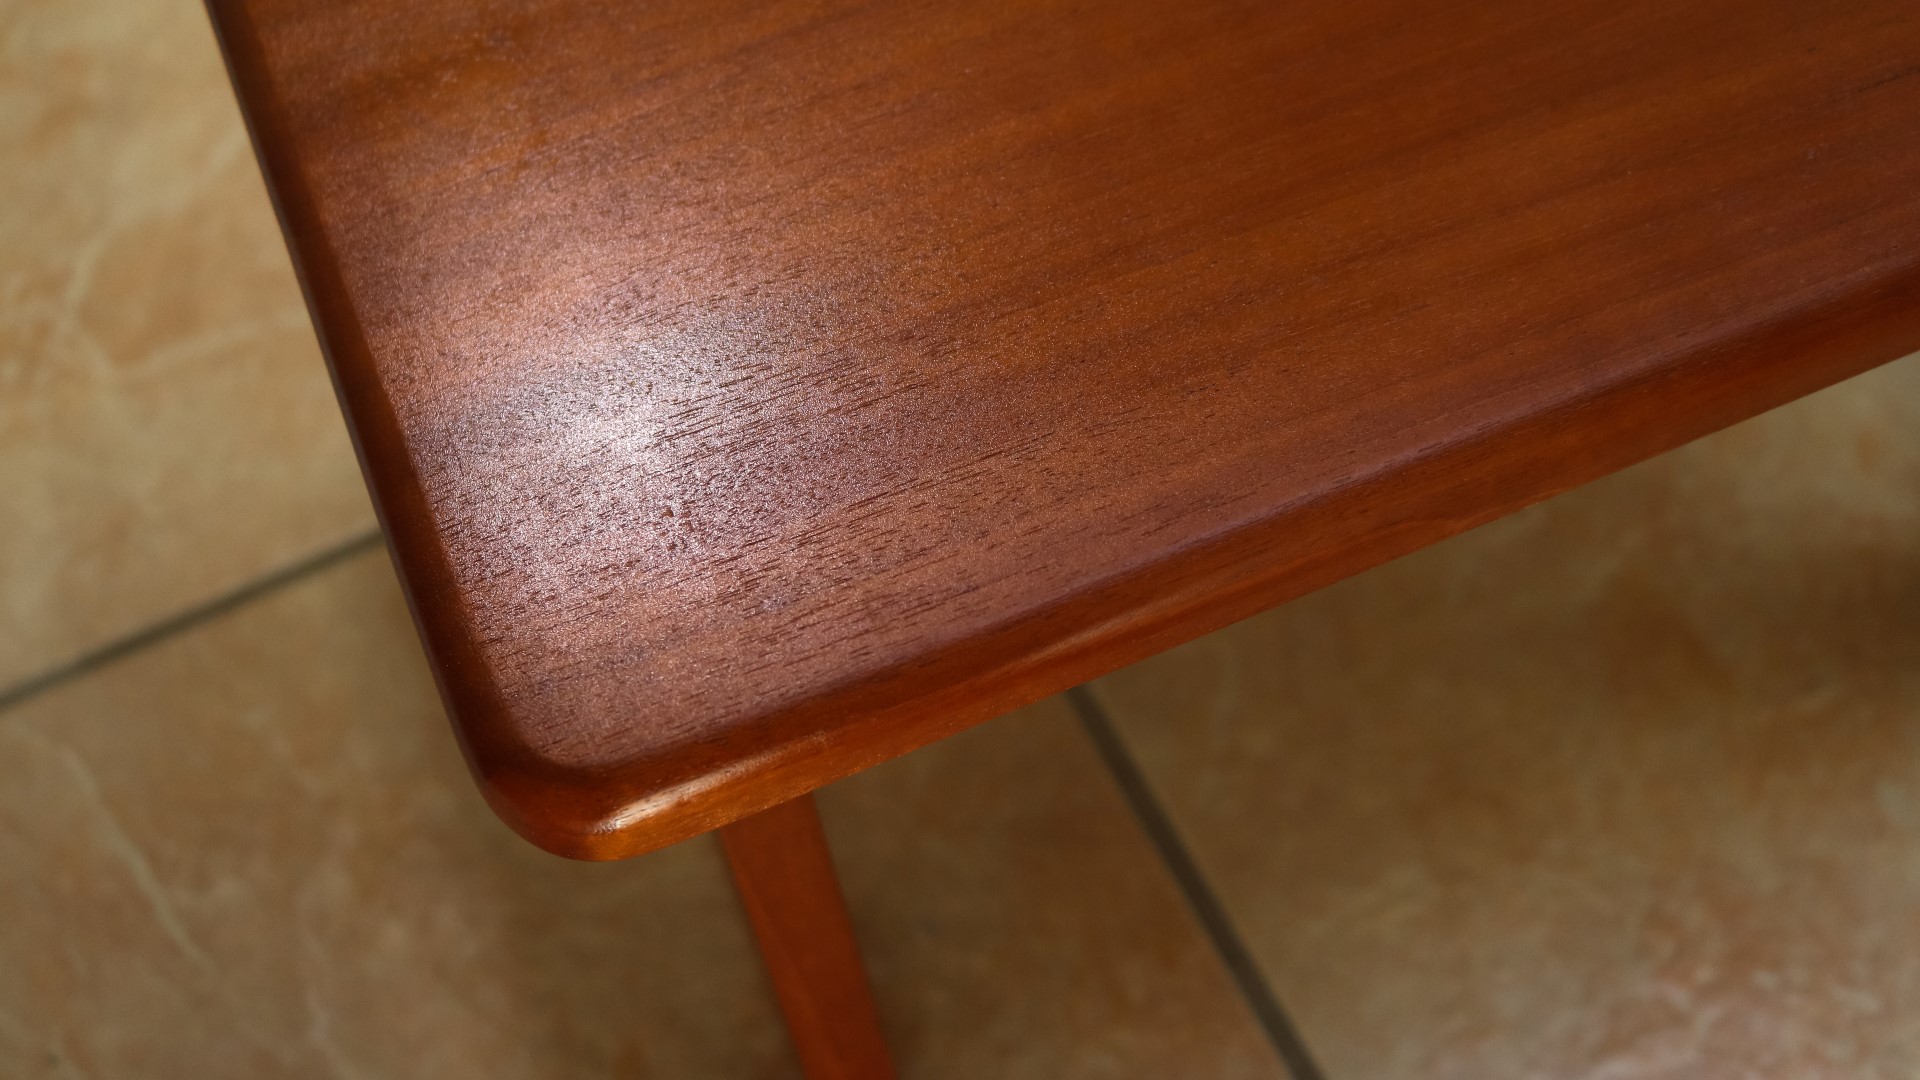
I decided to add rounded corners to soften the look of the tops a bit, which I cut on the bandsaw before refining the shape of each corner using my disc sander.
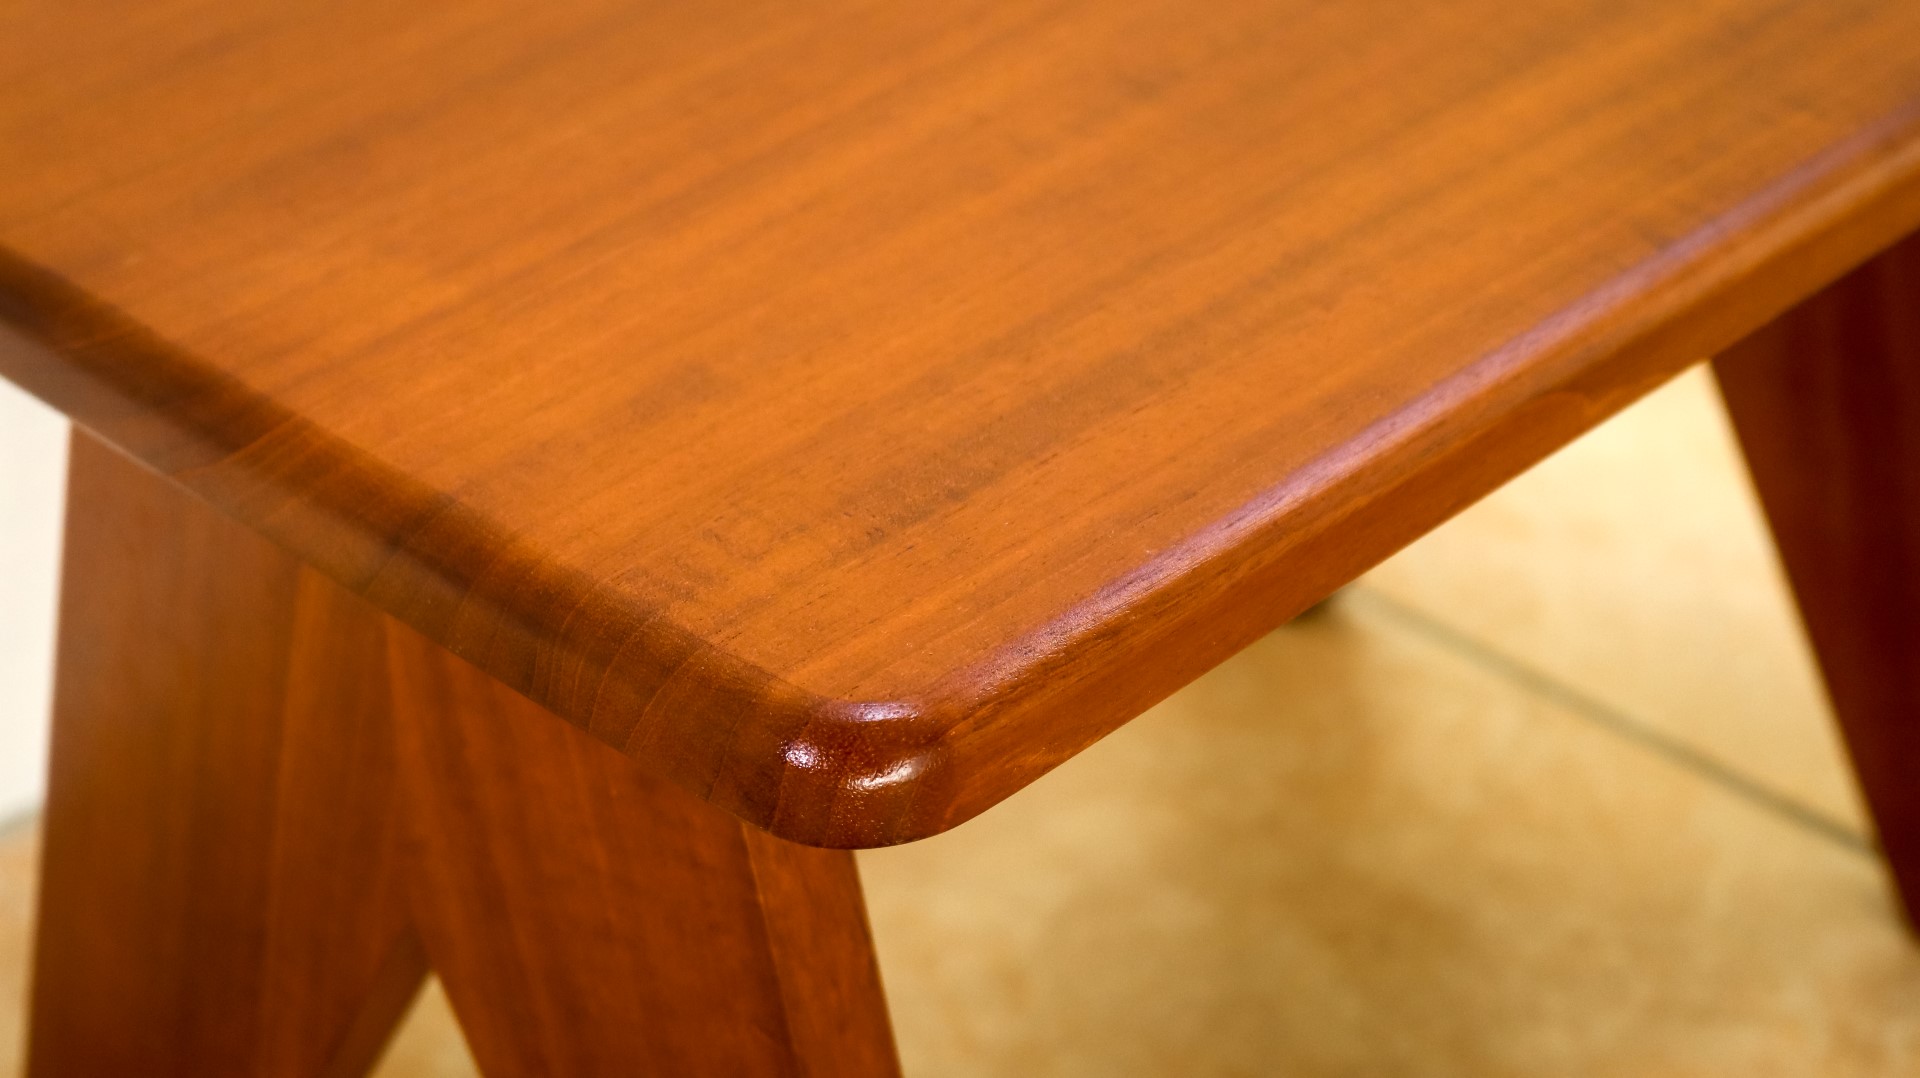
I also added a roundover to the edges of the top panel using my router. This left a few burn marks because all my router bits are cheap and not very good quality, but I could clean them up by sanding later.
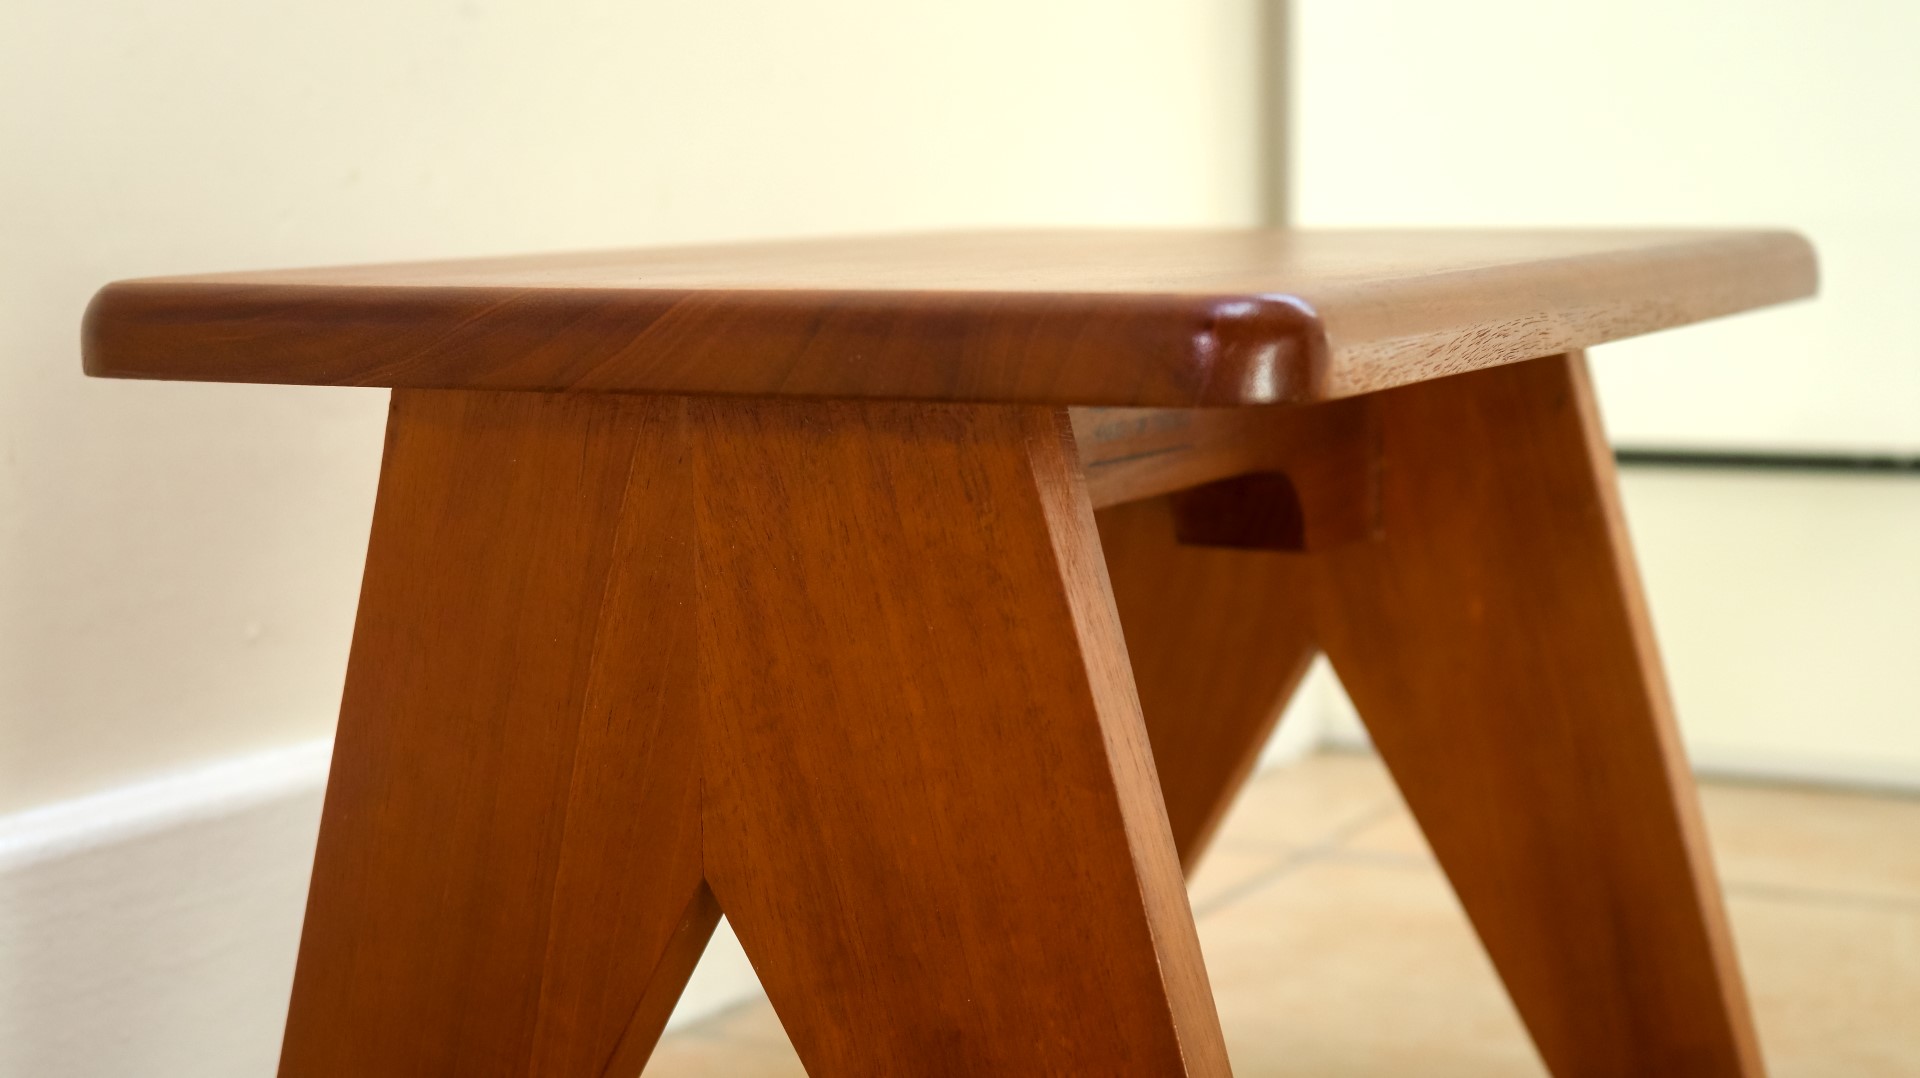
To make the leg structure of the stool nice and strong I wanted to cut some housing joints in the legs to accept the centre rail - that would create some side grain to side grain gluing surface to make the joints nice and strong. For that I decided to make a simple jig using a scrap piece of plywood. I marked up a 90 degree line roughly in the centre, and then I offered up the glue line of the centre rail to that line, and marked around it.
I cut out the shape at the bandsaw, and here you can see that the centre rail fits nice and snugly inside it.
So this piece of ply would be a template to cut the housing joints, and by clamping it on to the top edge of the legs, I could then use a template bit in my router to cut the joint.
As you can see the bearing on the router bit is riding on the plywood template. After making one pass, I lowered the bit and then made a second pass to get the joint to the depth I wanted which was roughly half the thickness of the leg pieces.
I used a chisel just to square up the corners of the joints, and then the centre rails slotted nicely in place while I did a dry assembly just to make sure everything fitted together OK.
Then I added glue, made sure that the centre rail was seated nicely in the joints with my mallet and clamped it up.
While I had good access I decided to add my makers mark to the centre rail.
And then I could add glue to the top and position the top panel in place - you'll see here that I didn't apply any glue to the top of the legs, and that's because I just wanted to secure it to the centre rail so that the top panel will be able to expand and contract with seasonal movement.
After making sure that the top was centred I added some weight and left it to dry.
I did some hand sanding to ease over the bottom of the legs - this will help to prevent grain tear out when the stool gets moved around the floor.
I used my random orbit sander with 120 grit to sand the flat surfaces, and also to remove the burn marks left by the router.
Before applying a finish I first blew away any dust using an air blower, and then I applied some spray varnish.
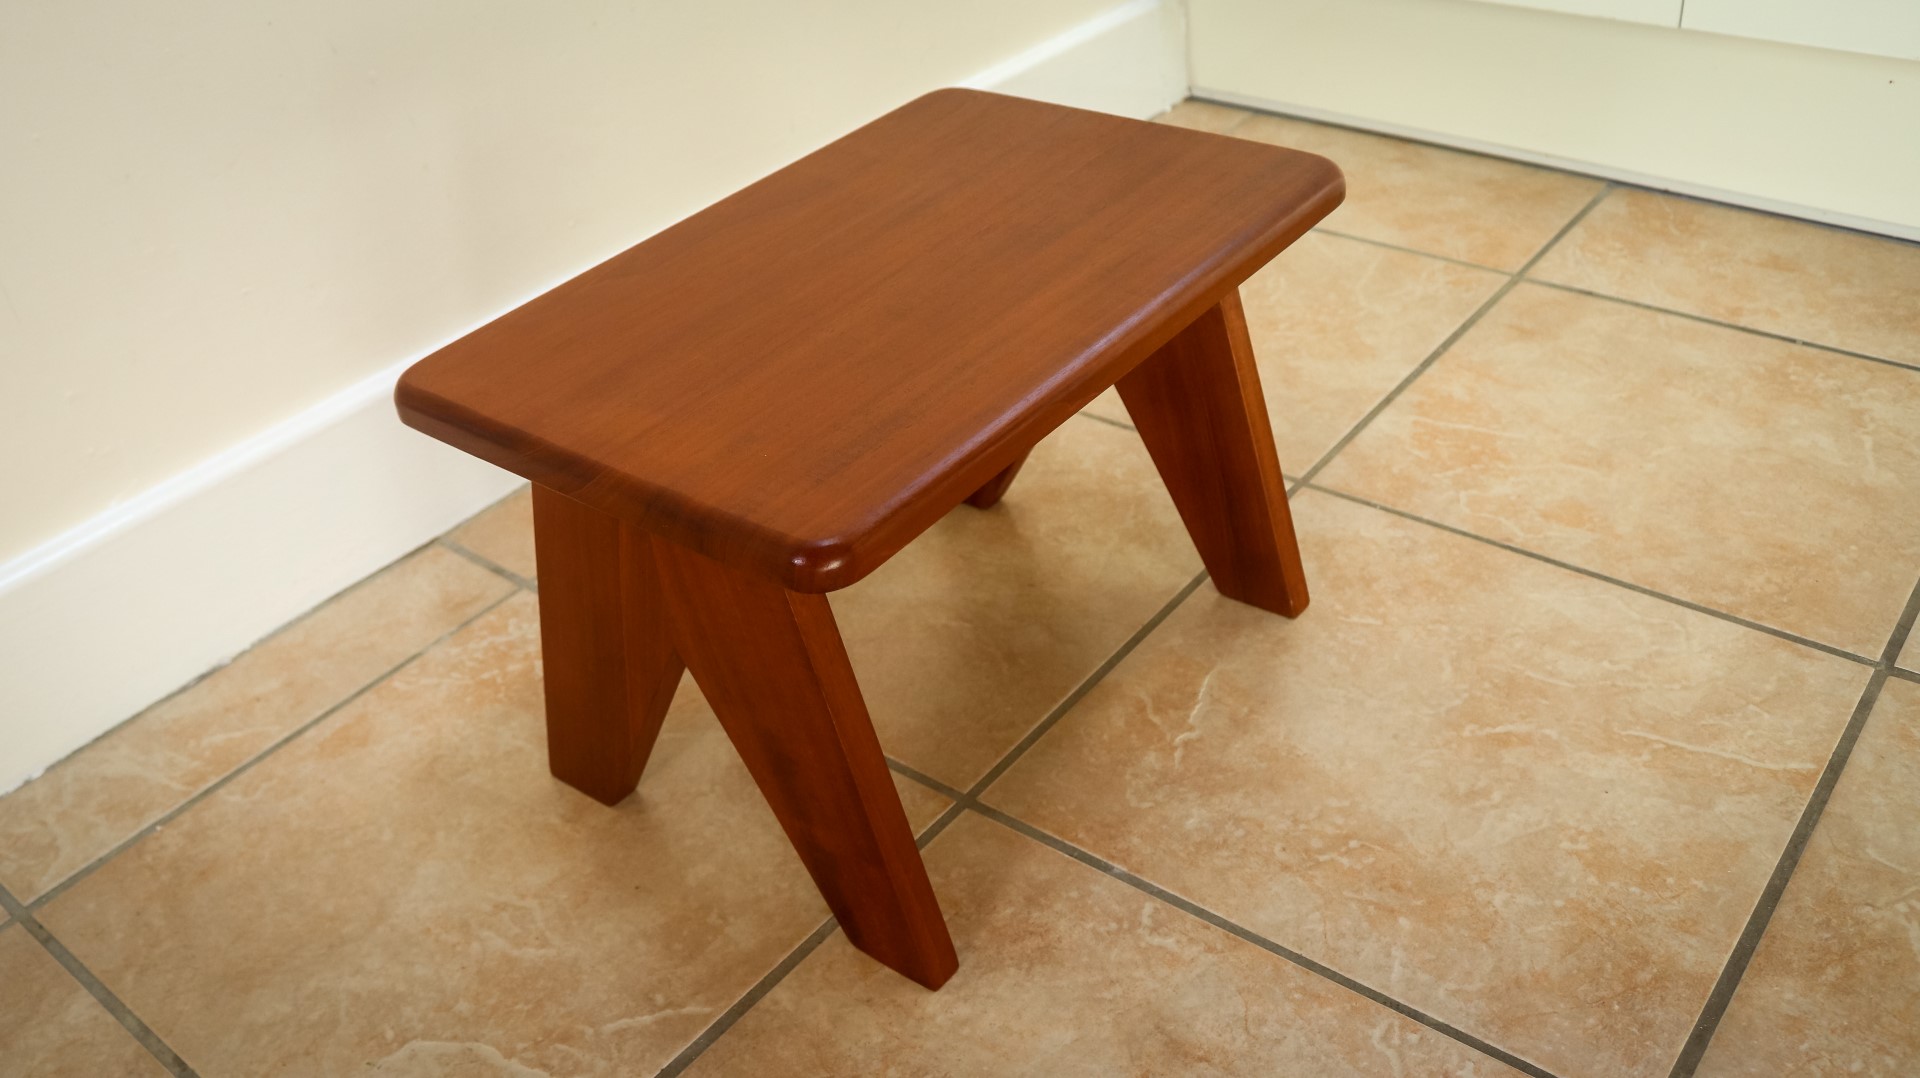
After about 20 minutes when the first coat was dry, I sprayed on a little water and sanded at 400 grit to de nib the finish and get it nice and smooth and then I wiped away any dust and added a second coat. And then I wet sanded once more and applied a third coat and decided to stop there.
Here's the stool in action. And I thought i'd do a quick jump test too.
Images: