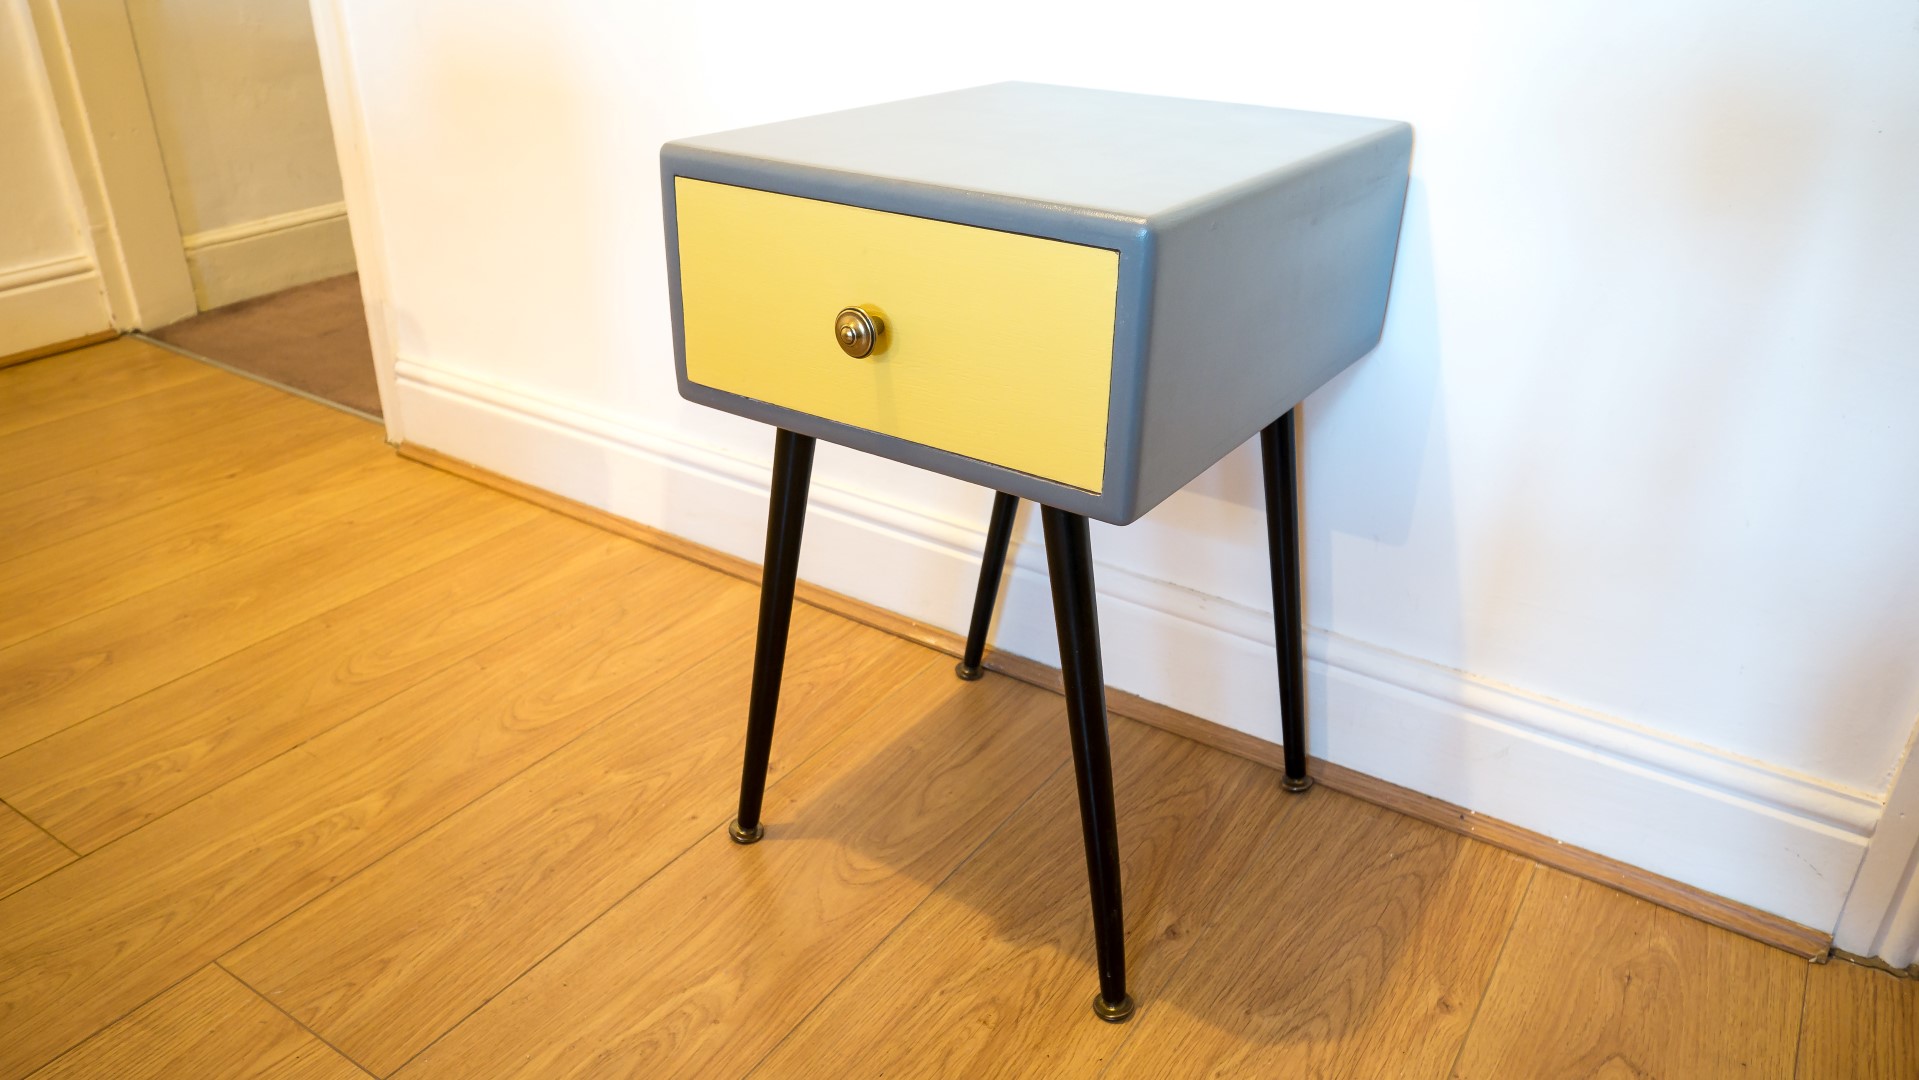
In this video I make a retro / vintage style side table with a drawer... Or it could be a bedside table... I haven't really decided.. Made using reclaimed materials / street finds. This is a rare painted project (because the wood I used had some stains) and I show you how I achieved a really nice and smooth painted finish.
The idea was to make a simple box using the dining table top which would hold the drawer.
Then I would add some legs to it, at this point I wasn't sure if I'd make the legs myself or just buy some to put on it
And it would be a side table type thing with a drawer, but it could be used as a bedside table.
To begin I wanted to figure out how to get the most out of the dining table top so I offered up the drawer and marked up the cuts I would make to yield a top panel, a bottom panel and two side panels.
I first measured up the sides of the drawer front and set my tablesaw fence to that measurement and ripped the side panels.
The remaining piece would be too big to fit through my thickness planer, so I made a rip cut so that they would fit through and I will later re-join the panels by gluing them together.
So then it was over to the thickness planer to try and get rid of those stains on the wood.
I made multiple heavy passes - you can see here from the shavings that I took quite a lot off the thickness from each panel.
The stain wasn't really effective at masking the mould stains so at this point I knew I'd end up painting it.
Next I could re-join the piece that would form the top and bottom panels using wood glue and clamps.
I used some F clamps and a long reach C clamp just to keep the two panels aligned.
While I was waiting for the glue to dry I cut the side panels to length at the mitre saw.
And once the glue had dried I made some cuts using my panel sled on the tablesaw to trim off the rounded ends and cut the top and bottom panels to length.
And then I could assemble the box with wood glue, using the drawer placed inside to get the spacing right for the width of the drawer.
I clamped it up and left it overnight for the glue to set.
The following day I could rip the top and bottom panels to width at the tablesaw
And then I used my handplane just to get the edges perfectly flush with the side panels.
Using a rebate bit in my router I cut a rebate around the back of the box - the rebate would be to accommodate a back panel.
I measured up the dimensions of those rebate joints and I could then a 5mm piece of salvaged ply to size at the tablesaw.
Before I could glue on the piece of ply I first scraped off some of the dirt from the ply using a stanley knife blade so that the glue would adhere better. This face would be on the inside of the drawer so it didn't really matter that it was dirty.
I needed to chisel the corners square before I could fit the back panel as the router bit obviously left rounded edges.
And then I could glue in the ply back.
I used my air stapler to secure the back and then I could wipe away the excess glue with a damp cloth.
I swapped out my rebate bit for a roundover bit in the router and I could use this to round over all of the outside edges of the drawer box except for the back edges as I wanted to keep those square.
The router bit left some burn marks but I could clean those up with some sanding later.
I also did some scraping with my card scraper to remove any tear out of the grain left by the thickness planer. Whatever this wood is is quite suseptable to tearing out so there were a few areas to clean up.
The inside edges were sanded by hand as were the rounded corners.
I also used some wood filler to fill any small voids and sanded that back.
Next I needed to cut some drawer runners. The drawer front had a slight lip at the bottom, so I measured that with the calipers and I used them to mark up the thickness I needed to rip at the tablesaw.
I lined that mark up with the blade, and set up a temporary fence using some hot glue to allow me to cut 2x equal thin strips for the bottom runners.
I cut them to length at the bandsaw and then glued them in place weighing them down until the glue set.
I also measured up for the top drawer runners and cut those in the same way, and those would be added later.
Next I prepped the drawer front ready for painting too. I scraped off the old finish with my card scraper and filled the old holes for the handles and any veneer chip out using wood filler.
Evolution sent me this heat gun recently, and I used this to speed up the drying time of the filler which worked really well, although the trick is to do this gently and not heat it up so much that the filler starts to bubble.
Finally I sanded it at 120 grit.
For the first coat of finish I chose some of this primer and undercoat.
I applied this quite thin and used long brush strokes to smooth everything over to get as good a finish as possible
When the primer was dry I sanded at 240 grit to keep everything smooth.
And then after blowing away the dust, I could apply the paint.
I had some grey paint in my shed already so I used that for the box.
After painting the bottom and sides I used these blocks of wood with a screw in them to prop up the box without damaging the paint too much so I could paint the top without first having to wait for the bottom to dry. The screws will leave some tiny marks on the paint but that didn't really matter on the bottom and the legs that get added later would cover the holes anyway.
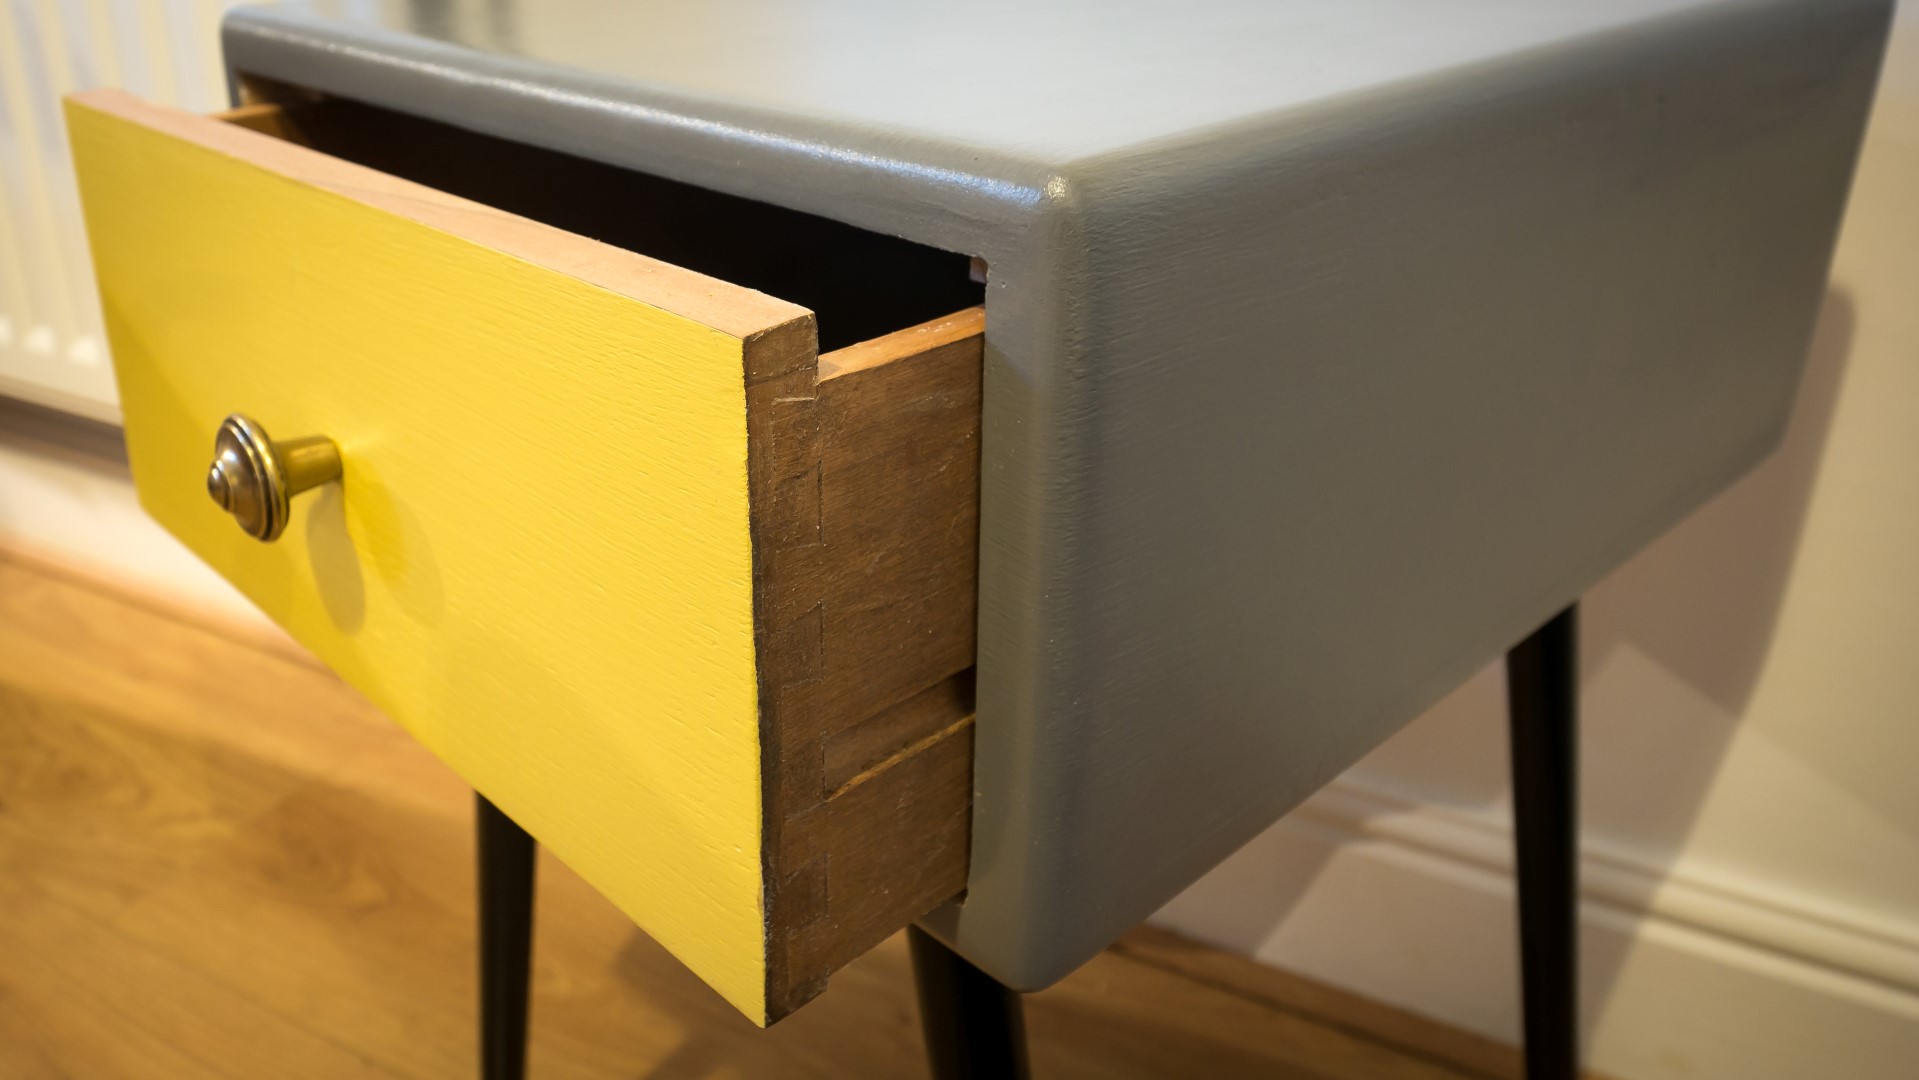
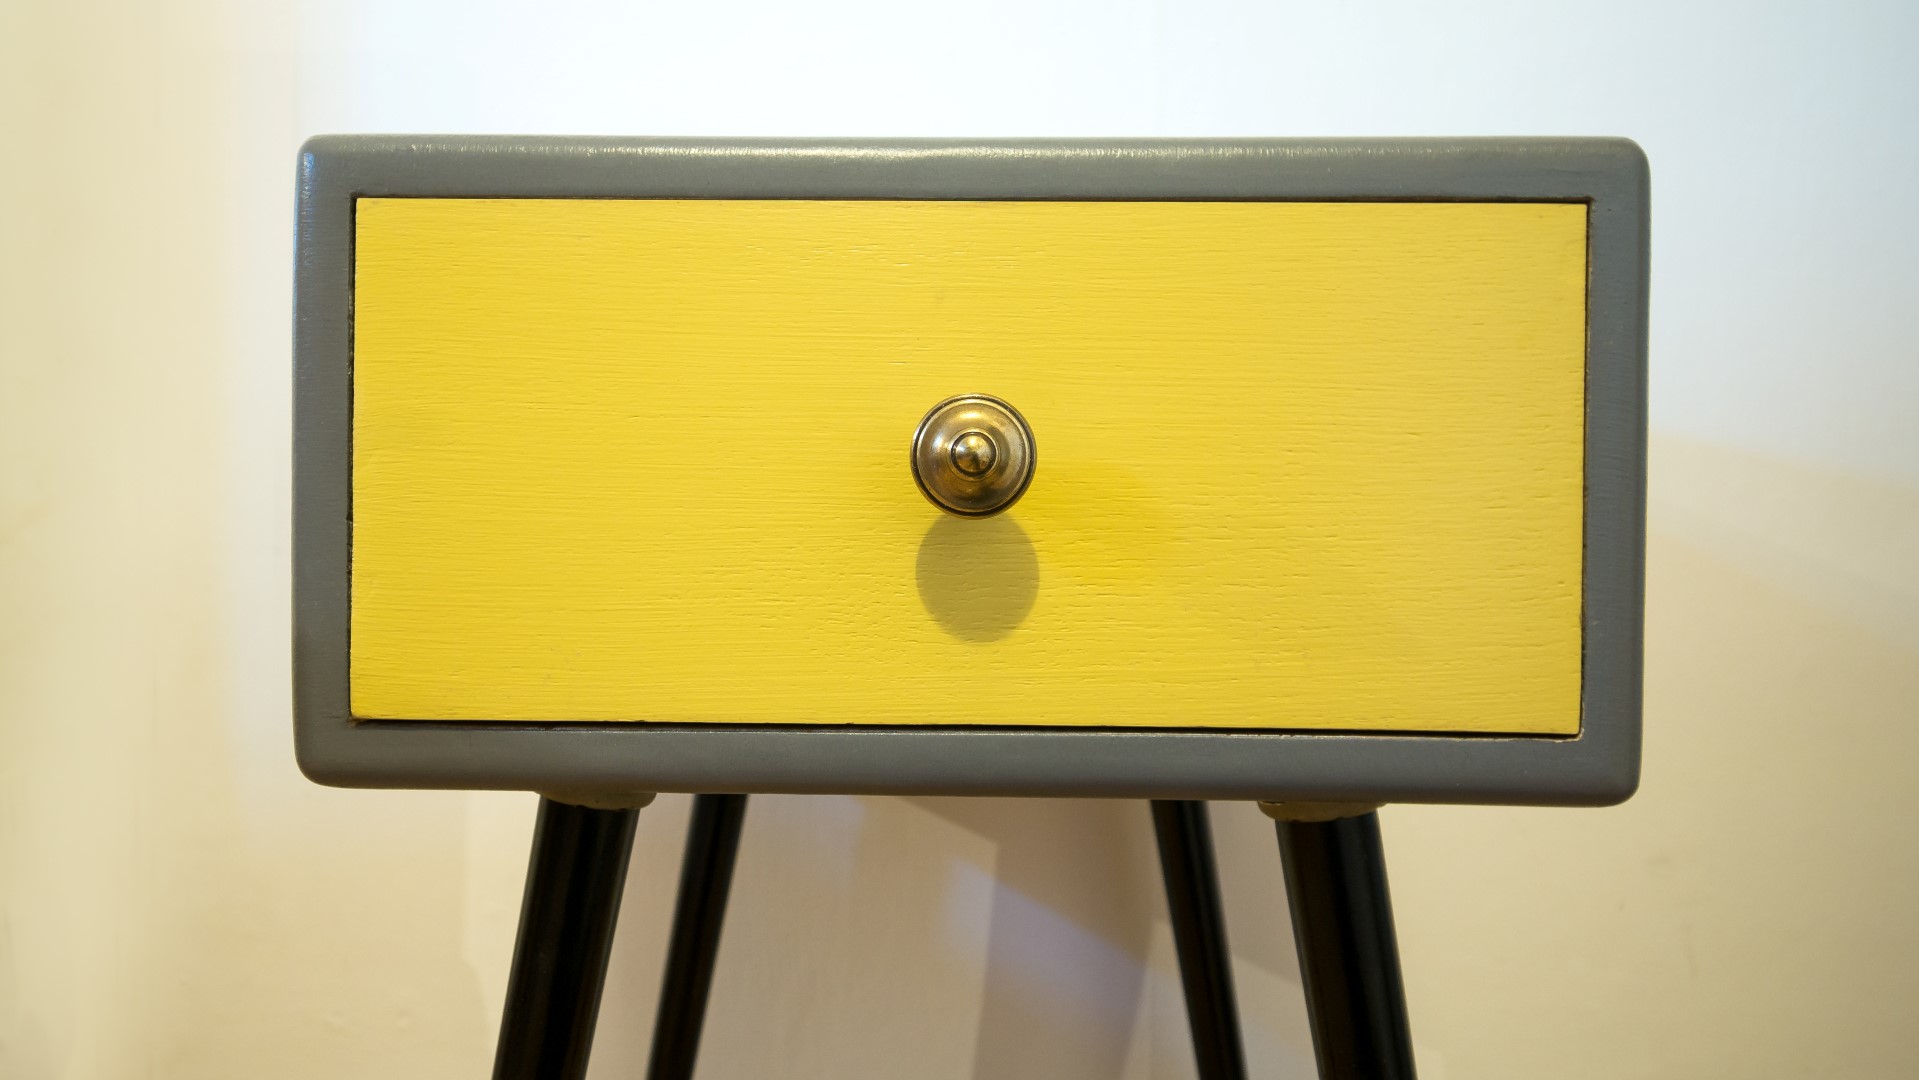
I chose this mustard colour for the drawer front, this is just a tester paint tube I bought for £1.50 and there was more than enough in this tube for the drawer front.
When the first coat of paint had dried I sanded with 400 grit paper, and applied a second coat. I stored my paint in a glass jar in between coats and used some cling film to keep the dust out and to save me having to clean the brush in between coats.
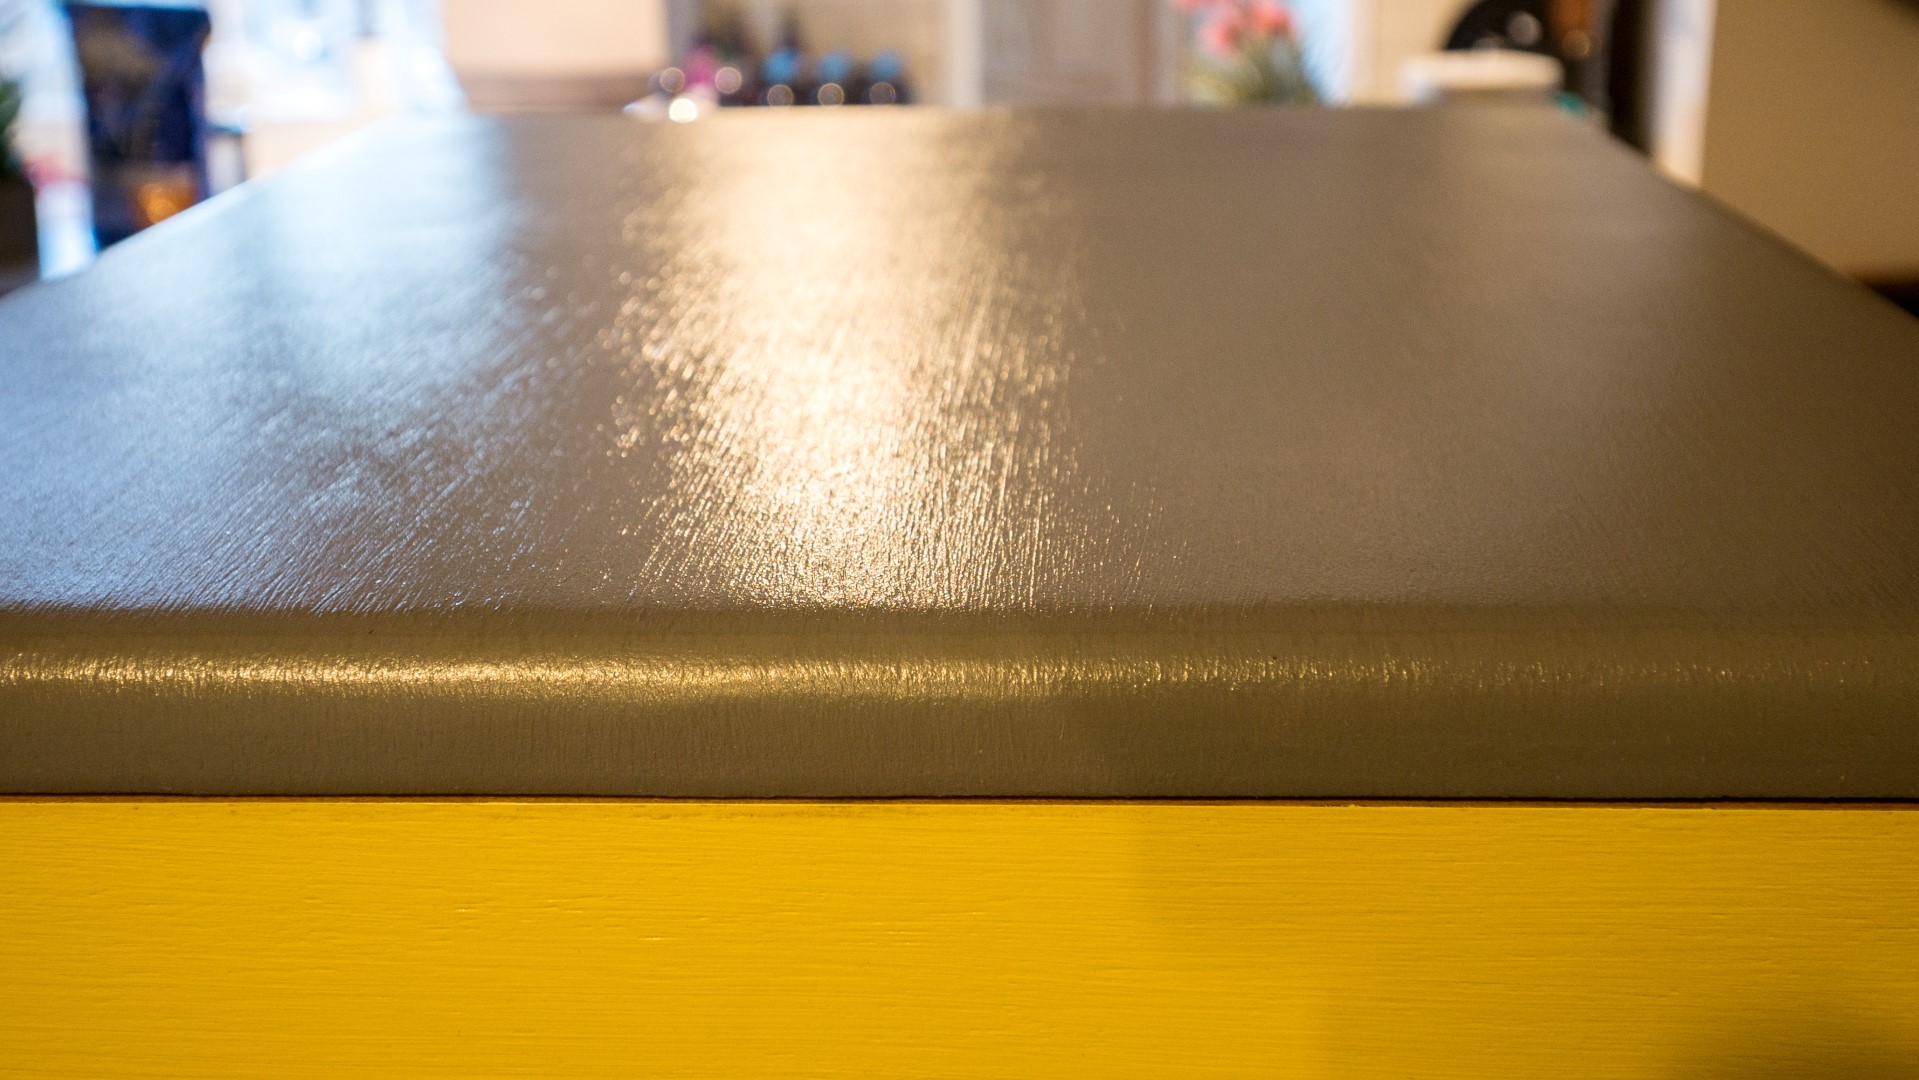
I used spray varnish as a final coat of finish to make the unit more hard wearing. I gave it four coats in total, de-nibbing in between coats with 600 grit and wiping away the dust ready for the next coat.
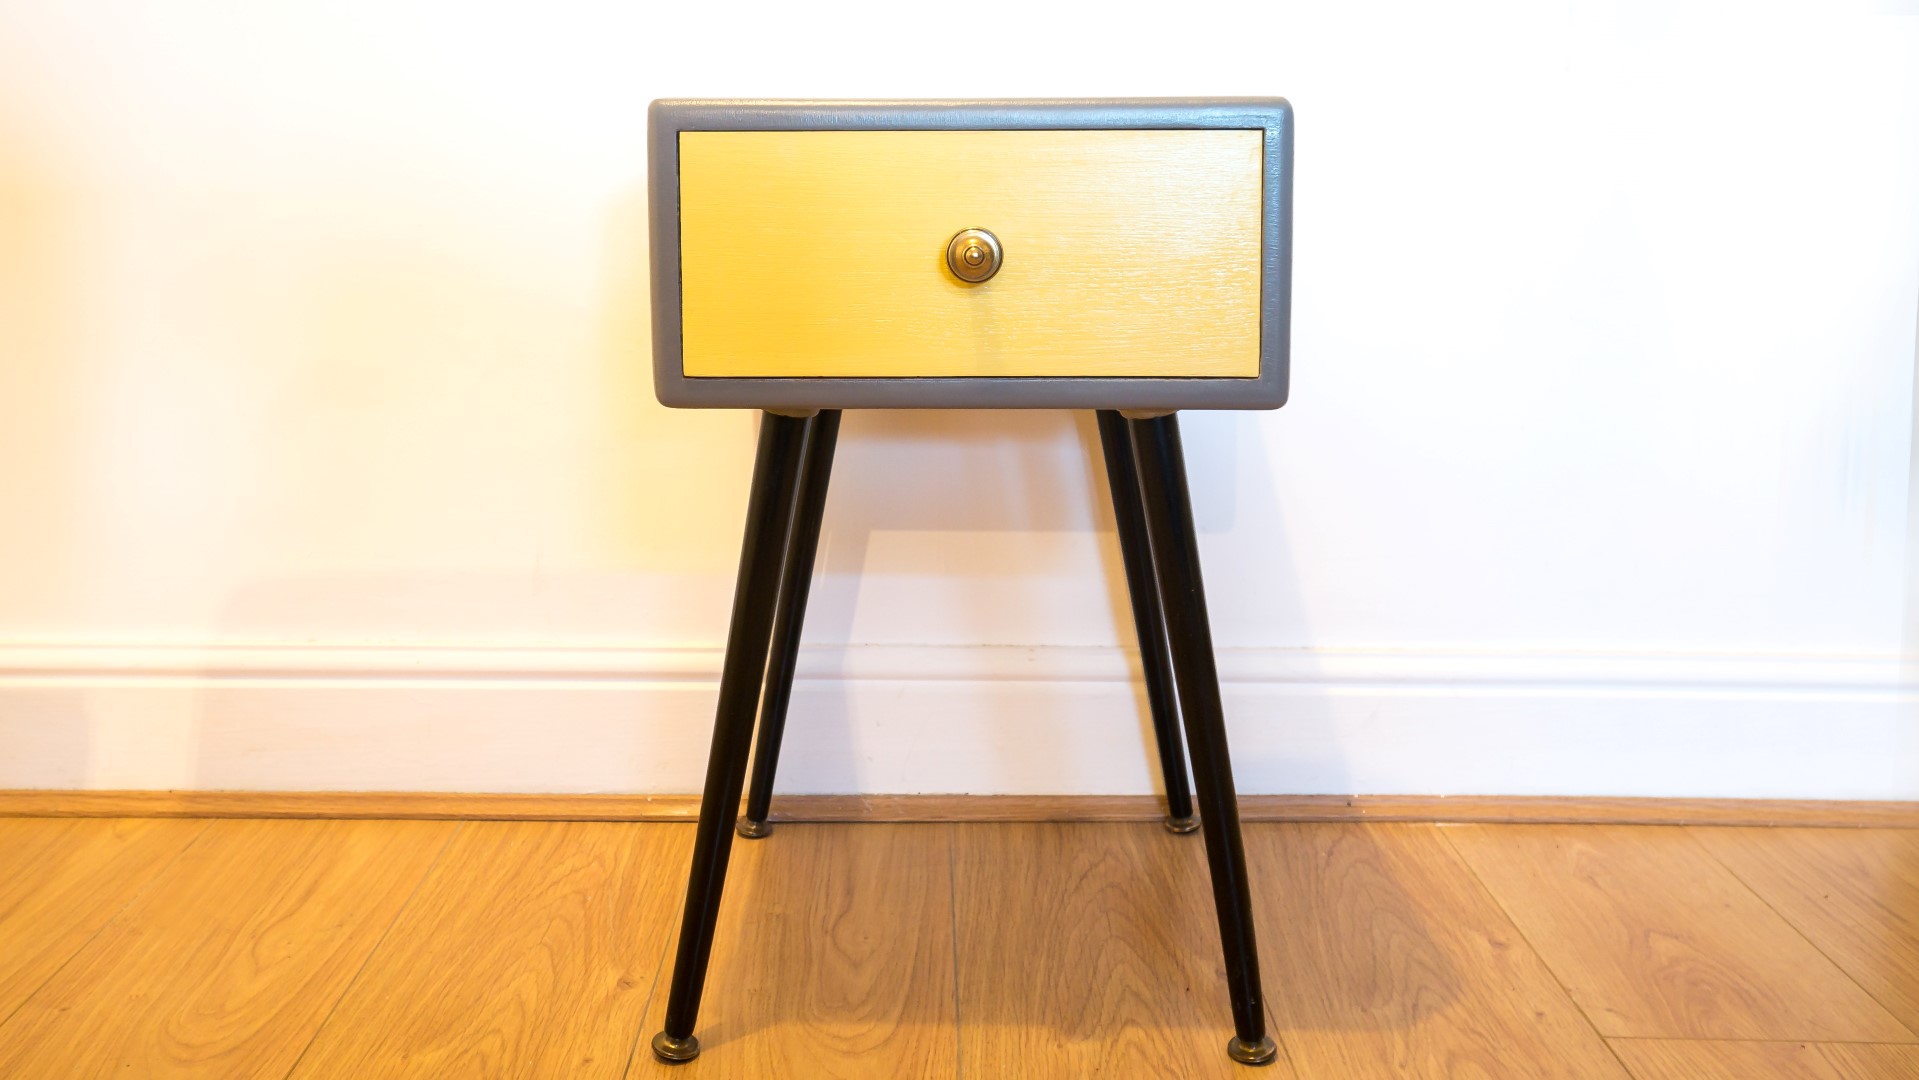
I bought some of these vintage screw on legs from eBay. Cost was around £15 and I figured it would cost me more than that in time to make them myself. They had brass feet but the brass needed a clean up so I used some 0000 to clean them up, here's how they looked before and after.
Next I could drill pilot holes and screw on the leg plates.
And then the legs could be screwed on.
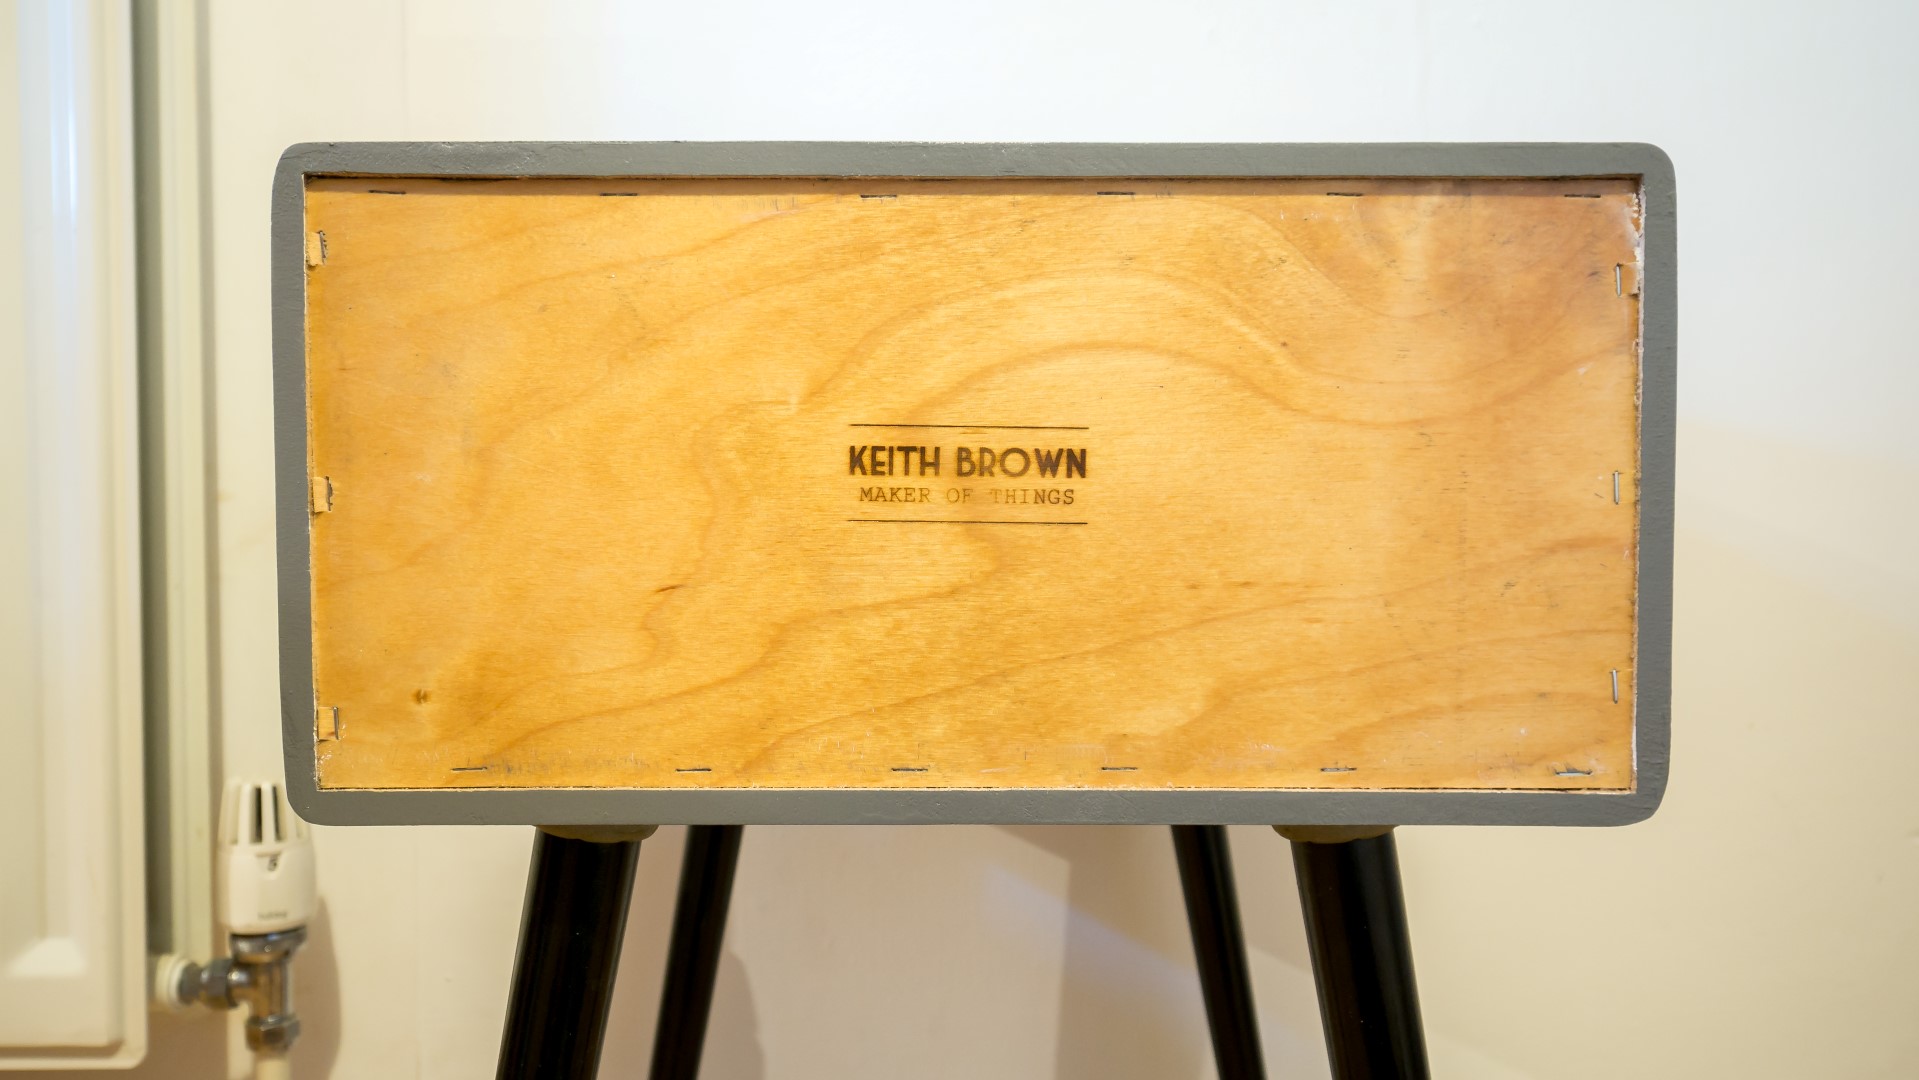
I heated up my branding iron with my blow torch and then stamped on my makers mark to the back.
Then I could apply the upper drawer runners that I cut earlier so those were glued in place and weighed down until the glue set.
I applied some candle wax to the top, bottom and sides of the drawers to help it slide in.
I used my block plane for that.
I chose a brass handle for the drawer to match the brass feet on the legs.
I found the centre of the drawer front, drilled a hole for the bolt and then screwed on the handle.
This project took around 10 hours to complete. I think I'll probably end up selling this one at a bit of a loss as it look so long to do and I don't think anyone will be prepared to pay what I would normally charge for the amount of time I put in to it.
I am really pleased with how it turned out, particularly with the paint finish as it's the first painted project I've done where I've been really happy with the finish I achieved. Applying the primer and paint thin and sanding in between coats is key to getting a nice smooth finish. It is a bit of a shame that I had to paint it though, it would have been nice to make a feature of the solid wood but unfortunately those stains were too deep inside the wood to do anything about it.
I made the silly mistake of cutting the drawer runners flush with the front of the box - that was just a case of me not thinking it through properly, but the oscillating tool came to the rescue again.
This is now available for sale on my Etsy shop - I wasn't sure what to call it - it could either be used as a side table or a bedside table, but anyway, hopefully someone out there will like it enough to buy it and give it a new home.
Images: