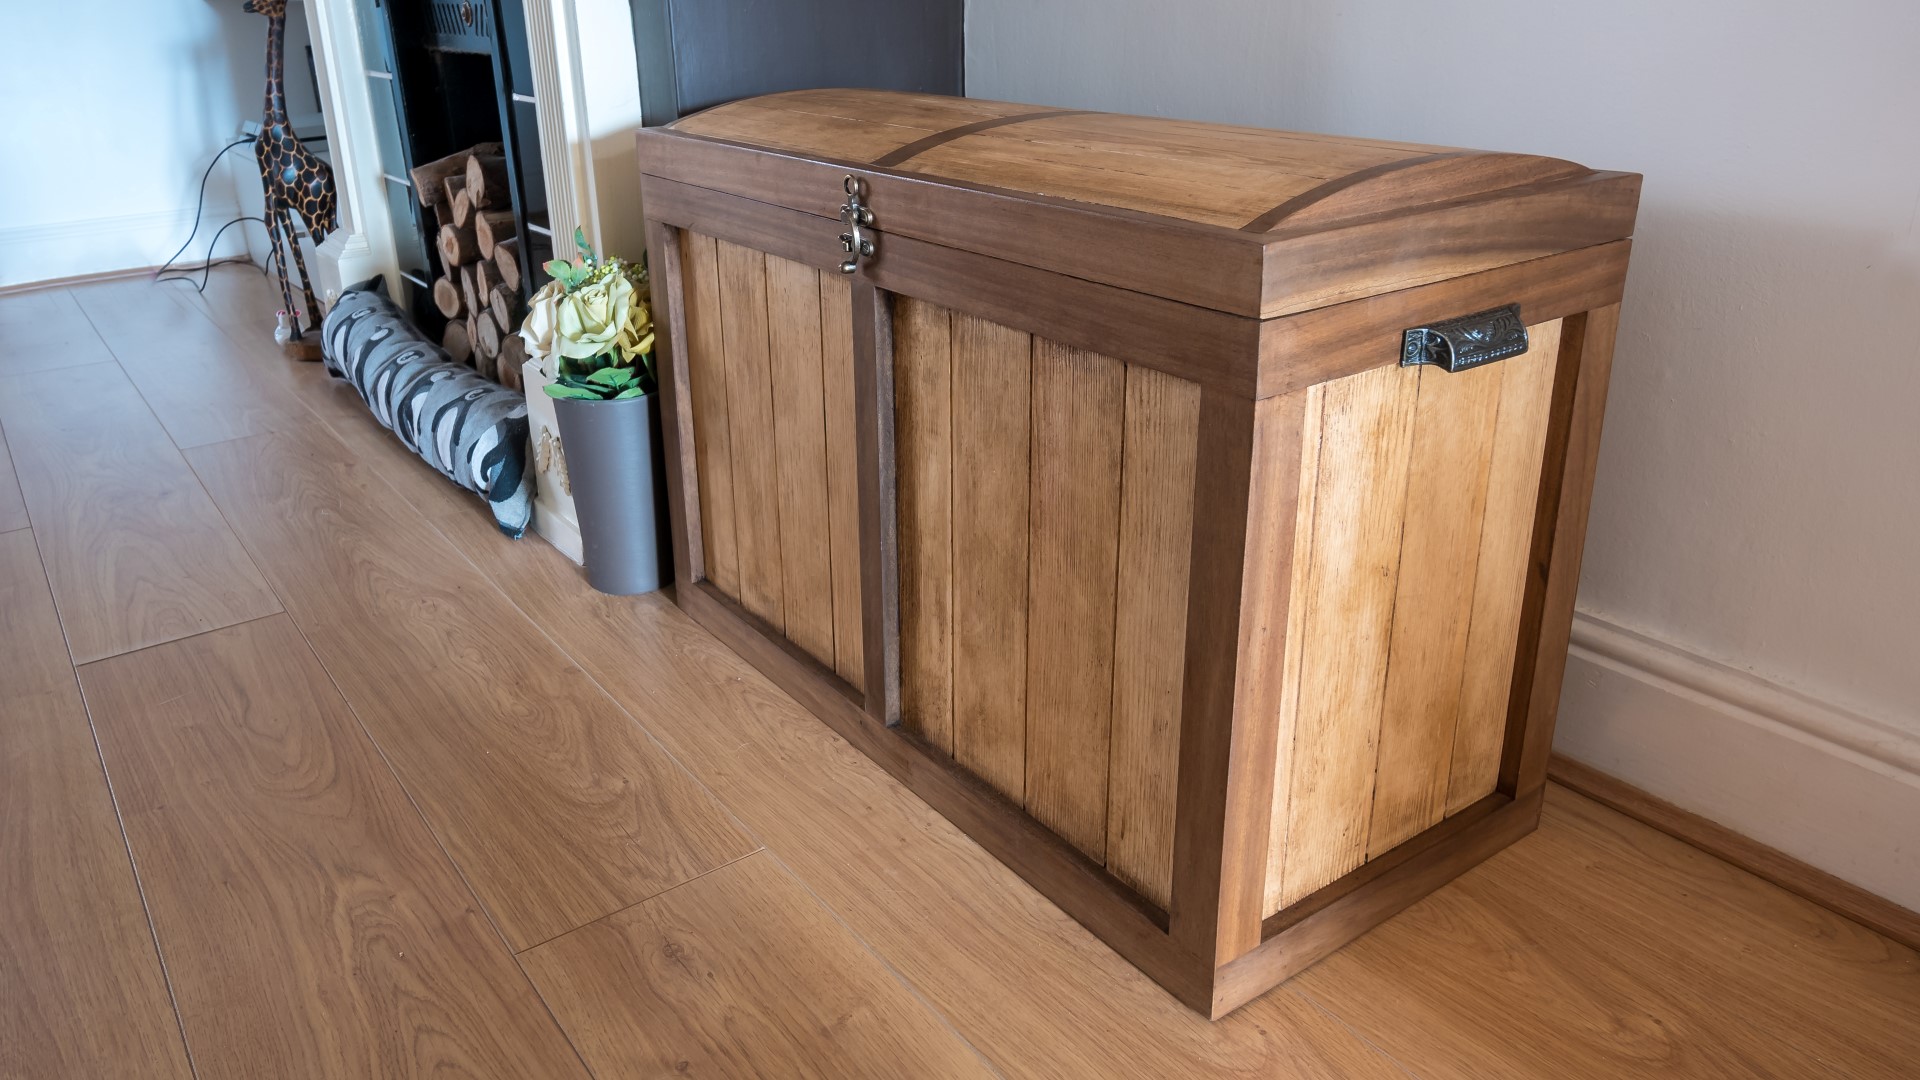
In this video I start making a blanket box in the style of a treasure chest using a donated slab of sapele and some pieces of pine from my workshop.
I started by drawing up a 3D model of what I wanted to make in SketchUp.
Then I ripped the sapele in to 40mm thick strips, thickness planed them so that they were 40mm x 40mm, and then cut a 12mm x 12mm rebate joint along the full length of each piece on the tablesaw.
I then cut 45 degree mitres at the mitre station to create 3x rectangles with rebates in them : 1 for the bottom of the box, one for the top of the box and one for the lid. I also cut upright corner pieces to form the box out of the same lengths of sapele.
Then I could assemble the rectangles using glue and tape, and a couple of brad nails.
I glued to corner posts in place to form the box, keeping the edges as flush as possible,
Then I cut a bottom panel for the box from some oak veneered plywood, and that was glued and nailed in to the rebate joint at the bottom of the box.
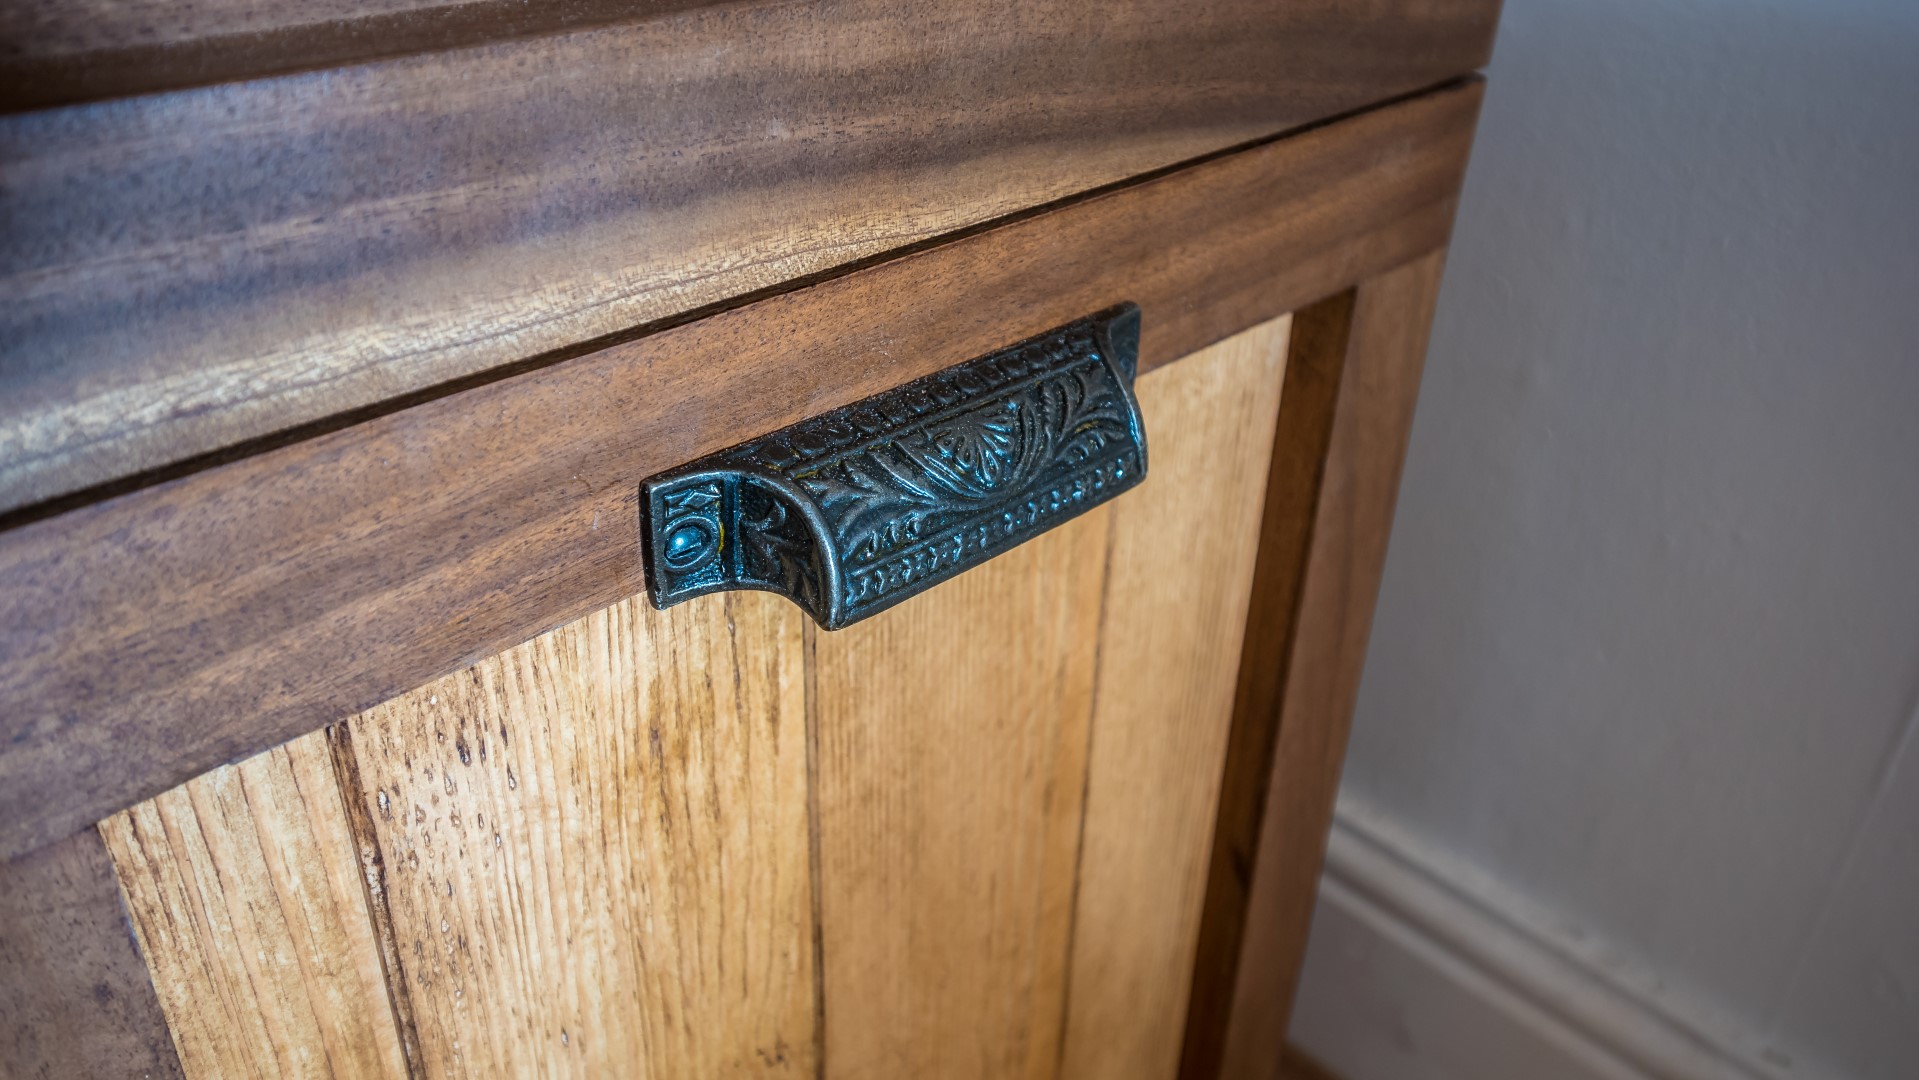
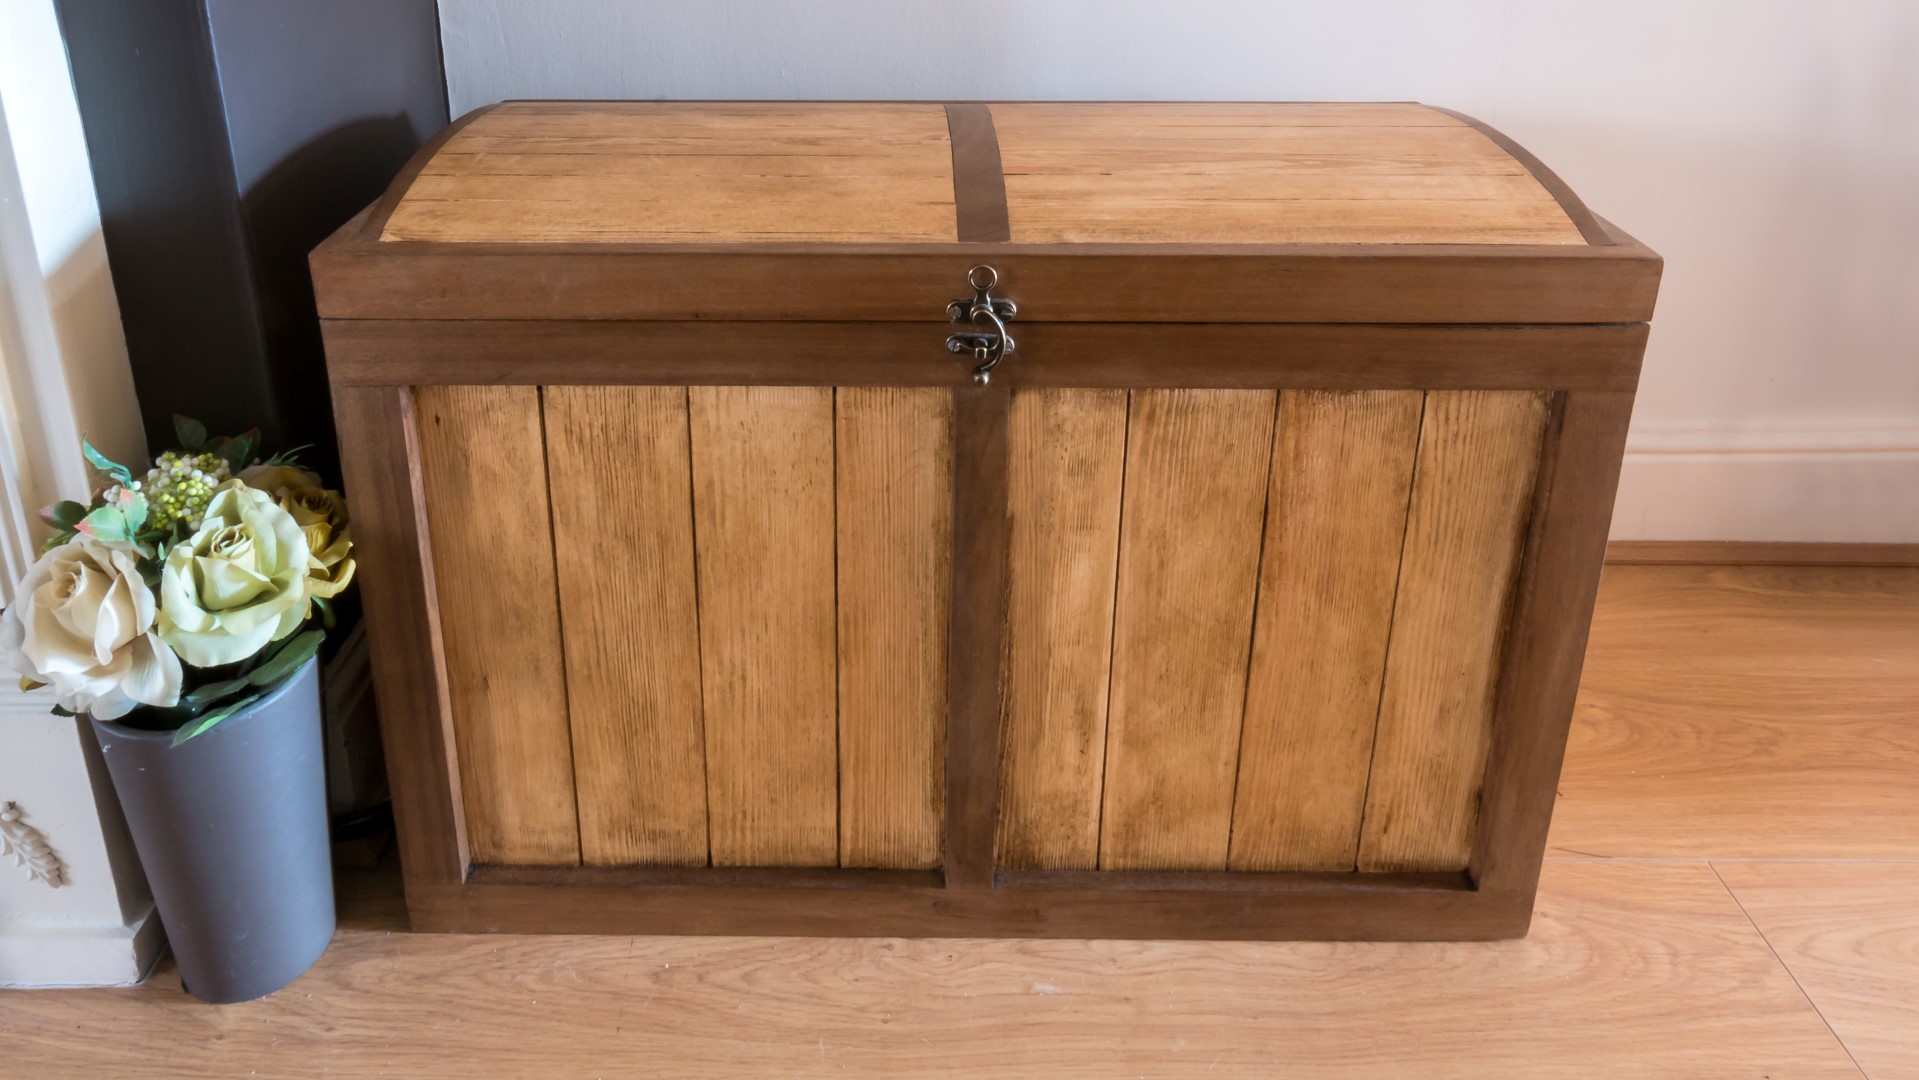
Next I started to rip lots of pine to clad the box, I used the bandsaw to resaw some of it in half to give me more material and each piece of cladding ended up around 12mm thick,
Then I could glue and brad nail the cladding from the inside, and it sits within the rebate joints - nice and tidy.
With the box assembled, I needed to start working on the lid. I started by using a salvaged piece of a drop leaf table top to draw an arc on to some more sapele that would fit within the rebate joints of the lid rectangle. I cut out the arcs on the bandsaw and shaped them on the bench top sander.
Images: