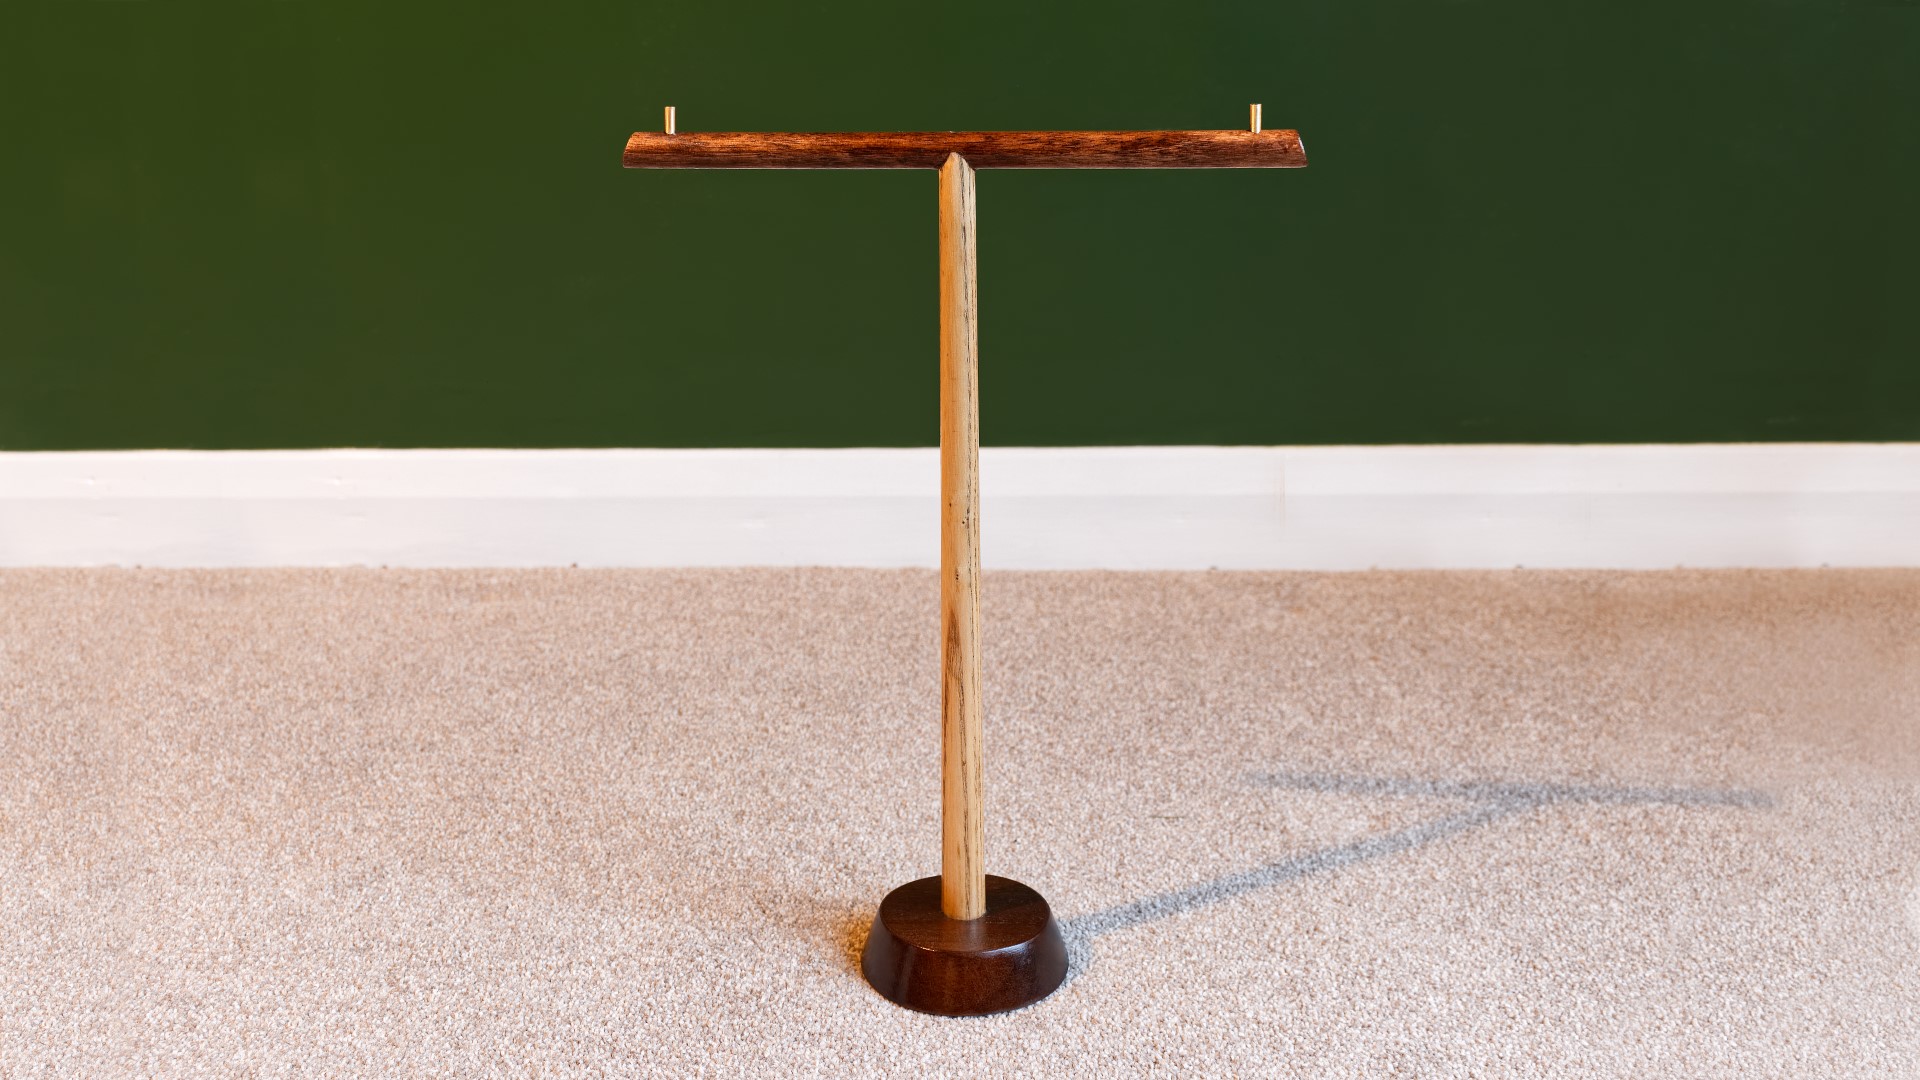
In this video I make a necklace stand as a Christmas gift using salvaged wood and some brass dowels
First I went looking for materials to use - and I found some snooker cue offcuts from a previous project and some dowel.
I applied some hot glue to a piece of scrap chipboard and then I could stick the workpiece on but in order to account for the taper of the cue I did this at a very slight angle so that there was a small gap on one side and no gap at the other end. And that's because I want to drill through this at a 90 degree angle, or as close to that as possible - I just did that by eye.
Then over at the pillar drill I tried to line up the tip of a 12mm brad point drill bit to the centre of the cue, and used that to cut the joint.
I removed the rejects
And then I could cut away the waste on the best one using my japanese pull saw.
Next I removed all the finish from the snooker cues using my carbide scraper which takes very fine shavings to expose the bear wood. And then I followed that up with a bit of sanding at 100 grit.
Here I'm trying to decide how long to make the upright piece, and I decided that about 300mm would be a good size, but I was conscious that I would need to match the diameter of the bottom of the workpiece to the size of one of my drill bits so I measured with my calipers and found an area close to that that measured 18mm and that's where I decided to cut it.
Next I went looking through my small offcuts bin to find something to use for the base, and I found a nice piece of sapele, this was the offcut from the new jaws which I made for my vice recently.
I used a compass to mark up a circle as big as I could possibly get out of this workpiece, and then I cut that out at the bandsaw making sure to cut on the outside of the line.
I decided I'd add a taper to the base to add a little more visual interest, so I tilted the table of my disc sander and then I could shape that taper by sanding up to the line.
That turned out pretty nice.
Rather than use an 18mm bit, I started with a 16mm auger bit to drill out the centre hole to try and match what would be the narrower end of the taper.
And then I used a tapered step cutter bit to ream out the other side to 18mm.
Then I did a test fit, and I knew it wasn't going to fit, and that's a good thing at this point, but I wanted to see how close it was. I could then refine the taper using a round file.
I kept doing test fits, and then removed a bit more material until it pushed in fully.
Here's I'm adding some masking tape just to protect the base from the adhesive I'll be adding, and I cut out the hole with a knife.
And then I mixed up some 2 part epoxy, which I chose to use partly because of it's quick curing time, it sets in about 5 minutes, and partly because it's a good gap filling adhesive, so if the joint isn't perfect, it'll still bond really well.
After adding the upright piece, I then used a small square just to check that the upright was sitting plum, but again because it's tapered, I'm just kind of eyeballing that the gap at the top is consistent all the way around, and I made adjustments as necessary.
While waiting for that to cure, I could work more on the top cross piece, first I added a taper to the ends to match the taper used on the base at the disc sander. And I cleaned that up with some hand sanding.
I also decided to apply a stain to try and match the colour of the sapele base, and I just applied that with a cotton cloth.
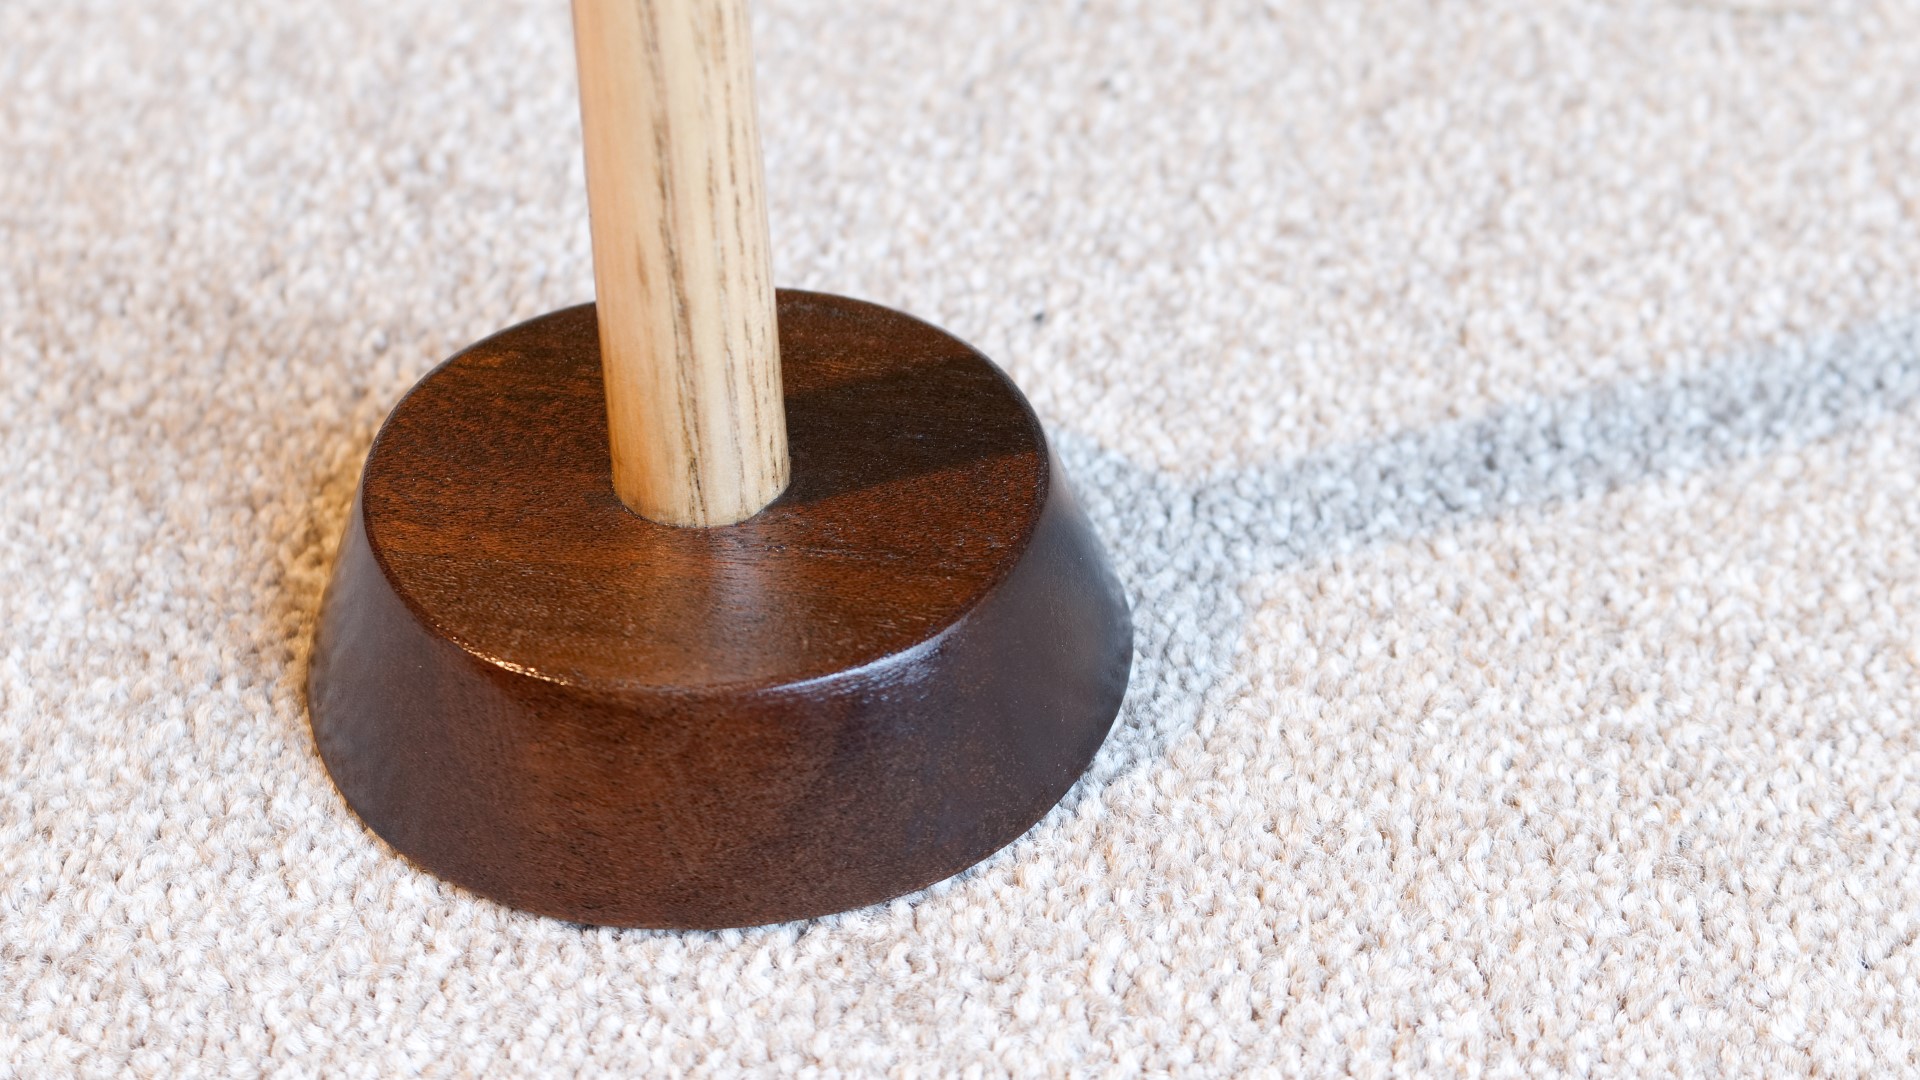
By that point the epoxy had cured and I could sand the bottom of the base flush at the belt sander.
And I did a bit of hand sanding to ease over the sharp edges on the base.
Then I marked up a centre point on the top piece, and I added some more epoxy to secure that in place lining up the pencil mark to the centre as closely as possible.
And again I used my small square here to check that it was sitting level, again accounting for the taper.
Once that was cured, I applied finish to the whole thing, and I'm using hard wax oil here, applying as thin a coat as possible as per the instructions on the tin. I really love the way sapele looks with an oil finish, I can't get enough of it.
So that was all I got done on that particular day, and after giving this project some thought I felt it needed a little something extra, so I bought some of this 4mm brass dowel.
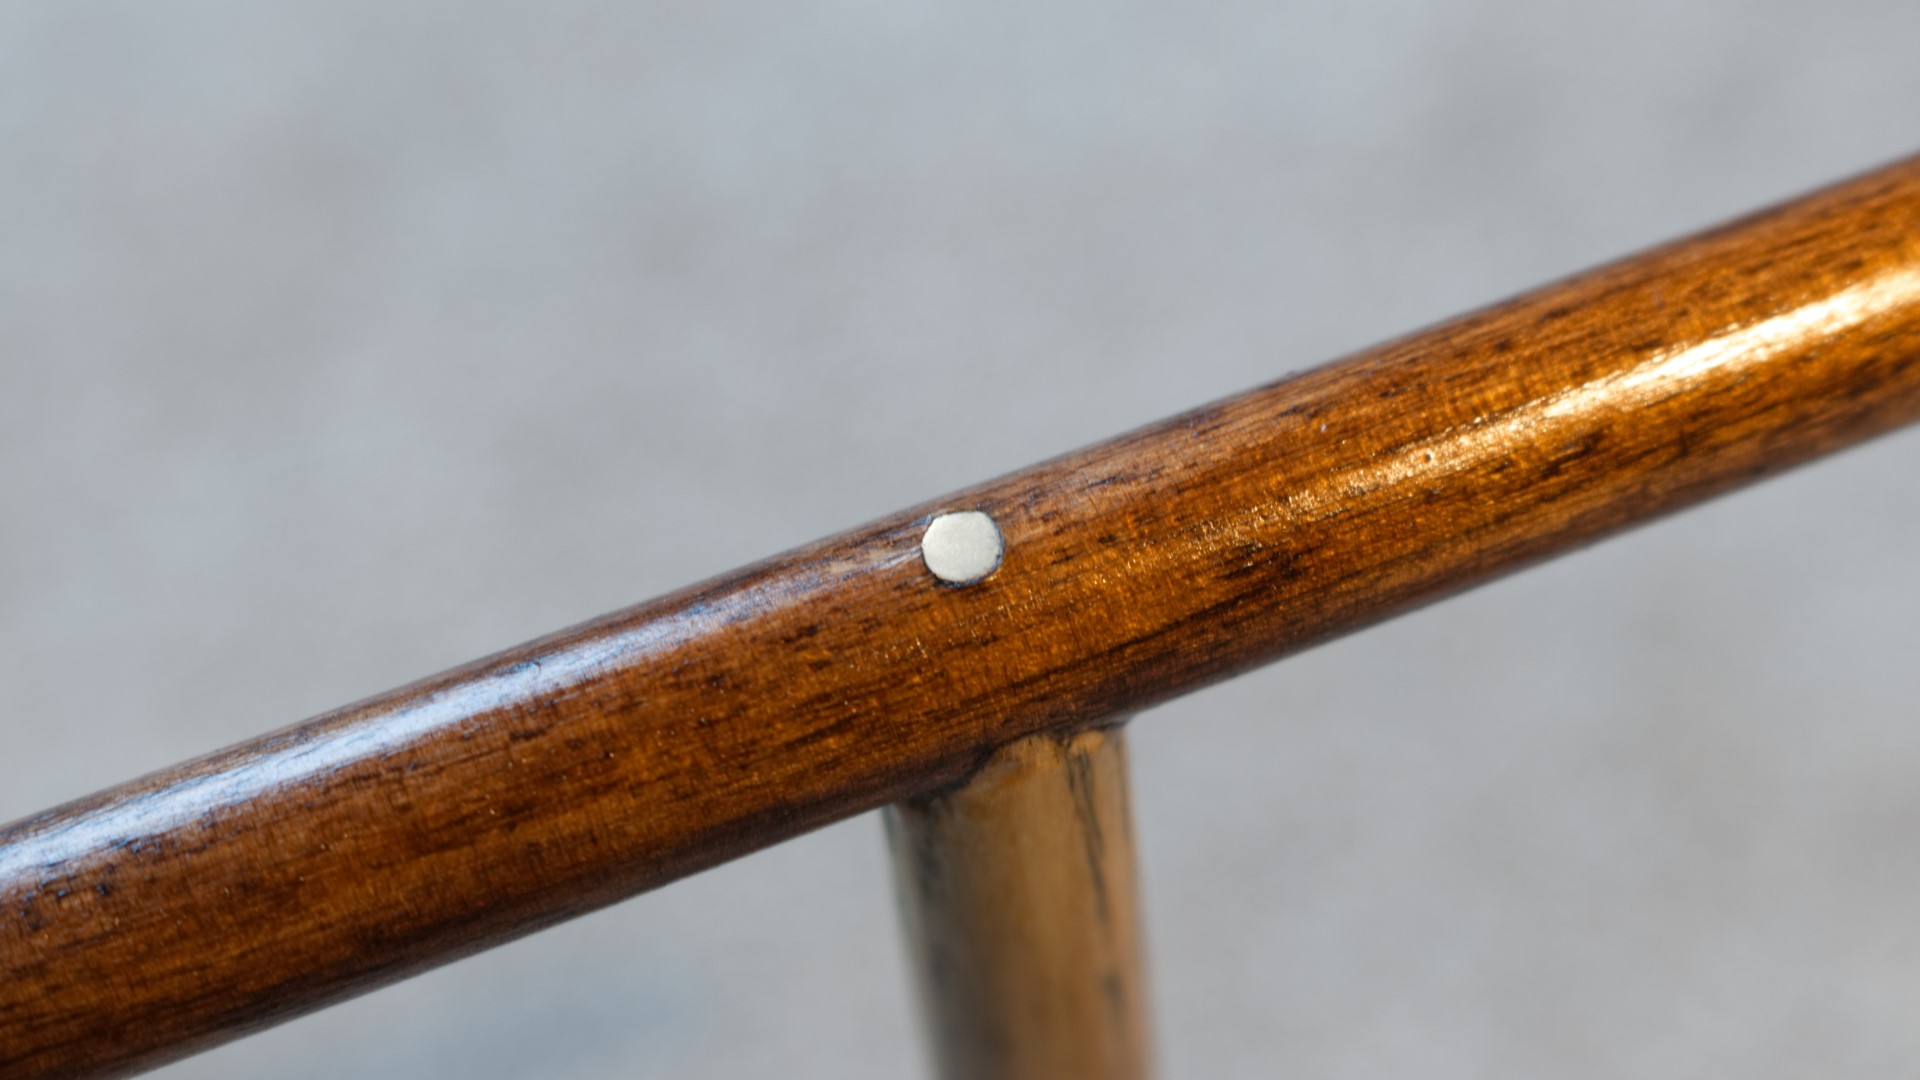
I'd use this firstly to re-enforce the joint at the top because I was a bit worried it might not be strong enough. I first drilled a small pilot hole through the top being careful to hold the drill bit as plum as I could.
And then I drilled it out to 4mm to accommodate the dowel.
I cut some of the brass to length using hacksaw
And I that cut left some burrs so I filed those away and tapered the end slightly to make it easier to insert in the hole
And at the other end I filed it flat first to polish it up a bit. And to polish it even more to get it super shiny, I used 240, 400 and then 600 grit wet and dry paper.
And then to take it to the next levelof shinyness, I used my leather strop loaded with some polishing compound. And then it was really reflective and looked good.
I added some epoxy, and then I could hit it in with my mallet until it was flush with the top, I did get a bit of chip out here from the drilling as you can see, so later on I touched that up with some careful sanding, stain and finish.
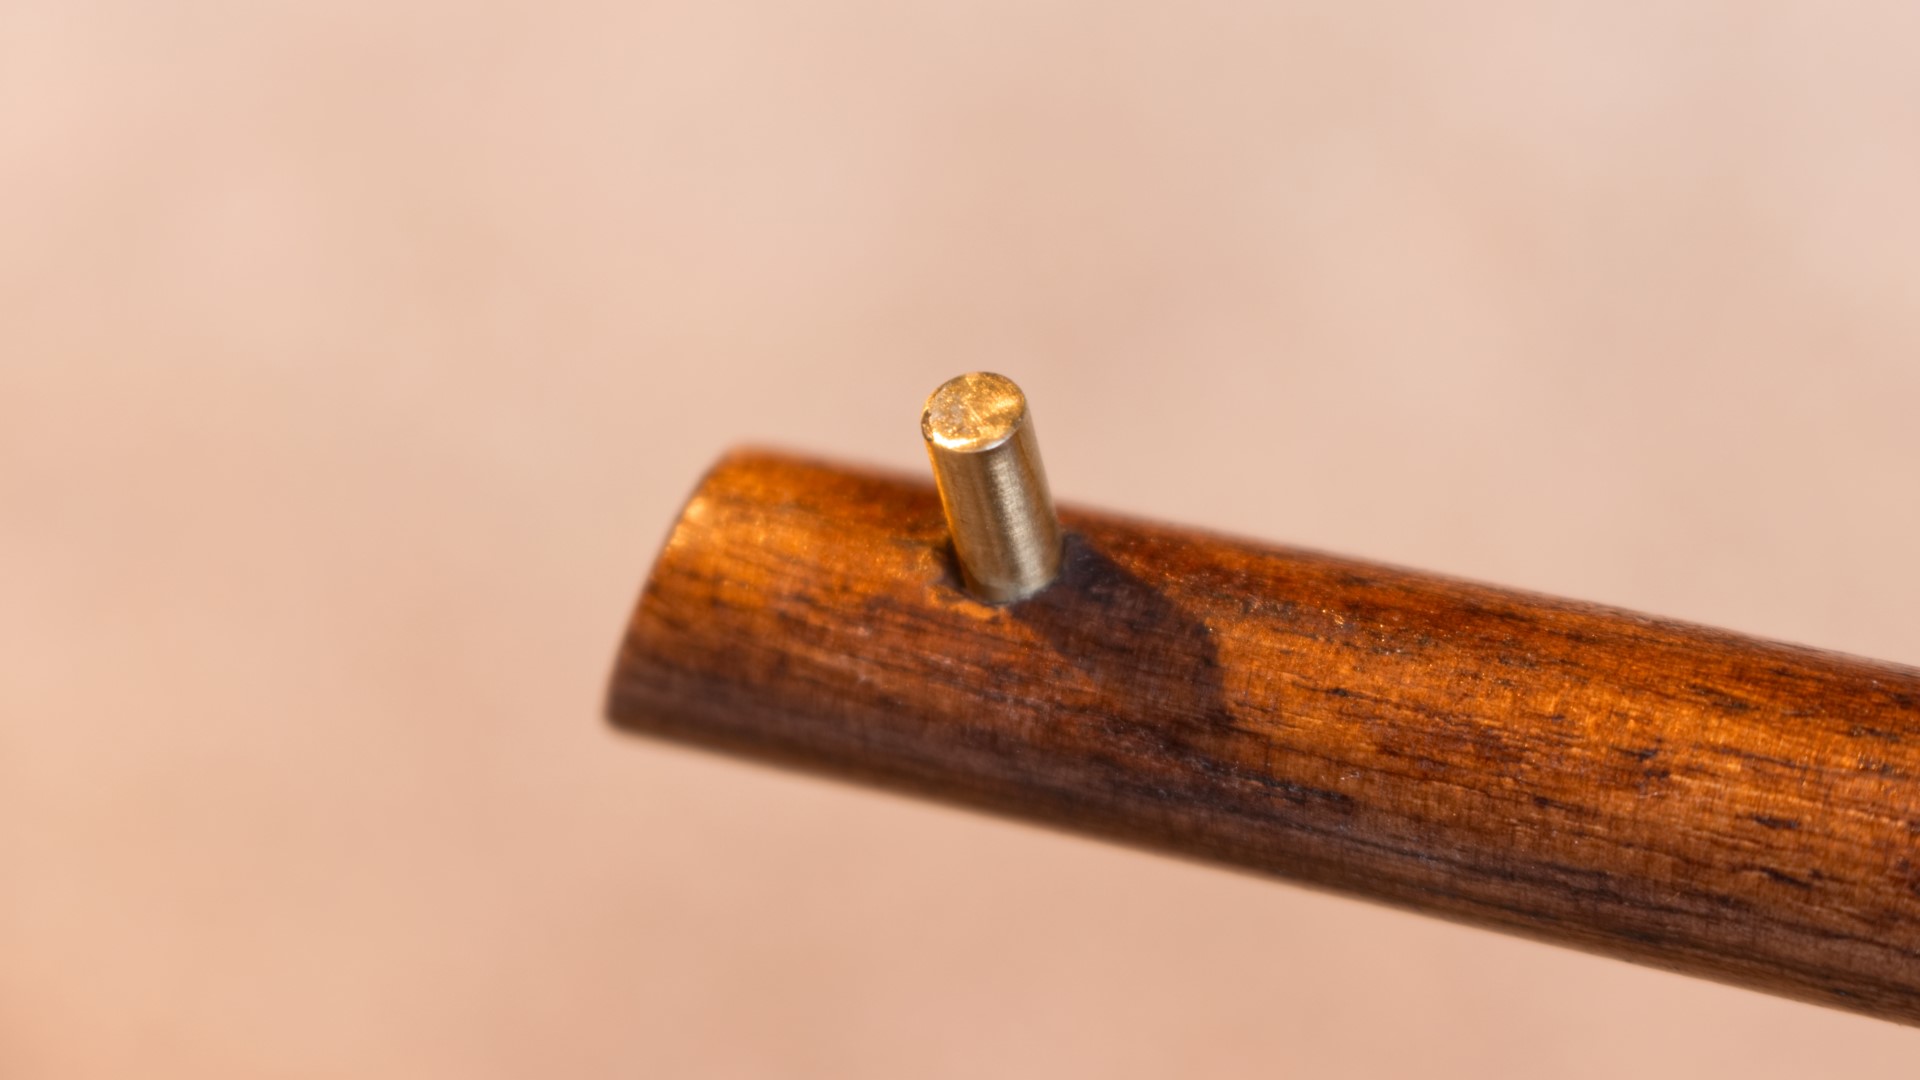
I'd also use the brass dowel as stop pins at each end of the top piece to stop the necklaces from sliding off, and these holes would have been much easier to drill before the project was assembled, but this is just the way things go when you make a project with very little planning. This time, I chucked up the dowels in to my drill, and used that to polish up the brass which worked great.
And this time I used a drop of super glue to in the hole to hold these pins in place. I seated them using the vise, and the brass looked really good againt the dark wood.
Images: