Dressmakers Fabric Scissors and Thread Snip Set: https://amzn.to/351Cx7U (UK) https://amzn.to/38qb7Lg (US) As an Amazon Associate I earn from qualifying purchases
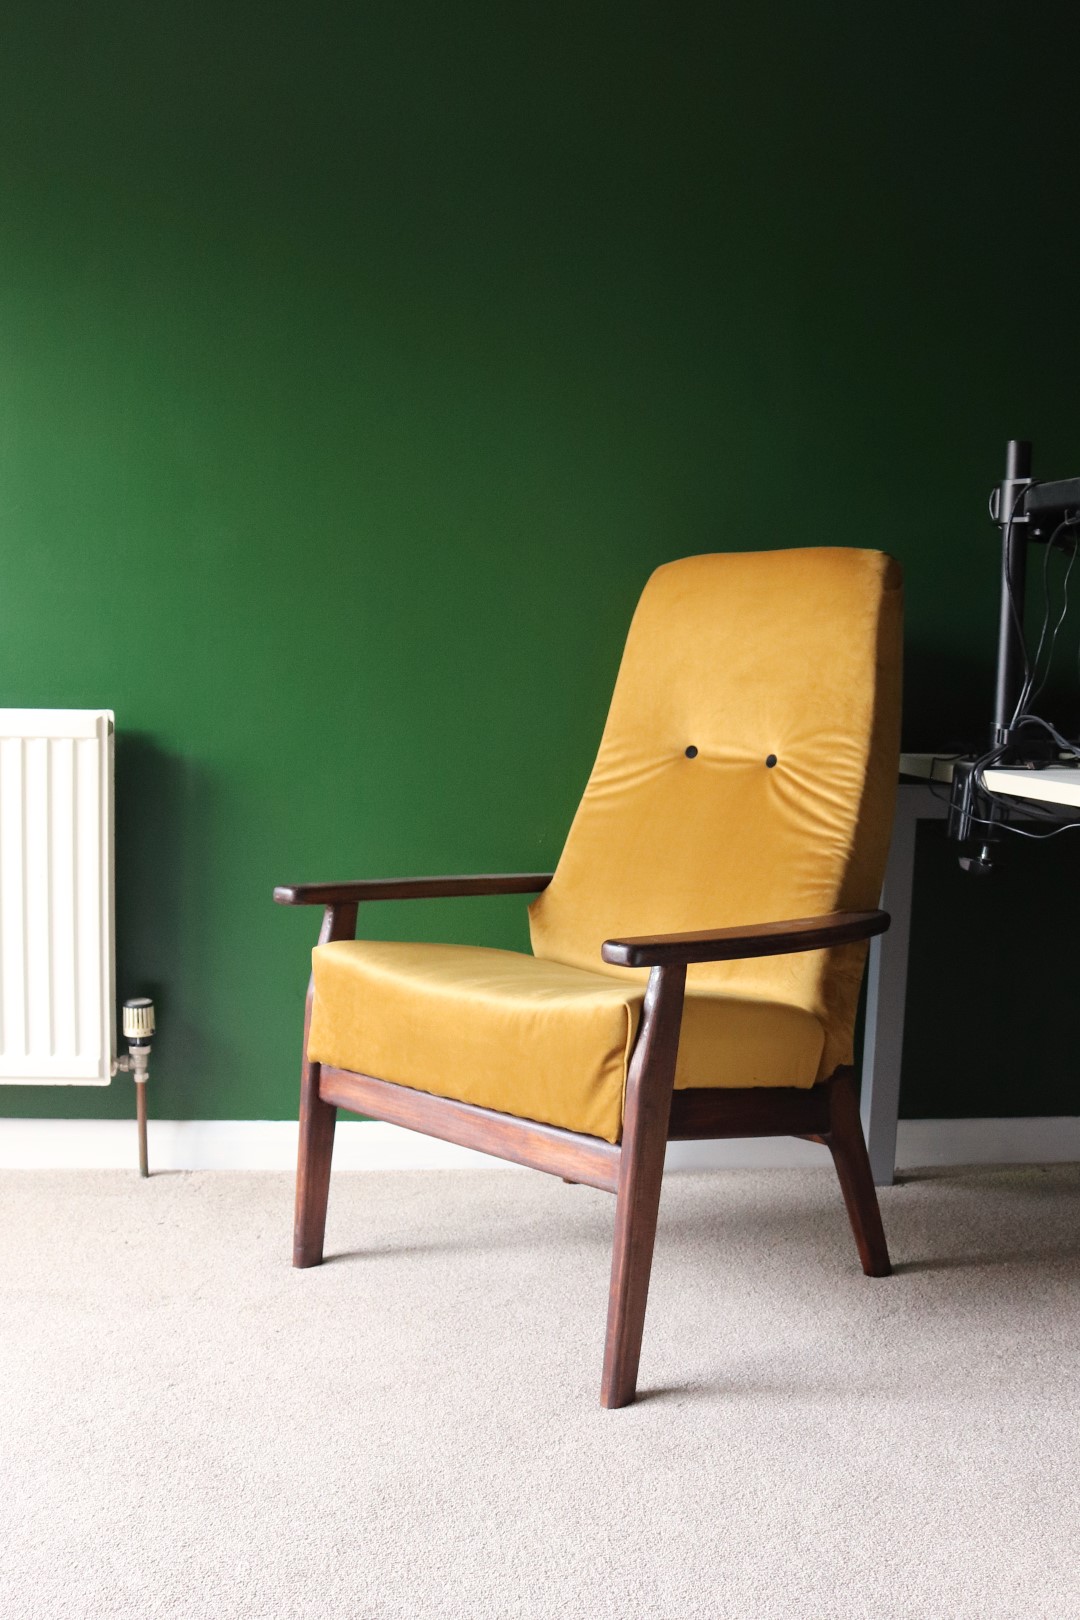
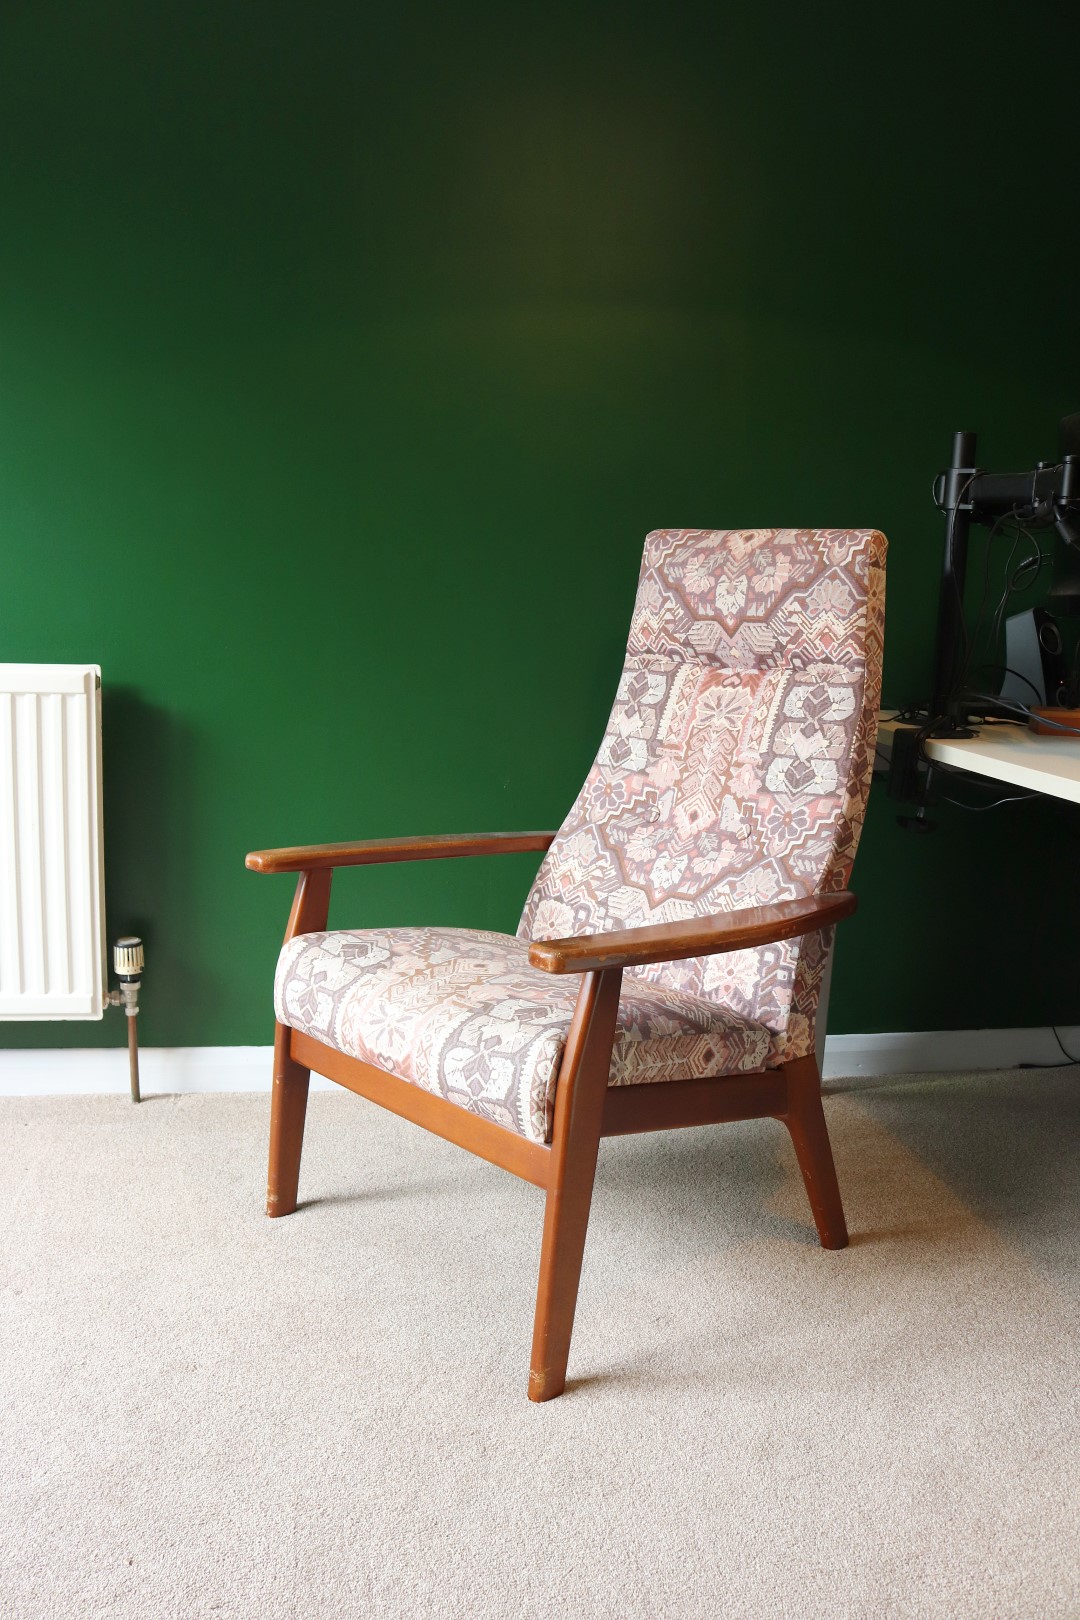
In this video I'll be restoring and re-upholstering a Parker Knoll armchair. I picked this up on eBay locally to me and I won it for just £5 - I've been looking for one for a while for our office. As you can see the fabric on it at the moment is pretty nasty, and the wooden frame is badly warn.
I decided to invest in some decent upholstery scissors for this project, and they came with some thread snips too, I'll leave a link to this set in the description box below if you're interested, I'm really happy with them.
First I used the thread snips to remove the fabric on the back of the chair.
That revealed the wooden frame on the inside which I found out was solid beech.
The backrest was a shaped piece of hardboard. And on it was a date stamp, 26th April 1979, perhaps that is when it left the factory.
The rest of the fabric was all held in place with staples, and I worked those loose one by one with a screw driver.
And then I pulled them out with my pincers.
Underneath the fabric was some wadding which was in good shape and underneath that was the foam, which was pretty worn and depleted so I decided that I would replace all the foam on this chair. It was held on with some glue at the top, but the rest came off easily.
There were a couple of buttons which needed to be removed too and I'll replace those later on
Next I removed the screws which were holding the seat frame in place through from the bottom of the frame.
There were yet more staples to remove, and more foam to replace, but underneath there were some strips of rubber supporting the seat which were in good order, they were still nice and tight which was good.
With all the fabric removed I could start cleaning up the wooden frame of the chair, I used a card scraper to remove what was left of the old finish and it came off pretty easily. Fortunately all the glue joints on the frame of the chair were still nice and solid, this is a very well made chair, so I didn't need to re-glue any joints which was nice.
I used my carbide scraper tool to get in to all the awkward to reach areas. You can find a links to a lot of the tools I use in the description box below if you're interested.
With all the finish removed, I sanded the frame by hand with some 100 grit paper ro smooth everything over and remove and last traces of the old finish.
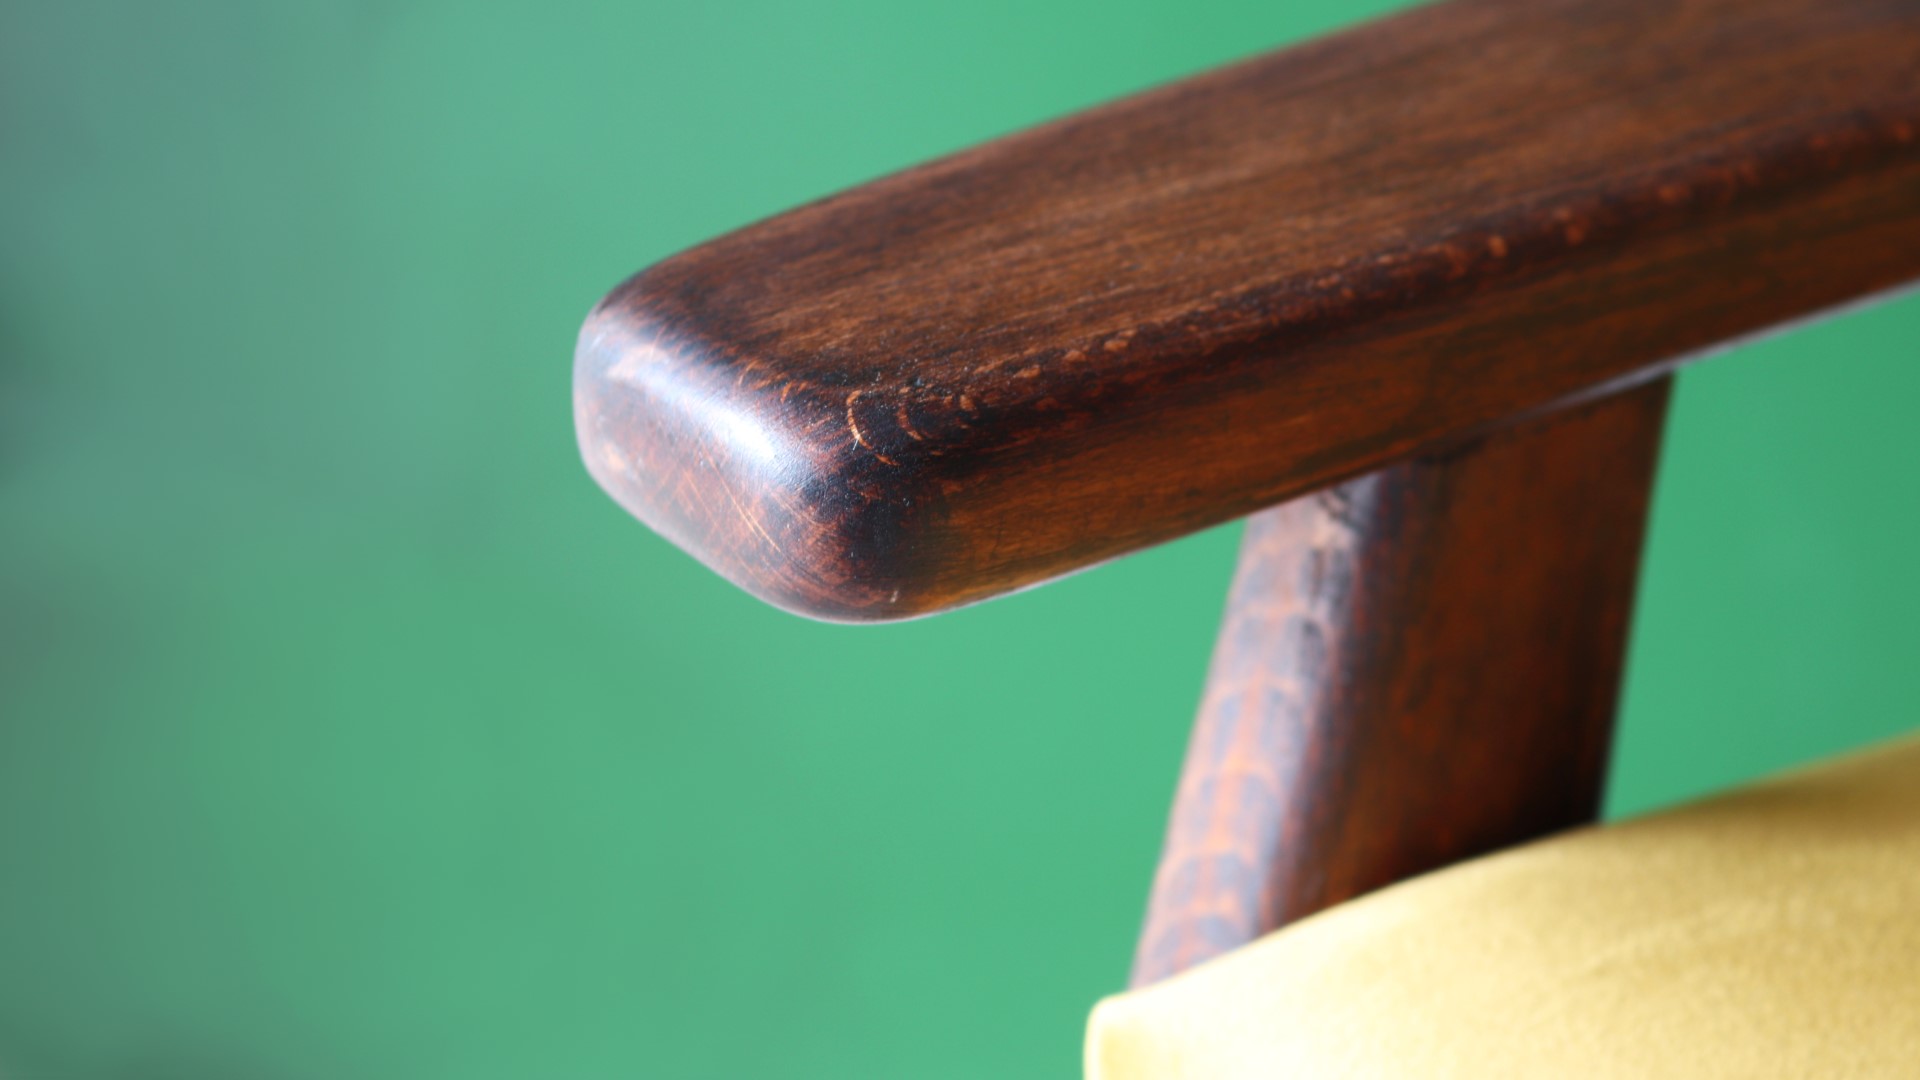
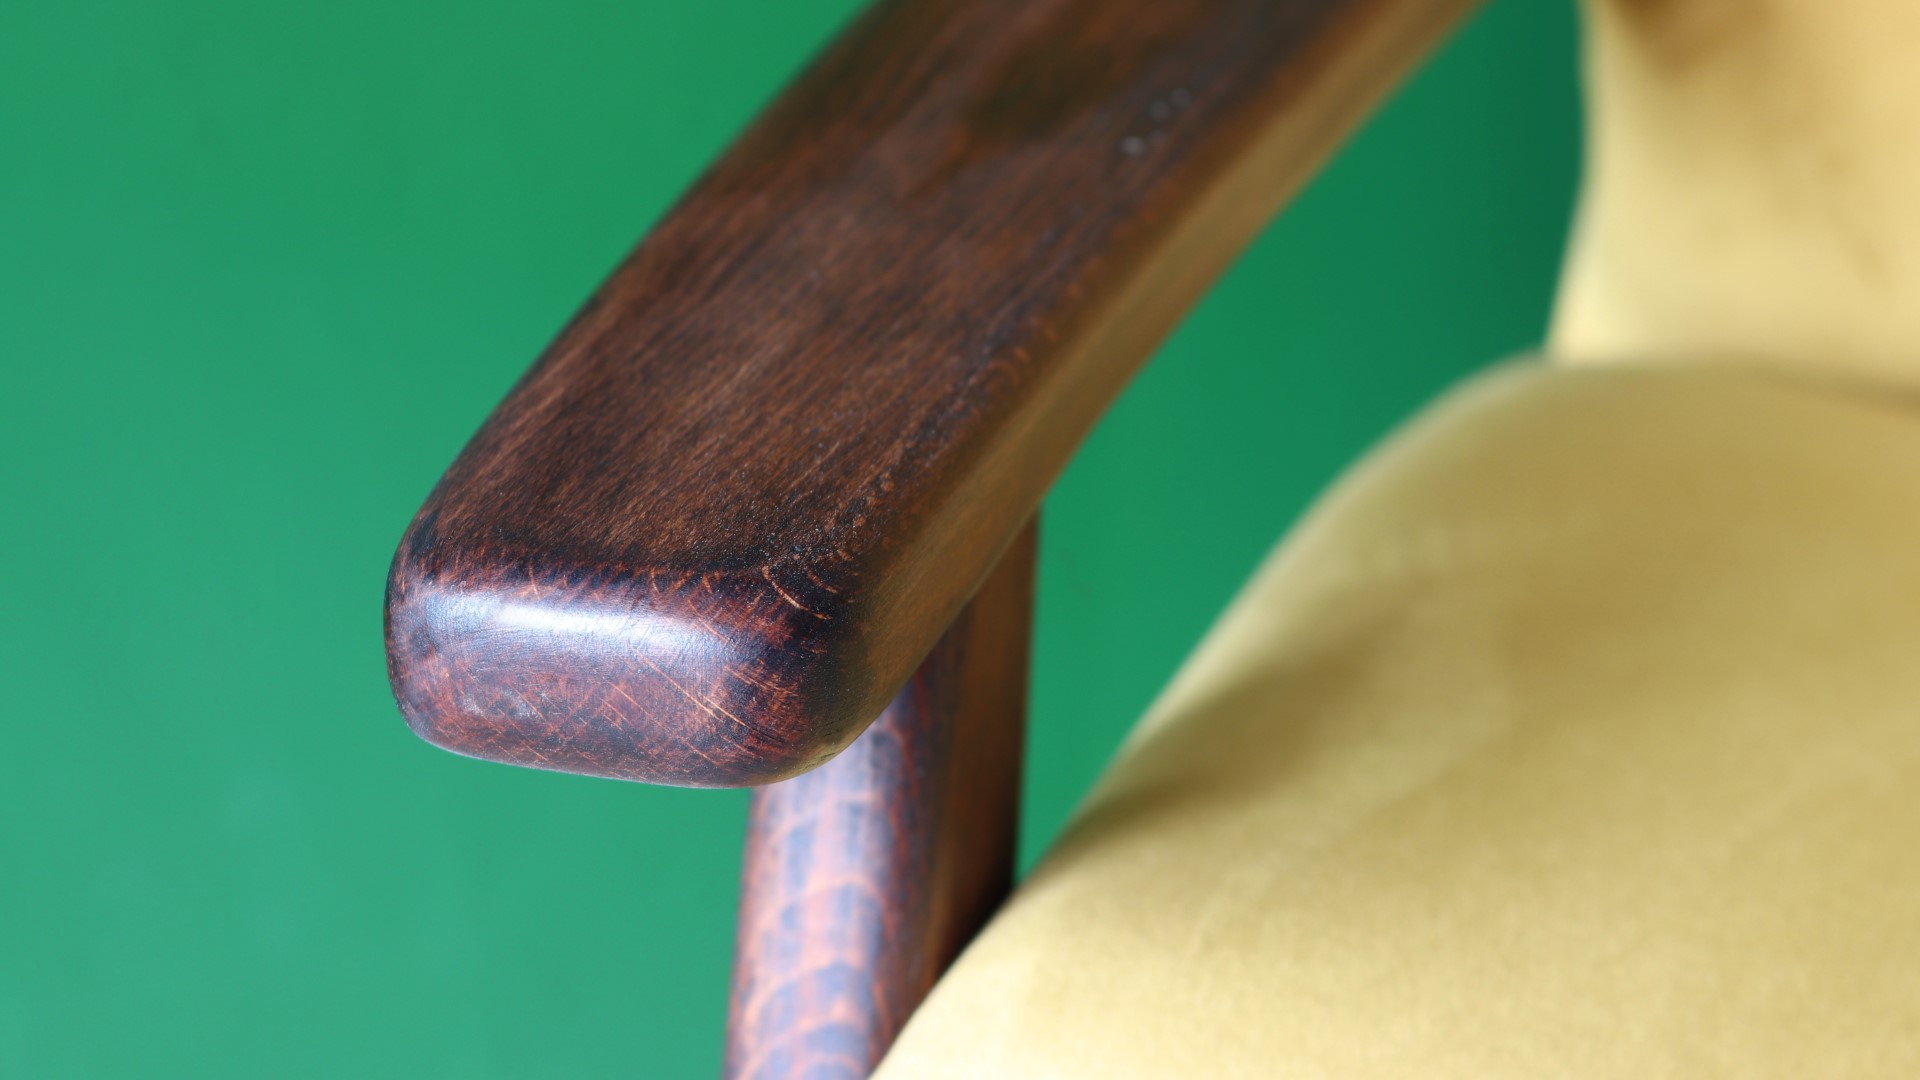
Next I decided to stain the chair frame and I wanted it to be pretty dark, and I had some of this dark oak stain. After applying it with a brush, I wiped away any excess with a cotton cloth.
For finish, I decided to use some hard wax oil, which will pop the frain of the wood really nicely and give a long lasting, hardwearing protection. I applied two coats, as thinly as possible as per the instructions on the tin, and I really like the way it turned out.
I ordered 2 pieces of foam on eBay, the seller cut it to the size I wanted, and it arrived a couple of days later, the cost was £23. For the seat pad, I could use the old foam as a template to mark up the shape with a sharpie pen.
And I cut out the shape at the bandsaw which works really well for cutting foam.
l also bought some fabric on eBay, this mustard coloured velvet, the cost of this was about £18, and I was really happy with the quality of it.
Here I'm cutting out three pieces, one for the seat pad, one for the back of the backrest, and one for the front, and there'll be a little bit left over for a future project too.
Starting with the seat pad, I could place the wadding which I didn't replace, I just re-used the old wadding because there was nothing wrong with it on to the fabric, with the foam on top of that, and then position the seat frame on top and start stapling the fabric to the underside of the frame. This is probably a good time to point out that I am not an expert at upholstery, but I've done a little bit of it before - I kind of just make it up as I go along so if you're watching this and you're a professional upholsterer, feel free to laugh at my techniques! I stapled the middle of the front edge, and then pull the fabric taught, and did the middle of the back edge. And then I concentrated on getting the corners neat and tidy, and this fold here and the row of staples will be hidden by the frame of the chair when the seat is added later.
I then did the sides, and then the back corners.
So far so good, and I say down to test out the new foam, and it felt pretty good.
THen I could secure the seat frame back on to the chair frame again by re-adding the screws.
Next I'd work on the back rest, I started by measuring the bottom which was the widest point, and then I marked that out roughly on to the foam and cut away the excess at the bandsaw. I could then position the foam in place and use the backrest as a template to mark up the perfect shape for the foam, and then cut away the excess.
Again, I re-added the old wadding.
And then I added the new fabric, and stapling the top edge seemed to be the best place to start, so that's what I did
Before securing the sides, I wanted to add the buttons, and I bought some new black velvet buttons again on eBay these were just £3 and I had some good quality thread and a leather needle already from a previous project - when I made a wallet out of some salvaged leather a coupld of years ago. I thought that the black would look really nice on top of the mustard to make a feature of the buttons.
I threaded the needle and then I added a large washer to the end of the thread to stop it pulling through the hole at the back. And then I could thread the button on. I then secured the thread to the washer at the back, and to get the right level of tension that I wanted on the buttons, I cut a couple of pieces of the foam to wedge in between the washers and the backrest.
I could then secure the fabric at the sides and when I got down to where the arms were, this was the part that I found most difficult on the whole chair as I had to make a couple of cuts to get the fabric positioned around it, and to be honest I didn't do the job as well as I'd hoped, but I'm still learning.
I could then tucl the fabric underneath and secure it with staples to the bottom of the frame.
And then I could work on getting the top corners nice and tidy.
The final piece of fabric to be added was the back, and for this I bought some of this tack strip. I chose black to match the buttons. This was from eBay too, cost was £6
I started at the top, folding the fabric over and then adding the tacks in to the holes in the tack strips.
I'd never used this stuff before, but it worked pretty well and wasn't too difficult, you basically just add in the tacks wherever there's a gap. After doing the top, I did the sides. And I deliberately left a small gap at the corners the width of a tack so that I could add another one there.
At the bottom corners, I cut away a bit of the fabric and secured the bottom with more staples. And then I worked on tidying up the corners.
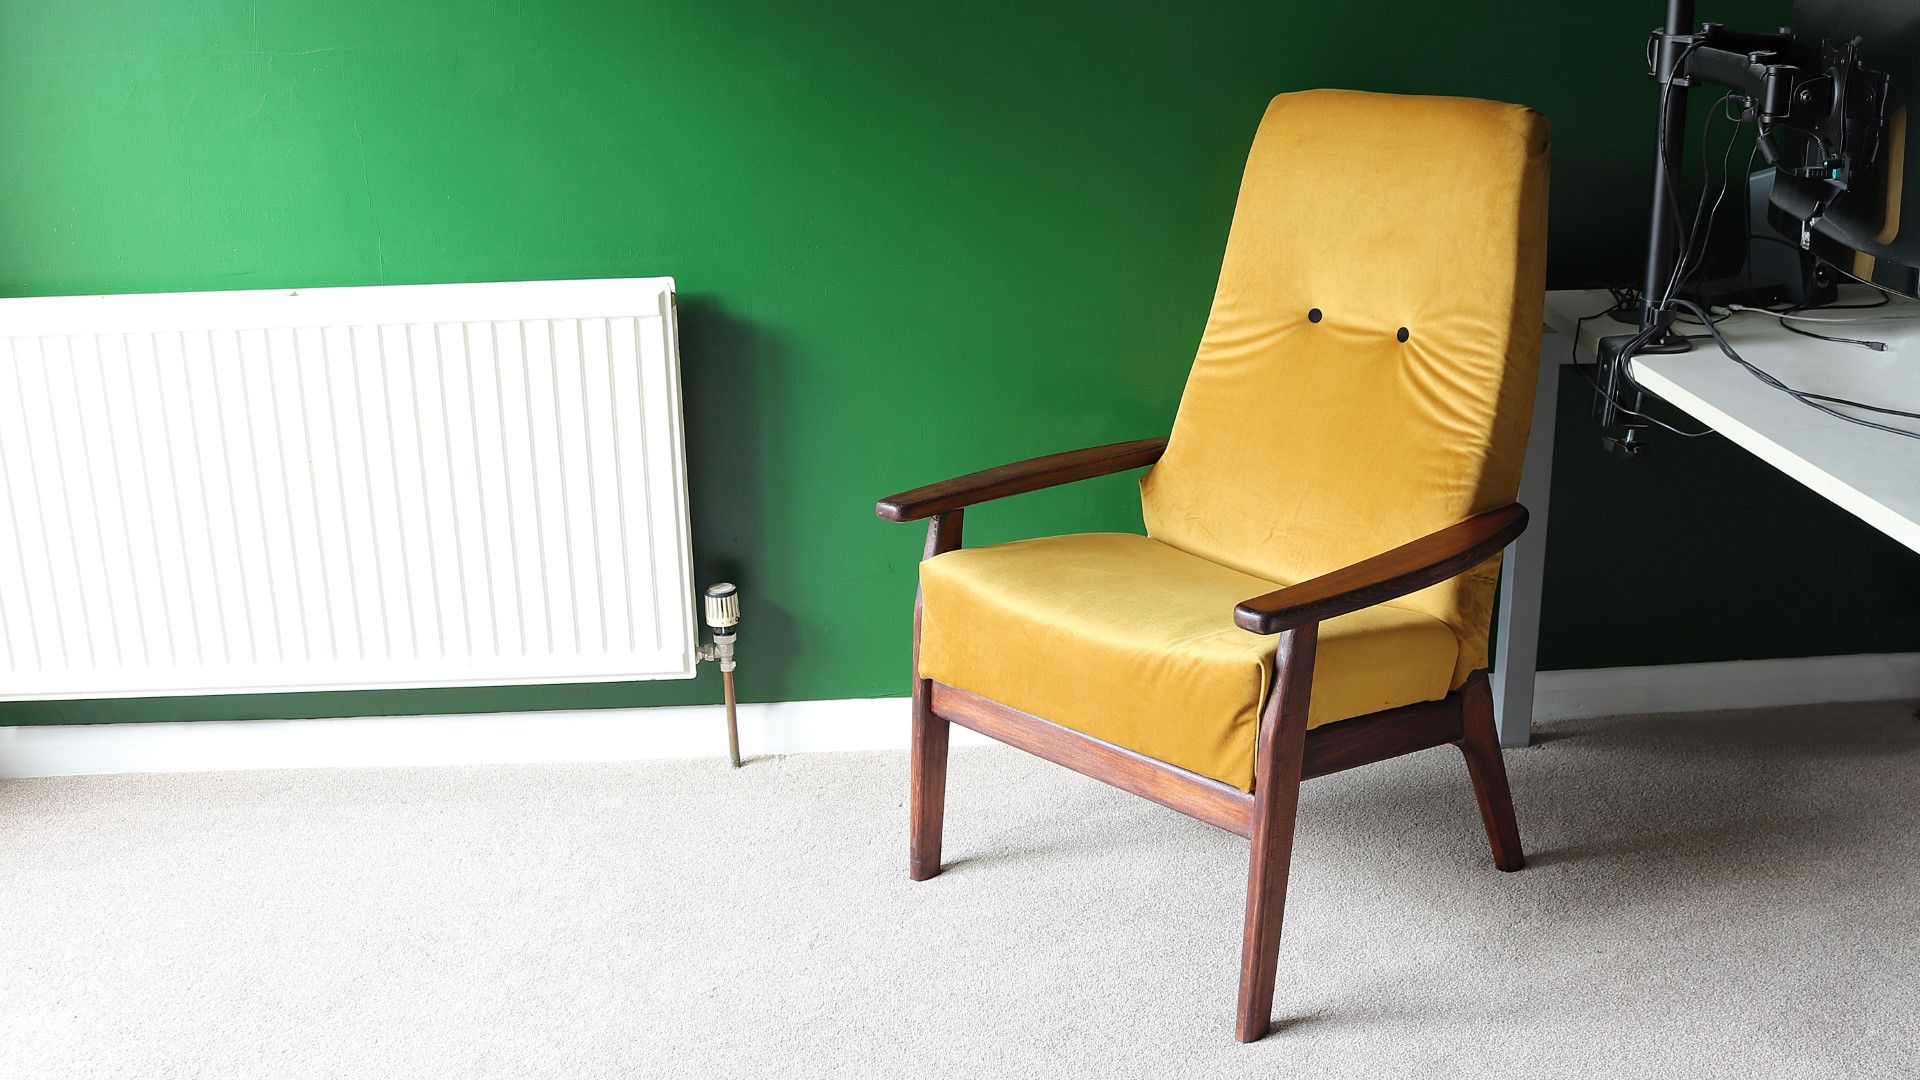
That's the chair complete, and it isn't perfect, but I'm pretty happy with how it turned out, and it now looks really good in our office. I can now sit here and watch the birds come and go, which will be nice.
But it does need one more thing - a foot stool, but don't worry I've got that covered already and that will be a future project video on my channel too.
The total cost of this project was £55 - £5 for the chair, and £50 in materials and it took me about a day or 7 or 8 hours in total to do.
I hope you enjoyed the video. Please subscribe to my channel for more weekly woodworking videos. If you'd like to support the channel on Patreon you can receive early access to my videos, exclusive content, free plans and cut lists and a name credit at the end of my videos too. Thanks for watching.
Images: