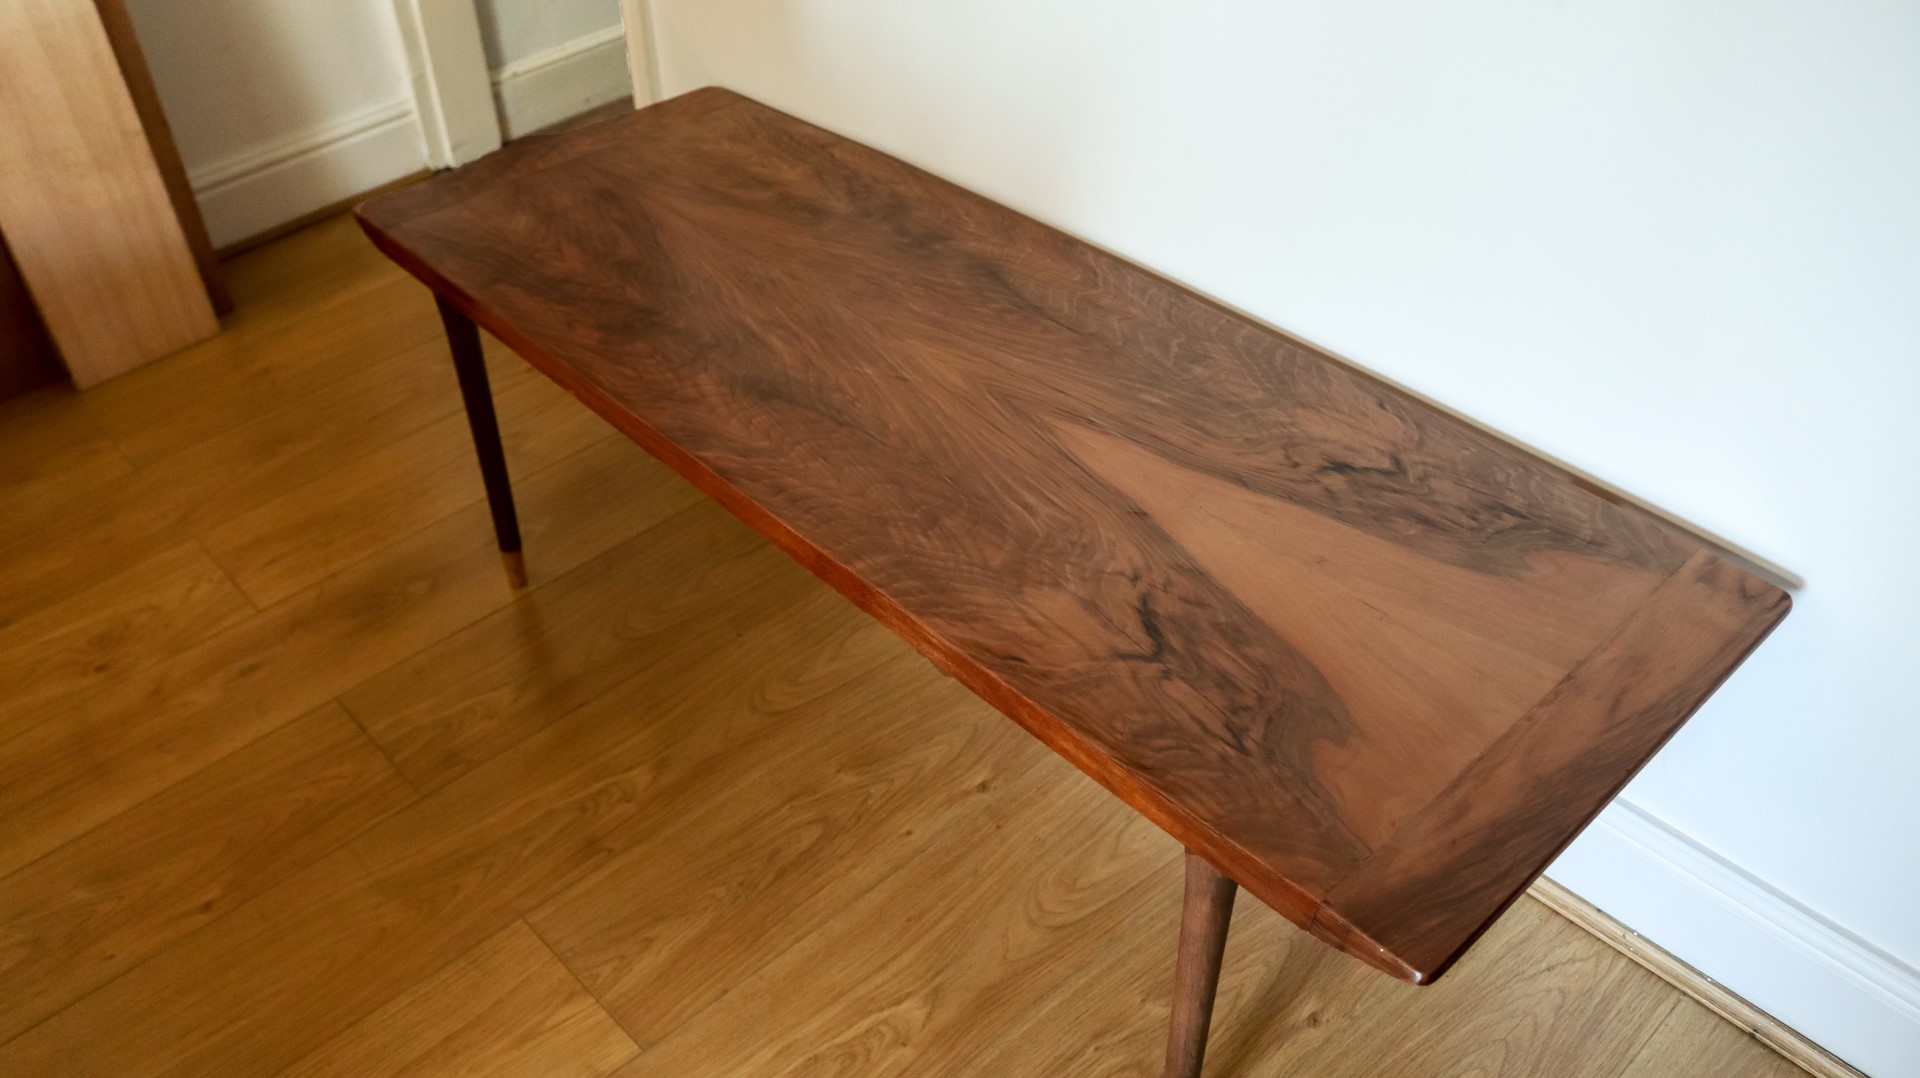
In this video I'm going to give a complete makeover to this midcentury style coffee table which I picked up recently at a local house clearance for just £5.
The table has some serious problems at the moment - as you can see there's lots of wobble to the table and not all of the feet reach the floor - there's actually a 20mm gap here - and that is because the top is extremely warped and twisted as you can see from this shot. Sighting down the length of the long edges, one side seemed relatively straight, but the other was like a banana.
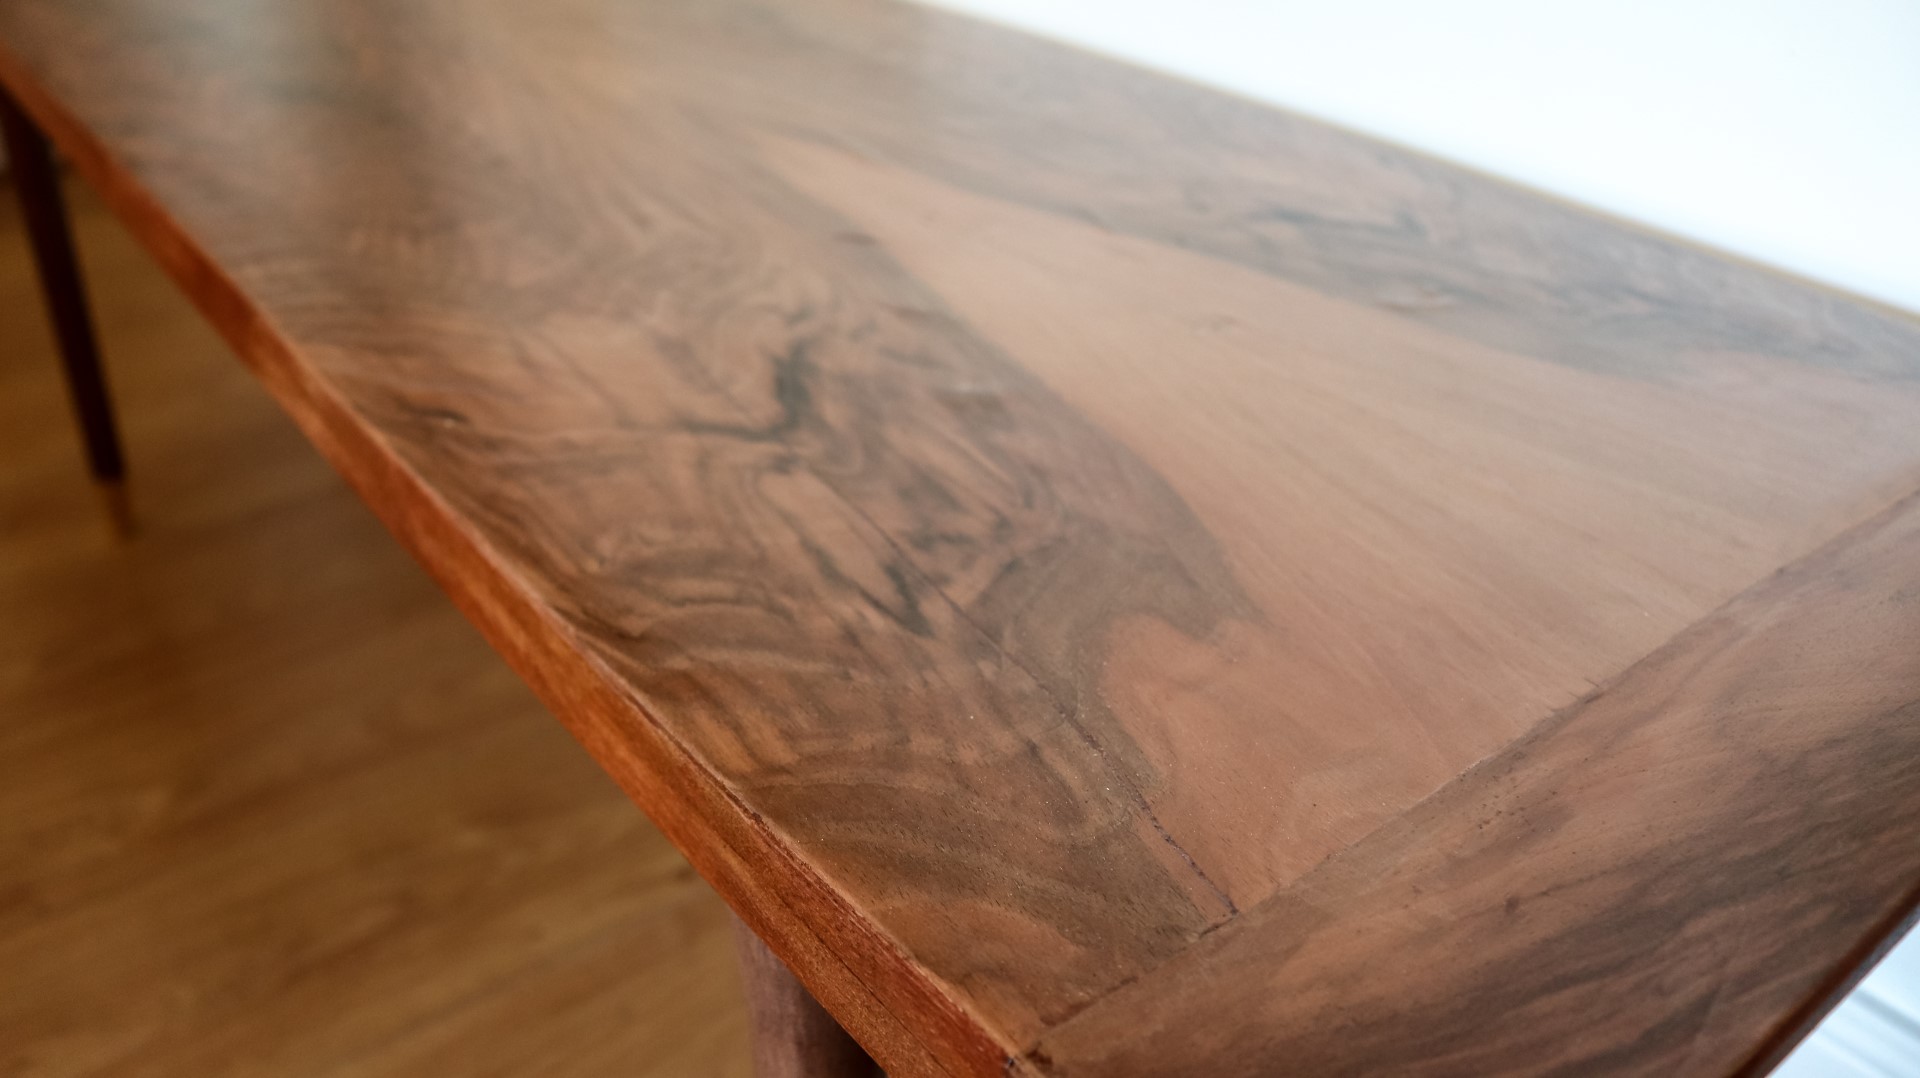
Aside from that the top was horrible, it appears to be a thin plywood that's been stained really badly at some point in it's life. It also wasn't stuck down to the frame in many places. The idea I had for the top was to apply a new veneer to it, something which I've never done before and I'll atempt later in the video.
And on the underside of the table you can see that it's not very well made, there's not really any structural integrity here and that's probably why it's so badly out of shape.
On the plus side though, I liked these legs of the table, and these gold feet are pretty cool, the legs just unscrew from the top as you can see, and I generally like the shape of the table so it was worth a fiver to me and I thought it'd make a good project to try and turn this in to something beautiful.
The first task was to try and straighten out the top. I offered up a straight edge to the side of the table that was badly bent, and in the centre there was a pretty serious gap measuring 9mm.
First I clamped down the table top to the flat surface of my workbench. Then I removed these hardwood bracing pieces - I figured there was no point leaving them in because clearly they were not doing their intended job of keeping the top straight properly and I can make use this hardwood in another project.
To straighten up the bent side, I decided I'd use this thin offcut of 18mm plywood.
You can see here that this is pretty flexible when the layers of the plywood are held horizontally, but when they're vertical, it's much more resistant to flexing, so I'd use it in that orientation to help straighten up the warped side of the table.
I marked up how long I needed it, cut it to length at the bandsaw, and then with a straight bit in my router and a straight edge clamped on to guide it, I started cutting a housing joint.
I took multiple passes, lowering the bit each time until I was about 3/4 of the way through the thickness of the wood.
Because the router bit was around 12 and a half mm and the thickness of the plywood was around 17 and a half, I set my calpers to 5mm and scribed a mark and then I could line up the straight edge with that mark on both sides and take another pass with the router to widen the joint. I checked that the plywood was a nice snug fit, and it was, so then I made multiple passes again to get the depth I wanted.
I then squared up the ends of the grooves with a chisel and the plywood fitted really nicely so I added wood glue to the joint, and then I could push the piece of plywood in to the joint.
I clamped it in place, and I also drove some screws from the inside of the table through the plywood to help provide the maximum amount of bracing in the best way that I could come up with to force it flat.
To provide some extra thickness and bracing to help keep the table top flat, I first sanded the underside to clean off any old dirt, and then I cut a piece of 12mm MDF to size at the tablesaw and mitresaw to fit inside the frame. I then applied a generous layer of wood glue and added the MDF, and I piled lots of heavy things on top and left it for the glue to dry.
While waiting I could start working on the legs, which were painted black and had some sort of sticky residue on them.
I decided to scrape the legs to clean them up with my card scraper and underneath the paint I found that the legs were made of solid beech, so I decided I'd keep them unpainted.
My small carbide scraper came in handy to scrape the paint off near the feet.
I sanded the legs at 100 grit and then decided to give them a coat of walnut Briwax to stain them a darker colour which would work better with the top.
I wiped off the excess wax with another cloth and then they looked really nice. It took quite a lot of time scraping all the paint off but I'm glad I did it - here's a before and after.
After a few hours I could see if the table top was now holding it's newly flattened shape, and it was - so that was great.
I flipped the table over and now I could start working on gluing down the loose top. I mixed up some epoxy and worked it in to the joints as best as I could, and then I stuck some packing tape to a block of wood to use as a clamping caul. the packing tape ensures that the wood glue wouldn't stick to it. After about twenty minutes, I removed the clamps and that had worked great too - it was now nice and flat and nothing was loose. I filled any small gaps around the edges with some wood filler.
And then I did some scraping and sanding just to smooth everything over and prep the surface ready for veneer to be applied.
The underside of the table also got a bit of a clean up, I scraped the hardwood to remove all the old dirt and water marks, and then applied walnut Briwax to that too, to give it a darker colour tone and bring out the grain more.
I could also remove the excess from the plywood brace that I added earlier - and I used my planer for that just to bring it down flush with the frame. I added wax to the plywood too to help disguise it a bit. It's still going to be visible but as it's on the underside of the table it didn't really matter, and in a way I quite like that this repair is visible - I think it shows in quite an honest way that someone, i.e. me, cared enough about it to try and make it in to a useful piece of furniture again.
And by the way, I don't always apply so much wax as this, but that's just because this cloth was left inside the jar of wax on a hot day and it soaked up far too much wax but I didn't want to waste it.
As I mentioned near the start of the video, I wanted to apply a veneer to the table top and this is something I've never tried before. I had some walnut veneer, this was given to me a few years ago by a local retiring woodworker. It wasn't in great shape, there were a few cracks and it wasn't perfectly flat but I hoped that I could make use of it here.
And by putting two of the veneers together I decided that it'd be cool to bookmatch the grain. But to do that I'd first need to get a perfectly straight edge where the veneers would meet together.
They seemed to join together pretty well, so next I added some masking tape and then flipped the veneer, and by propping up the centre where the join was I could add a bead of wood glue. I could then prop up each edge of the veneer to apply a bit of pressure to the joint and I wiped away the excess glue with a damp cloth.
I'd use some of this contact adhesive to glue down the veneer.
I masked off where I didn't want the glue and then applied it to the tabletop spreading it out with the edge of a plywood board to get a thin and even coat.
Then I did the same to the veneer. The instructions said to wait around 10 minutes for the glue to go tacky, so I did that and then I could offer up the veneer to the tabletop, making sure that the centre line of the veneers lined up with the centre of the table.
I used a couple of dowels to stop the two glued surfaces touching and that gave me time to position one end of it correctly, and I used a block of plywood to apply downward pressure to remove any air bubbles working from one side to the other and gradually removing the dowels.
So to be honest I did not enjoy using the contact adhesive at all. It's really gloopy and difficult to work with - and to be honest I wish I'd used something else. I don't have much experience using it and I don't know if I applied it in the best way or maybe the particular brand of contact adhesive that I bought isn't the best quality. But anyway despite the difficulties using it, and the issue I had with the cracking on one side of the bookmatch, I decided that I would persevere with trying to make it work
I used a trim router to cut away the excess veneer, around the edges. I also cut it to length using a knife and ruler. And I used my block plane just to refine the edges some more followed by some sanding. I also used some white spirit to clean off any contact adhesive that I had accidentaly got on to the top of the veneer. I also rubbed white spirit on to the rest of the veneer just to see how it would look with finish applied and check that it was clean. I then wanted to try filling in the crack in the veneer, and for that I used some epoxy mixed with sawdust. Once the epoxy had dried I scraped away the excess.
For the ends of the table, I applied more veneer but this time I used wood glue because I really didn't want to work with the contact adhesive again.
I used masking tape to hold it in place and then clamped on a piece of plywood.
That seemed to work really well so I trimmed those edges with my router too and refined the edges and corners again.
I did some final sanding which I did by hand as I didn't want to risk sanding through the veneer and then I blew away the dust.
At this point I thought that while the veneering hadn't gone particularly well, I could probably still salvage this project and make it work. It certainly wasn't going to be perfect, but it looked like the imperfections wouldn't be very noticeable, and I'd already spent about a day and a half working on this table and as it doesn't have much value at all I didn't really want to invest much more time in to it.
So it'd be really easy to pretend on video that this project was a success, but unfortunately it all went very wrong from this point onwards. I went ahead and applied finish to the tabletop - waterbased varnish. I applied it in the direction of the grain to help minimise brush strokes. And after leaving the varnish to dry over night, this is where I unfortunately found some big problems which meant that this project was a failure.
I'm not sure what happened but after the finish was dry I found that there were some pretty big bubbles sitting beneath the veneer. These bubbles were not there before I applied the finish, or at least they certainly weren't noticeable and I think I definitely would have noticed them while I was doing the sanding.
I don't really know how or why the finish brought out these bubbles, but one things for sure, the veneering was a failure.
It's a real shame, and to be honest I was pretty down about it having spent 2 days working on it.
Removing the warp from the table top and re-finishing the legs worked out really well so it wasn't a complete disaster, I definitely learned a few things. And this might not be the last that you see of this project, because I'm tempted to try sanding down the veneer to get it flat, applying a filler to any of the areas that bubbled up, and then trying the veneering process again but using wood glue instead. Ideally for that you'd use some sort of vacuum press to apply even pressure to stick the veneer to the table top but I don't have one of those. I do have a few other ideas about how I could clamp it up though, and part of me doesn't want this to be the end of this project, I don't want it to beat me!
But right now I have a couple of commissions that I need to start working on so I'm going to shelve this project while I give it some more thought. If you want to see me tackle it again in a video please let me know in the comments. I think I definitely need a bit of encouragement if I'm going to try it again! Veneering isn't easy!
Images: