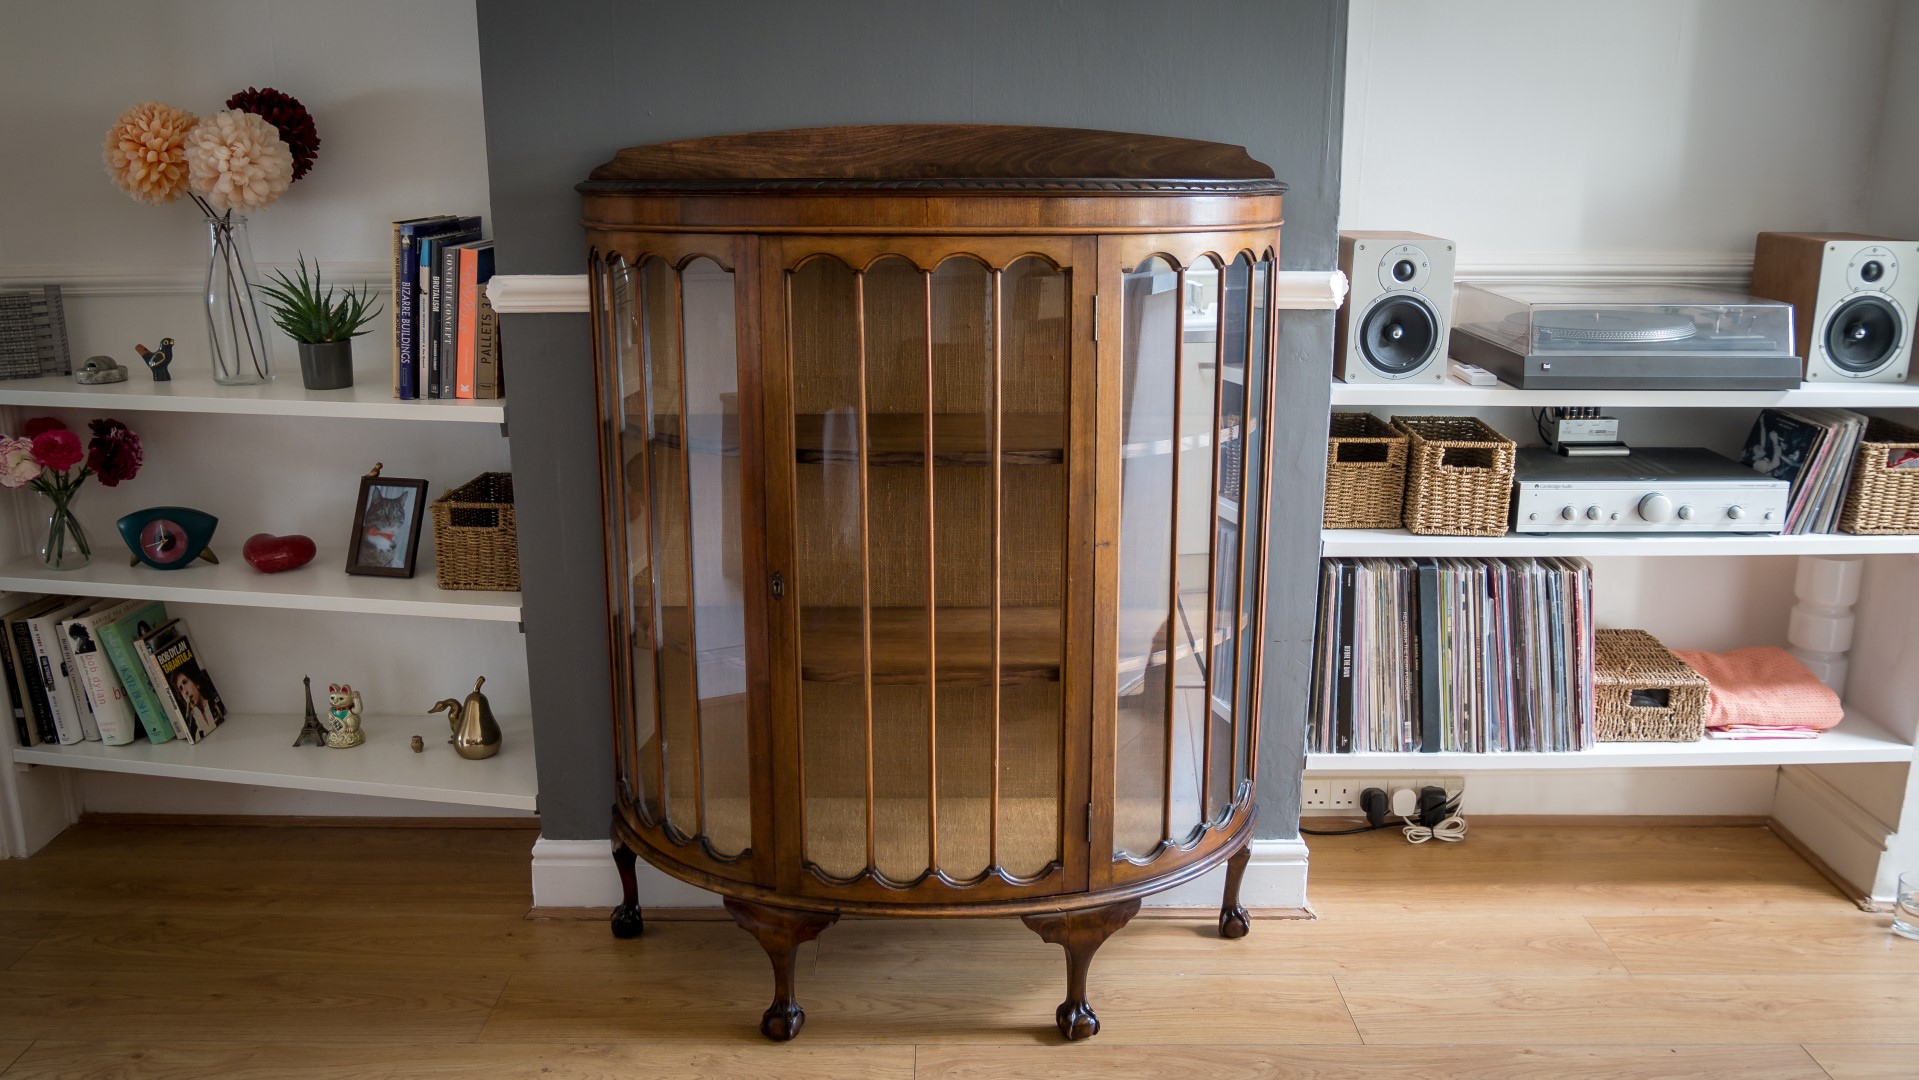
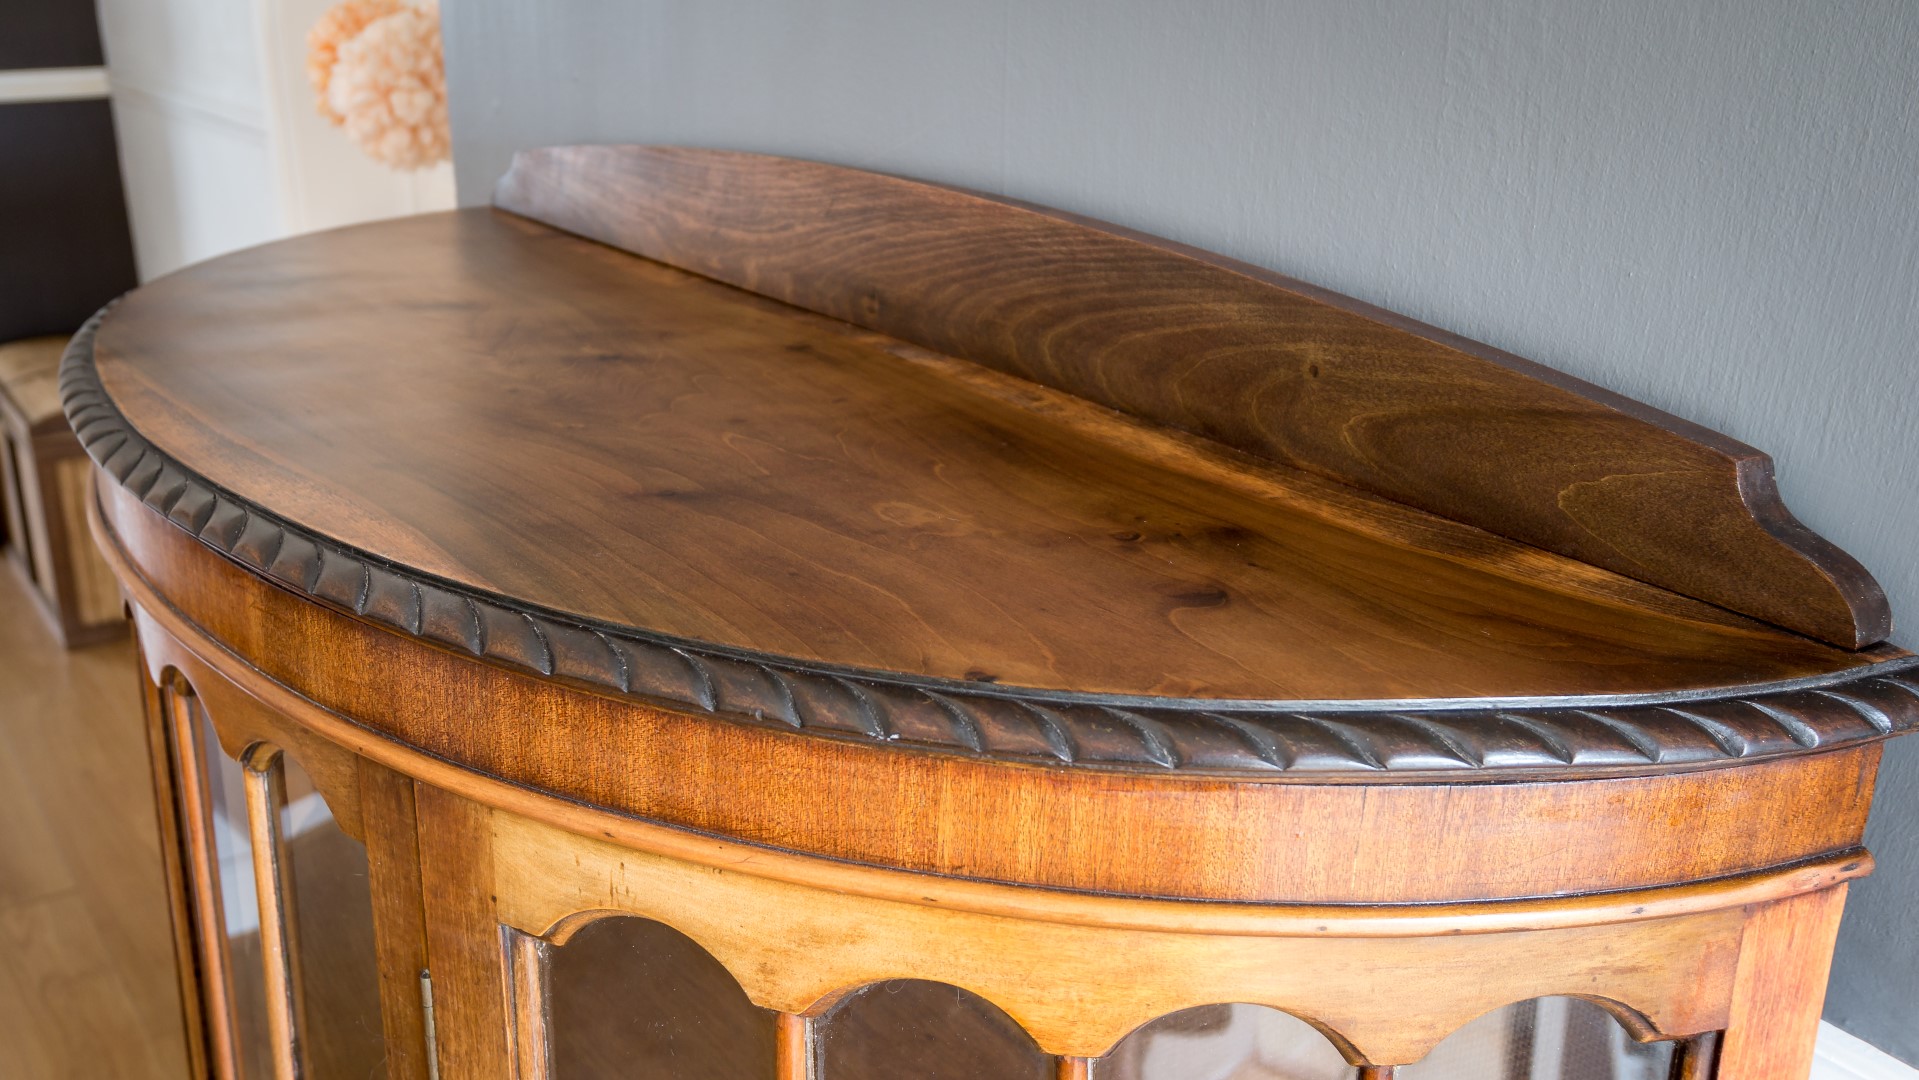
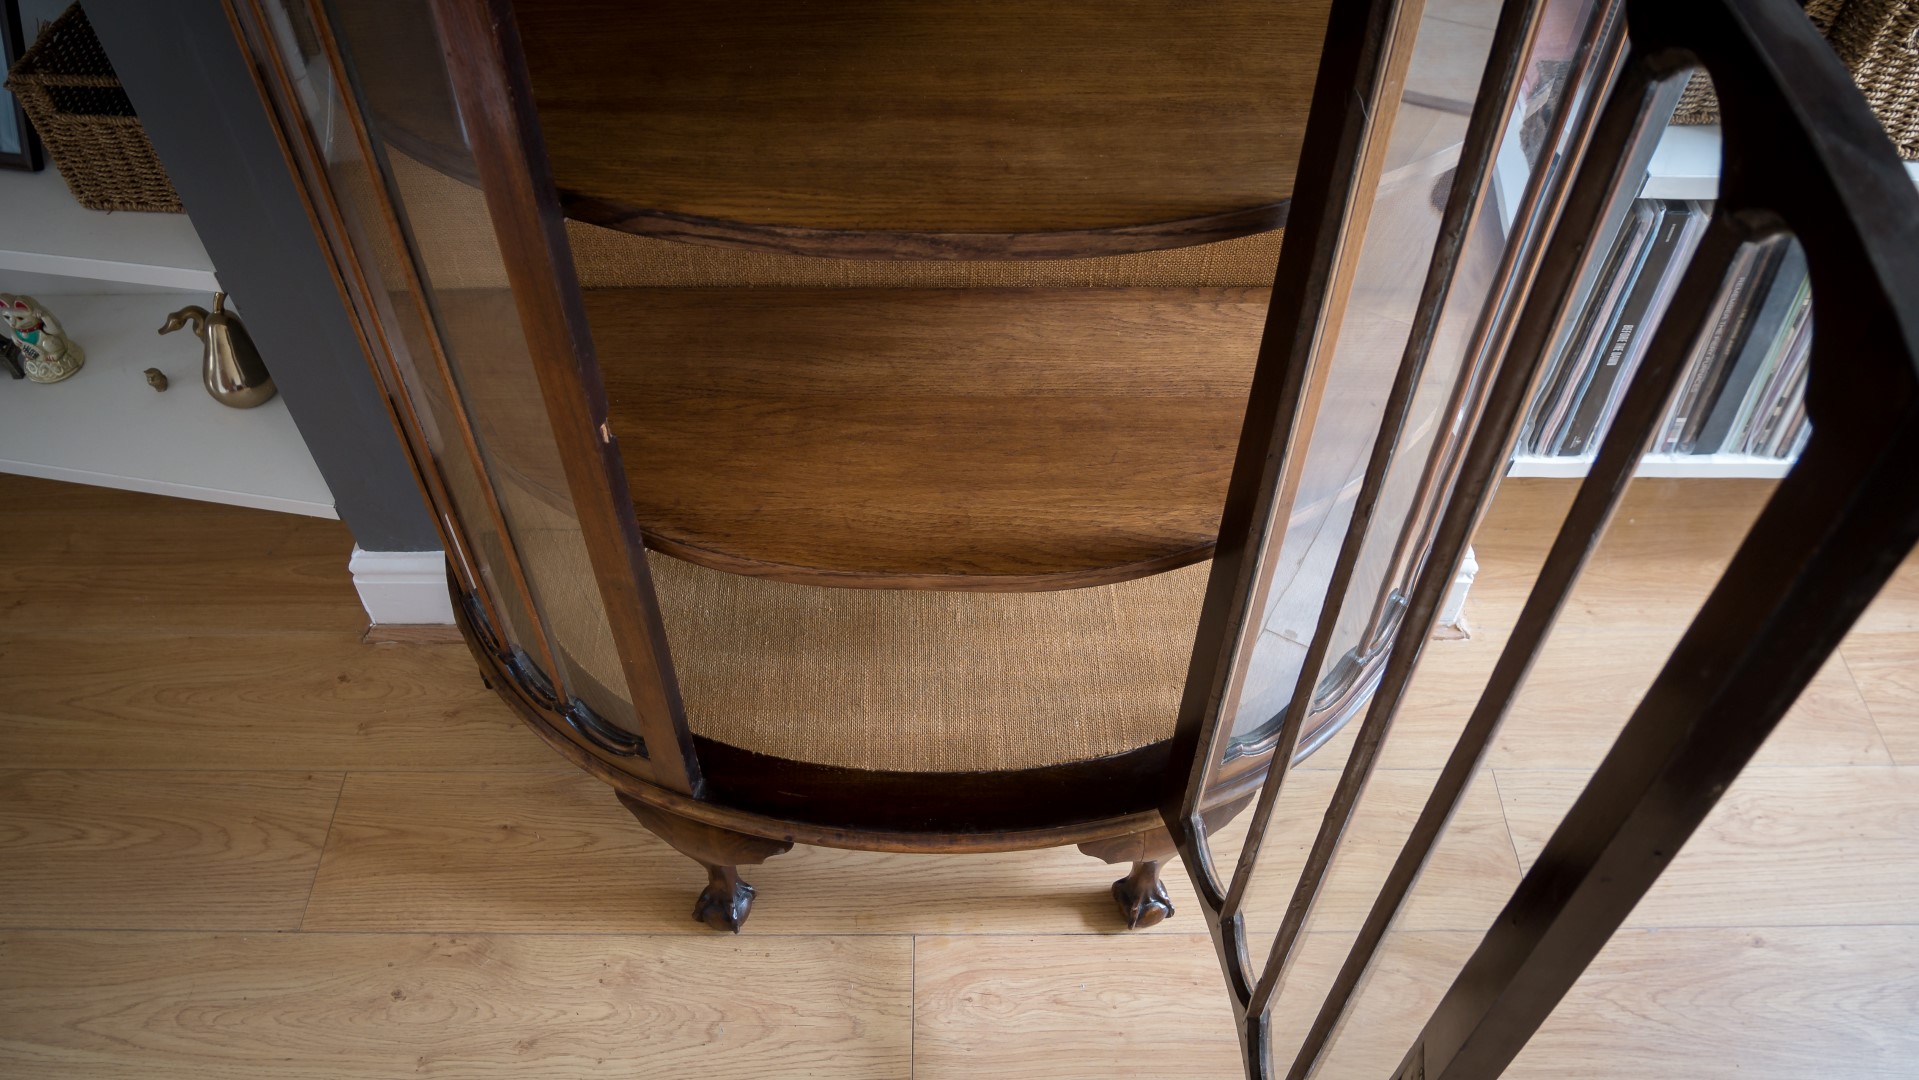
In this video I repair and restore a vintage display cabinet. I sand and re-finish the top, re-finish the legs and make new shelves for it.
Recently a friend of mine sent me this photo of a display cabinet that he'd spotted by a skip on an industrial estate. Unfortunately at the time I was hundreds of miles away at a wedding so I couldn't go and check it out, but I really liked the look of it and after speaking to my brother - he was kind enough to go and look at it for me - he got in touch with the company where the skip was - a company called Carpets Plus here in Norwich and the manager there was really helpful and said that he could come and take it away. So a big thank you to Carpets Plus!
I started by removing the two back legs and the one loose front leg as they all needed some repair.
I used the belt sander to flatten the top of the leg.
I wedged an awl in to the crack to open it up and got as much glue in there as I could.
And then I could glue on the other piece.
I sanded the bottom of the cabinet ready for the leg to be re-attached
Then I glued and nailed the leg support piece to the back of the leg.
Then I could add glue, drill pilot holes, countersink and screw the legs to the bottom of the unit.
I used the bandsaw to cut away the woodworm damage to the wings of the leg, and then I removed the rest with the hand plane
I cut two pieces on the bandsaw, one for each wing to form the new leg.
I used the electric file to smooth over the curves.
then I applied glue and added the wing
So I marked up the second wing , cut it out and refined the shape as I had for the first wing.
And then I could glue and nail it in place, and shape it to match the curvature of the left using my electric file.
I then added new support blocks to the back, securing in place with some brad nails before adding screws.
The leg came off without too much effort.
I used the disc sander to remove the old glue and get a nice joint, and then re-glued it with pin nails and a squeeze clamp.
I used a chisel and some sandpaper to remove any old glue from the surface and get back to bare wood.
After drilling some pilot holes I then flattened the top of the leg. I did a dry fit and it wasn't sitting very well so I made a few more refinements befor adding glue and then securing it with screws.
I added kind of a pocket hole by drilling at an angle through the leg supports and in to the leg itself to add some more strength.
Images: