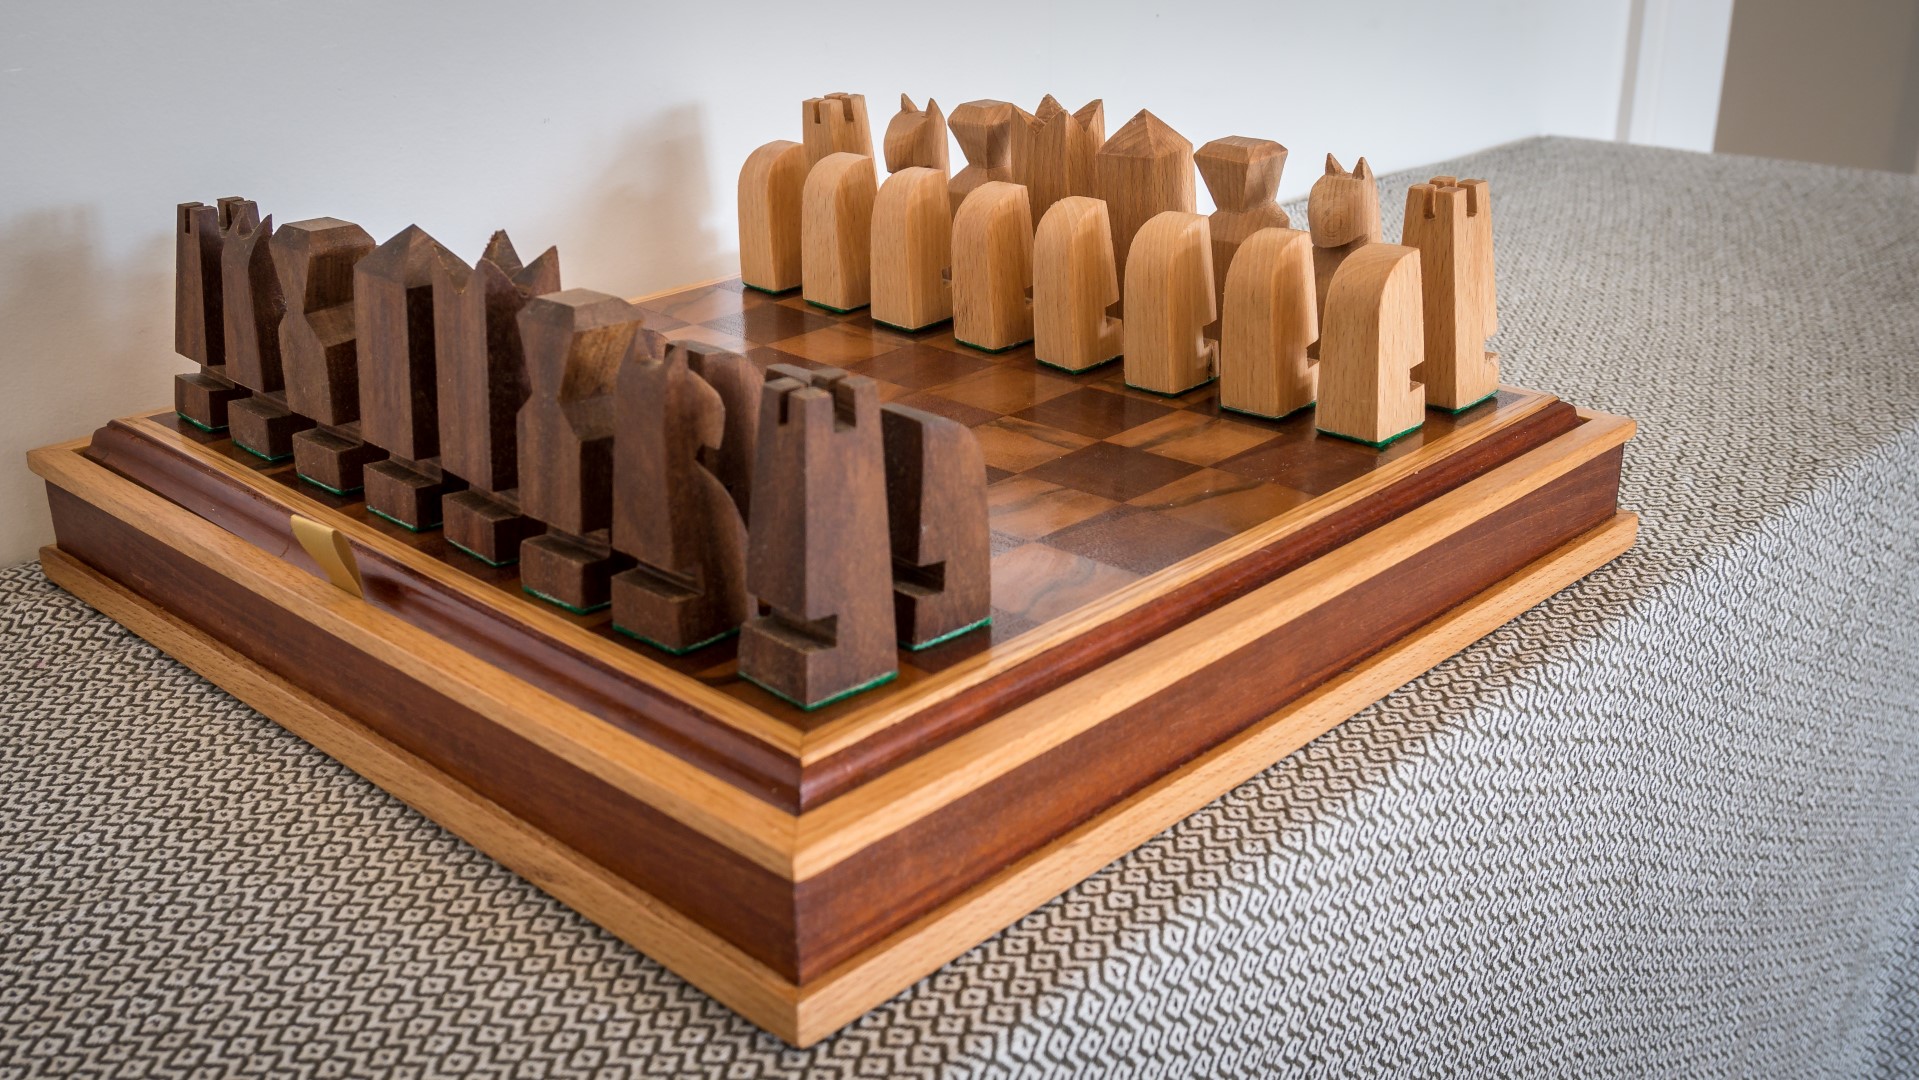
So in part 1 of this video series I made the chess board, and in part 2 I made the chess pieces, and in this video I'm going to be making a box to hold both the pieces and the board.
I'd mainly use mahogany for the box, this was an offcut from a wardrobe panel that I used to make this mahogany box recently.
I started by ripping it to the height that I wanted the sides of the box to be and then I cleaned up the pieces using my thickness planer.
The mahogany was quite thick, so to get more out of the material I re-sawed it at the bandsaw, and then thickness planed again to remove the bandsaw blade marks and ensure they were all the same thickness.
Then I cut 45 degree mitres at the corners with the pieces sized to fit around the chess board. I used a stop block to get consistent cuts
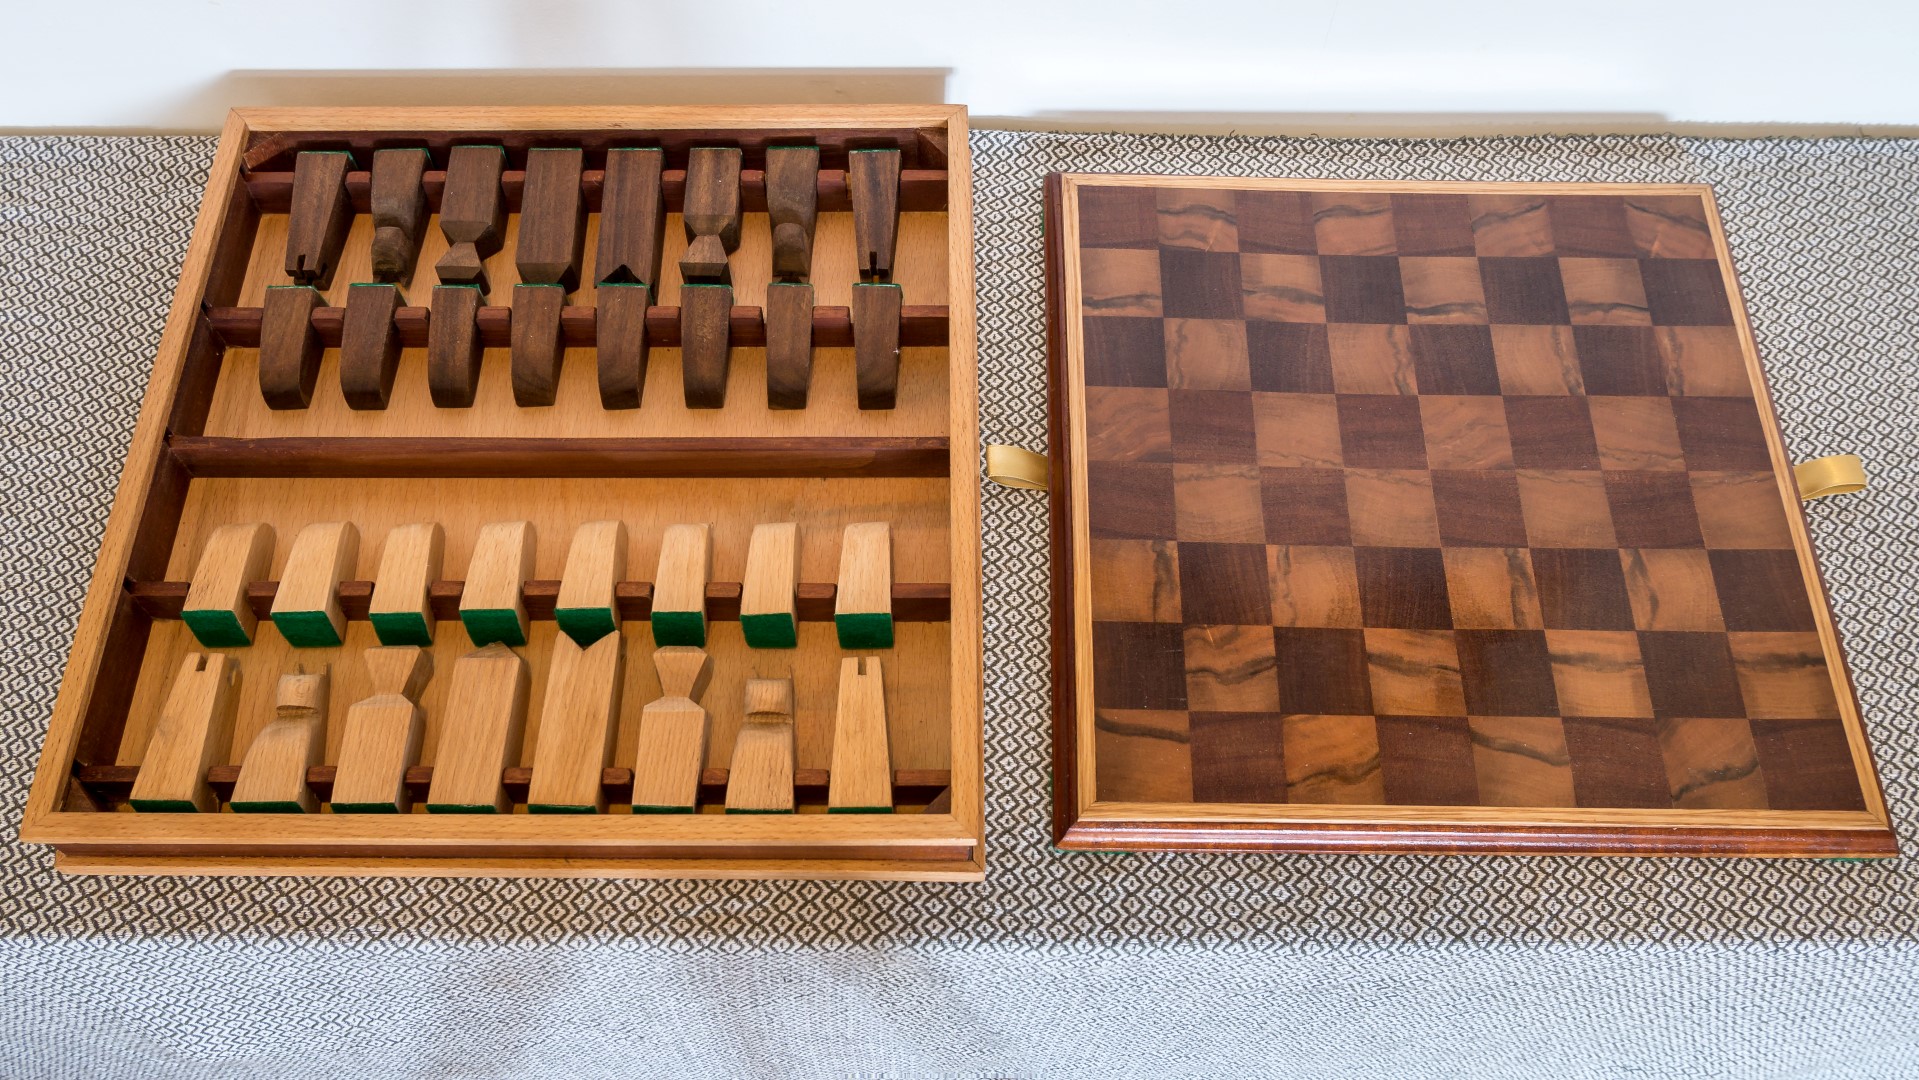
I marked up for some housing joints which I would cut to accommodate some pieces which would split the box in to sections where all the chess pieces would be stored.
I lowered my tablesaw blade to half the thickness of the mahogany. Then I cut the housing joints wide enough to accomodate the pieces which were around 6mm. My blade kerf is 3mm so I could make the cut in two passes. I used my cross cut sled and a stop block again to ensure my cuts were consistent on each piece.
I cleaned up those cuts with a square file.
And then I could assemble the sides of the box. I used masking tape to hold the pieces at each joint together and also to prevent glue squeezeout on to the wood. I applied wood glue and added some elastic bands to apply pressure to get nice tight joints.
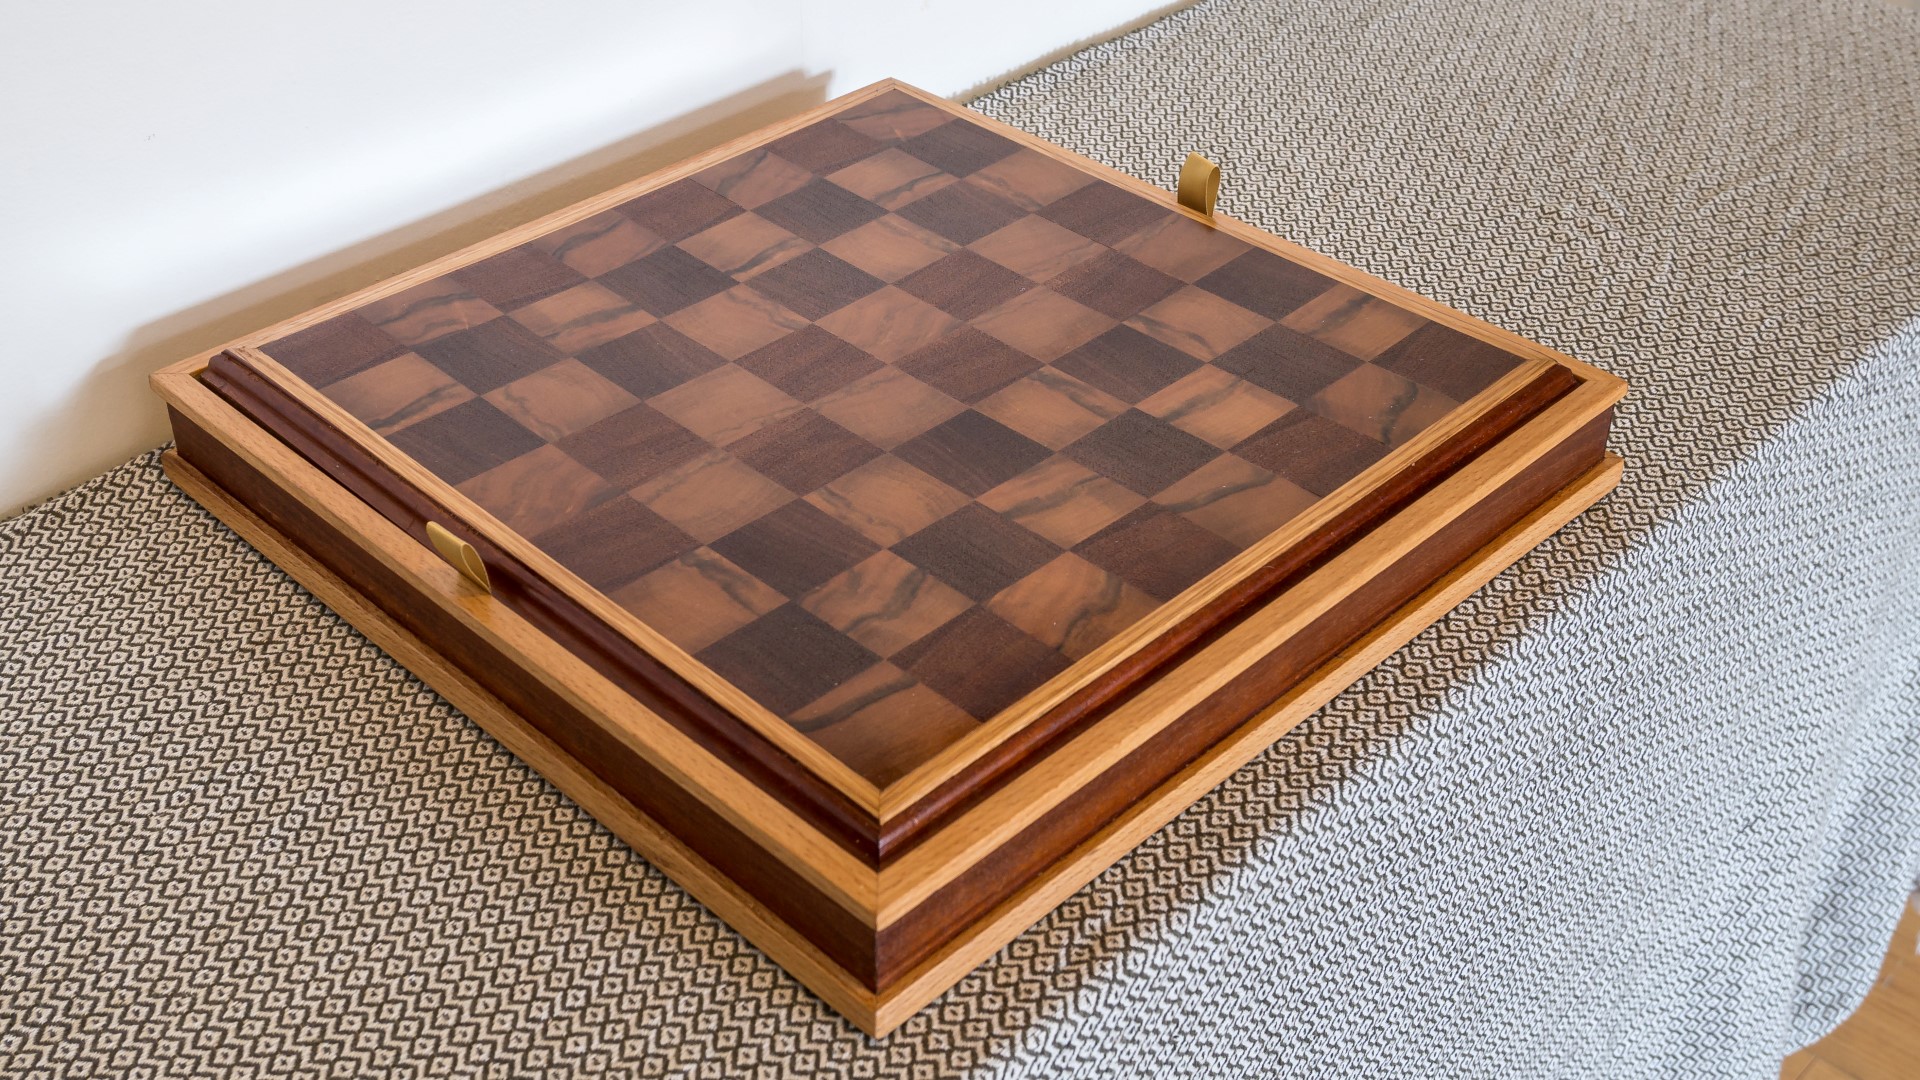
Then I checked the box for size, and the chessboard fitted in nicely with about 1mm of play around the perimeter which I was happy about.
Next I could mark up the length of the partitions and cut them to length at the mitre saw.
There were five partitions to add, one which I wanted to be almost the same height as the sides but about 10mm less that the chessboard would sit on, and four half height ones that would later hold the chess pieces. So I ripped some of the pieces at the tablesaw for the ones that would hold the piecse.
I applied some tape again to keep the glue up clean.
And here I'm ripped the centre partition to 10mm less than the sides. I then glued that in place.
Here I'm cutting some more plywood for the bottom of the box, this is the same plywood that I used in part 1 for the base of the chess board.
I glued that to the bottom of the box. And once it was dry I planed the edges flush with the sides. And the end grain of the ply will later be hidden by some trim pieces.
I did a bit of sanding to the sides of the box with my random orbit sander at 120 grit/
For the half height partitions I could then figure out the spacings to get the pawn chess pieces equally spaced. I'm useless at maths so I rely on a calculator for everything .
I first marked up where the centre of each piece would be, and then centre the pawn by eye to the marks, and marked up the width of the pawn. I'm not going for precise accuracy here, just that the pieces look equally spaced by eye.
I set my tablesaw blade to about 10mm in height and made the cuts to remove material based on the markings I'd made.
Then I could check the fit, and one or two slots needed to be cut a fraction wider.
I cleaned up the slots with my electric file. This is such a useful tool and I use it far more than I ever expected to.
I could then make the cuts to the rest of the partitions and then glue them in place
With the glue dry I could then remove the tape.
Next I set up a stop block on the cross cut sled for cutting some slots in to the back of each chess piece so that the chess pieces would slot neatly in to the box.
I moved the fence by 3mm, and then made another pass to widen the slot.
And then I cleaned up the cuts with a file.
I used the calipers to figure out how high I wanted the sides of the box to be and then set my fence and made the cuts.
I used the hand plane to get the central partition flush with the sides of the box.
And then I used a couple of sacrificial scrap pieces of wood in order to balance the router with a straight bit installed, on top of the box and I used that to cut away the material and lower the height of the partition. I took two passes to get it to the right height.
I could then do a bit of clean up with a chisel and some sand paper.
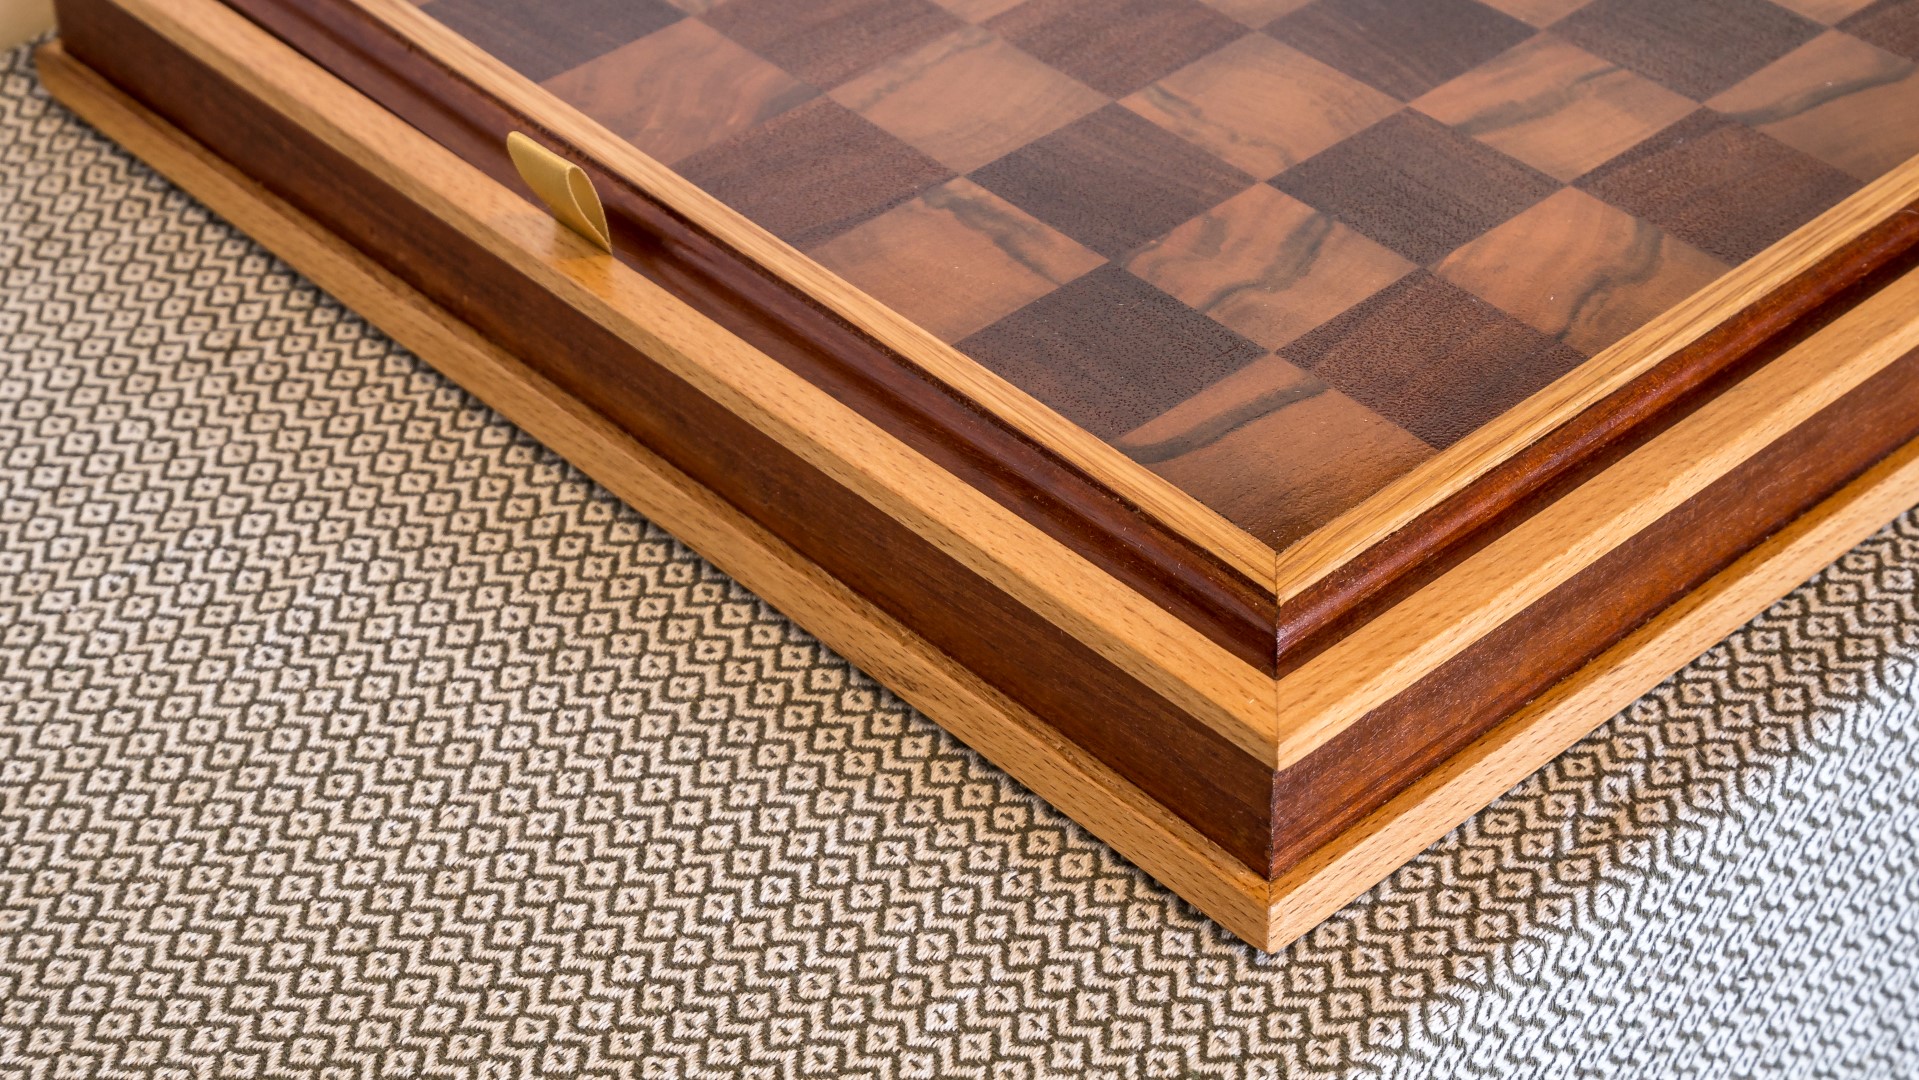
Next I ripped some more pieces of beech to create a trim for the box. I mitred the trim at the mitresaw and then applied glue and clamped it in place with elastic bands and small F clamps.
I did a bit more clean up with a hand plane and sanding and the mitre joints looked really nice.
And I added another mitred trim at the bottom to hide the plywood endgrain.
I ripped a piece of mahogany at a 45 degree angle on the tablesaw and then cut them to length at the bandsaw.
I pushed the corner supports in place until the hot glue set.
Next I applied some teak oil finish to the box, and in one or two places you can see there was some dried up glue, so I scraped that off with a chisel and applied oil again.
Unfortunately the board didn't sit level on the corner supports at first so I needed to chisel away some material to remove the wobble.
Then I applied oil to the inside of the box.
And finally I made a few finishing touches, I added these adhesive rubber feet to the bottom of the box, I cut some more felt and used epoxy to glue them to the corners of the chess board so that the board won't damage any surfaces, and the felt would also cushion wouldn't scratch or damage any surfaces and also it's a soft layer in between the board and the corner supports of the box.
I also added some of this gold ribbon to either side of the bottom of the chess board, which I attached with a drawing pin after making a small hole with an awl. These would be used to lift the board out of the box.
Then the box got a spray varnish finish to give it some protection.
And finally, I added my branding to the bottom of the box using a rubber stamp and sealed it with some more spray varnish
Images: