I had a few small offcuts of this 18mm spruce plywood, and they were kind of getting in the way in the workshop so I wanted to find a use for them. These were offcuts from the hifi unit commission that I made recently.
I wanted to make another plywood table top because I really like the last one that I'd made. But I wanted this one to be quite different in style.
I started by ripping the pieces of ply in to 35mm wide strips at the tablesaw
Then I laid out the strips to check for any imperfections in the layers of ply, and this is good quality stuff so there weren't really any voids in it but there were one or two knots, so I pulled out the worst pieces.
And I was left with enough material to cut a circle around 570mm in diameter.
I found the centre point and then marked up a circle by measuring the radius of the circle from the centre point. This didn't need to be an accurate circle, this was purely to help position the strips correctly and to help line up the pieces correctly during the glue up.
Next I applied wood glue to each piece, spread it out and lined up all the circle markings.
I used some bar clamps to clamp the pieces together.
Originally I was planning to glue up the whole lot in one go, but as the glue up took some time I wanted to apply clamp pressure before the glue set, so I ended up doing the glue up in two halves instead.
I used the edge of a steel ruler just to make sure that the pieces had been clamped nice and flat.
And then I could glue the two halves of the circle together.
After a few hours I removed the clamps and used a cabinet scraper to remove any glue squeeze out.
I could then work on getting the pieces of ply perfectly flush with one another and ensure the table top was flat, so I used my no.5 hand plane. It was close to flat anyway so it only needed some light shavings removed.
Next I needed to cut the circle, and I'd do this using the tablesaw. I needed to make a quick jig to help with this.
I first ripped a piece of oak to the width of my tablesaw slots. On first attempt it was a bit too tight, so I moved the fence by a very slight amount and took a second pass and then it was a nice fit.
I glued and nailed it on to a scrap piece of veneered MDF, making sure that it would overlap the blade by a few centimetres, and then made a zero clearance cut.
Next I needed to add a pin at the distance from the blade that I wanted the radius of my circle to be.
I used a nail for this, which I hammered in place and then used my angle grinder to remove the head of the nail. I made a few tweaks to ensure it was upright.
I was all ready to make a start cutting the circle, but then I decided it would be good to add a slight angle to the sides of the table top so I ended up flipping the jig on to the other side of the blade. SO I needed to reset the pin again.
I could then drill at the centre point of the underside of the table top, and put it on to the pin on the jig.
Then I swapped out my insert and angled my blade to 5 degrees.
And I could start making the cuts.
I'd never tried this method of cutting a circle before, and I was a little bit worried about the blade possibly catching the circle and kicking back as I pulled the workpiece back towards me before making the next pass. But I just made sure that I was applying enough downward pressure to the circle so that it wouldn't twist, and fortunately I didn't have any problems.
When it was almost a perfect circle I could then slightly advance it forward in to the blade and spin it to shave off the rest of the material.
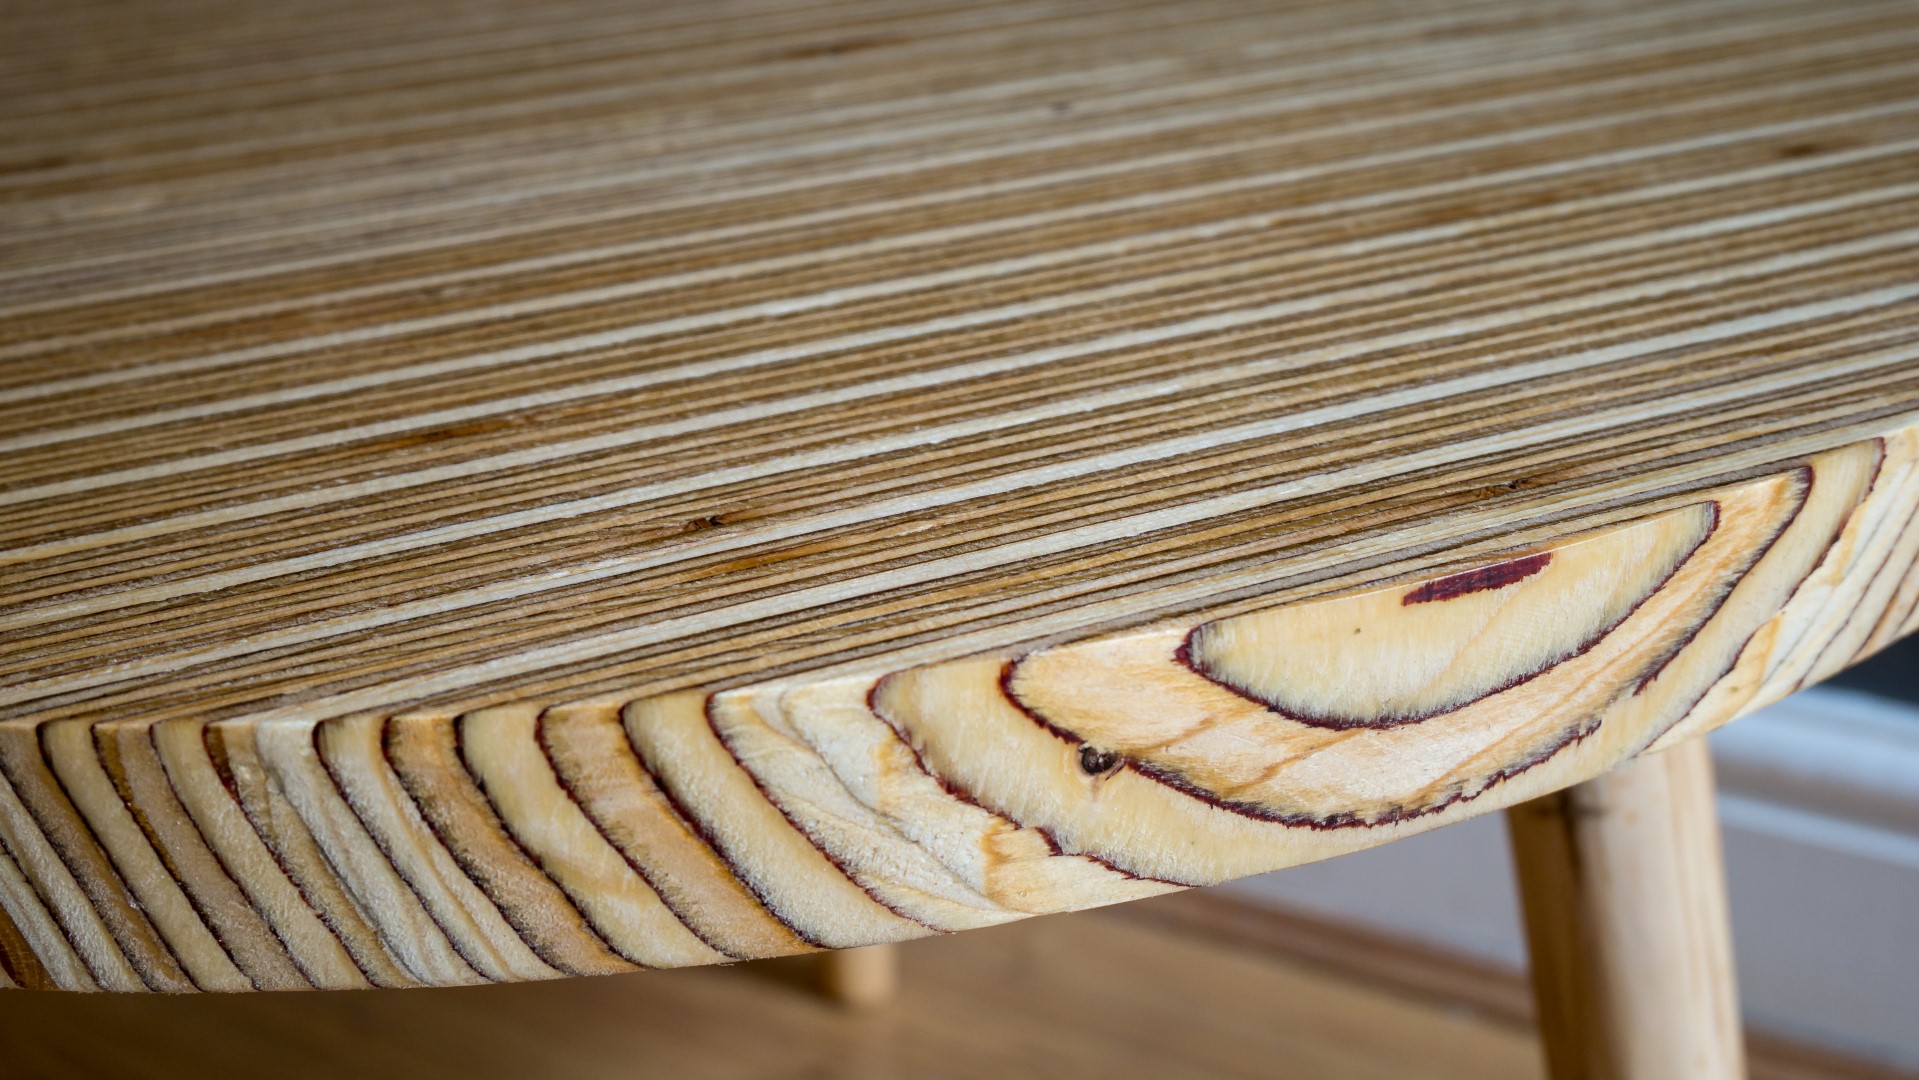
The layers of ply looked really cool.
Next I did some sanding with my random orbit sander at 80, 120 and 240 grit.
And then I sanded by hand at 400 grit.
And then I applied some boiled linseed oil to pop the grain.
For the legs of this table I'd use these painted hardwood dowels which came from an old broken parasol. You can see one of them has a crack in it.
I cut away the pieces I didn't need
Then I set up a stop block and cut them to length and I only had enough good material here to make three legs, but I thought that would make for quite an interesting look.
I used a cabinet scraper to remove the paint. I'm not sure what wood this is.
I wanted to taper the legs, and I don't have a lathe so to do this I first marked up a smaller circle on the end of the dowels just as a reference and I used my spoke shave to taper the legs.
And the legs kept getting away from me while I was spoke shaving and scraping
So I ended up putting a couple of scrap pieces of wood in the vise to stop them jumping away, and that worked well.
I also used my block plane to do a bit more shaping.
And then I sanded the legs by hand and this is how they looked.
Next I needed to make some leg support blocks, and I'd use this piece of pine pallet wood.
I first cleaned up the faces with my hand plane.
Then I cut it to the right thickness at the tablesaw.
And then I cut the blocks to length.
Then width.
And then I cut a 45 degree angle on one side of each of them so that the blocks would be less visible.
And I marked up the centre of each block ready for drilling.
Next I made a simple jig to help me to drill consistent angles through each leg block.
This was just a scrap of ply with some small pieces of wood nailed to it.
And this shot is just showing what the angle of the leg would be once the holes were drilled
The dowels were 36mm so I chose a 35mm forstner bit to drill the holes.
I moved the jig so that the drill bit was lined up with the centre mark , and then clamped it to the table.
And then I could drill the hole for each leg.
So I cut another 45 degree angle on to the other side of the blocks,
And then cut a 90 degree angle on to the other side.
Next I needed to take off about 1mm from the diameter of the dowels so that they would fit inside the leg blocks, so I used an old sanding belt for that.
Then I could add glue to the leg blocks and push the legs in. And I drilled a hole with a countersink bit for a 40mm screw which would re-enforce the joint.
Then I needed to remove the excess material at the top of the block which I did on the bandsaw first, and then I cleaned it up with a hand plane.
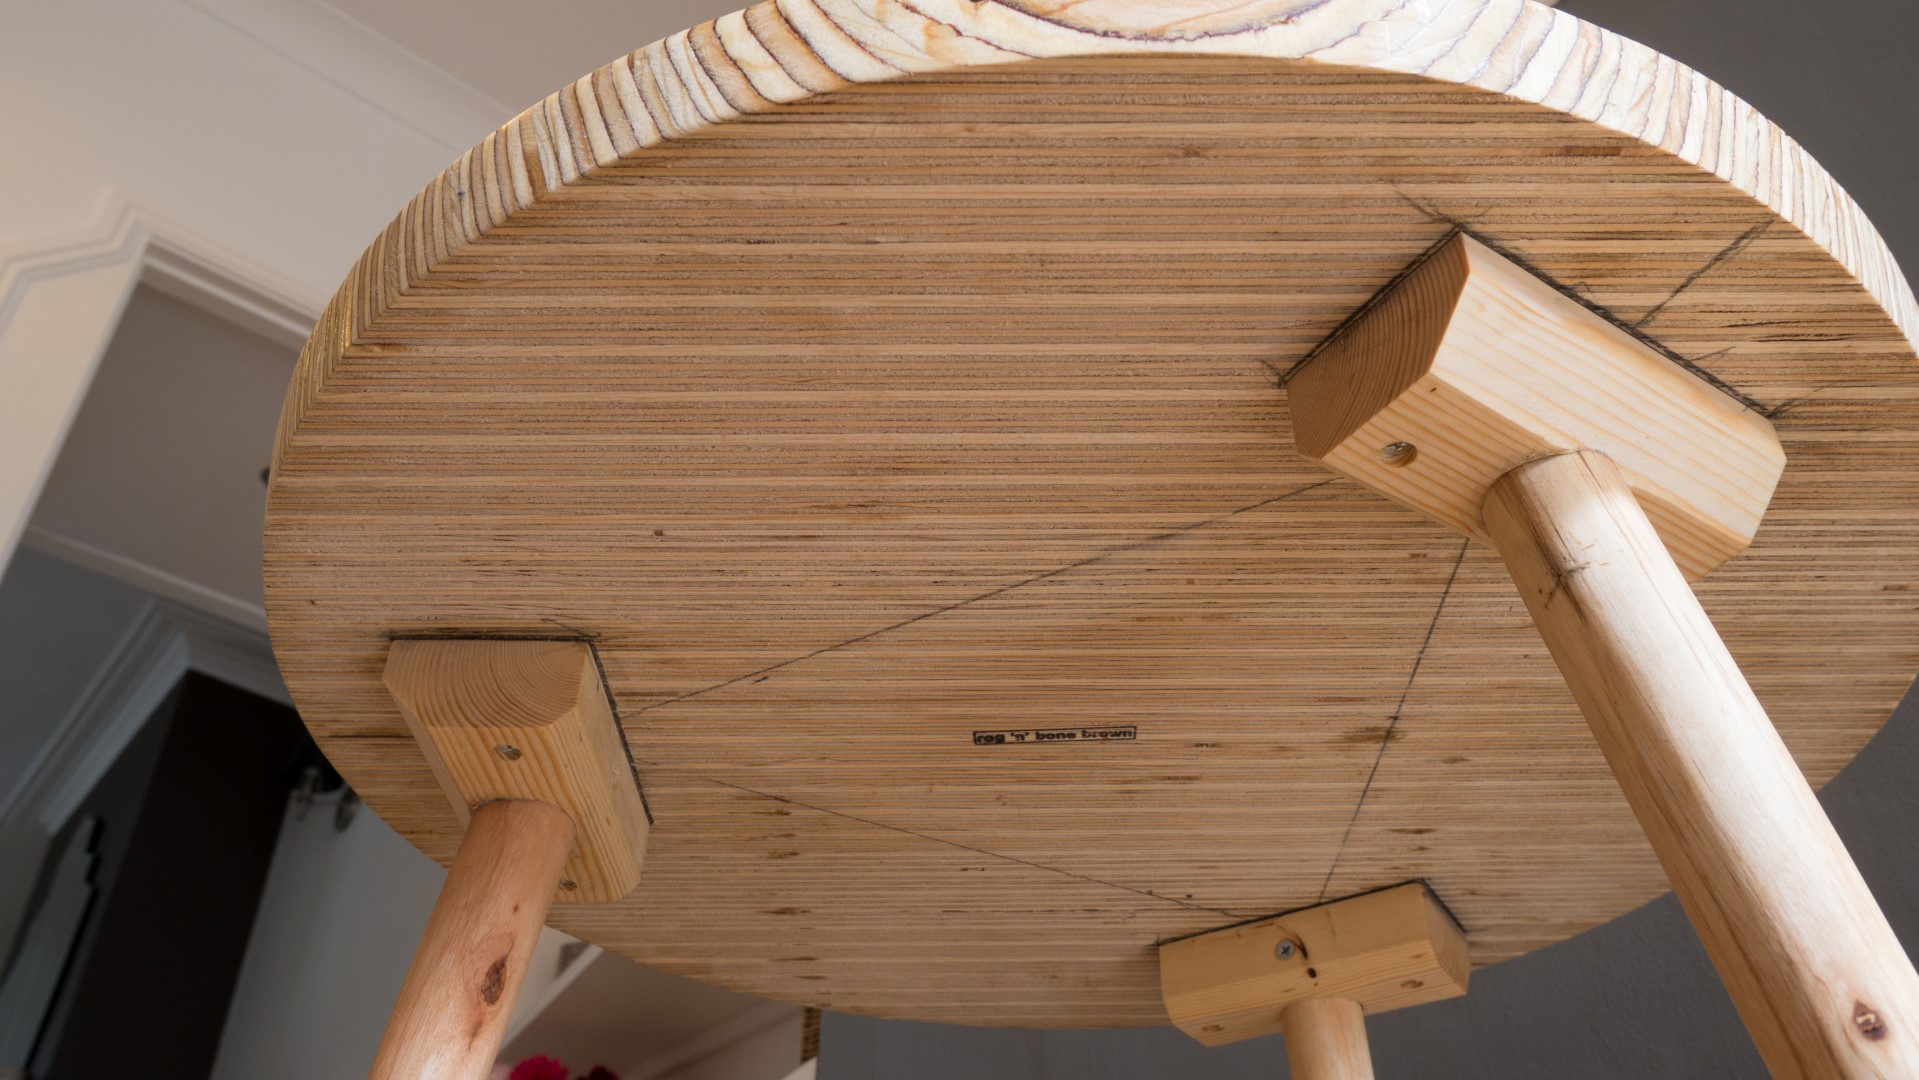
Next I needed to position the three legs, and I knew that the inside angle of an equalateral triangle was 60 degrees so I set my protractor to 60 degrees, and that helped me to mark up a triangle. I made sure that each point was roughly the same distance from the next, and they were within a couple of mm which was ok. I wasn't bothered about getting it perfect - I just wanted the table to be supported well and for it to look right by eye.
So now I had the position for the leg blocks.
I decided not to glue the leg blocks to the table and just use screws instead, as I was making this table for sale to be listed on my Etsy shop online - and if I need to package it up and send it to the buyer, it'll be a lot easier to do that with the legs removable.
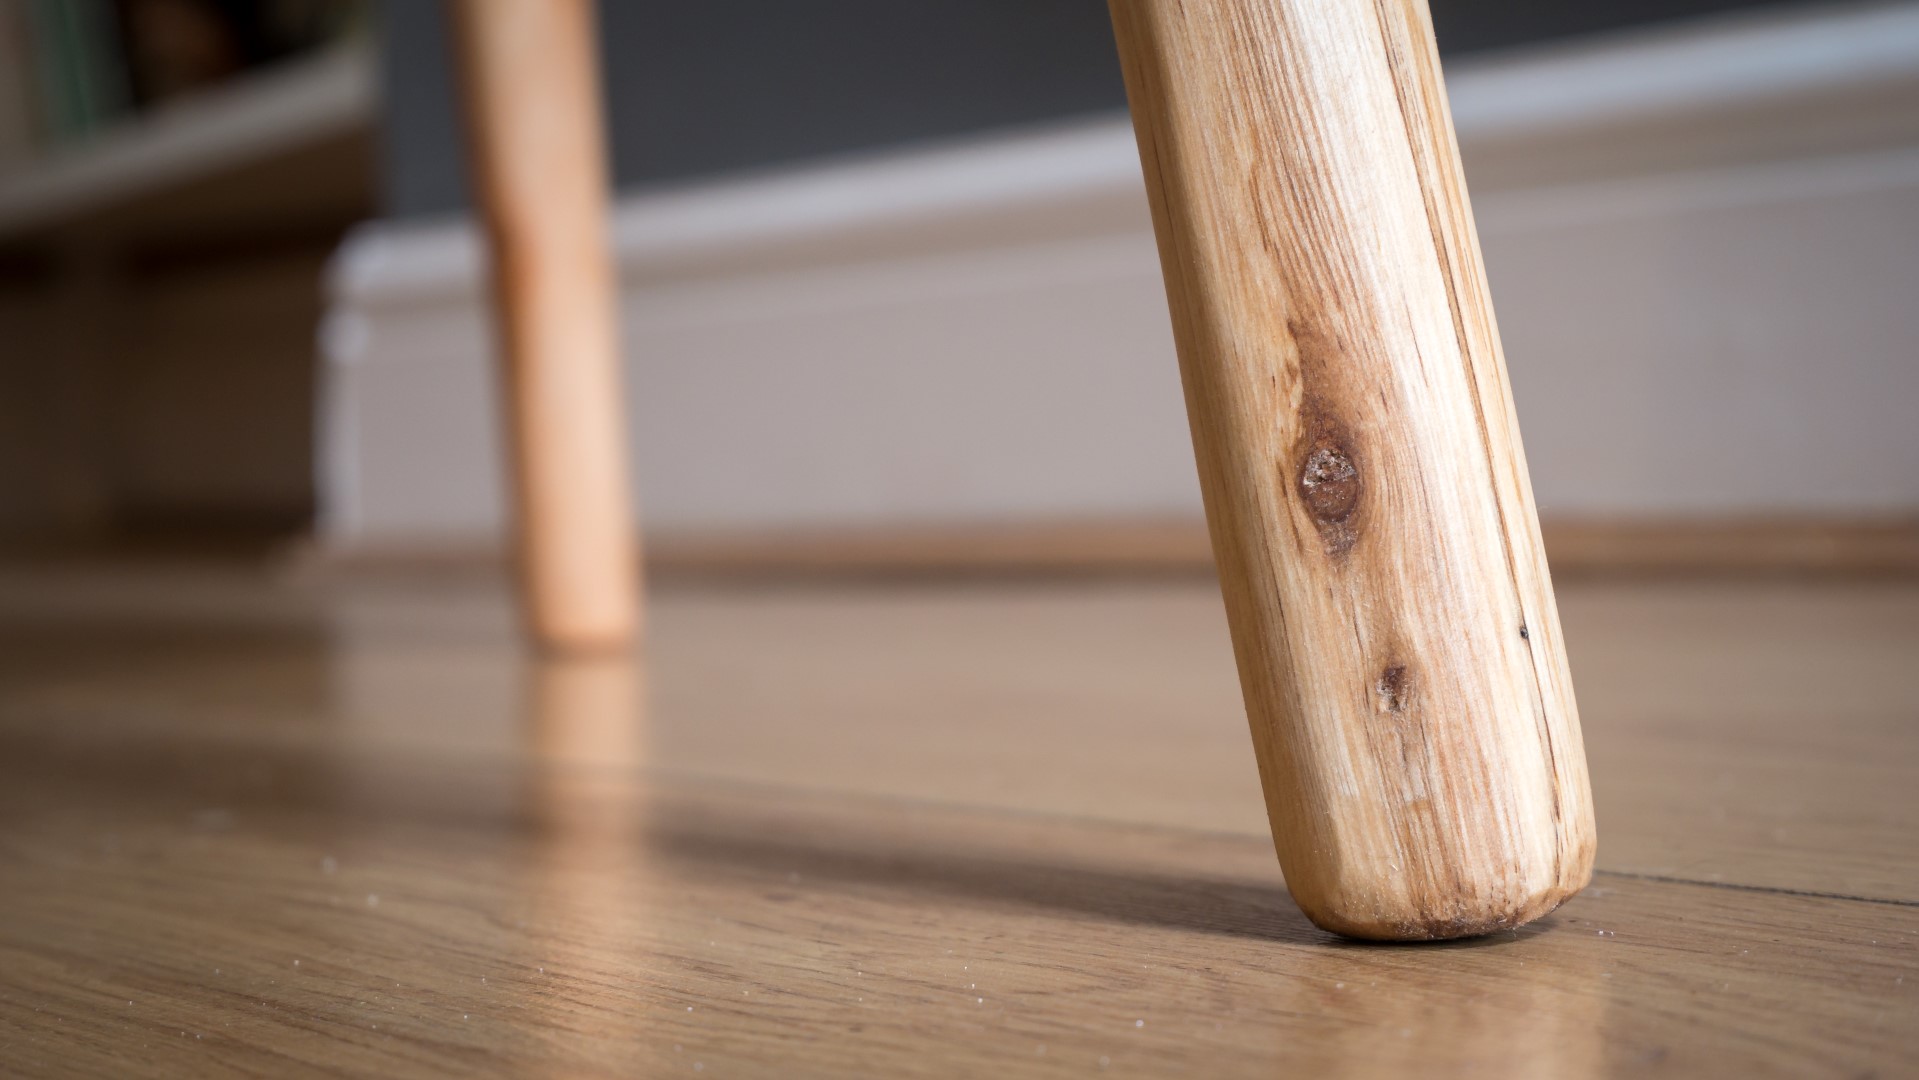
Finally I just needed to shape the bottom of each leg, and I used my electric file for that.
Images: