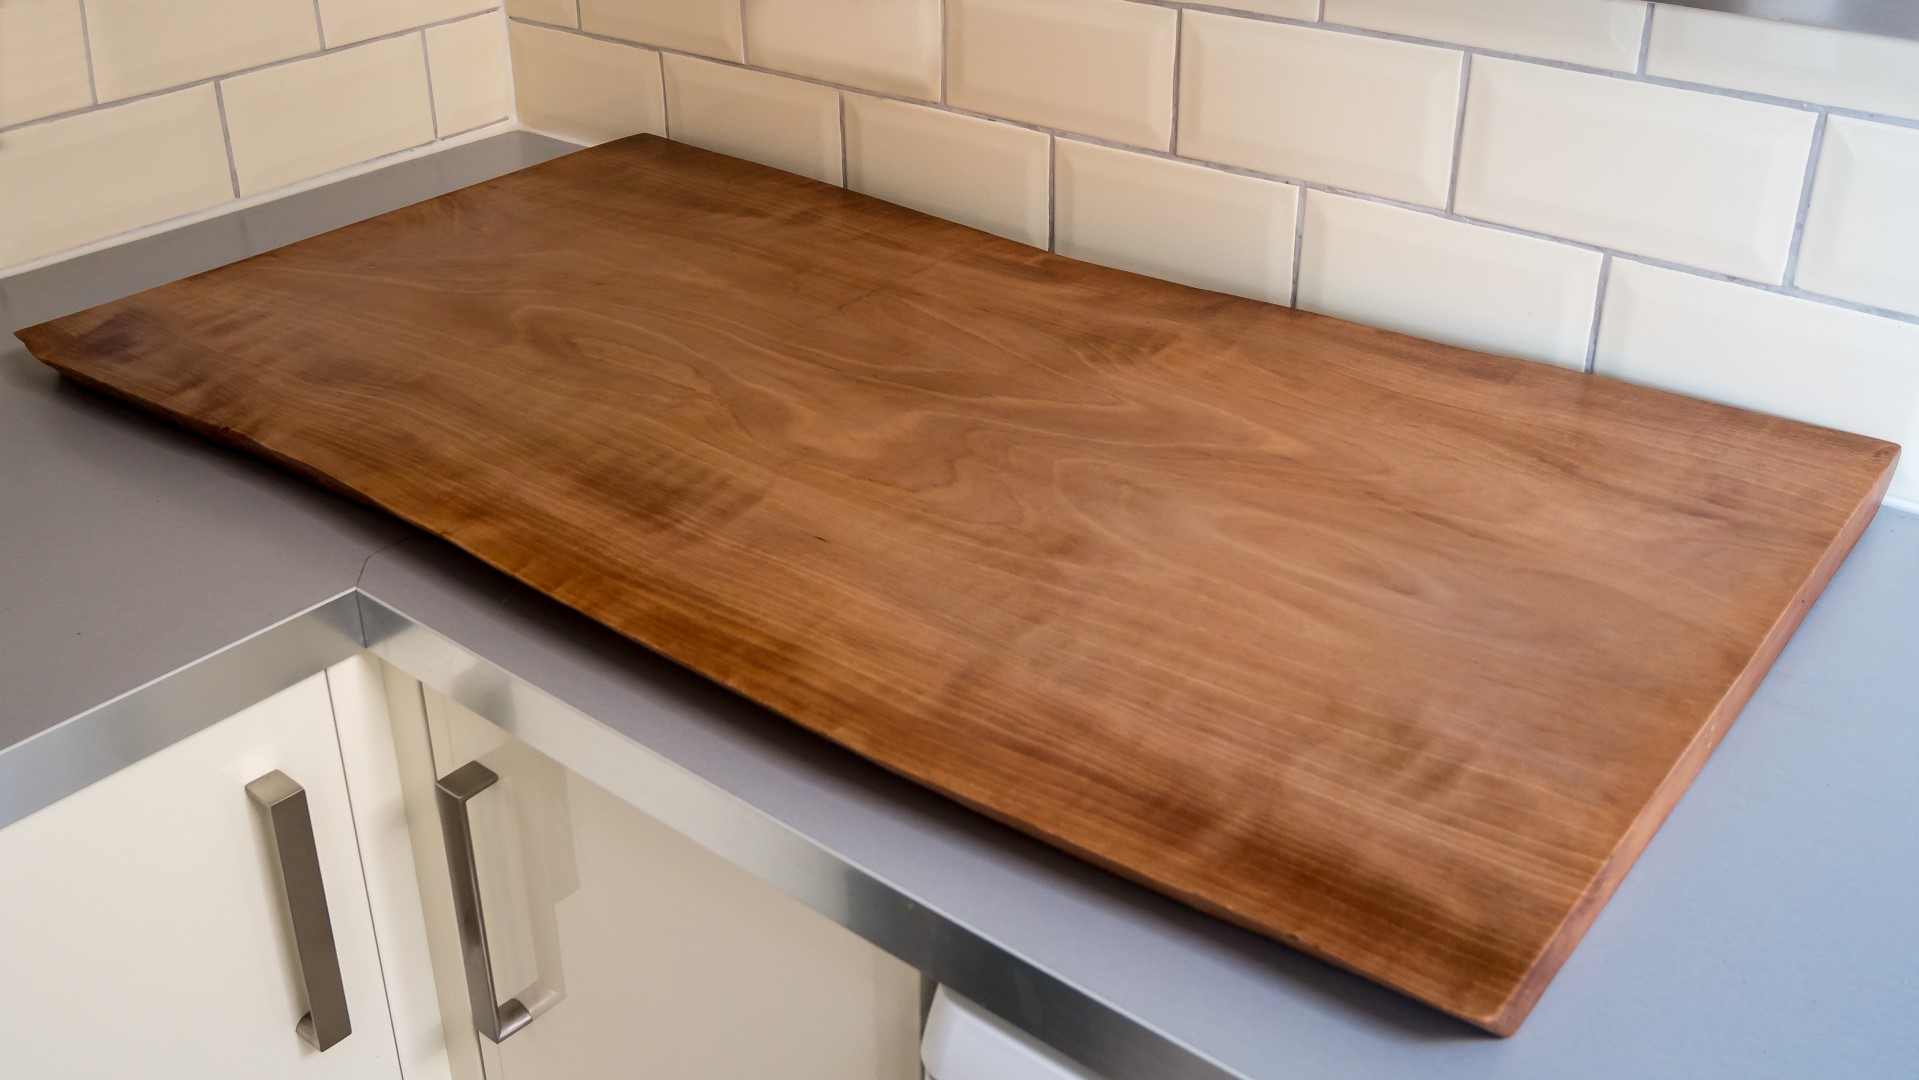
Recently I got a few waney edge slabs of what I think is beech. Here's one of the lengths, which I'd already cut in half so that I could fit in my van. This piece had been stored in a disused warehouse for over 10 years so I expected it to be dry and when I checked with my moisture metre, it was showing at only 6% moisture content. So I knew that after all this time the wood should be stable enough and ready to use. It looked like it'd be a really beautiful piece of wood once cleaned up and as it was also a really good size it seemed like it would be a huge shame to cut it up in to pieces so I decided I'd use it to make a really simple coffee table top and retain most of it's natural shape.
This piece measured around 117cm in length, between 48 and 54cm wide and 4.2cm thick.
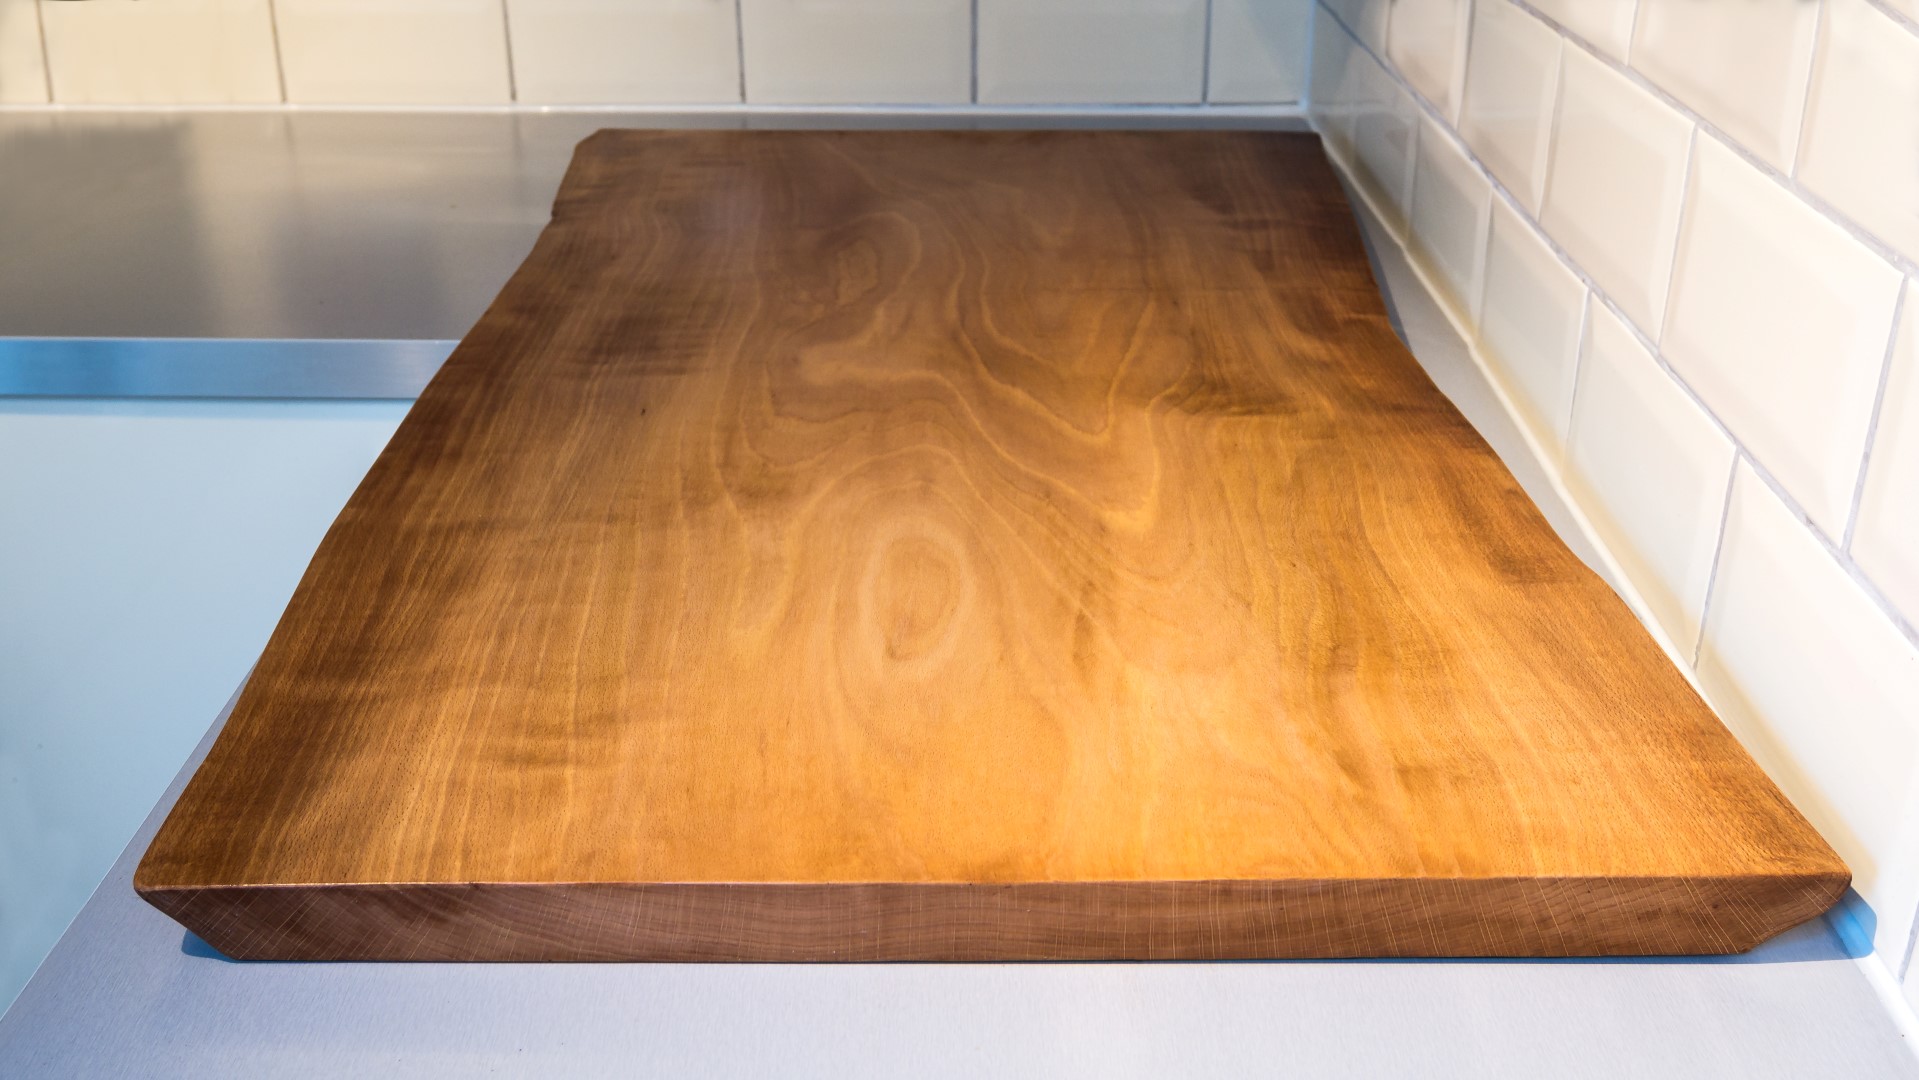
Sighting down the length of the board, I could tell that there was a slight twist in the slab - you can see here that the back left and front right corners are high points.
And across the width of the slab there had also been some warping you can see here that the sides are higher than the centre by around 10mm.
I started to flatten what would be the bottom side of the coffee table top using my cordless planer. I'm making several passes down each edge to try to get it more flat.
I took some passes at roughly a 45 degree angle to the grain too to even everything up.
Then I rotated the piece so I could work on the other side which had a high point in the middle, so I worked on flattening that side too.
This was a pretty lengthy process so I took this timelapse footage.
I kept using a ruler to check my progress.
Then I brought the slab in to the workshop so that I could work on removing the twist from the board. By placing the slab on to the flat surface I could use my hands to figure out which corners were the high points, and then I rotated it again, marked up the high points and removed more material. This is the bottom of the table top, and I wanted to get this as flat as I could so that the table frame that I'll make later can support the top evenly.
And I kept turning it over, brushing away the chips and checking for wobble again. And you can see here that one corner is getting quite thin at this point, but that didn't really matter as I knew I'd be cutting away some of the length later.
Here I'm checking again for flatness with my ruler marking up any high spots with a pencil and doing some more work flattening with the planer.
At this point the bottom was flat enough so that all the wobble was gone, and I'd been working on it for a solid 6 hours so I was pleased with the progress.
Then I started working on the top side of the slab again and i'm trying to flatten it, remove all the rough sawn areas, and keep the thickness consistent across the whole slab - so again, there was lots of stopping and checking.
Recently I made a video about all my cordless makita tools, and in that video I said that this planer was a tool I bought on a bit of a whim and that I could definitely live without it, but it was a "nice to have". Well since working on this project, I've realised that there's no way I could have done this without this tool. The slab is too big to manouvre on to my jointer, and too wide as well, I couldn't have done this with a normal hand plane because it would have taken me weeks if not months to remove the amount of material I've removed with this, and I couldn't have used my belt sander with a course grit because that probably wouldn't have been an accurate enough way to get the slab flat and it would have also taken much longer. So my opinion on this tool has changed, it's handled a whole day of almost constant planing. The batteries have lasted really well I think I've swapped over for a freshly charged one maybe 5 times. And now I consider it to be a really good tool to have, especially for a project like this one.
Next I started to remove the bark from the edges. If all the bark had been entact I probably would have left it on there, but there were a few areas missing it so I decided to take it all off.
That was the end of day one.
On day two I had an idea to use some winding sticks to check that the twist had been removed. And I don't have any winding sticks, so I'm just using a couple of straight offcuts of particle board. These help to emphasise any twist so that it's easier to see, so by placing one at each end, I could sight along the top of each of the sticks to check for twist, and it looked pretty good, but I could see that there was still some twist in the board, so it was back to flattening the bottom and checking for wobble once again until I was happy that it was as flat as I could get it.
And finally I took some really light passes with the planer in the direction of the grain just to get as good a surface as I possibly could with the cordless planer.
Next I started planing with my no.5 hand plane with a freshly sharpened blade, and I'm just taking light passes to remove any ridges left by the electric planer and get everything nice and smooth.
To cut the table top to it's final length, I first marked up a centre point at each end of the slab, and then clamped on a straight edge lined up with those marks, and then using a framing square I could mark up a cut line knowing that they'd be at a perfect 90 degree angle to the centre of the slab. There might be another method to do this, but this is just what I came up with at the time and it worked well. I did that on both ends and then extended the line the full width of the board.
And then I clamped on a straight edge and made the cut in two passes to make it easier on the blade because this wood is really quite thick and dense. I cut both ends.
Then I moved on to sanding, I started at 100 grit with my random orbit sander. The top was already very smooth from the hand planing but I decided to sand mainly because there were a couple of small areas of grain tear out where there were some imperfections within the wood grain caused by the electric planer and sanding those away seemed like the best option.
And then I did some scraping with a card scraper to get a the finish nice and smooth and remove any swirl marks left by the sander.
I did some more sanding to ease over any sharp edges.
To clean up the edges I used my electric power file, I also used this to round over the corners.
Next I could add finish, and I first applied some boiled linseed oil. I applied quite a lot, and just left it to soak in to the wood as much as possible. The end grain really soaked up the oil quickly so I re-applied a few times until it stopped soaking in. I gave it three coats of oil in total.
The oil raised the grain slightly, so using some 400 grit wet and dry paper I smoothed it over again. It didn't take much time or effort to get it super smooth again.
Then I removed any dust with a cotton cloth.
To make the table top more hard wearing I used some spray varnish. I applied three coats of this in total, and did some de-nibbing inbetween each coat once it was dry with some 600 grit wet and dry before applying the next coat.
And then I could clear away all the shavings, of which there were enough to fill two big black bin bags!
It took much longer than I expected to get the slab nice and flat, but I'm really pleased with how it turned out so far. This project has taken me a day and half so far, and with the table top now done I can start working on the frame for the table. And I've got some good ideas about how I'm going to go about making the frame and what it's going to look like, and that will be covered in part 2 which will be coming soon.
I hope you enjoyed watching this as much as I enjoyed working on it. Please subscribe if you haven't already. Thanks for watching.
Images: