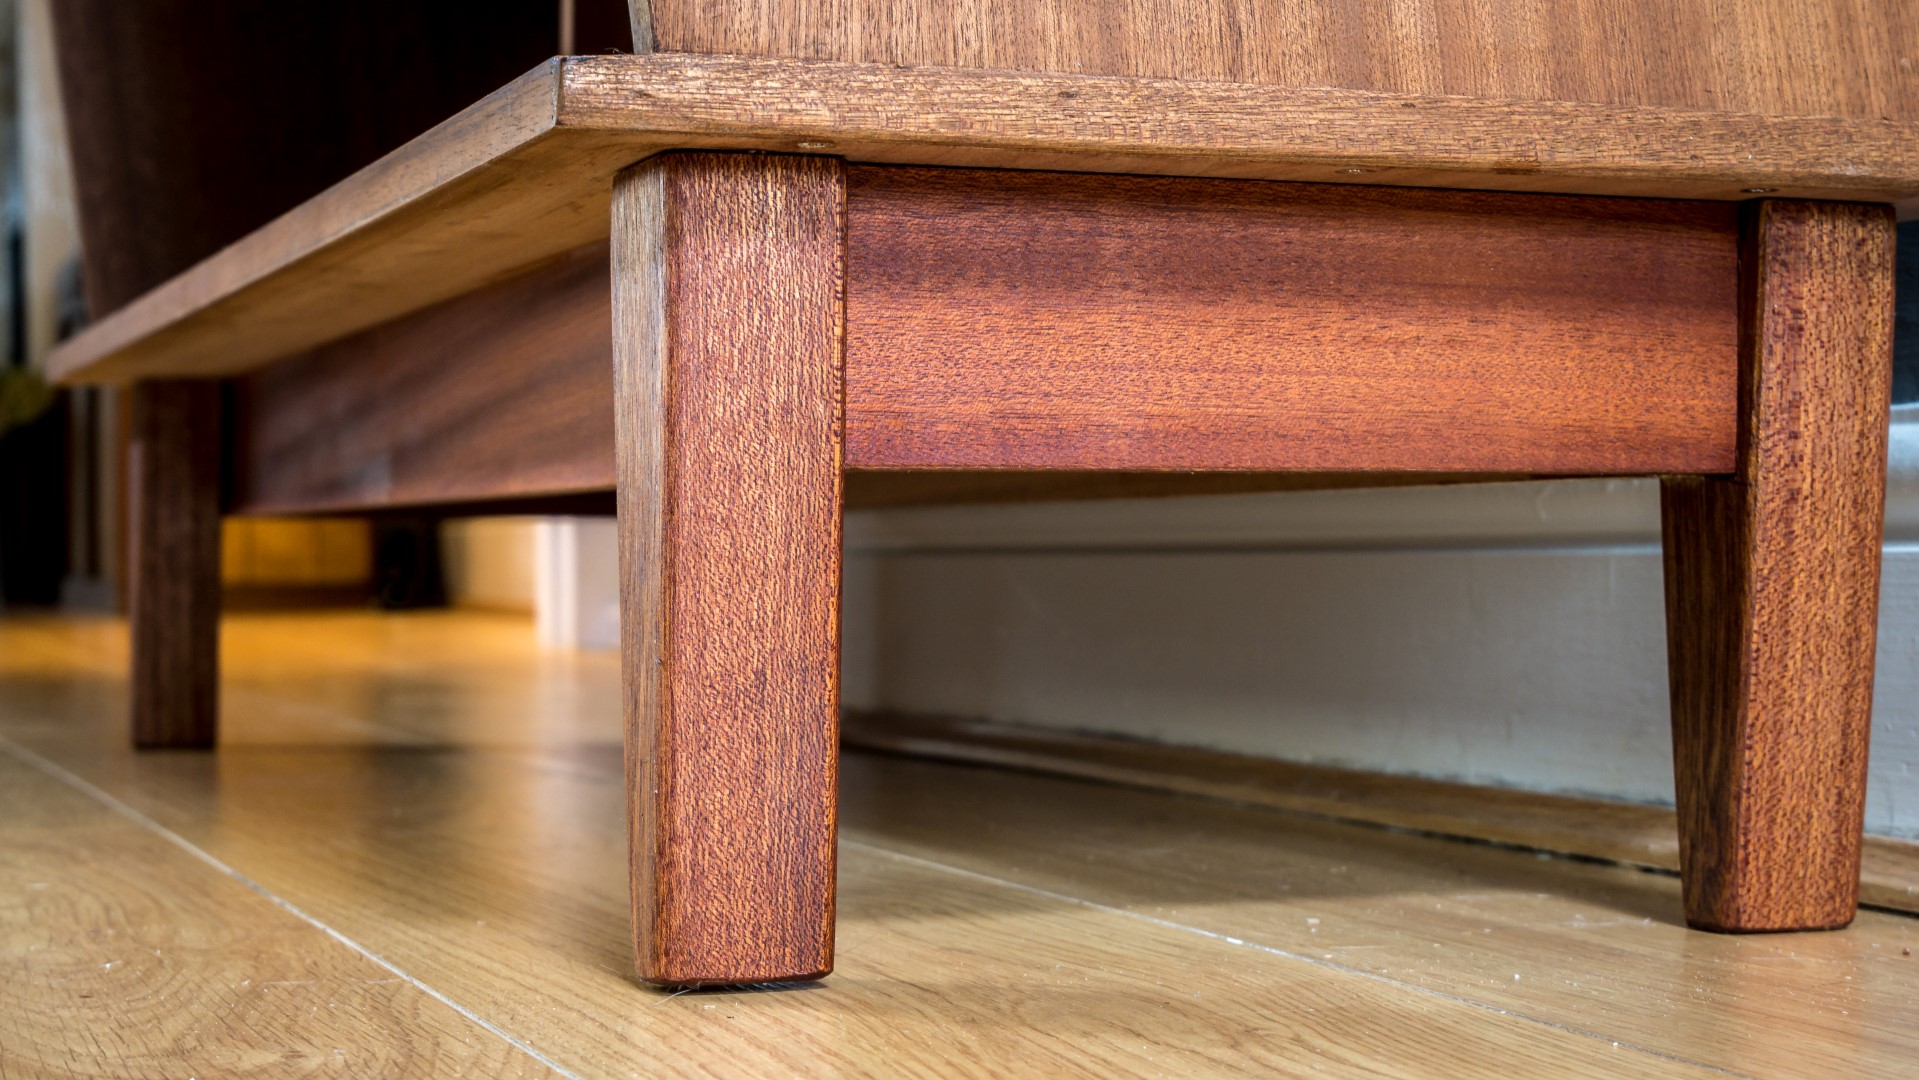
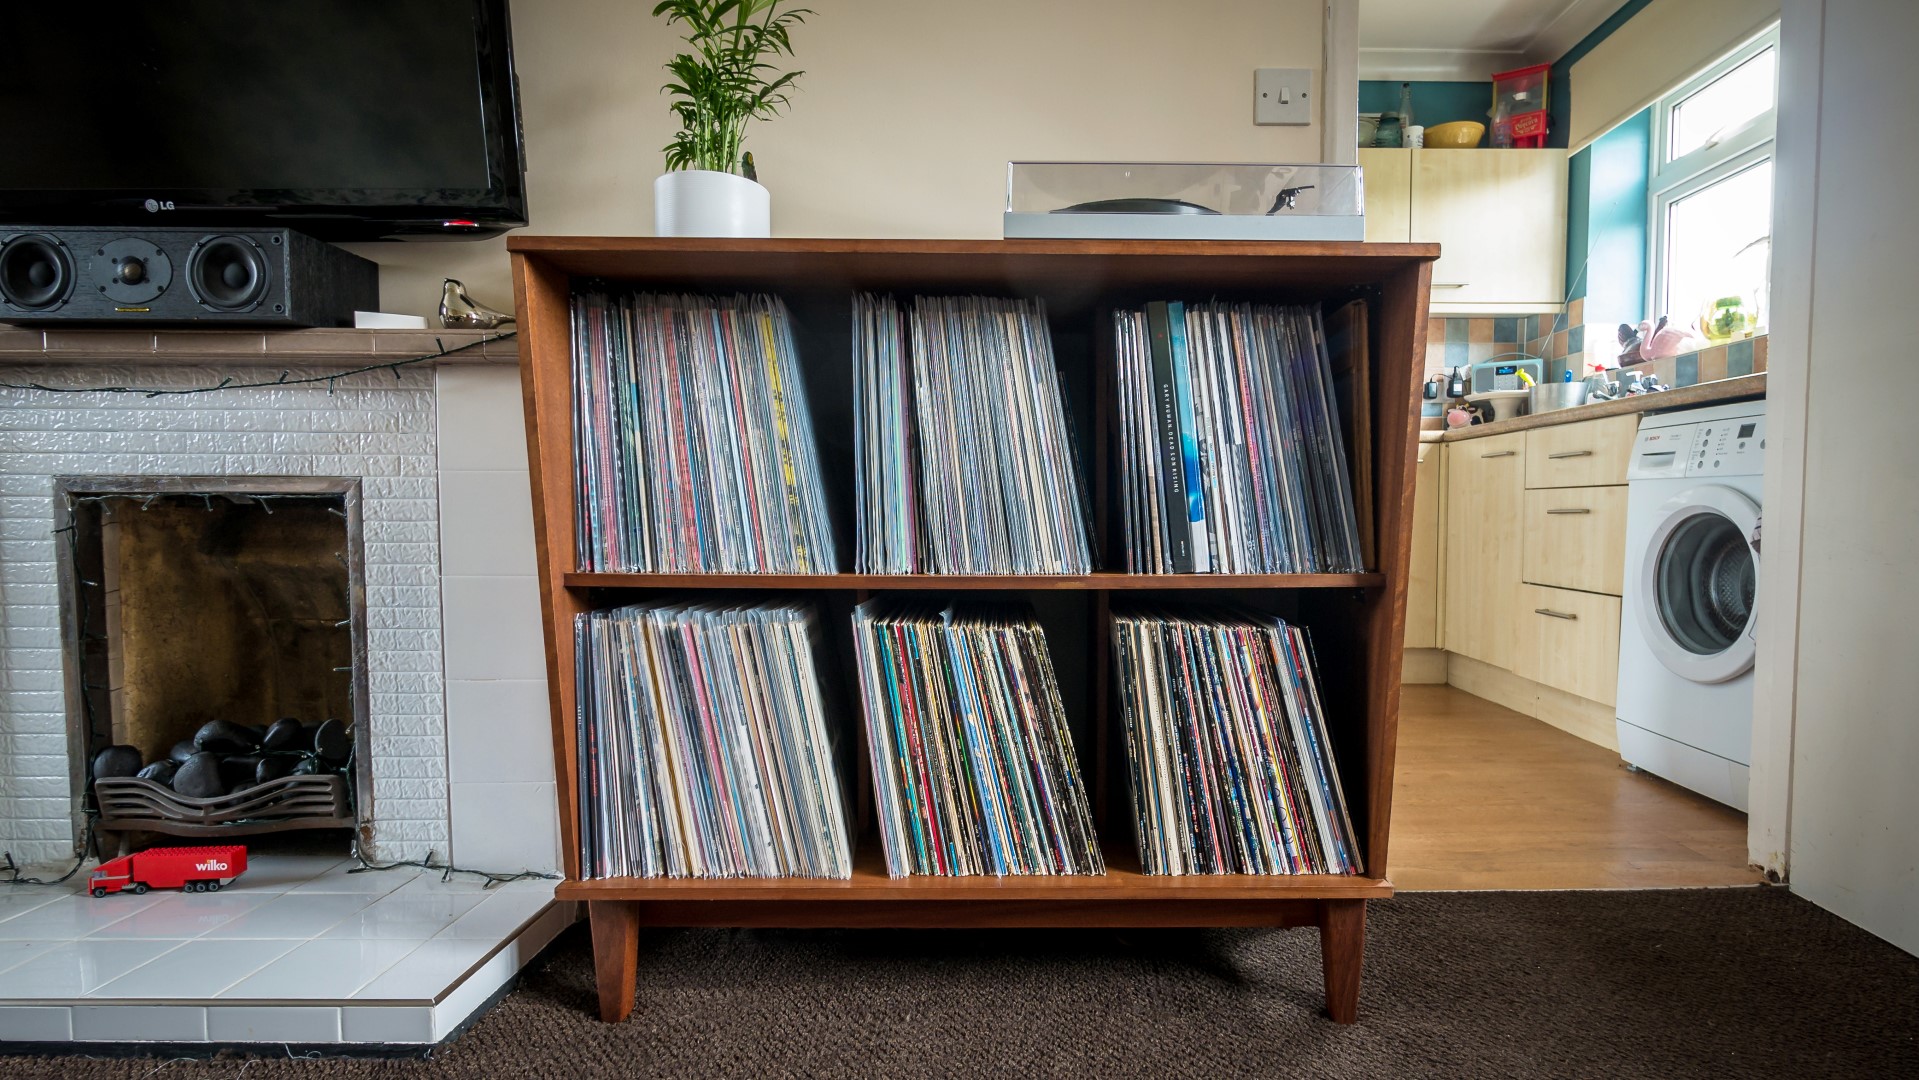
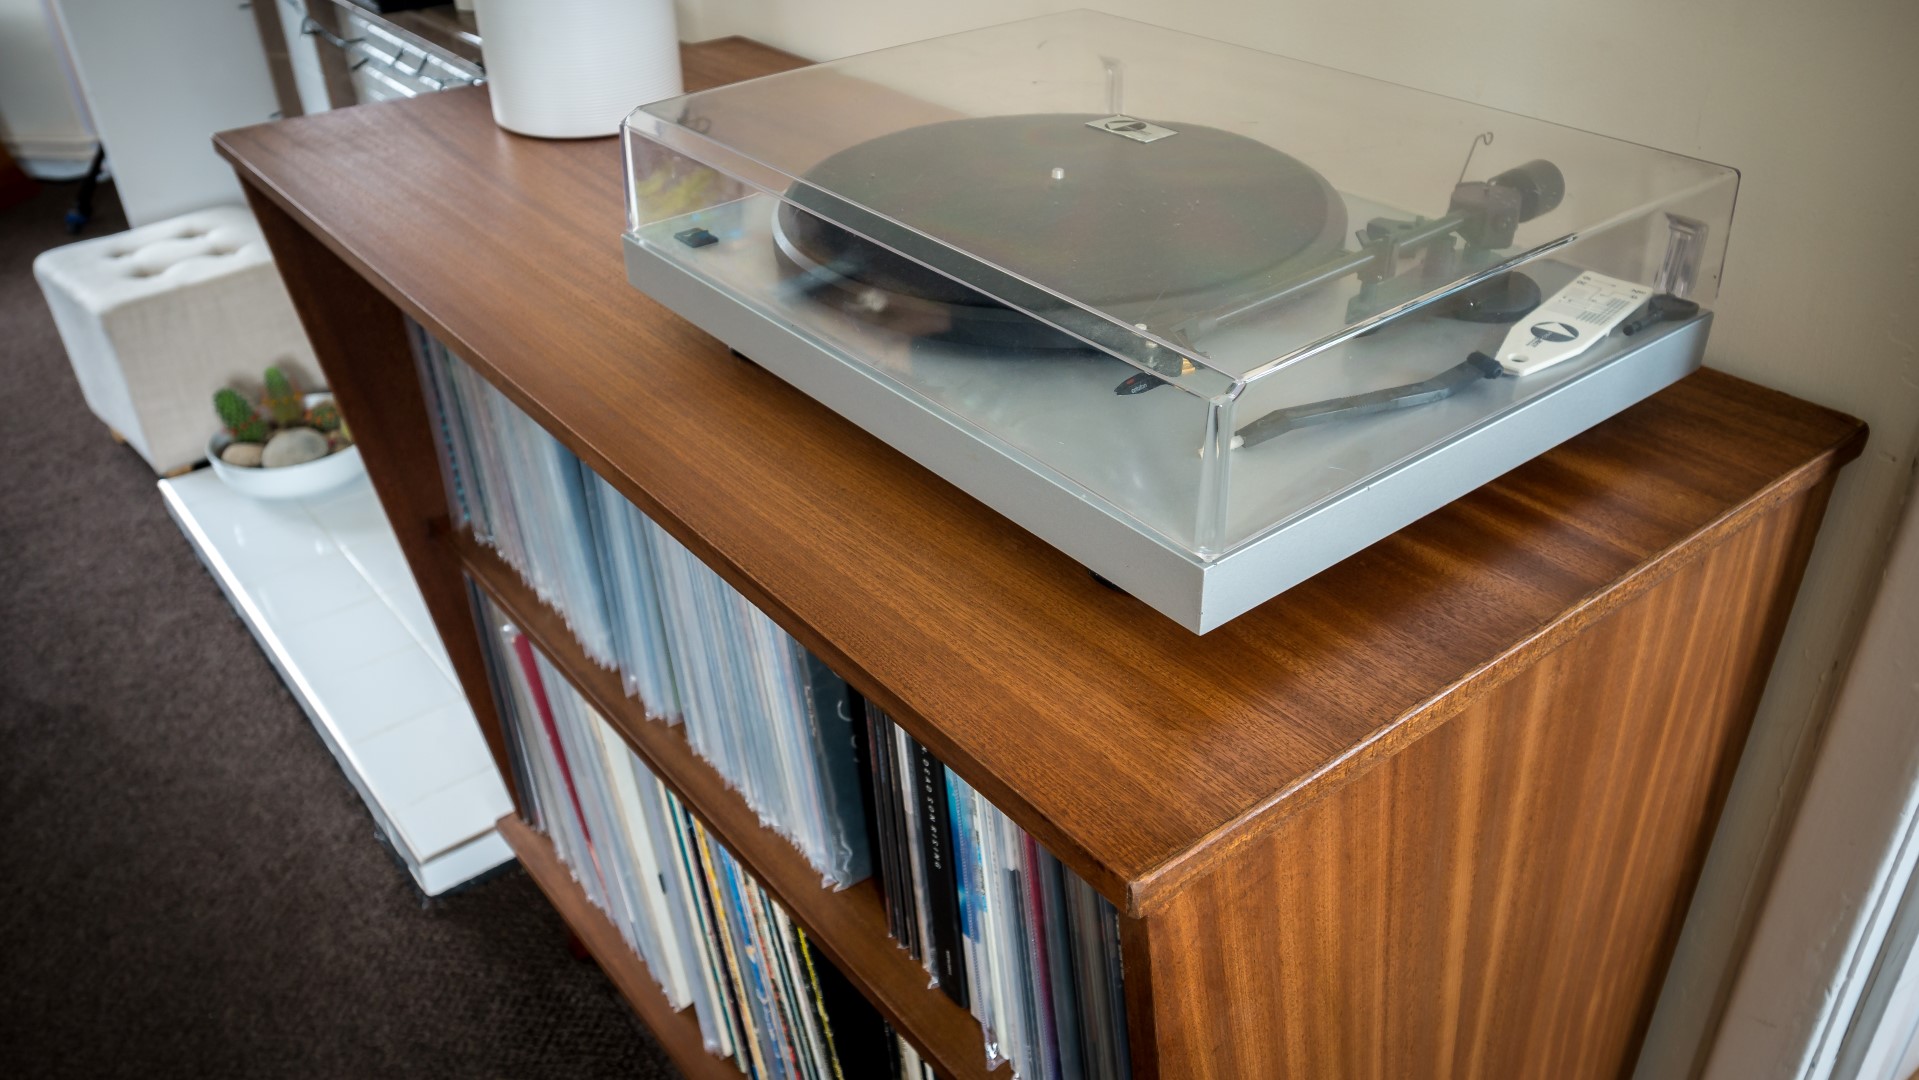
In this video I'm going to be making a record unit for my brother. He recently bought some nice mid century style furniture and he's been looking for something in that style to hold his records but hasn't been able to find anything suitable, so he asked me to make something. The unit would need to be 1m wide, have two shelves to store records with dividers inbetween, and sit around 15cm off the floor so that it sits above power sockets on the wall where it's going to be placed. So I did a drawing in SketchUp and this is what we came up with. As records are heavy, there'd be a leg frame assembly with apron rails to support the weight of the records, and the section dividers would also help to support the shelves and prevent them from bowing. The side panels would be tapered to add a bit of visual interest, and the back panel would be green in colour to compliment the wallpaper in the room.
I positioned the marked up side panel on to another piece of the same material so that I could cut both the side panels together for consistency.
But before making the cuts I first applied some masking tape to where the cuts would be made to help prevent tearout to the material on both pieces.
I set the cutting depth on my circular saw to just over the thickness of the two pieces and then I could make the cuts following the lines I'd marked up. And I made the cuts free hand being careful to stick to the line.
When I peeled off the tape, I found that the masking tape had helped keep the cuts nice and clean.
Next I wanted to cut a bottom and top panel so I first measured the width of the tapered side panels at the top and bottom.
I ripped the bottom panel to the right width at the tablesaw and then went to rip the top panel to the right width but then realised that the material was not wide enough. But that was an easy fix, I just marked up a line at the back of the side panels 30mm in from the edge, set up a straight edge with some F clamps and ripped them down to be slightly less wide so that I could use the full with of the chipboard as a top panel.
This did mean that I needed to rip a little more off the bottom panel.
To cut the top and bottom panels to length I used my panel sled on the tablesaw as these boards were slightly too wide to cut at the mitresaw. You can see here I'm using a weight just to help hold the board on to the sled without moving around.
I squared off the ends of the housing joints using a chisel.
And then I could route the next joint in the same way
And they were a really nice fit.
Next I ripped another piece to the width I wanted the central shelf to be, and cut it to length at the mitresaw. And it didn't have quite enough reach so I finished off the cut with a handsaw.
I could then mark up the central dividers to the central shelf and route them out in the same way as I had for the bottom shelf.
Then I could start assembling the unit. I'd start by securing the bottom panels to the side panels - I applied wood glue and used some masking tape just to make up clean up of the excess glue easier.
I used some corner clamps just to hold the pieces in place and then I drilled pilot holes with a countersinking bit through the bottom panel and in to the side panels and added some screws.
I could then flip the unit upright and remove the tape.
As the side panels measured 720mm in length I divided that by two to get the postitioning of the central shelf and then I marked that up.
I'd use some of theses metal angle brackets to help support the shelves. I picked lots of these up at a car boot sale. In hindsight I wish I had cut some housing grooves for the central shelf to sit in to but I think I was worried about doing that just because this sheet material was so thin at 15mm but I think it woud have been a better option. Not that there's anything wrong with these brackets, they'll do the job just fine and they won't be particularly visible either because they'll be below eyeline and also hidden by records. I drilled pilot holes and screwed in the brackets using a speed square to keep them straight to one another.
After applying some glue I could fit the shelf in place using a sash clamp to get a tight joint and then secured the brackets to the underside of the shelf.
Next I measured up the distance between the section divider housing groove and the top of the shelf so that I could cut the section dividers. I ripped a new panel at the tablesaw to the width I wanted the dividers to be and by flipping the board over between cuts I could retain each of the veneered edges.
I set up a stop block and cut the dividers to length.
I added more angle brackets to what would be the top of the dividers and then I could apply glue to the joint and knock the dividers in place with a mallet before securing the angle brackets to the shelf above.
Then with the unit upside down I could secure the top panel using glue and more brackets.
And I could then secure the section dividers for the central shelf in the same way as I did before.
Images: