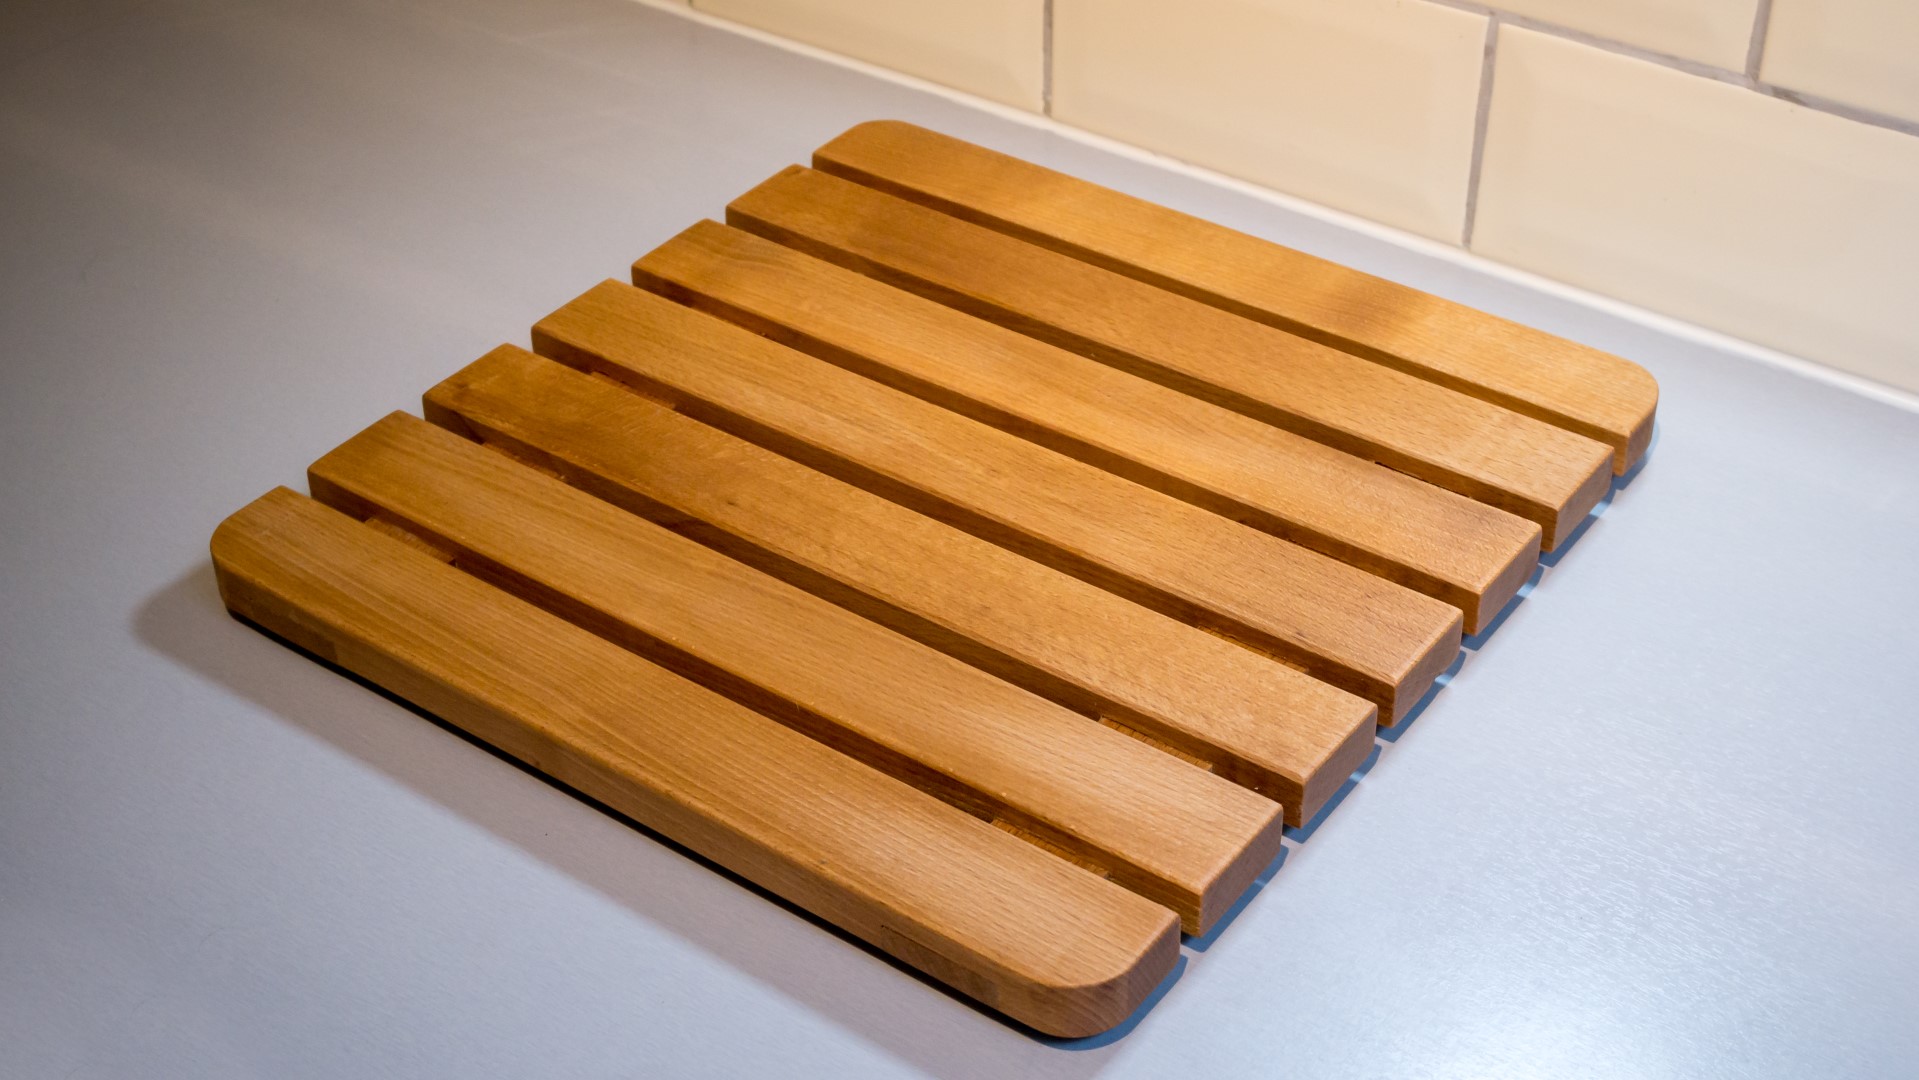
Recently one of my friends tagged me in a post on Twitter because someone had tweeted about needing a replacement wooden draining board for a sink, it's an item that is no longer available for sale, and her old draining board was a little worse for wear. So I got in touch and gave her a quote for making one and also some more information an suggestions and options about what would might be best to use as some woods are more resistant to absorbing moisture. The client was happy with the quote and sent me the exact dimensions for the board she wanted, including the spacings inbetween the slats.
I started by doing some calculations just to double check that the dimensions were ok.
For this build I'd use a small slab of beech.
First I'd cut a couple of pieces off the length of the slab using my circular saw making sure that I had more than enough length for the size that the draining board needed to be.
Because this beech hardwood is very dense I made the cuts in two passes loweing the blade depth in between cuts to make it easier on the saw blade.
I was really surprised at how clean this cross cut was, this was the first cut I'd ever made with this saw from Hitachi and it had a brand new blade fitted, but even so I didn't expect it to look this good and smooth.
So here I'm cutting off the second piece and I figured these two pieces would give me enough material to work with to make the board.
Before I could make any rip cuts at the tablesaw I'd first need to cut a straight edge to reference against the fence, so I cut those with the circular saw too using a straight edge clamped to the workpiece as a fence. And I took these cuts in two passes too.
And then at the tablesaw I cut the live edge off the opposite side
So the slats would need to be 44mm wide and the thickness of the slab measured 50mm so I could simply cut it in to slices to form the slats, but the slab was quite warped across the grain, so I set up my planer and first flattened the concave side of the slab.
After taking a few passes I was worried that by the time I'd flattened one side I might not have the 44mm thickness I needed, so I decided to make a rip cut roughly halfway through the slab before going back to the planer and getting the pieces perfectly flat.
And fortunately I could still get 44mm out of them.
Then I planed one of the edges square to the newly flattened face.
And then I could do the rest of the planing through the thicknesser to get each piece to a consistent 44mm thick.
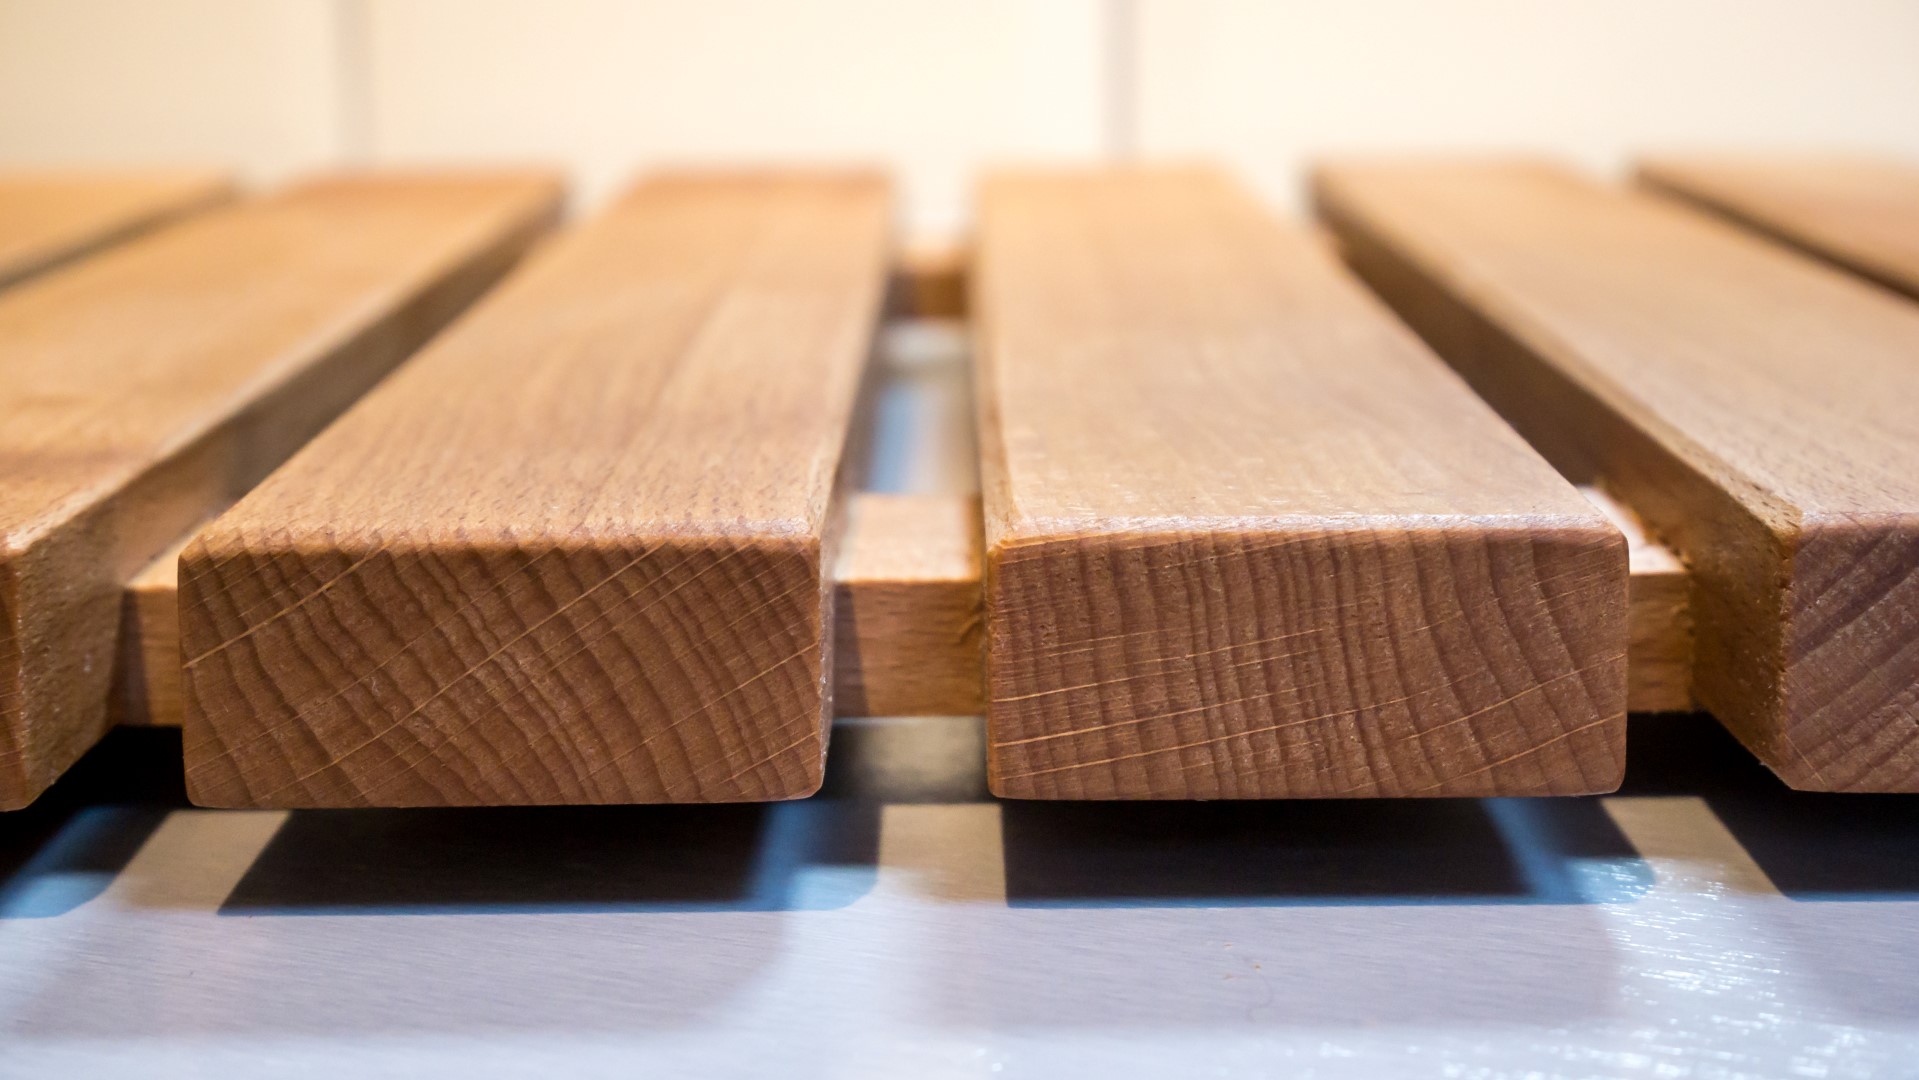
Then I could rip the workpieces in to 7x 22mm thick slats at the tablesaw, again raising the blade in between cuts to take it easier on the saw blade.
The saw left a few burn marks and I could remove those by making some light passes with the thicknesser to bring the slats down to their final thickness of 20mm.
At the mitre saw I could then cut one end of each slat and then set up a stop block at 360mm to cut them to final length.
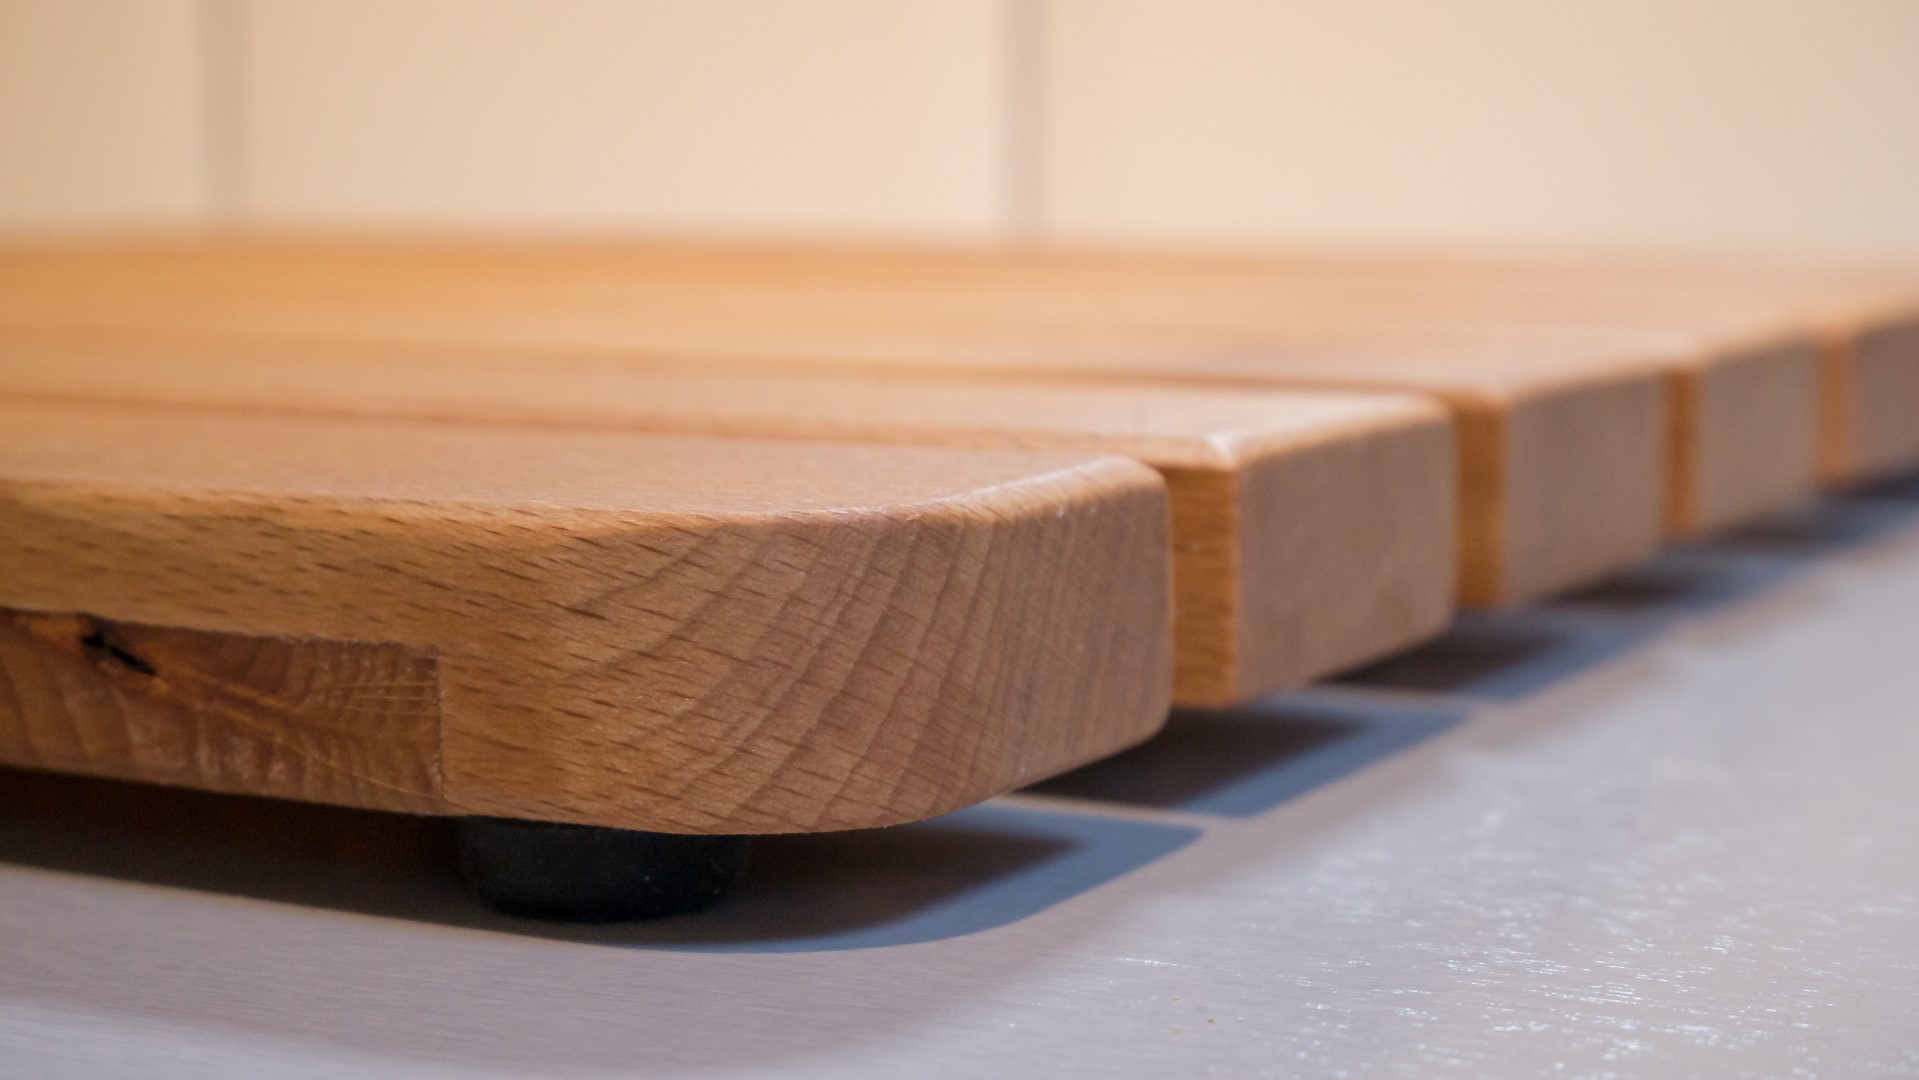
I eased over all four sharp edges of the slats using my block plane, just to make them feel nicer in the hand.
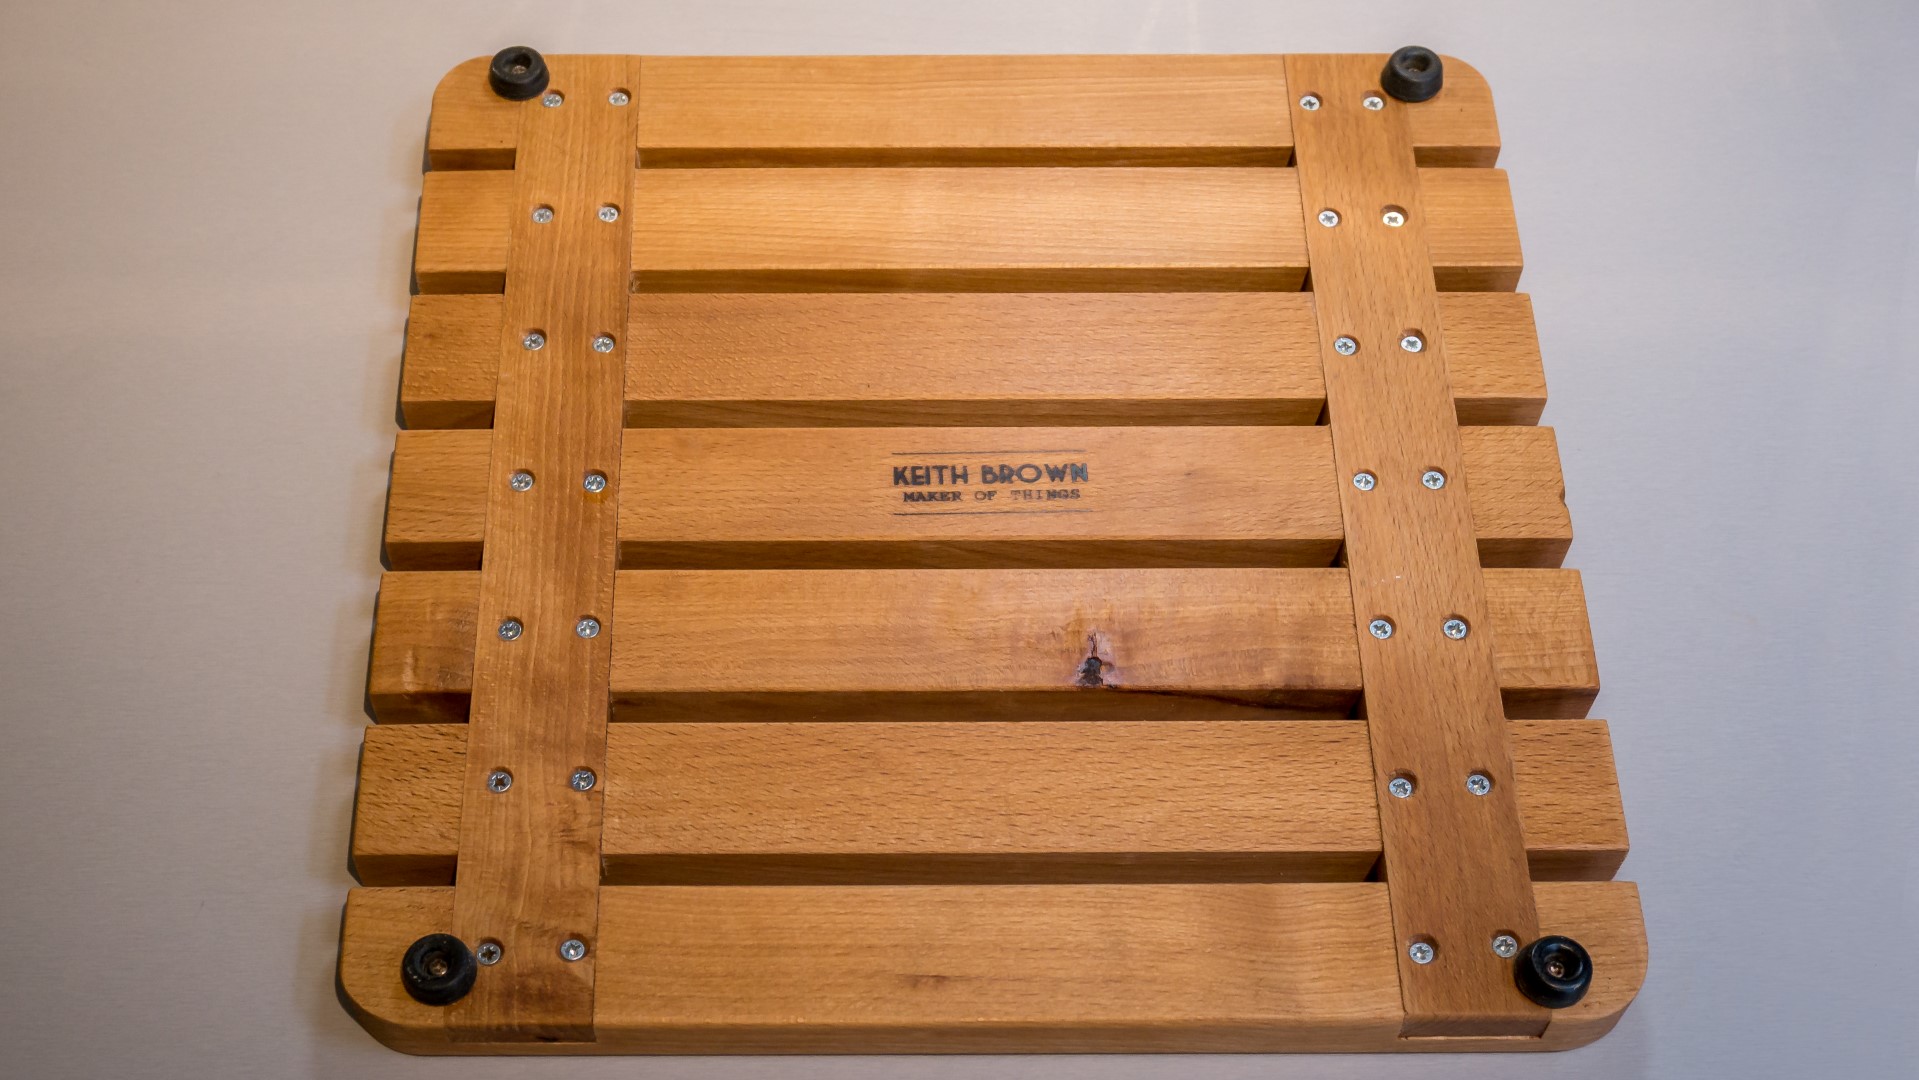
Next I needed to cut two more pieces of beech which I'll refer to as "stretchers" because I'm not sure what else to call them, to run perpendicular to the slats on the underside of the board to hold the board together. These pieces would be half the thickness of the slats, so 10mm, and they will later sit inside housing joints in the slats.
I cleaned those pieces up with light passes through the thicknesser too, and cut them to length at the mitresaw.
To cut the housing joints in the slats I'd use my cross cut sled.
I first set the blade height to the thickness of the stretchers
And then I used my combination square set at 30mm to mark up on one of the slats where I wanted the joints to be cut using my marking knife. I could then mark up the thickness of the stretchers.
Then I could line up the inside of those knife cuts with my tablesaw blade, set up a stop block on my sled and make a cut on each end of each slat, so I'm rotating the piece inbetween cuts before moving on to the next slat.
Then I lined up the blade with the inside of the next mark and did the same again to each slat.
I'm using a pencil here just to hold down the slats and keep my fingers a safe distance from the blade.
And then I could take out the rest of the material to form all the joints.
I used a chisel to clean up the joints.
Then I did a dry fit and everything fitted perfectly.
I added wood glue to the joints
And then I used a piece of wood that was 12mm in thickness as a spacer to space out each slat.
Then I marked up for some screws to re-enforce the joints
I drilled pilot holes with a counter sinking bit and then added screws
When I added the next stretcher I found it was a much tighter fit than the first one, even though technically they should have been identical because they were both cut in the same way. So I used my vise just to force the joints together and it went together OK.
I sanded the board with my random orbit sander and eased over the sharp edges too.
Then I found something round to use as a template to mark up some rounded corners, and I cut those roughly on the bandsaw before refining the shape at the disc sander and then I did some hand sanding on the edges.
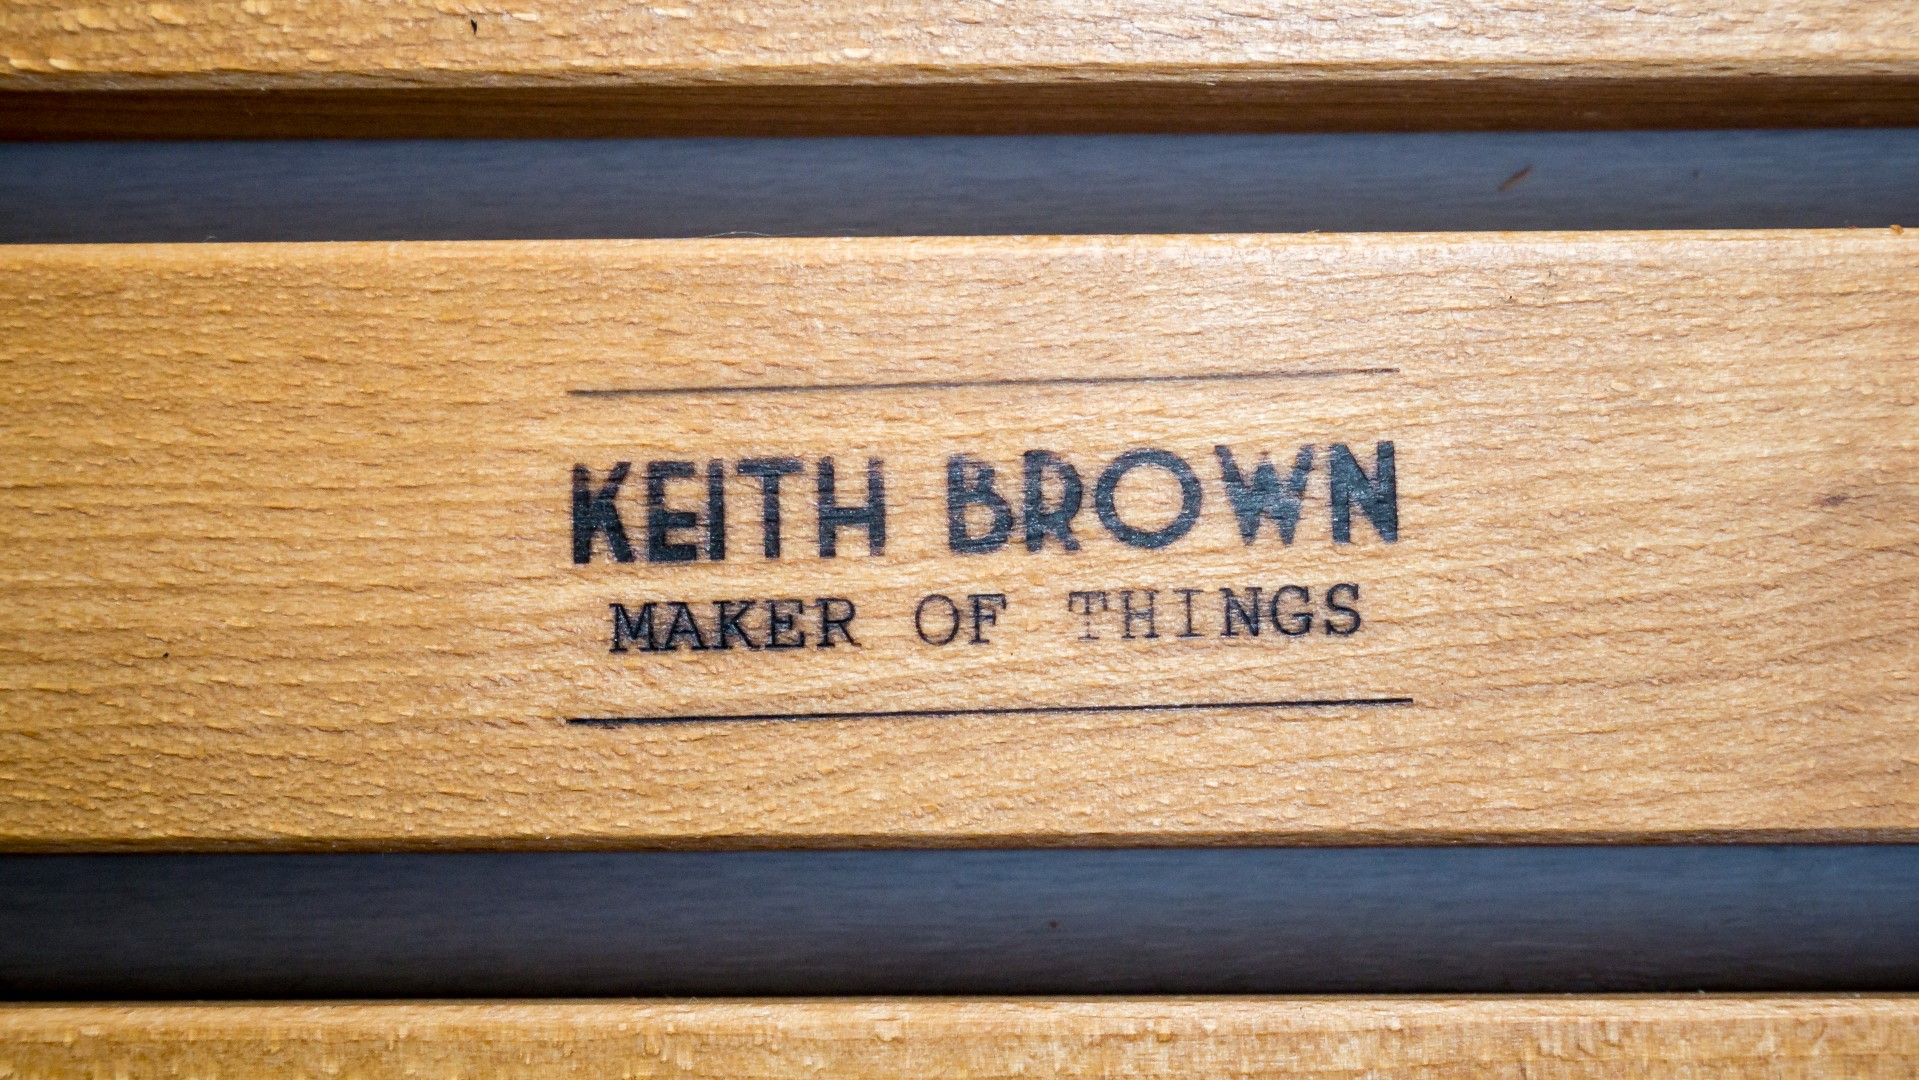
I got a new branding iron recently but didn't yet have a blow torch to heat it up, so I used my oven hob. And it worked pretty well, this is the first time I ever used it.
For finish I'd use mineral oil as it's food safe. I started applying it with a cloth but I really wanted to get as much of the oil in to it as possible to help protect it from moisture, so I ended up pouring it on liberally and giving it kind of an oil bath on my kitchen worktop. It would have been better to use some sort of container to hold the oil and let the draining board just lay in it soaking it up, but I didn't have any containers big enough but this worked ok instead. I just let it sit for hours, rotating it and swirling it around every now and again. The end grain really soaked up the oil quickly so that needed lots of re-coating. Once the oil had soaked in I wiped off any exccess and did a quick light wet sanding with some 400 grit wet and dry paper to keep it nice and smooth. And then I re-coated with a final coat of the oil.
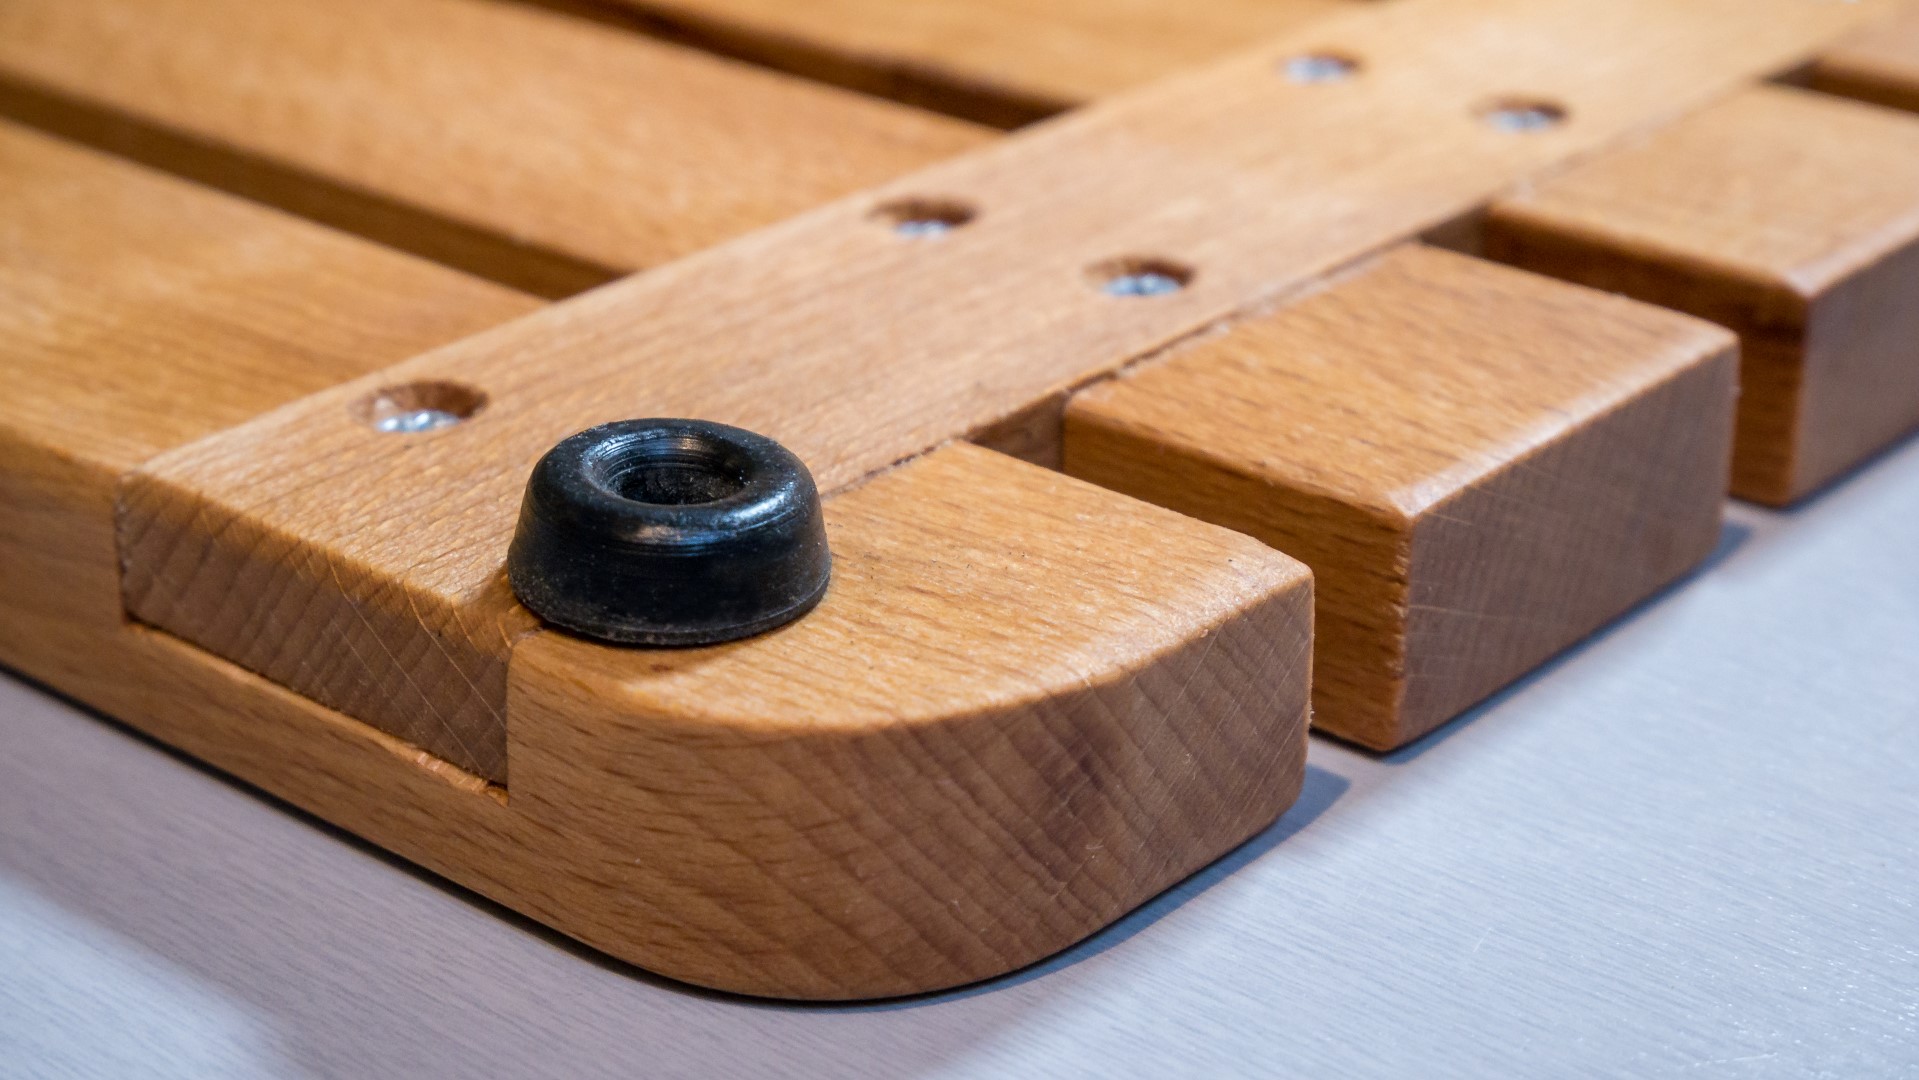
The final job was to add some rubber feet to the bottom, and I checked the photos of the old board so I could guess at the placement of them to try and match the original. I drilled pilot holes and screwed them on.
Images: