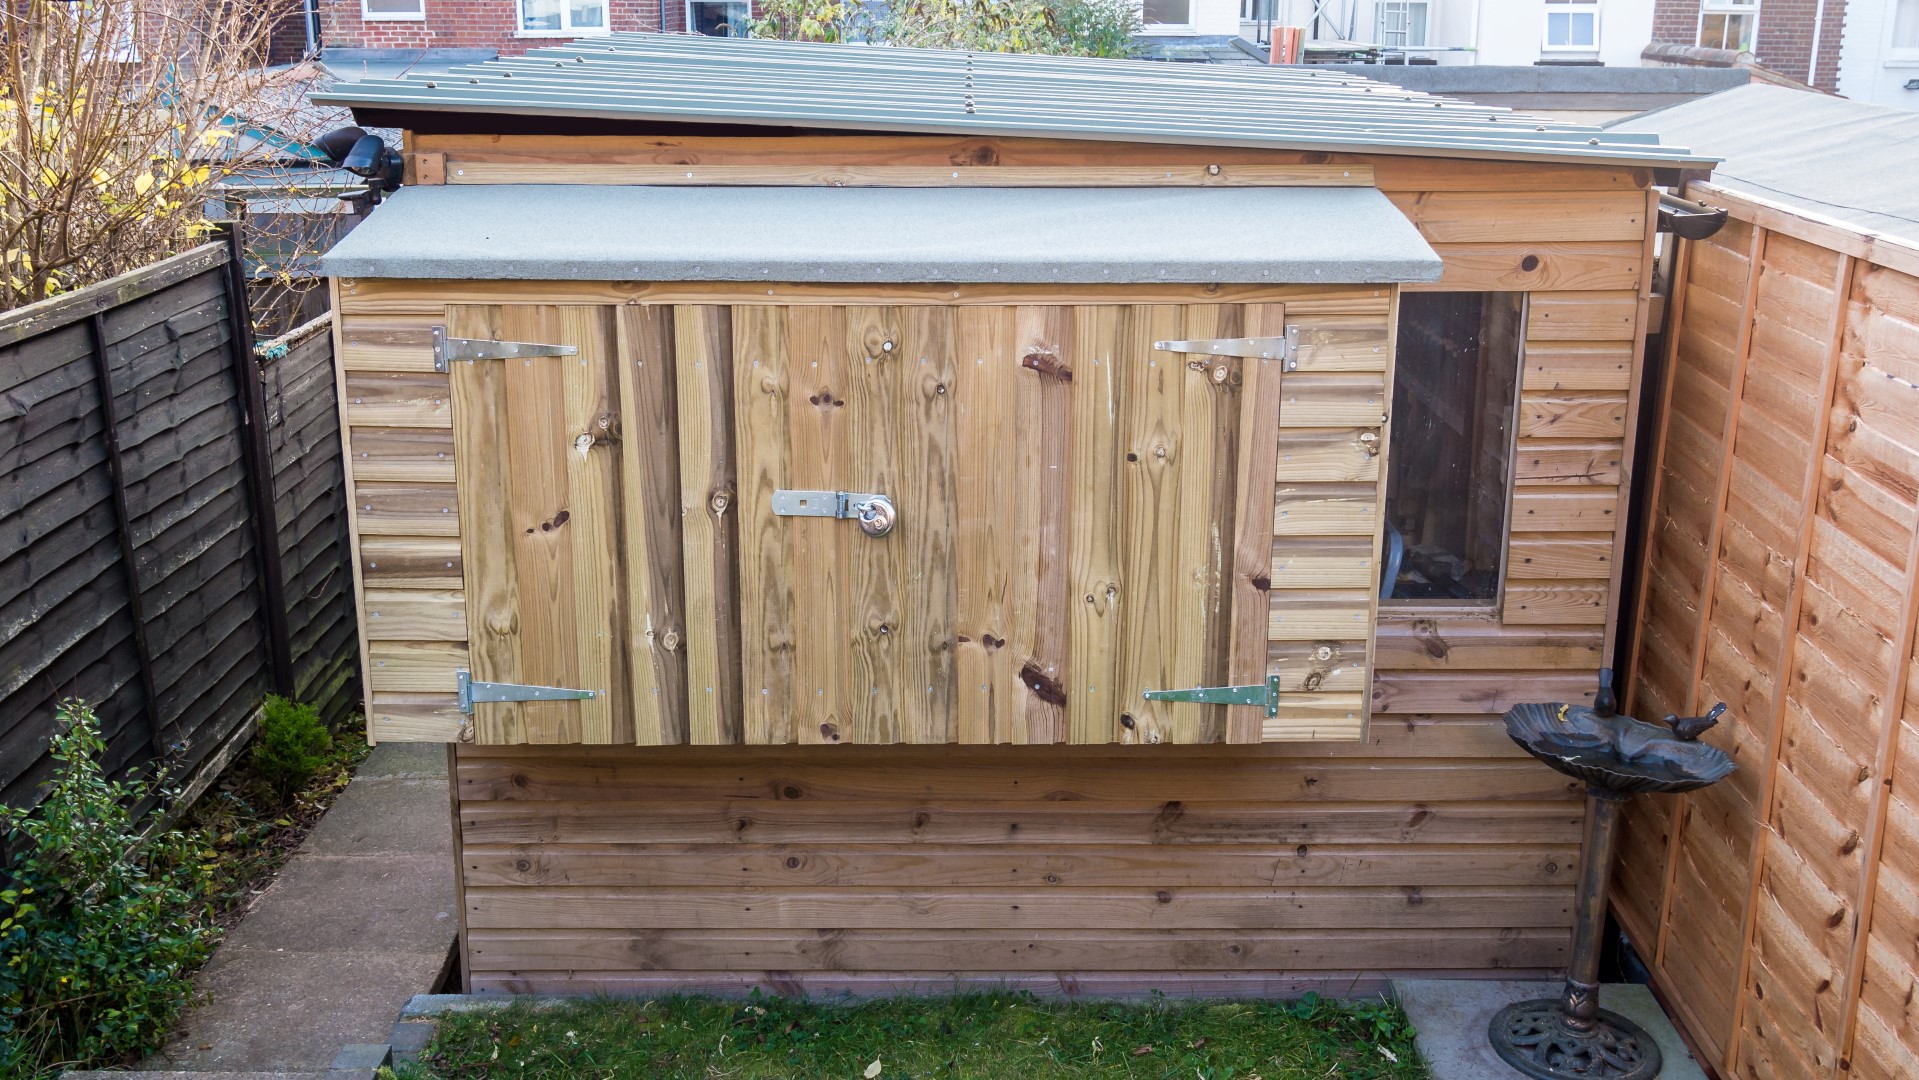
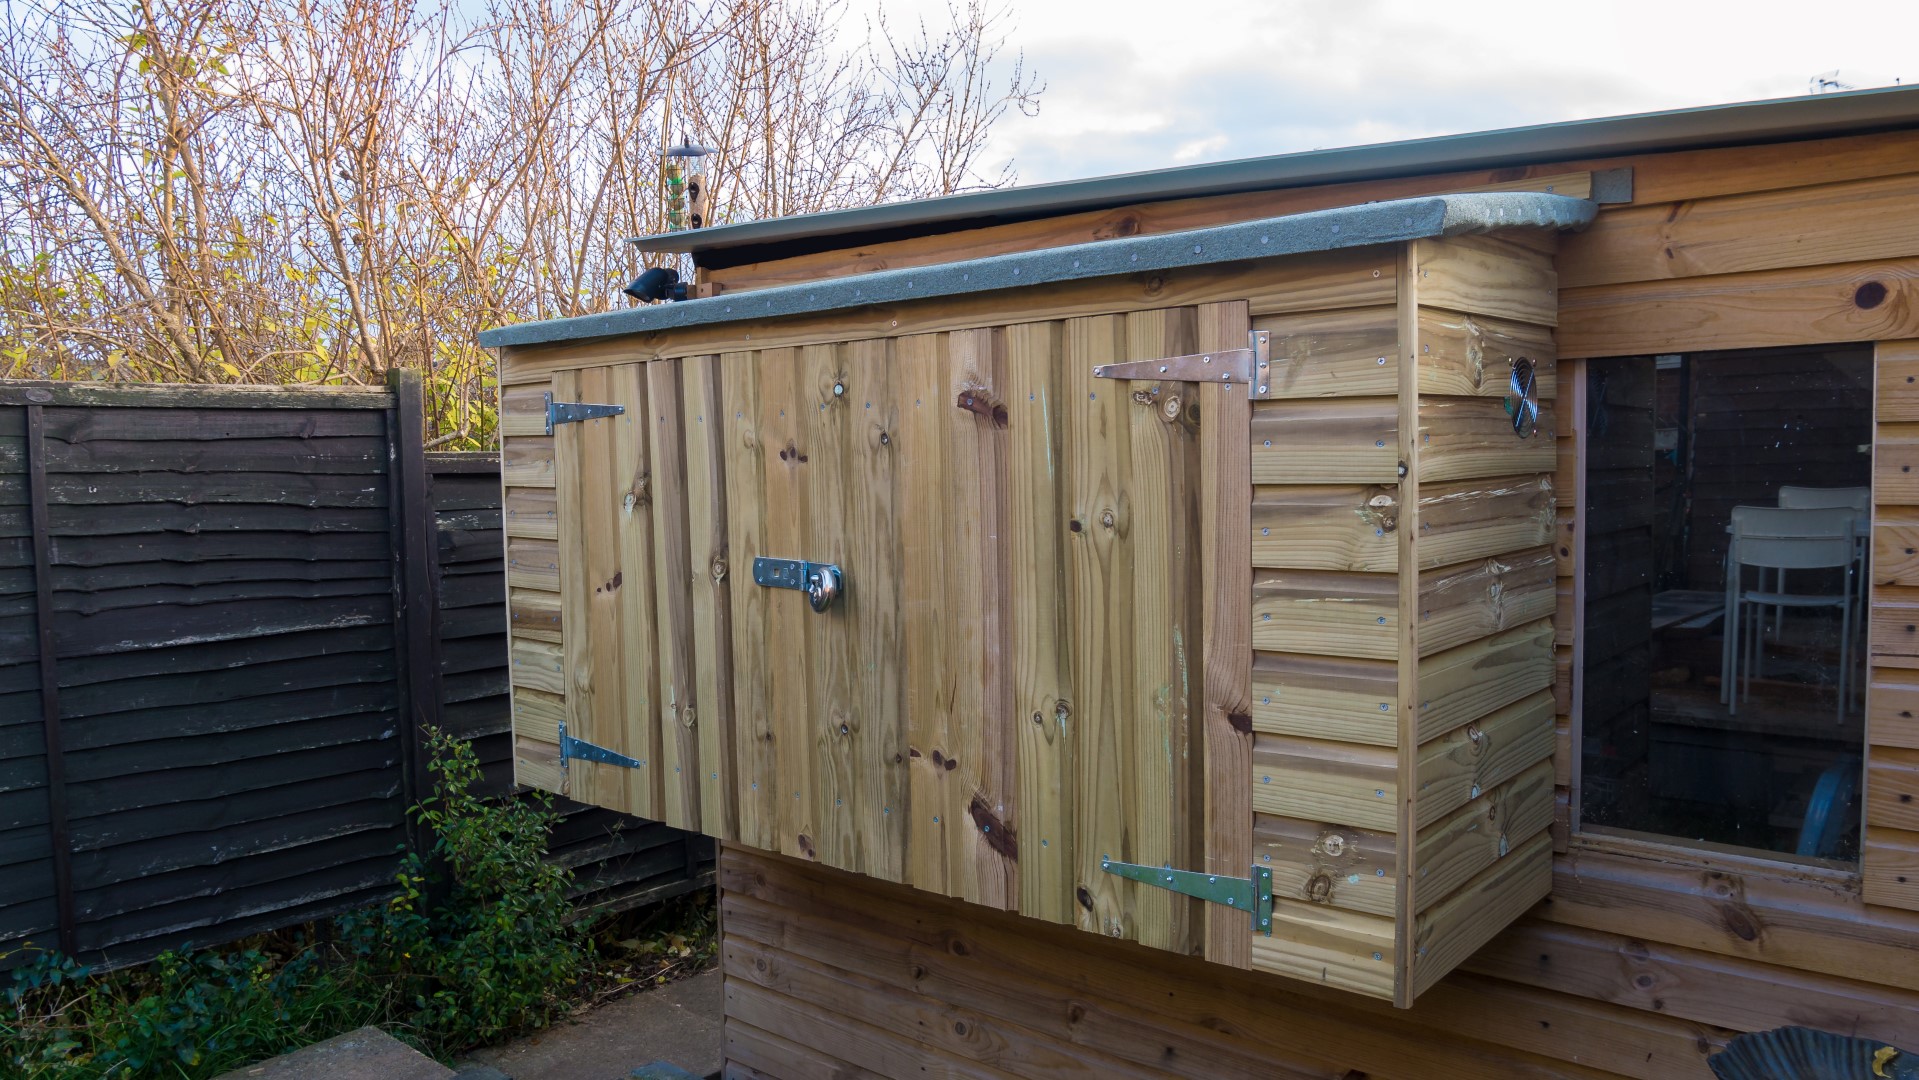
In this video I'm going to be adding an extension to my workshop.
The extension will hold be cantilevered from one of the walls of my workshop, to make it as unobstructive as possible in my garden.
And it will be mounted to the uprights of the workshop wall. It's a bit of an experiment, as I'm not entirely certain that the wall will be able to take the weight - but we'll find out!
And the plan is to use the extra space to install a new dust collection system with a cyclone.
After drawing up a 3D design in SketchUp, I decided to also make it big enough to accommodate my air compressor.
And I'll also insulate the inside of the extension to try to minimise noise from both the compressor and the dust collection unit.
For the frame of the extension I'd use spruce as I had quite a bit of it in my workshop already. It's good for construction and it's lightweight.
All the pieces I had were 38mm thick, so I set my tablesaw fence to 38mm and ripped some 38mm square pieces.
I used the mitre saw to cut the pieces to length based on the dimensions from my drawing.
First I'd make two rectangles to form the side panels of the extension.
I drilled pilot holes and used glue and screwed butt joints for the joinery.
These rectangles would be mounted to the uprights of the workshop wall. I first marked up a plum line using a spirit level to use as a guide.
And I could use the screws that were holding the cladding in place to indicate where the centre of the uprights were.
I decided to use these concrete screws for mounting the frame. My uncle gave me a tub full of these a while back and this seemed like a good project to use them as they are very long and strong.
I drilled a 6mm pilot hole through the frame and in to the upright in the wall and added the first screw. Then I could check for plum using the first screw as a pivot point, and add more screws.
To get the next part of the frame at the right level, I first used a clamp to hold it roughly in place, and then I could use the spirit level taped to a 3 by 2, and make the necessary adjustments from there.
And I secured that to the wall in the same way.
Next I marked up the position of the side panels on to the 3 by 2. THis would be one of two floor supports.
I cut it to length, and then marked up the material I wanted to move in order to create a lap joint. I cut the joint by setting my circular saw blade height to the depth of the joint, and then made a series of cuts. I could then remove the bulk of the material using a hammer and clean it up with a chisel.
I could then secure it to the side panels with glue and screws. I cut four of these pieces in total, two to support the front and back of the floor, and two for the roof, which were added in the same way, but upside down.
The next part of the frame would be a diagonal brace, which would add a lot of strength and rigidity to the side panels. I first cut a 45 degree end on the mitresaw, then I could offer it up and mark it up for length, and make the next cut on that mark.
And then I could glue and screw that in place.
The frame spanned two more uprights in the wall towards the centre of the extension, so I cut another piece of spruce as a filler piece so that I could add some more fixings to those uprights. I did the same to the top panel, or roof, too.
Next I added some floor support struts.
These were attached with glued and screwed through the front, and I drilled some pilot holes at an angle to secure the back.
I also cut and added some small pieces to make up the difference in height between the bottom of the side panels and the top of the floor supports.
And the roof got a central support brace too.
I bought a sheet of OSB and I'd use this for the floor and roof.
I measured and cut the OSB to size with my circular saw, and cut a couple of notches out to fit around the frame. THe reason I fitted this piece of OSB next was because it would come in really handy as shelf while I was working.
I already had a couple of pieces of this cladding at home which were left over from the workshop build four years ago, but not enough to do the whole extension. I used my circular saw to cut the cladding down so I could fit it in my car.
Before adding the cladding, I decided to start working on the roof, as it was due to rain. I wanted cut some angled roof trusses and there was an obstacle to work around - this security light.
I measured up the height of that from the frame, and made a mark on a piece of spruce that was about 15mm less than that measurement. I used my tapering jig on the tablesaw to cut the angled trusses, finishing off the cuts at the bandsaw.
These pieces were glued and screwed to the top of the frame.
I offered up another piece of OSB for the roof, and all looked good.
I had an old scrap of sapele, and I glued and screwed this to what would be the front edge of the roof panel. This was just to give me something solid to later tack the roof felt on to.
I could then secure the roof panel to the top of the frame.
I got a roll of roof felt from my local reclamation yard, and I cut a piece to length and added it to the roof. This fitted nicely underneath the security light fitting.
I ripped down the top of one of the pieces of cladding using my circular saw and I'd use this to secure the roof felt to the top of the roof.
And this is when it started raining!
I cut the corner of the roof felt away and then slid it in place, and then added the piece of cladding using some screws. I didn't film this because - rain - but this is how it looks now it's fitted.
Then I added some roofing tacks in to the piece of sapele that I added to the OSB earlier.
I could then trim off the excess roof felt with an old knife.
I also added some more sapele to the sides of the OSB roof panel, and the roof felt got attached to that in the same way.
Next I started cutting the cladding to length, using my speed square to guide the cuts.
I used one screw in the centre of each cladding piece. This will allow for seasonal movement as the wood expands and contracts.
Images: