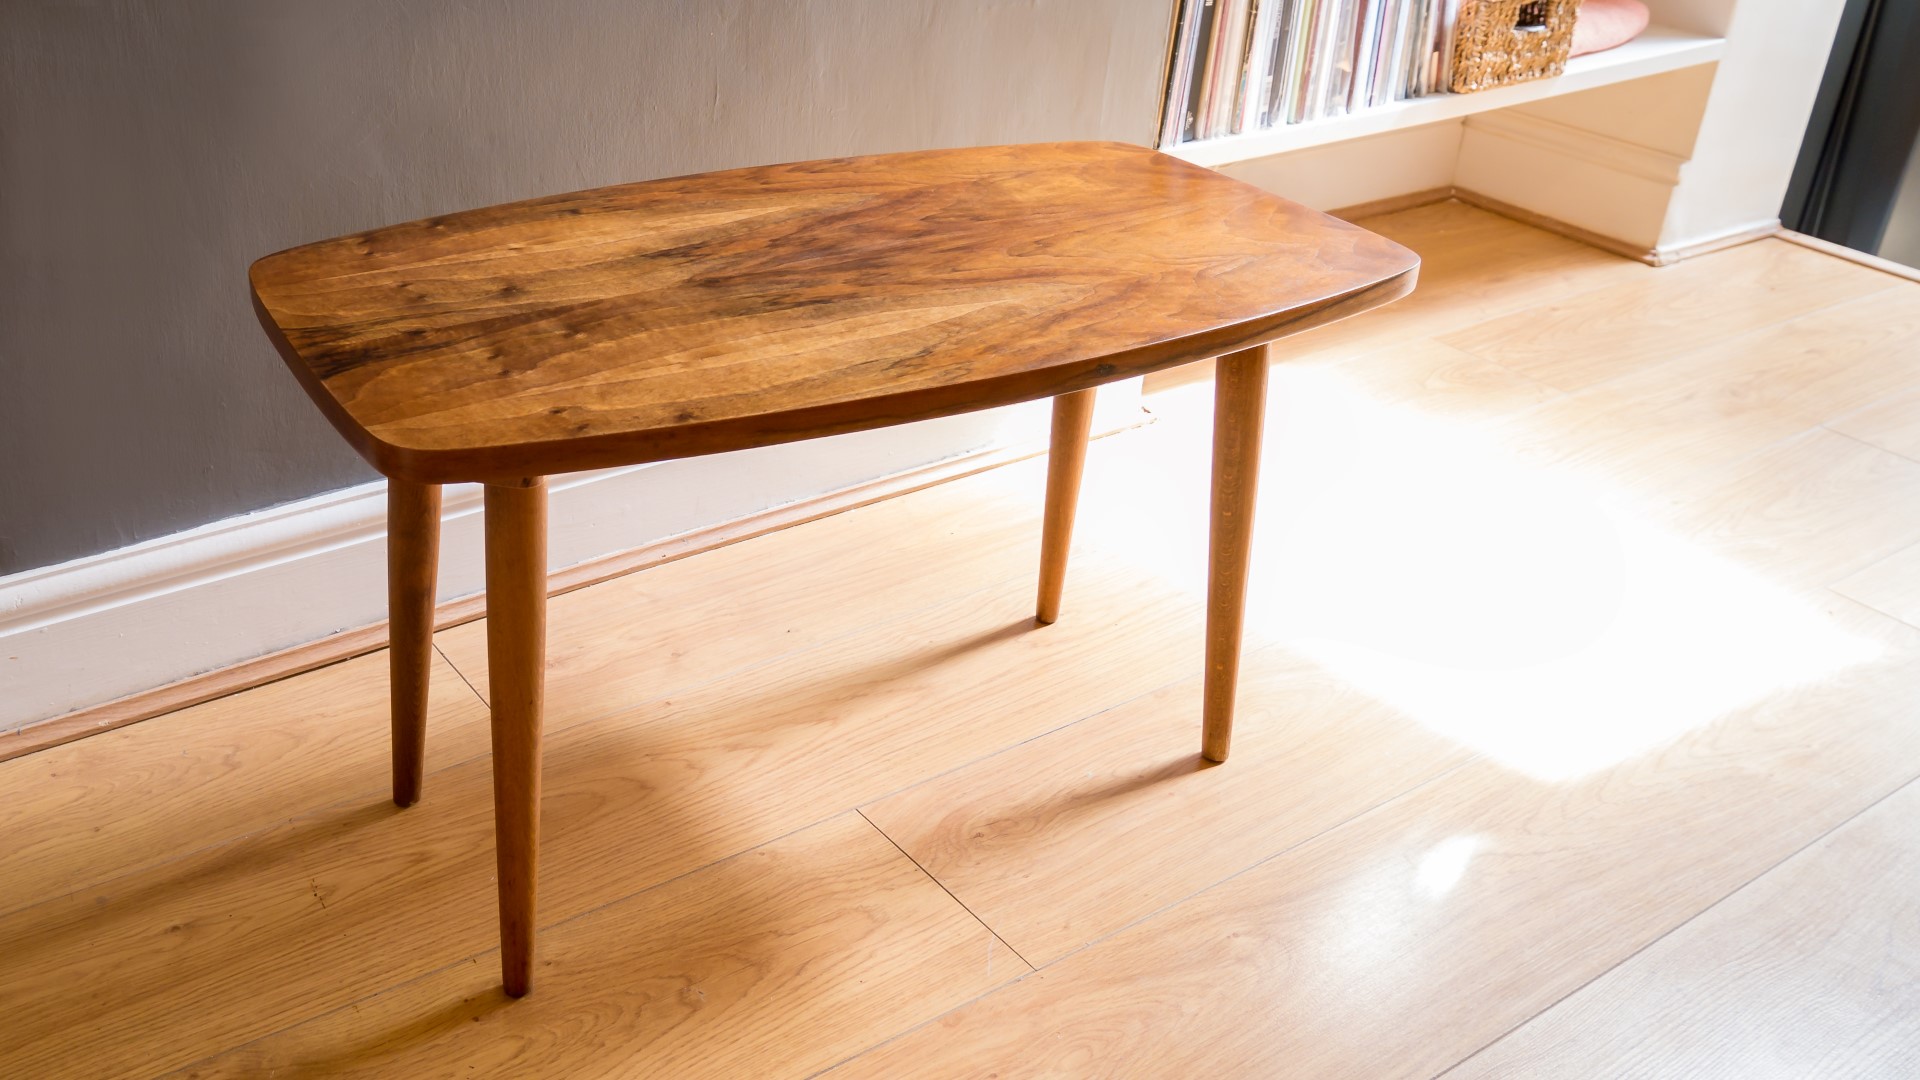
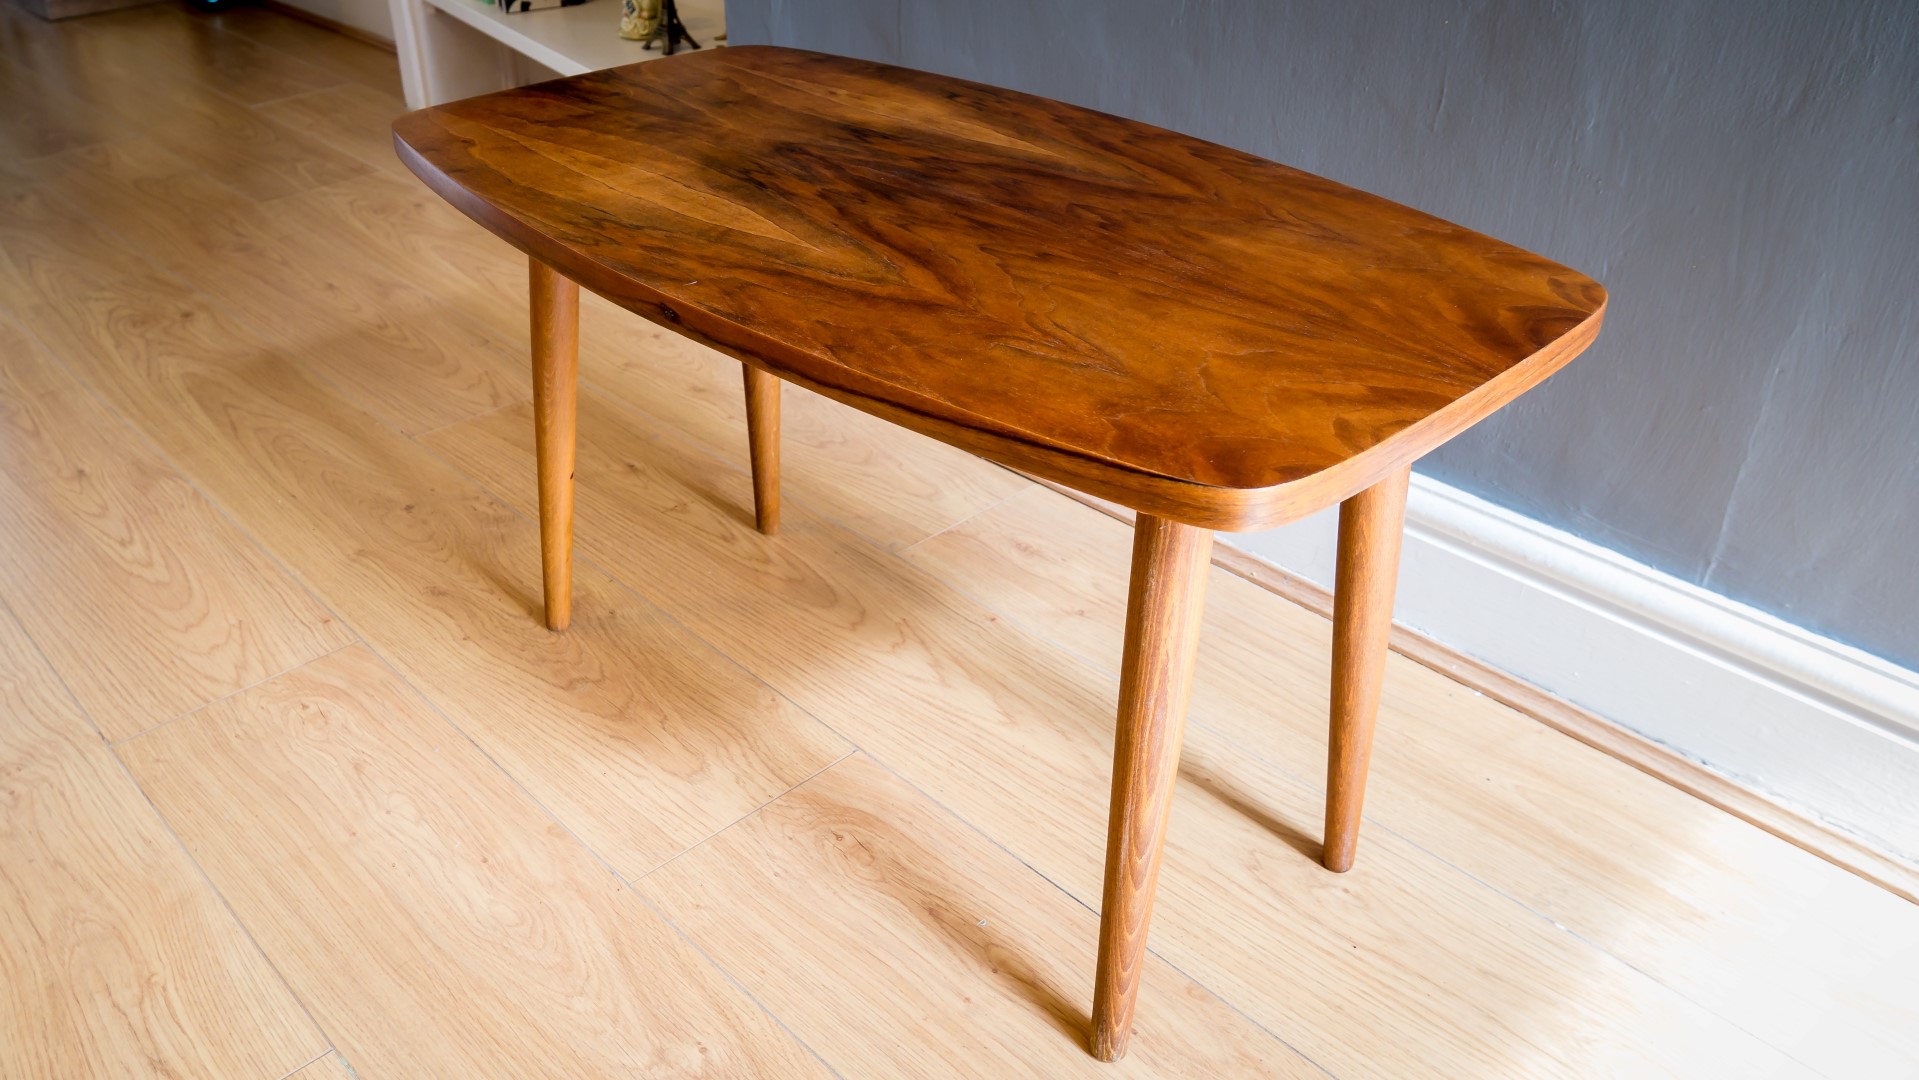
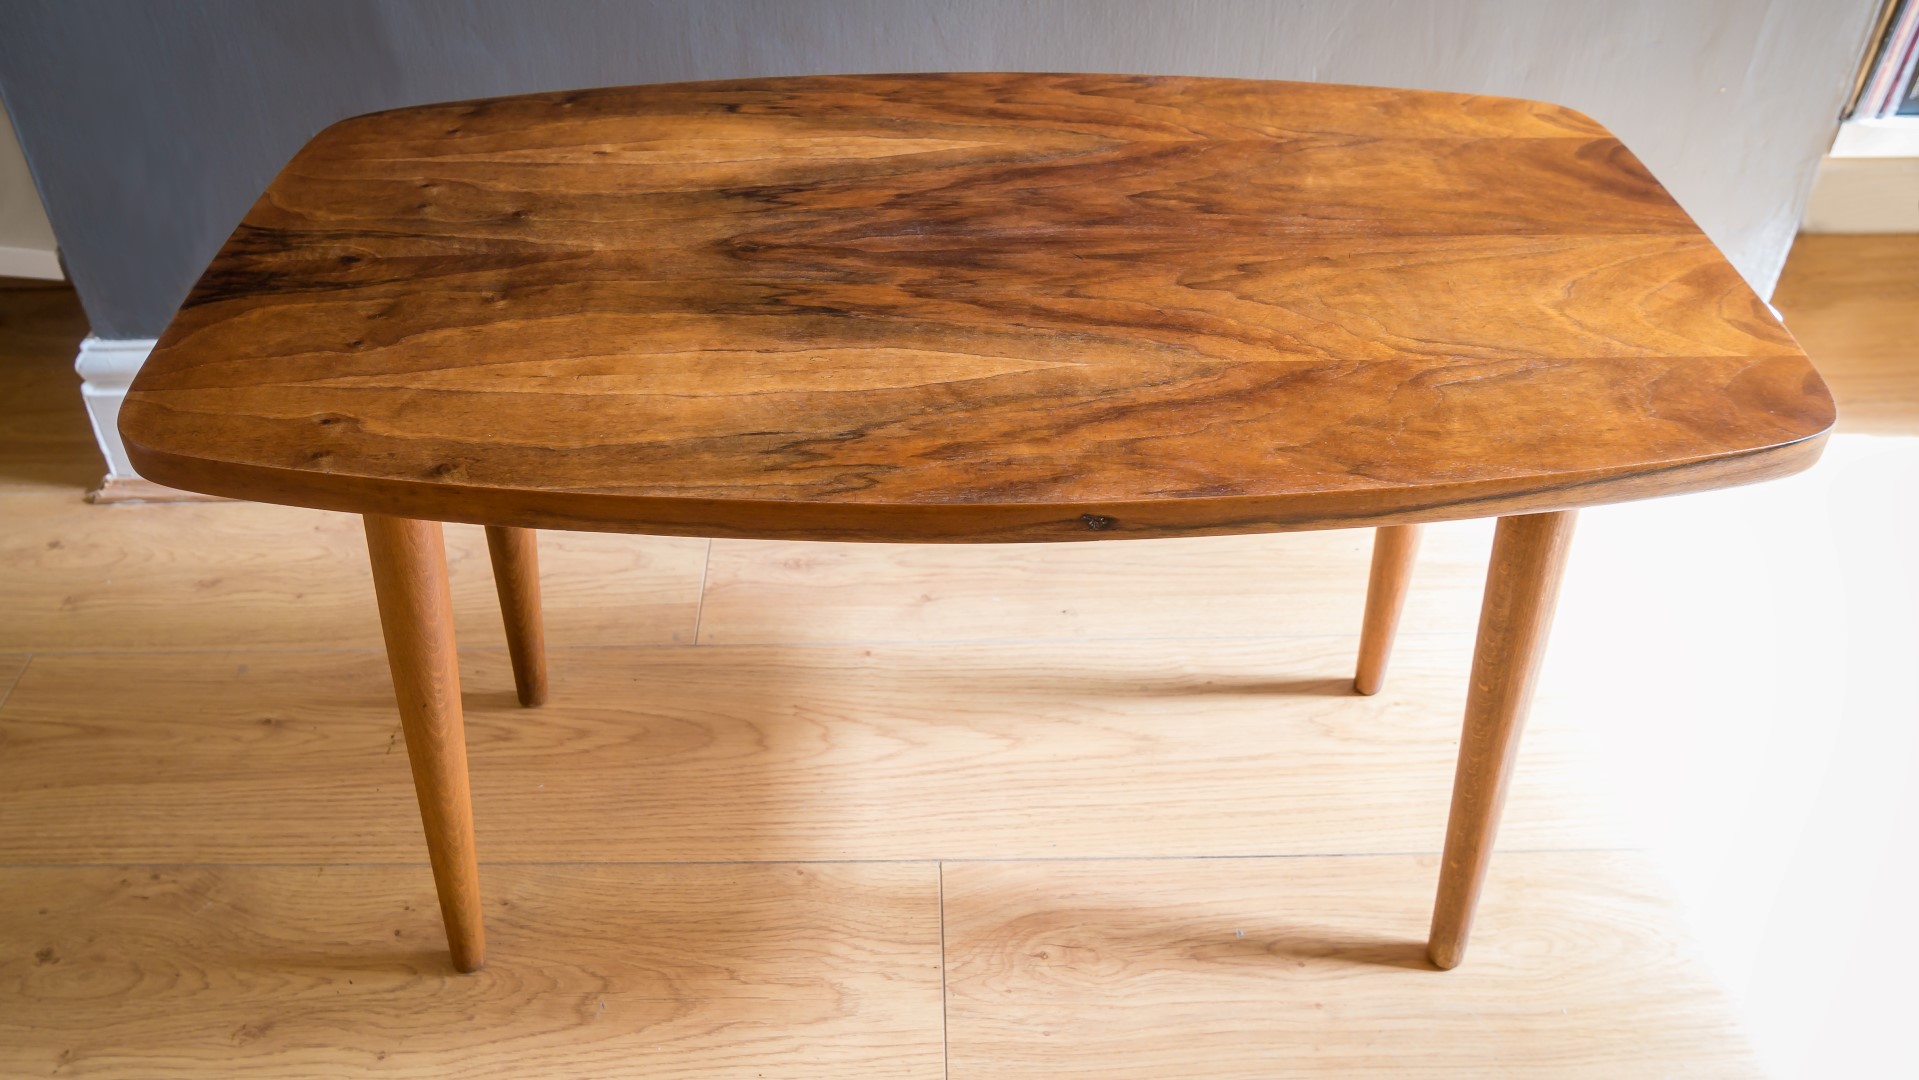
In this video I restore a mid century modern / ercol style coffee table that was given to me at car boot sale.
It had one or two broken legs, and the top had some heat marks and stains and generally looked dry and in bad condition.
The legs had wooden threads which screwed in to the leg mounts on the bottom of the table. I didn't really like this method of construction so I wanted to come up with something better and more solid.
I started by sanding the top starting with 80 grit and then on to 120. It cleaned up really easily and revealed a nice bookmatched graindesign..
Next I started working on the leg mounts which were glued and screwed. I used a mallet to knock them off after removing the screws.
When I removed the mounts I could see from the tearout that the table top was plywood.
I next worked on the solid wood legs, cutting off the threads at the bandsaw, and sanding them down,
I then glued up some scraps of beech which I would use to make the new leg mounts. When the glue had dried I cleaned up the work piece with a scraper and hand plane, and cut the leg mounts to size at the mitre saw.
I then rounded over the corners of the blocks on the disc sander to match the old mounts.
Next I needed to create a simple jig which would allow me to fix the tapered legs at a slight angle. I used a wedge of wood to get the angle I wanted and mounted it to a scrap of plywood. I then placed a leg mount on the wedge, and added some small pieces of wood around the mount which I attached to the plywood with brad nails.
The jig could then be clamped to my drill press table and would allow me to keep all of the holes in each leg mount nice and consistent and centred.
I used a 35mm faustner bit to drill the holes - the top of the legs were around 36mm in diameter.
I drilled all the holes and could then work on getting the top of the legs to the right size to fit the mounts. I used the belt sander to remove material from the top of the legs and eventually got them all fitting nicely.
I glued all of the legs to the leg mounts, and then trimmed off the excess leg material on the bandsaw. Then I sanded the top of the mount on the belt sander to make sure it was flat.
Then I could glue and screw the leg mounts to the bottom of the table.
Because the leg heights had been altered, I next needed to level the legs. I placed the table on a flat surface and used my electric file to remove material until the table sat on all four legs with no wobble.
I did some final hand sanding with 400 grit wet and dry paper.
I then applied Teak oil (two coats) with a cloth.
Finally to give the table a more hardwearing finish, I applied 3 coats of spray varnish, gently wet sanding with 400 grit wet and dry in between each coat to keep the finish nice and smooth.
I posted a photo of the finished table on facebook and the same day someone got in touch to buy it and I took it to it's home - the buyer seemed very happy with it.
I was happy to be able to give this nice looking table a new lease of life.
Images: