In this video I make 3 small, quick and simple woodworking projects that would make great gifts (except for the door stop wedges ofcourse, no one wants to be given one of them for Christmas!). The first project is a photo or paper display stand made from some salvaged cherry (it might not be cherry!). The second is some oak door wedges. The third is a sapele and oak desk tidy smart phone holder stand that holds a mobile phone and some pens. Oak Herringbone table video part 1: https://bit.ly/2BVMUOn Oak Herringbone table video part 2: https://bit.ly/2QhWNyF Treasure Chest Blanket Box video part 1: https://bit.ly/2RMGfvK Treasure Chest Blanket Box video part 2: https://bit.ly/2zM1G9g Bosch 12mm brad point drill bit: https://amzn.to/2BWalHA (UK)
As an Amazon Associate I earn from qualifying purchases
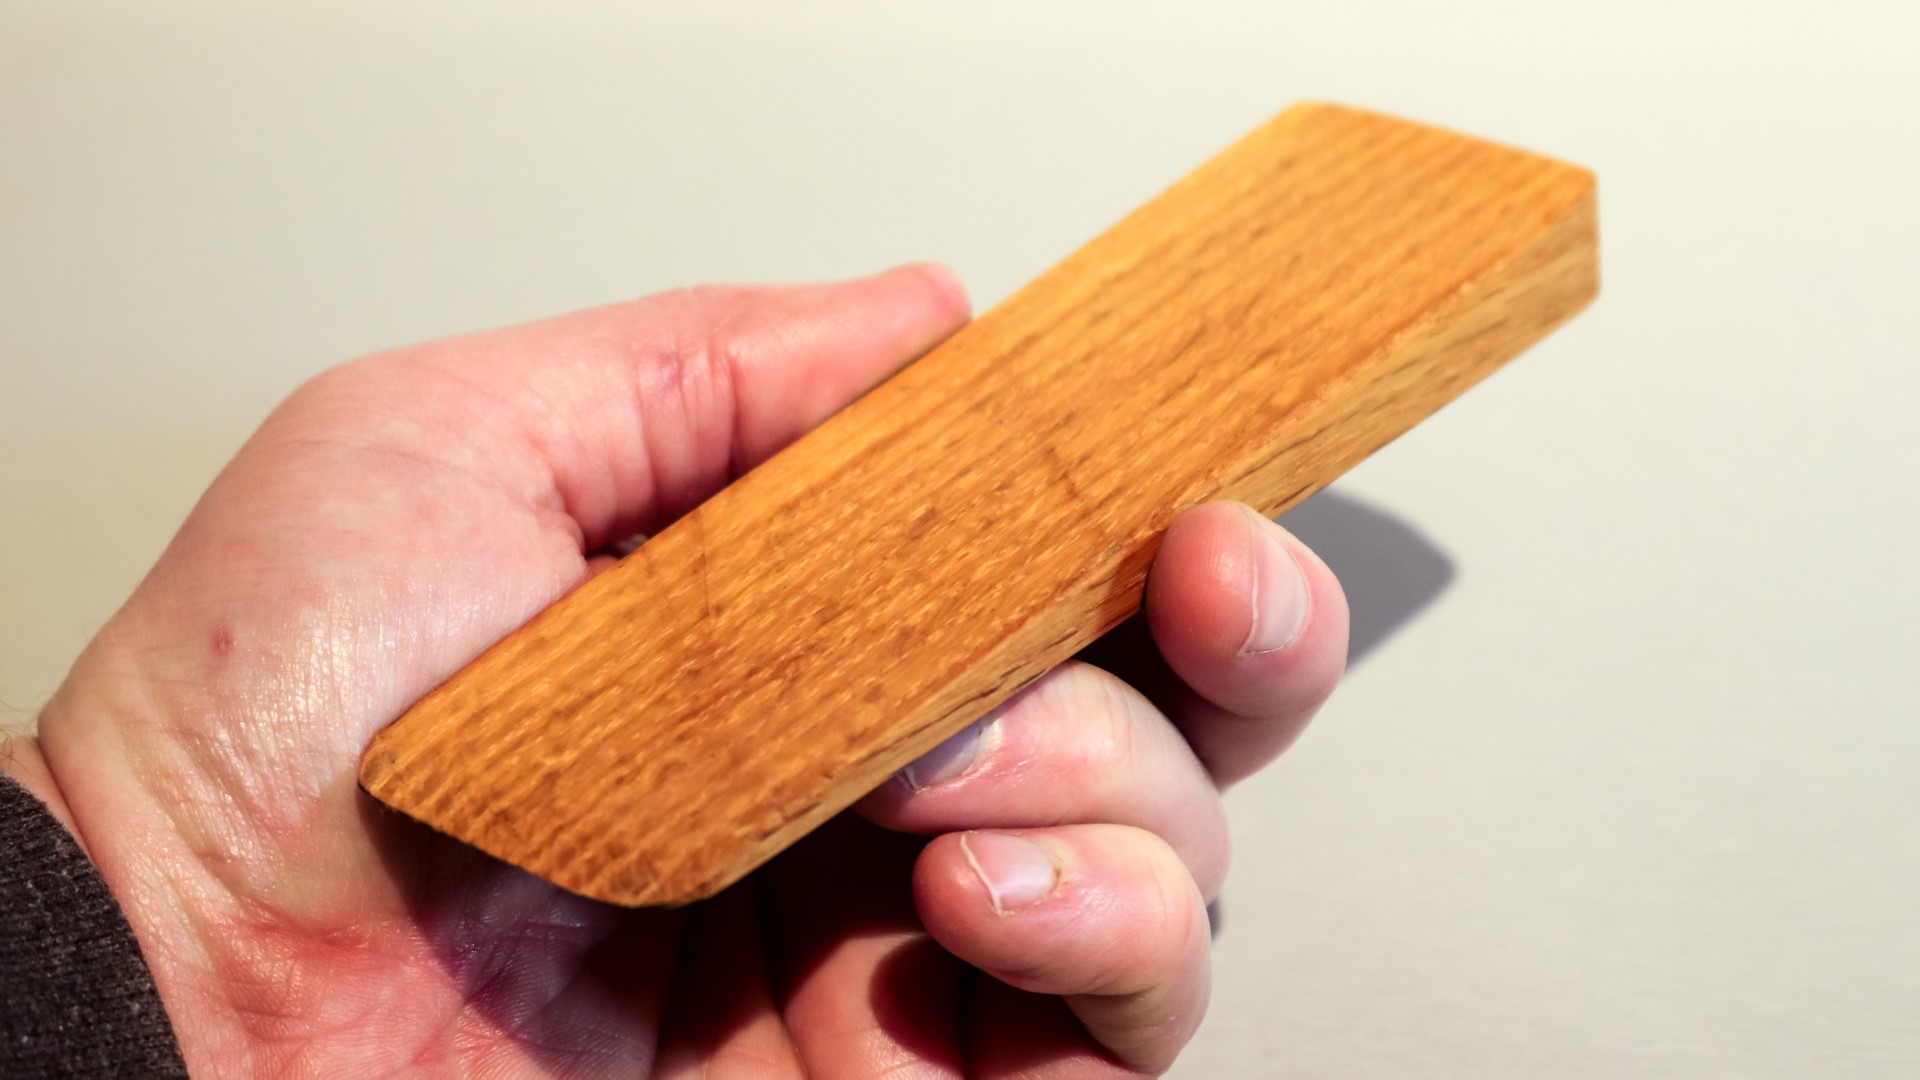
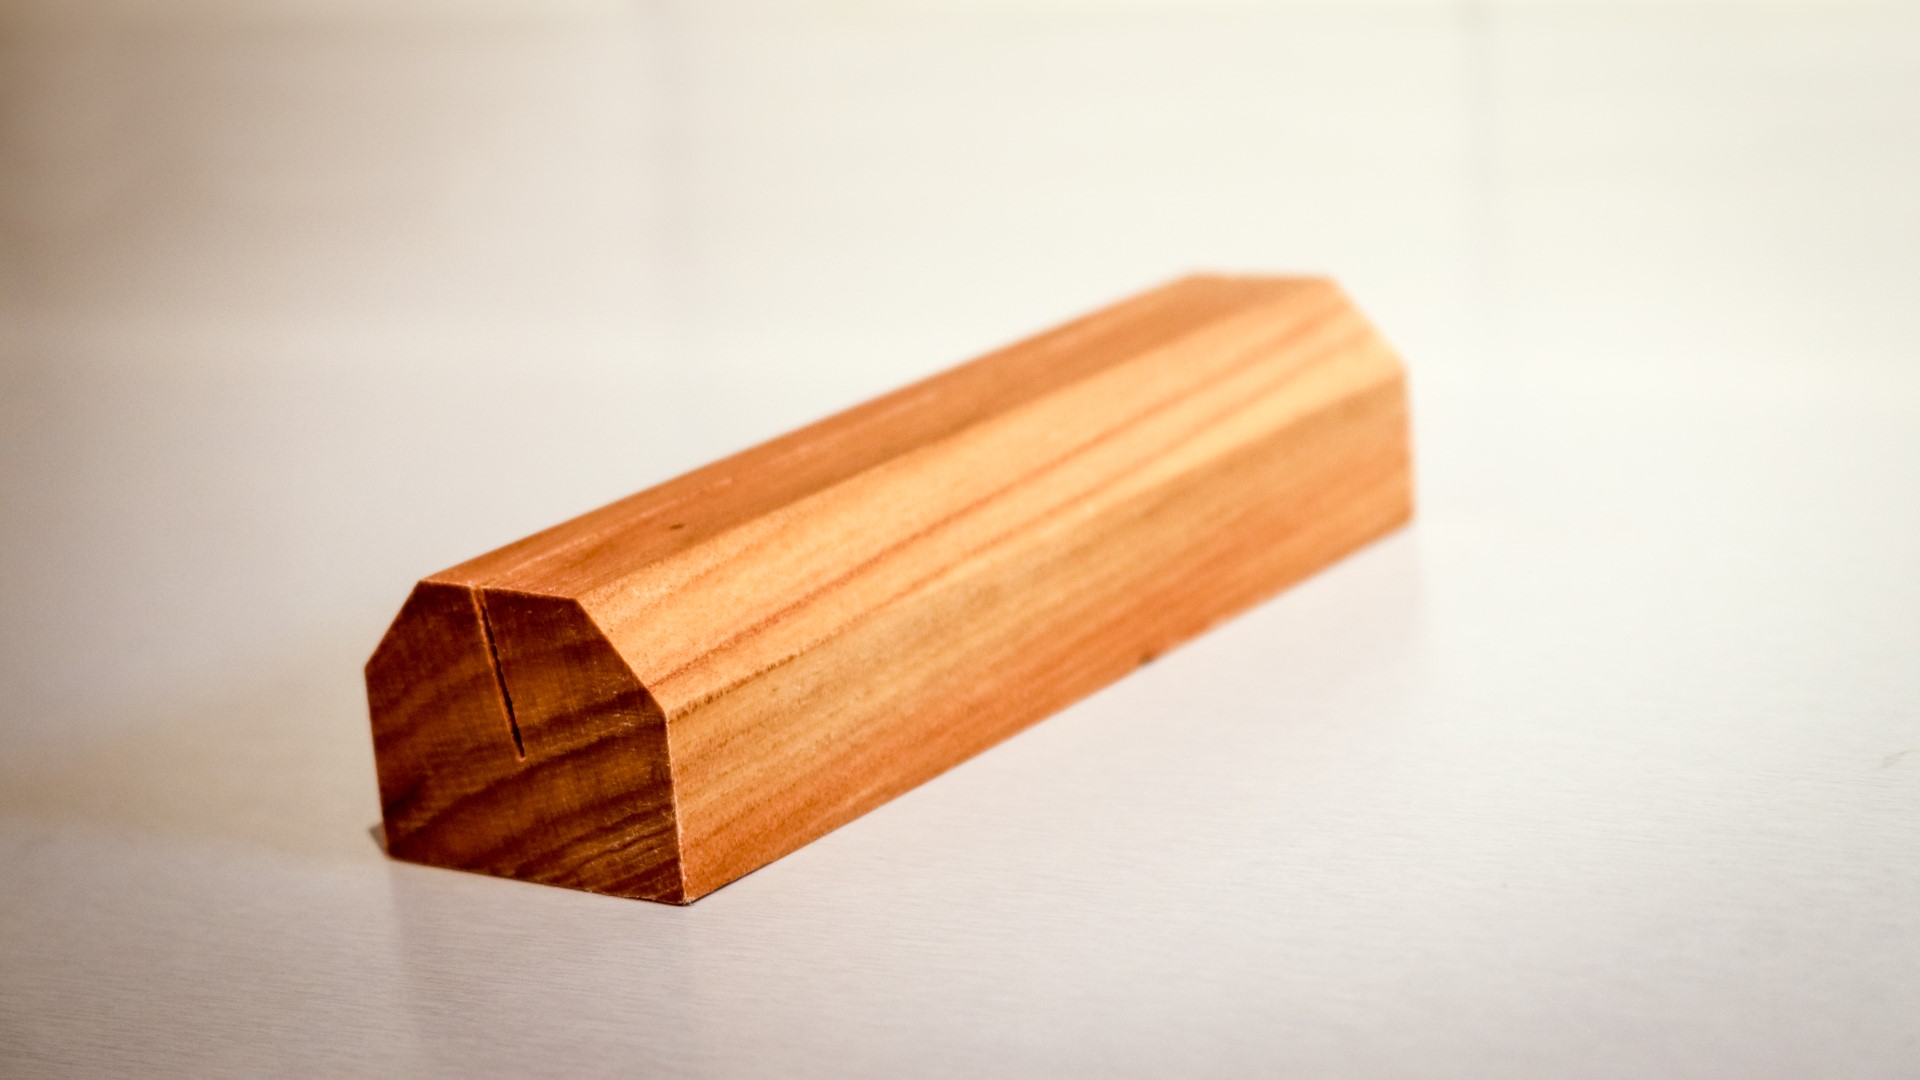
For the first project I wanted to do something with this offcut of cherry, at least that’s what I think it might be. It’s been in my scrap bin for a while and I need to make space for more scraps!
I started by ripping some clean edges at the tablesaw. I wanted to rip this in to Xmm wide and when I have a wide workpiece like this and I want to cut narrow strips safely, I like to line up the blade with my mark and then hot glue a sacrificial fence to the table ahead of the blade, and that allows me to make consistently sized cuts by moving the fence in between each cut.
I cut each piece to length at the mitre saw and I could get two lengths out of each piece.
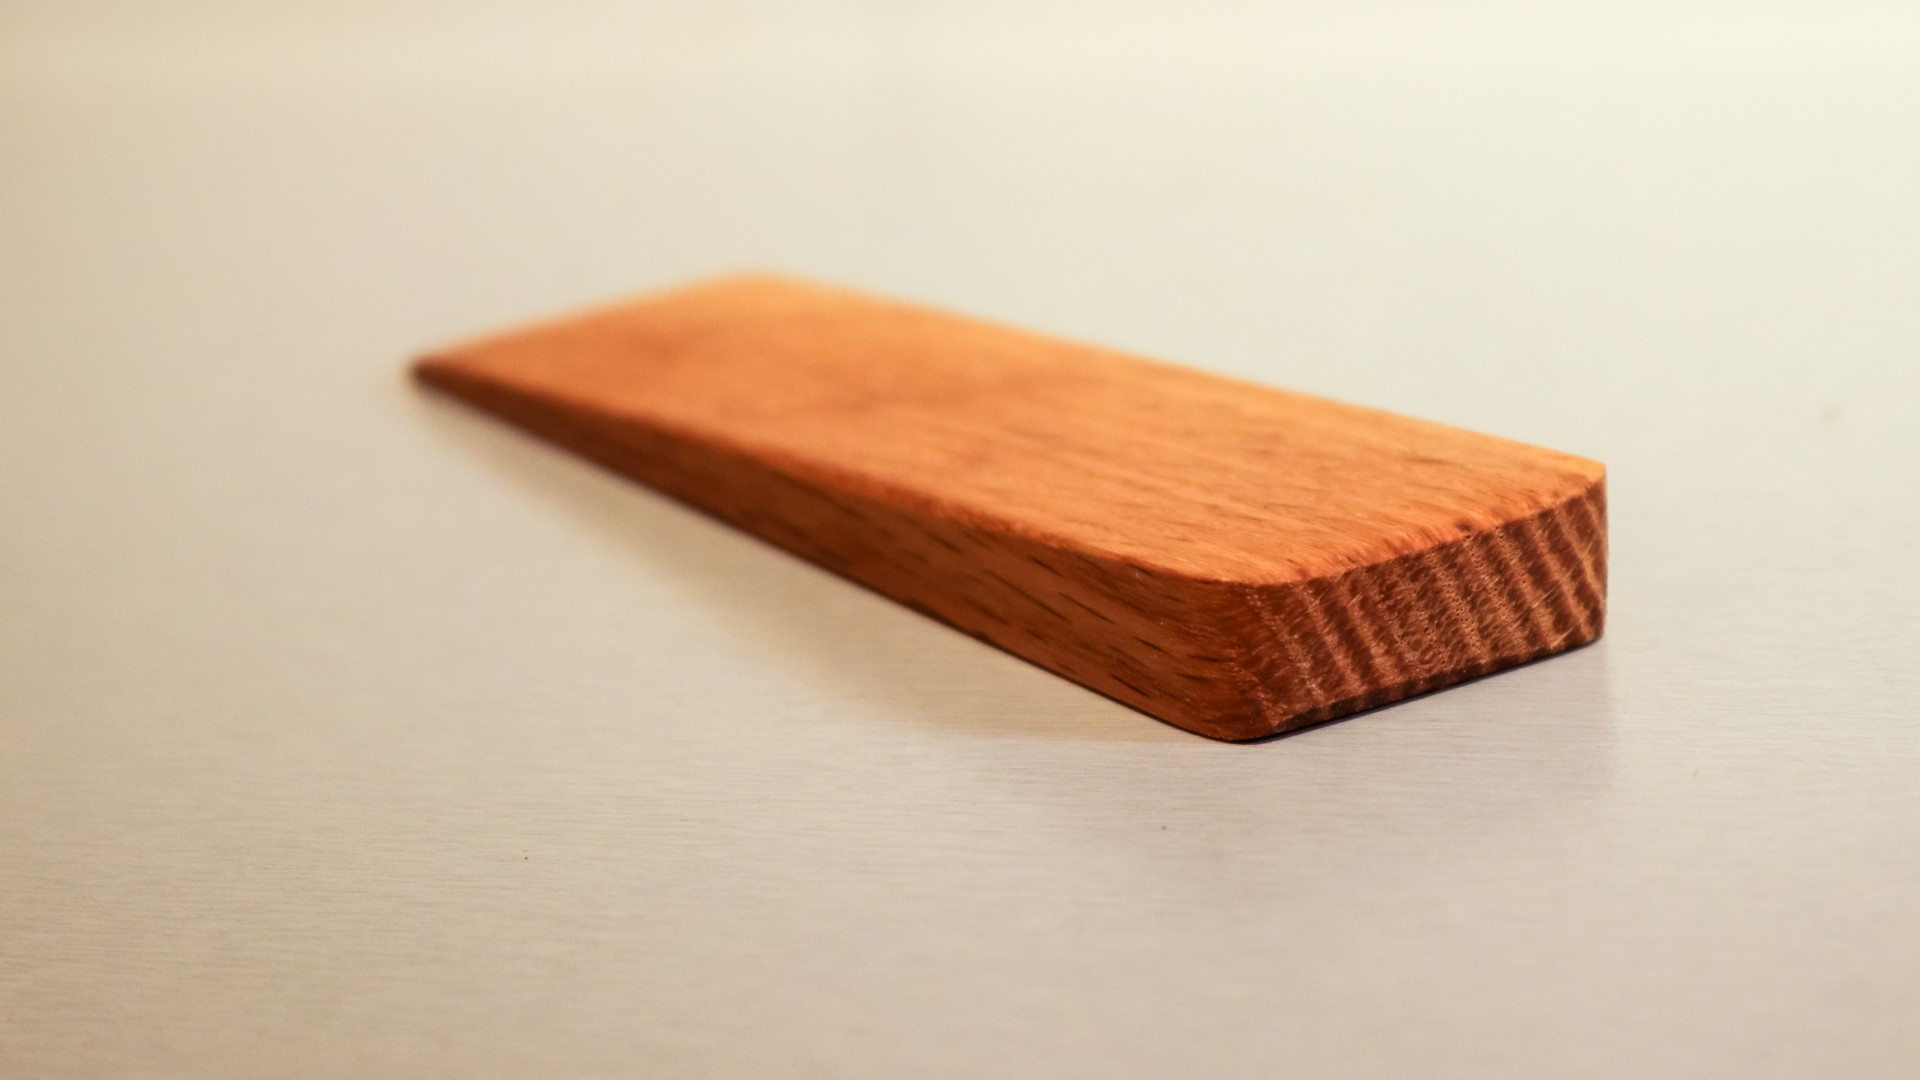
I wanted to cut a thin slot in each piece and here I’m marking up where I wanted the slots to be. I used my bevel gauge to mark a slight angle for the slot and it’d be cut to about half the depth of the workpiece.
I'd use the bandsaw to cut the slots, and I wanted a zero clearance surface for the workpieces to ride on so I used a scrap piece of MDF .
Then I used a hand screw clamp, clamped firmly on to the bottom of each workpiece with it positioned upright, and made a kerf cut to each piece at the bandsaw. The handscrew clamp works great for keeping hands a safe distance from the blade and slides along the table to keep the workpiece positioned upright.
I did a bit of sanding at 120 grit on the belt sander.
I wanted to add a bevel to the top edges, and I started using my block plane to do that. But then I remembered that I had a tablesaw which would cut the angles much more accurately, quickly and repeatably on both sides.
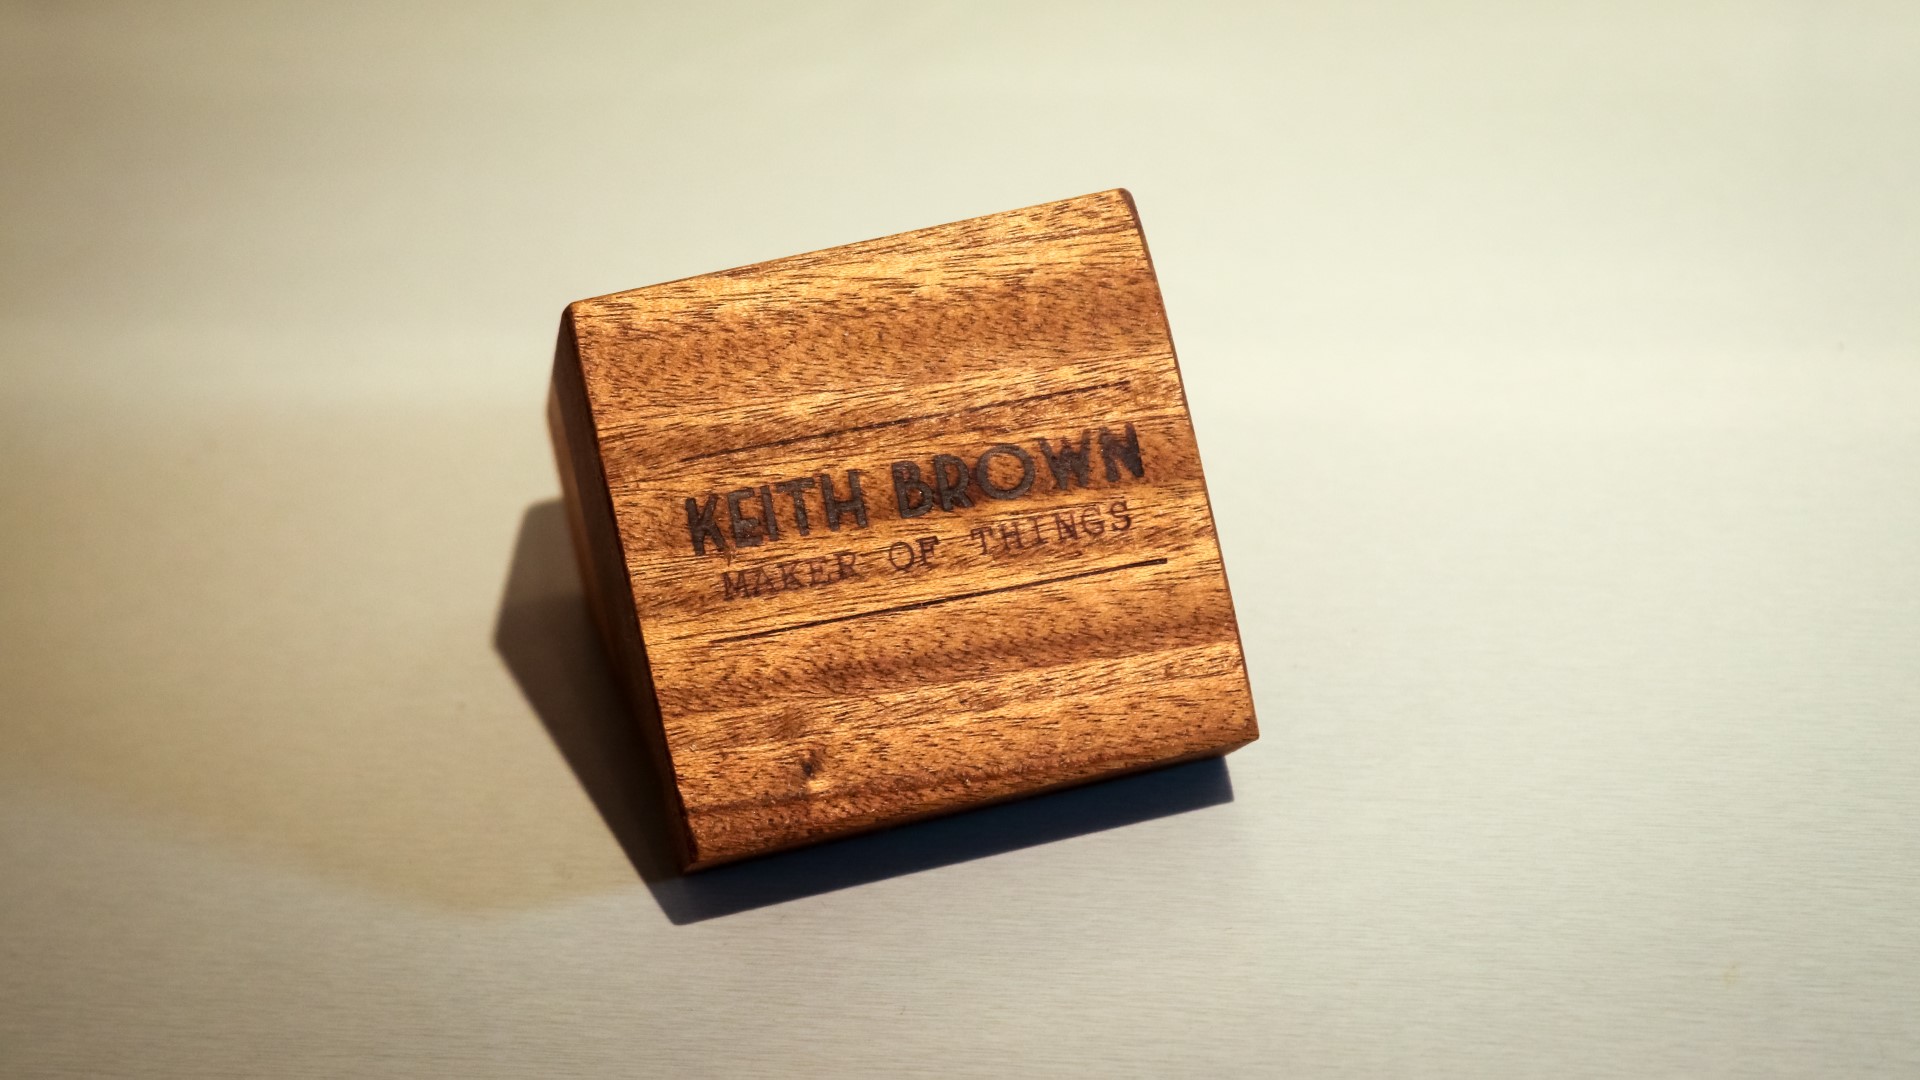
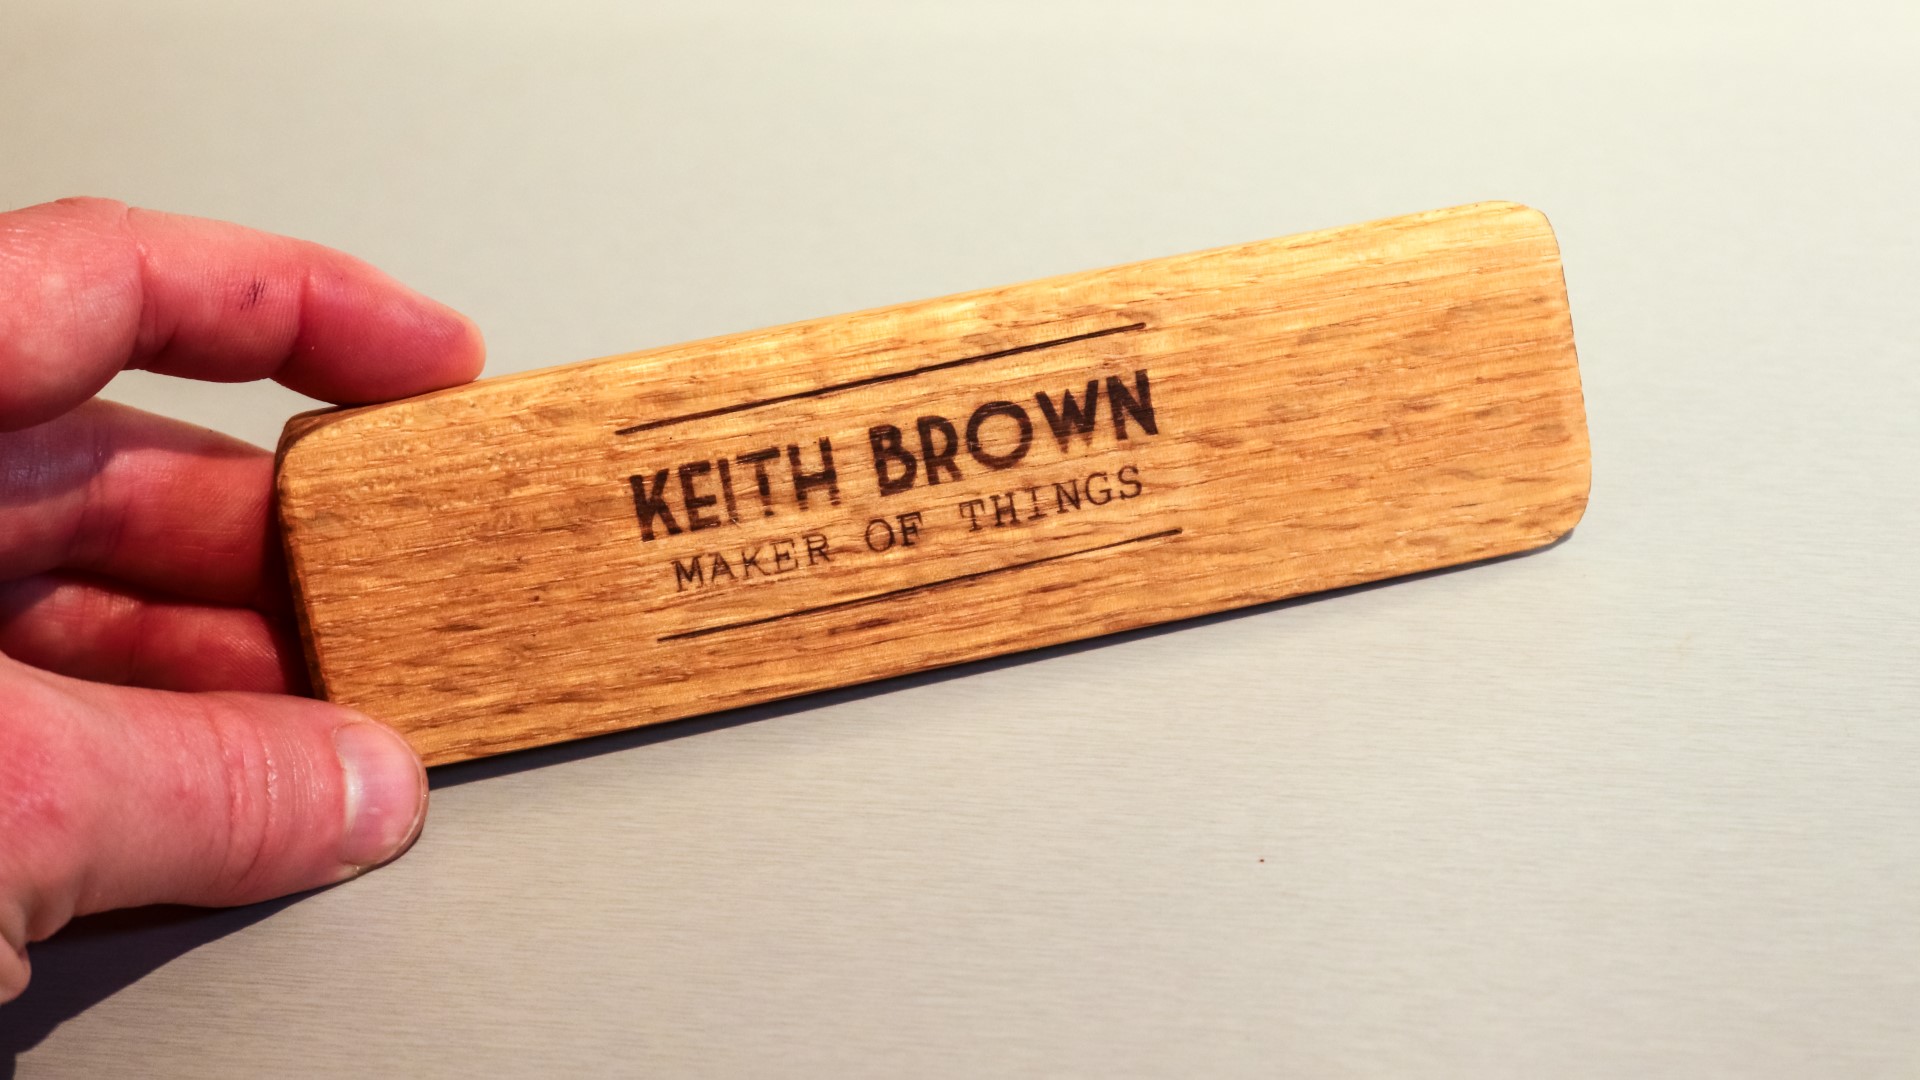
I applied my makers mark to the bottom.
And I finished them using some of my own hand made oil wax finish. This is available to buy via my online Etsy store, and you’ll find a link to that in the description box below. By the way, it smells fantastic! Some of the wax got in to the groove so I just used a folded sheet of paper to clear it out. After applying the wax I immediately wipe off any excess and that was the project done. I had enough material to make 12 of these in total, and these are great for displaying photos as an alternative to a picture frame, and this wood, whatever it is, is really beautiful, the wood grain was bright red in some places. These would make a great gifts, and the ones I made are now available for sale via my Etsy store.
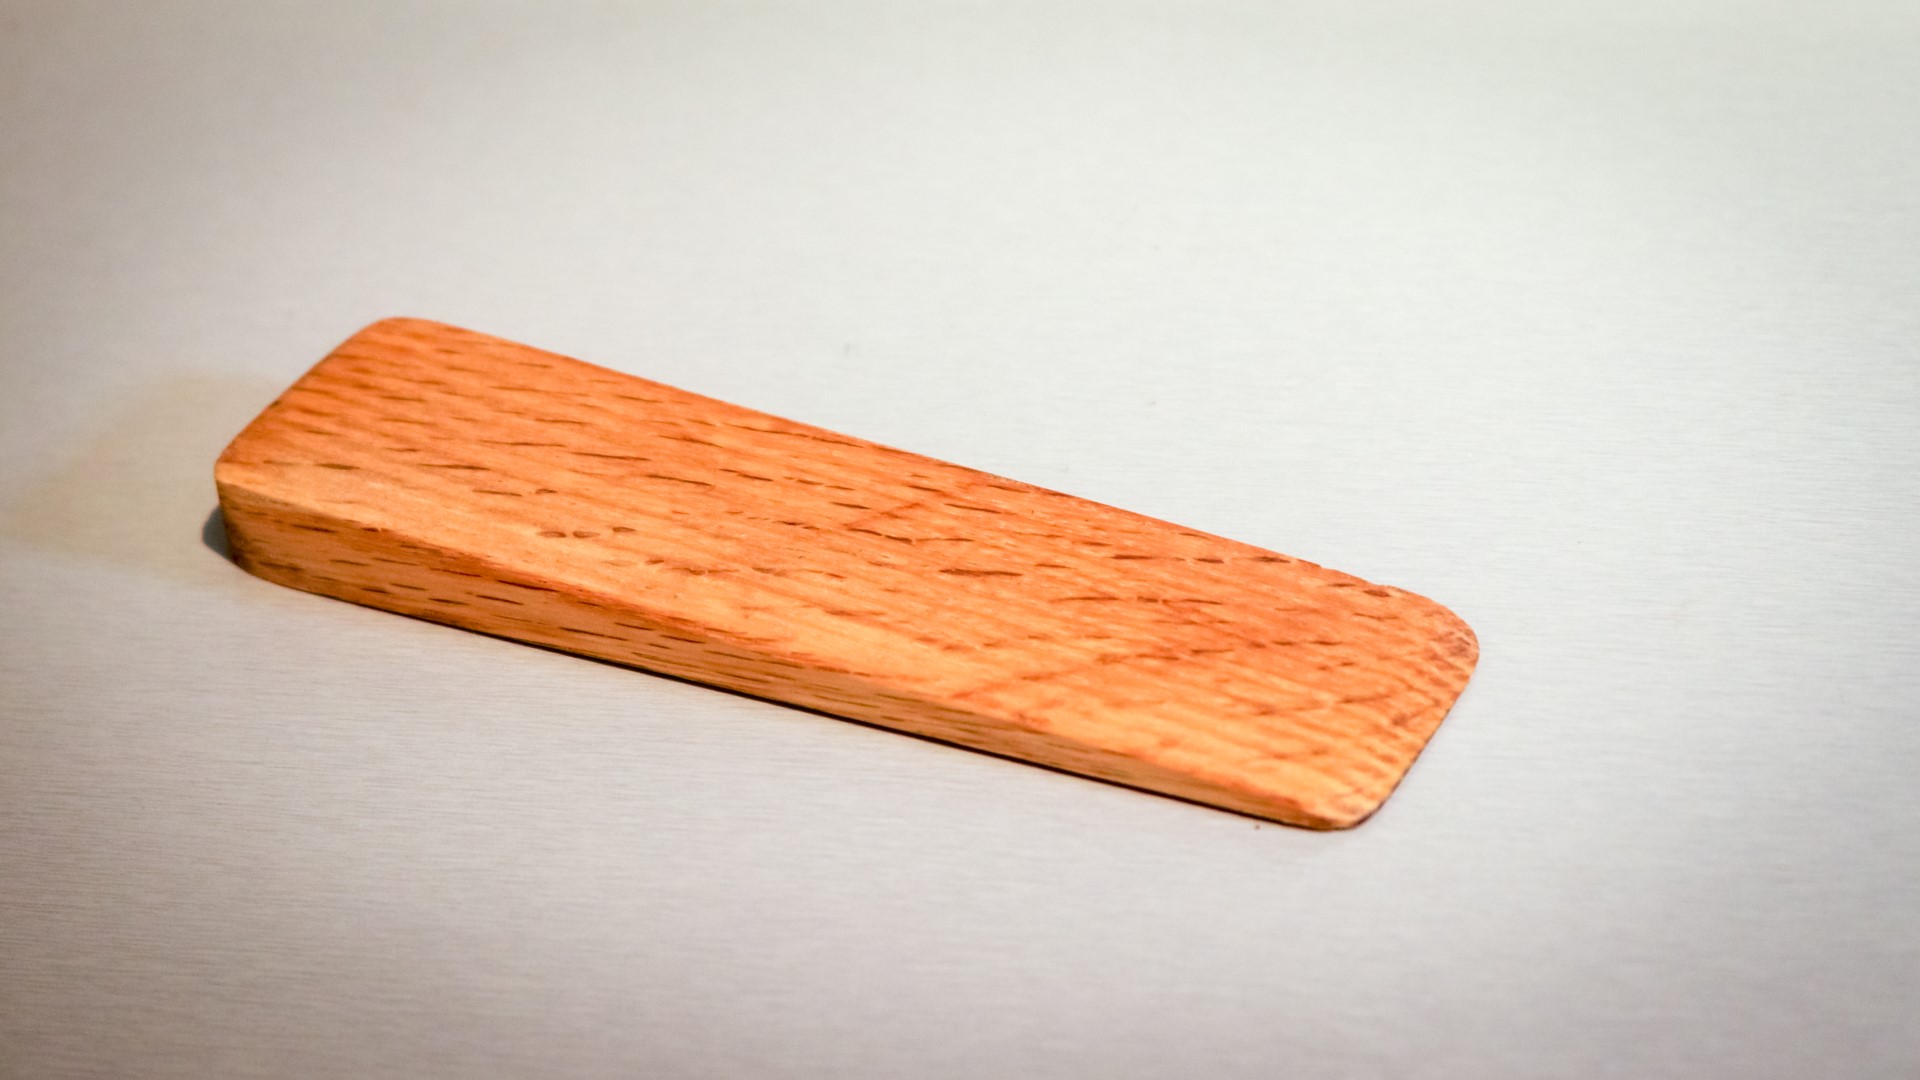
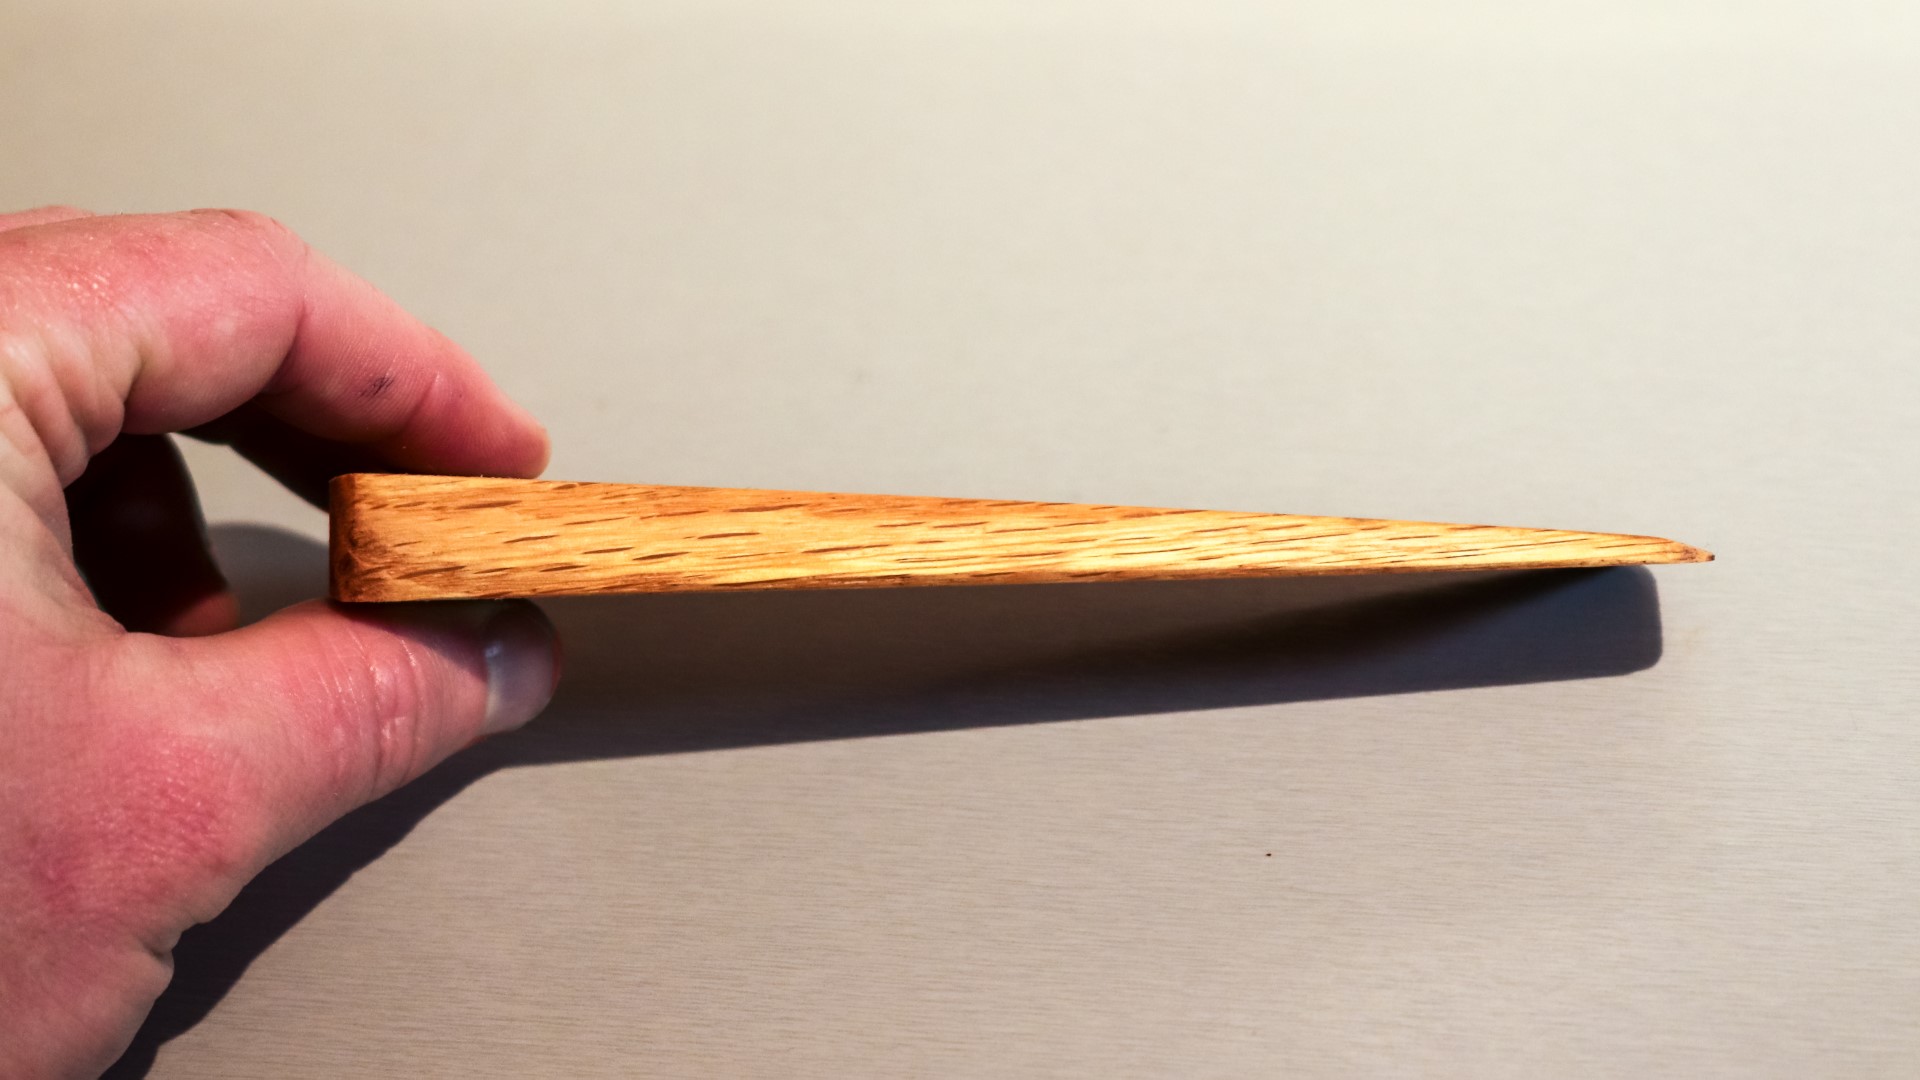
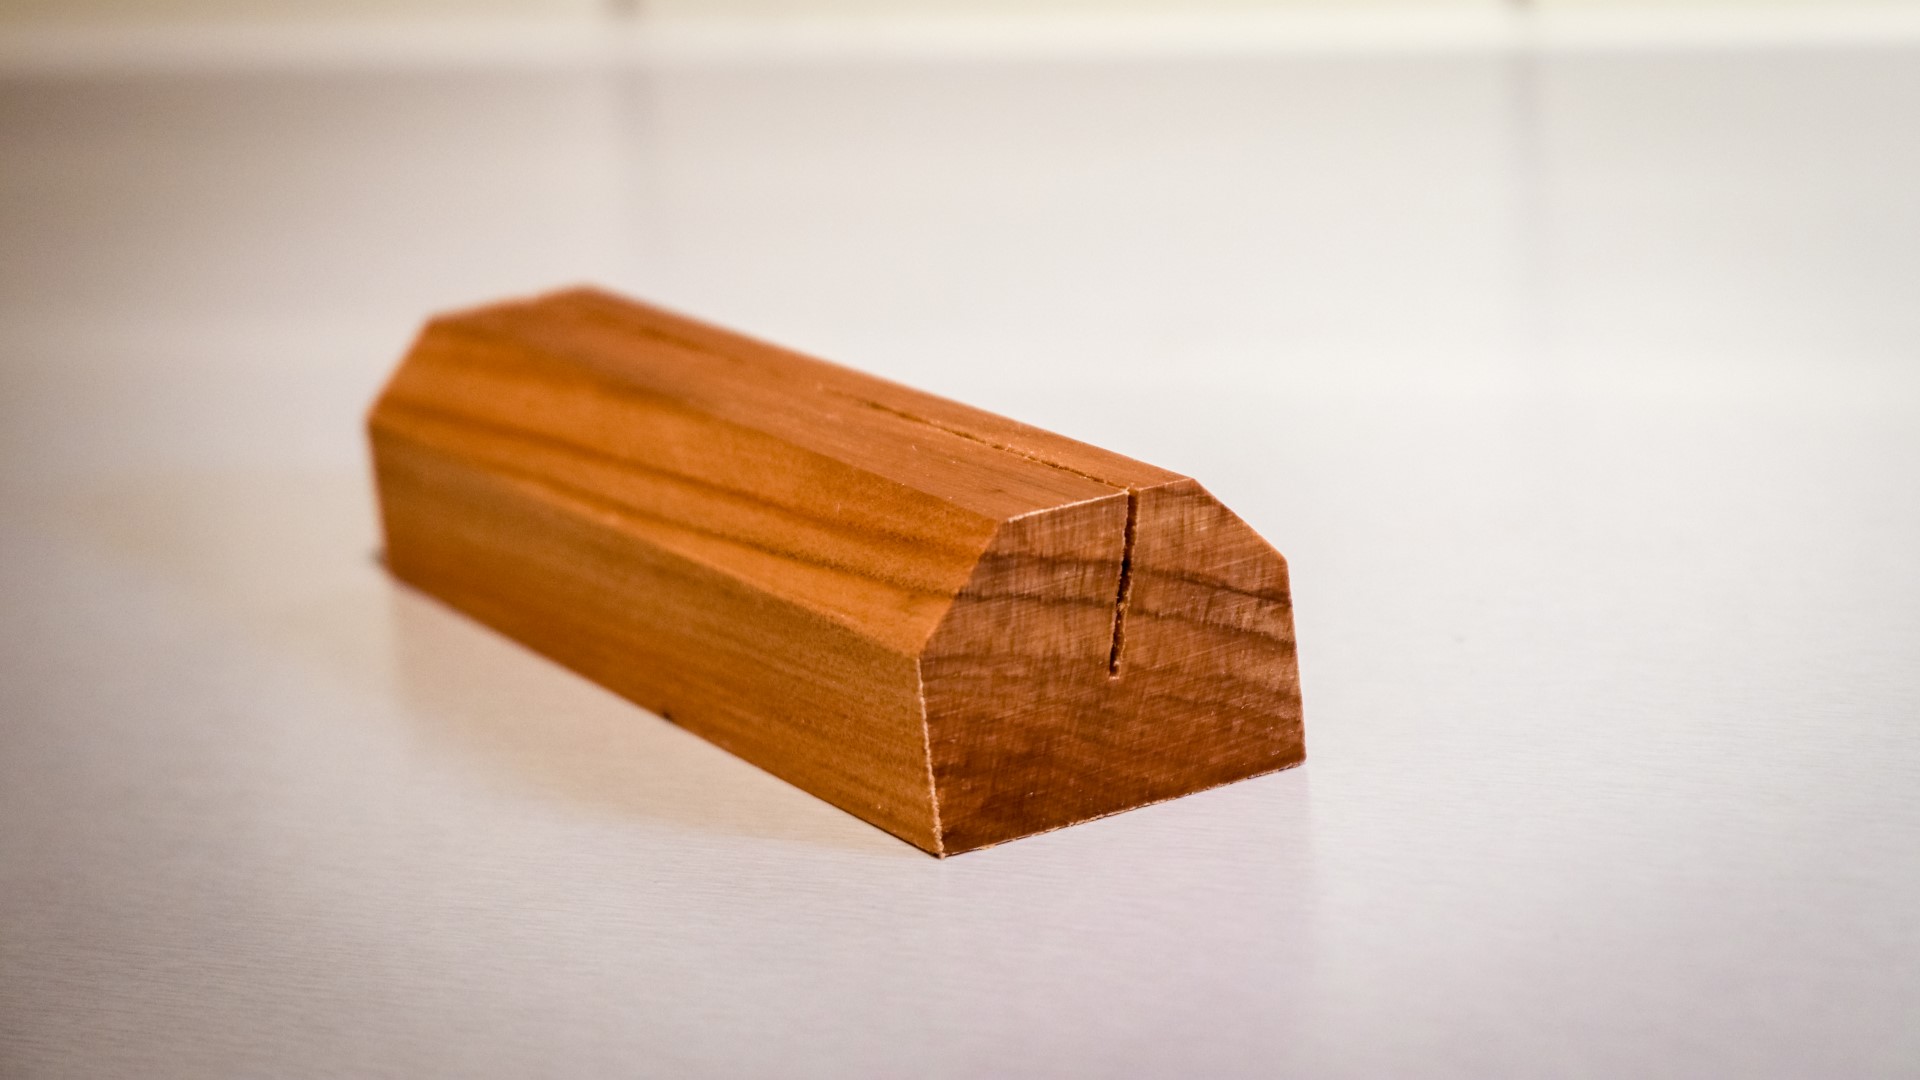
The second project I worked on was mainly about using up some scraps of oak that I had. These were offcuts from some pieces that I cut up to make a herringbone coffee table that I made a long time ago as another video on my channel. I’ll leave a link to that in the description box if you're interested. These have been getting in my way in the workshop ever since, and as they were wedged shaped I never threw them away because I thought they could be put to good use as door wedges.
Some of them were more wedge shaped than others so I pulled out the best ones to use and put the others back.
First I wanted to cut them to a consistent length and I used my cross cut sled at the tablesaw using a handscrew clamp on the fence as a stop block.
Then I did some sanding using my disc and belt sander to shape them, and I rounded over the corners slightly and cleaned up the faces. Finally I finished them, and once again I’m using my home made oil wax which pops the grain of the oak really nicely.
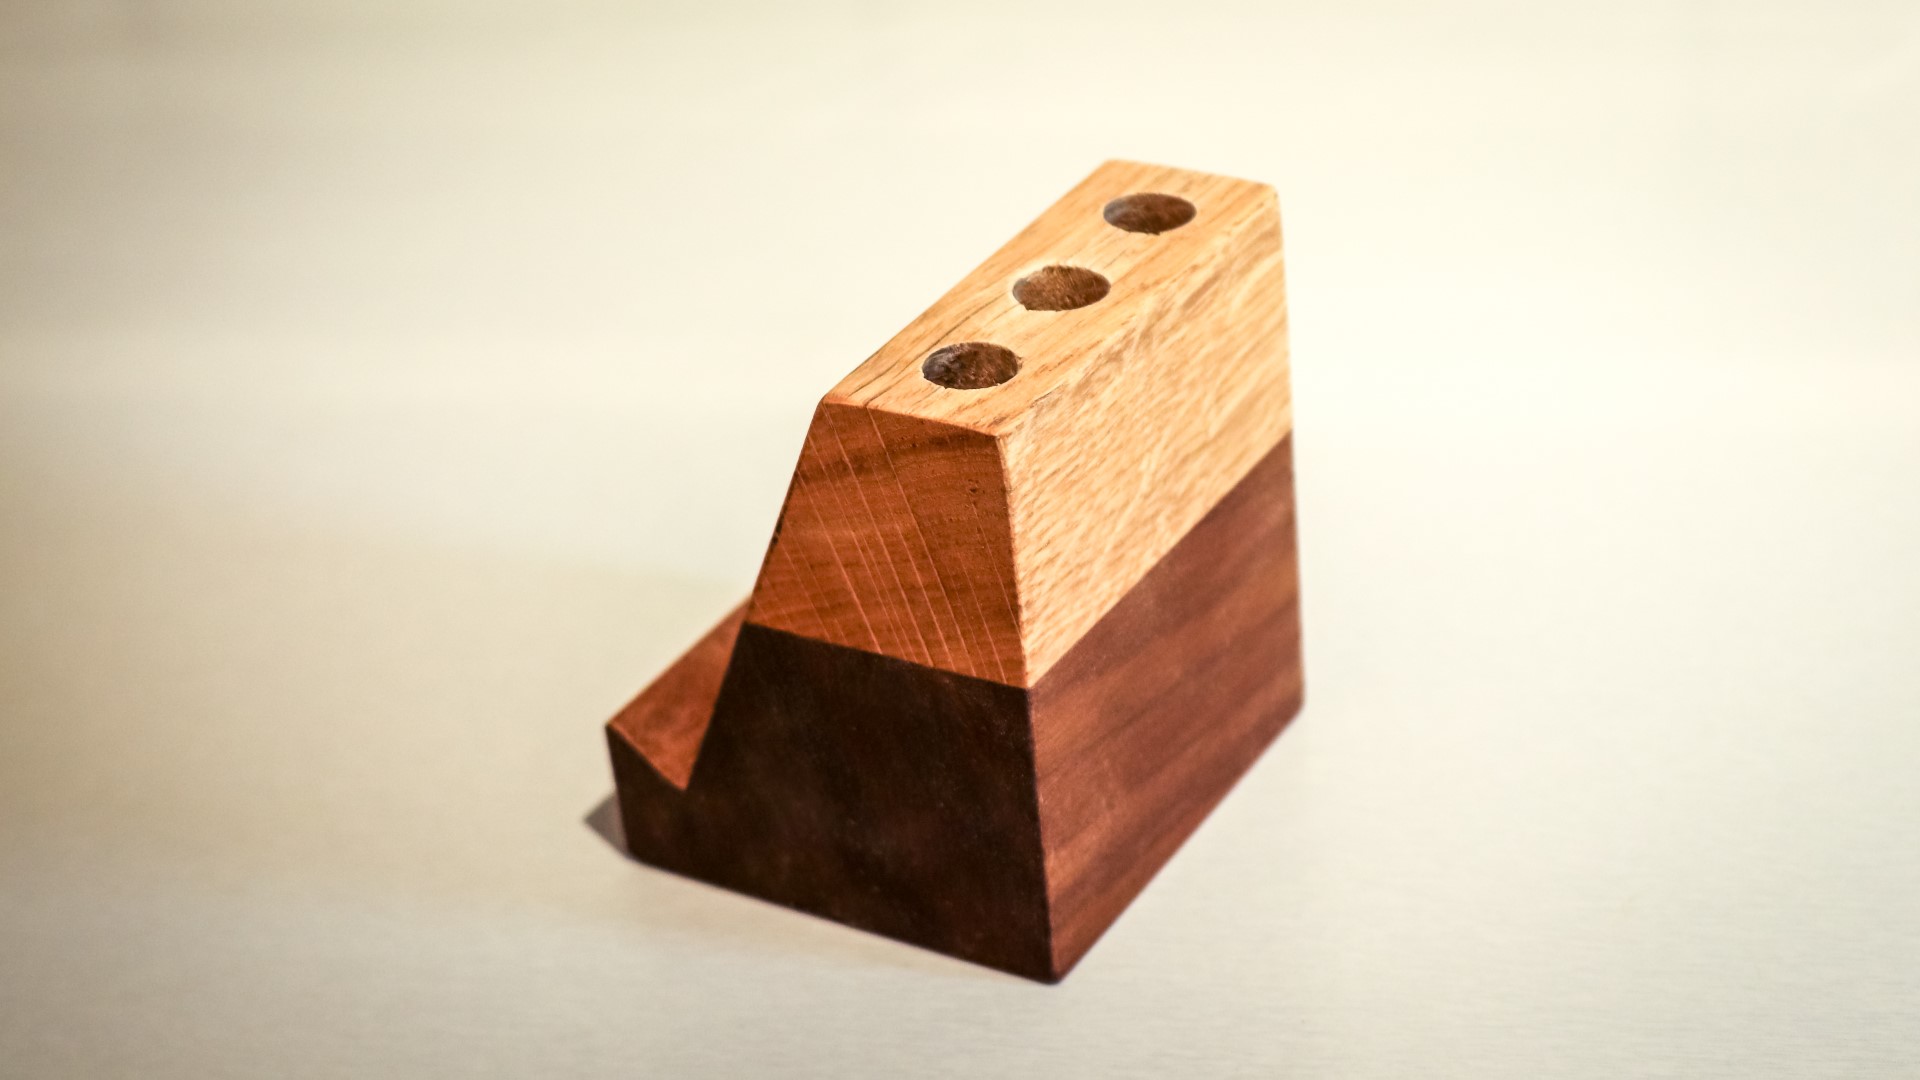
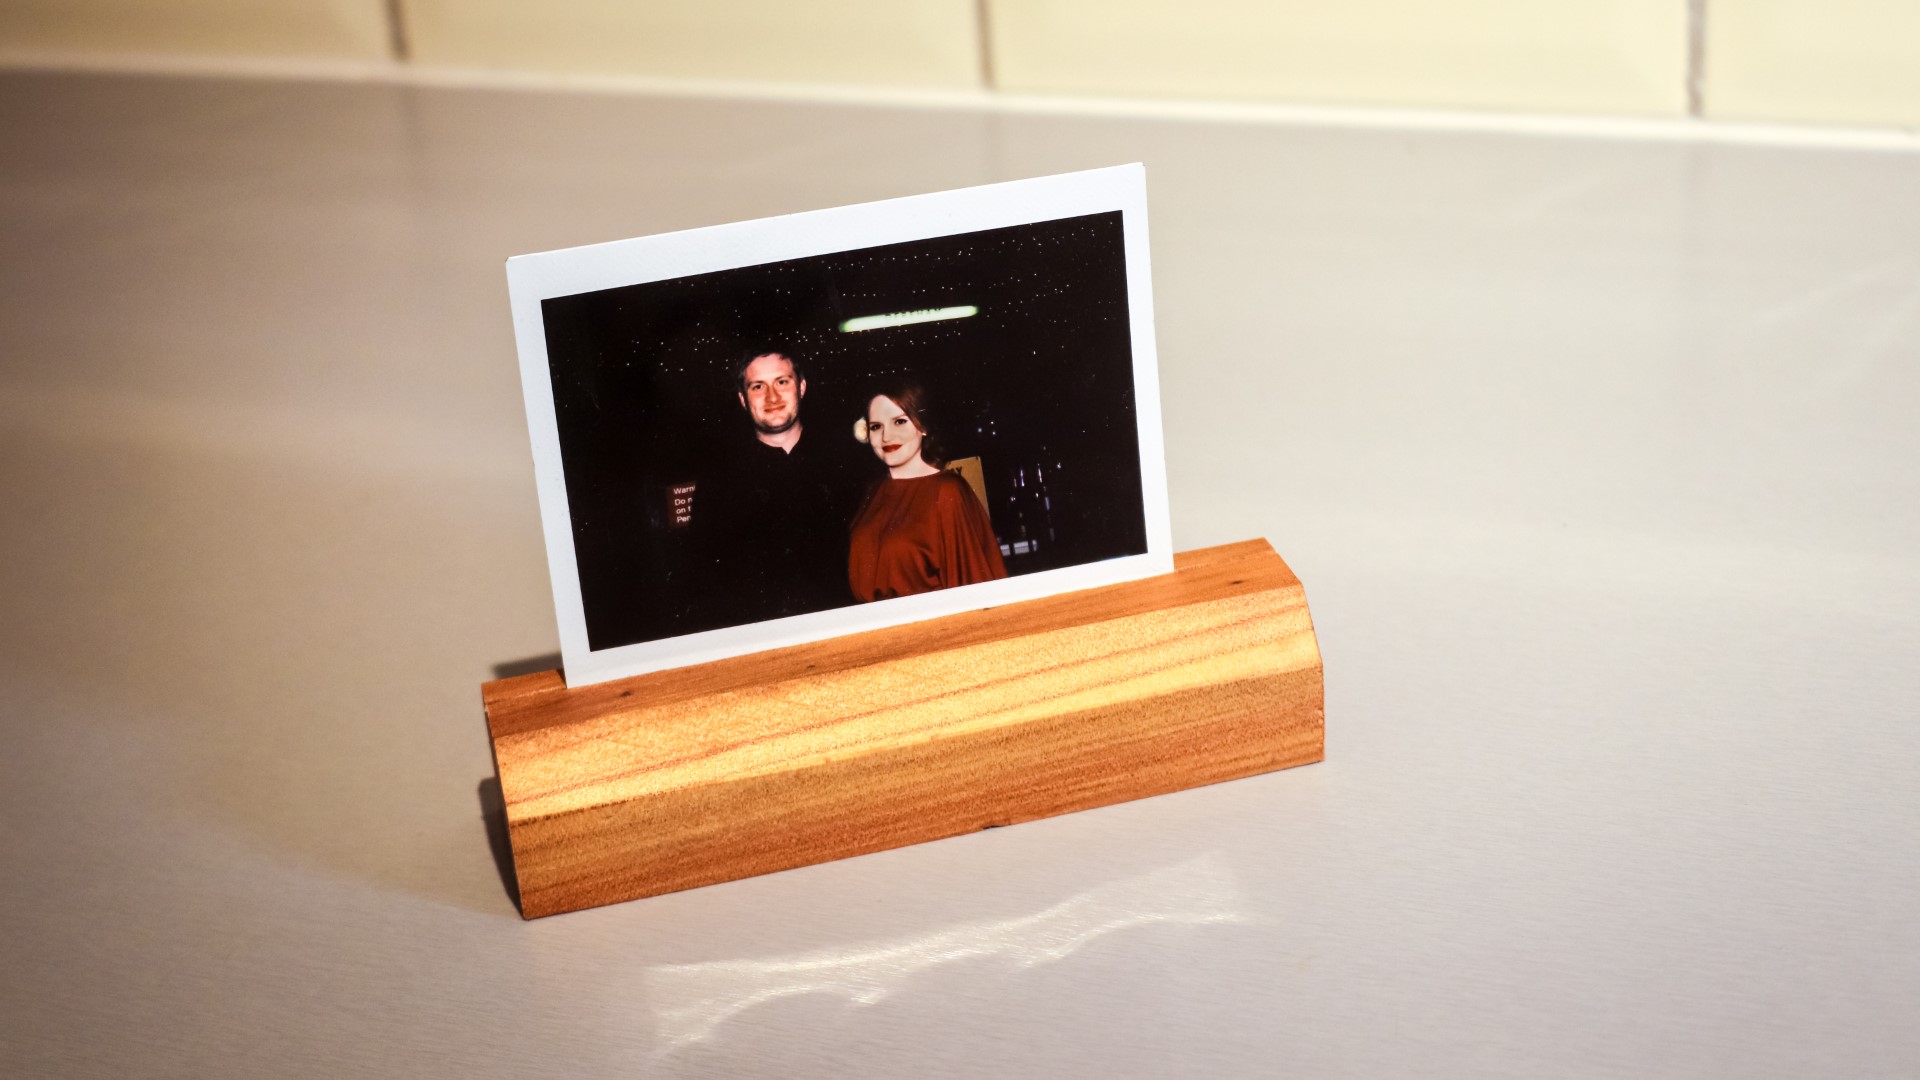
For the final project I started with a piece of sapele that's been in my workshop ever since I made the treasure chest blanket box which was another build video on my channel that I'll link to in the description box.
This was rough sawn but it was nice and straight so I ran it through the thicknesser just to clean it up.
I then ripped it to the width I wanted at the tablesaw making cuts to both sides to clean them up and make sure they were at 90 degrees to the faces.
I grabbed a piece of salvaged oak which I wanted to glue on to the sapele, but the face of the oak was really badly warped so I used the planer to get a straight face on to it.
And then they married up really nicely with no gaps.
I applied glue and lots of clamps.
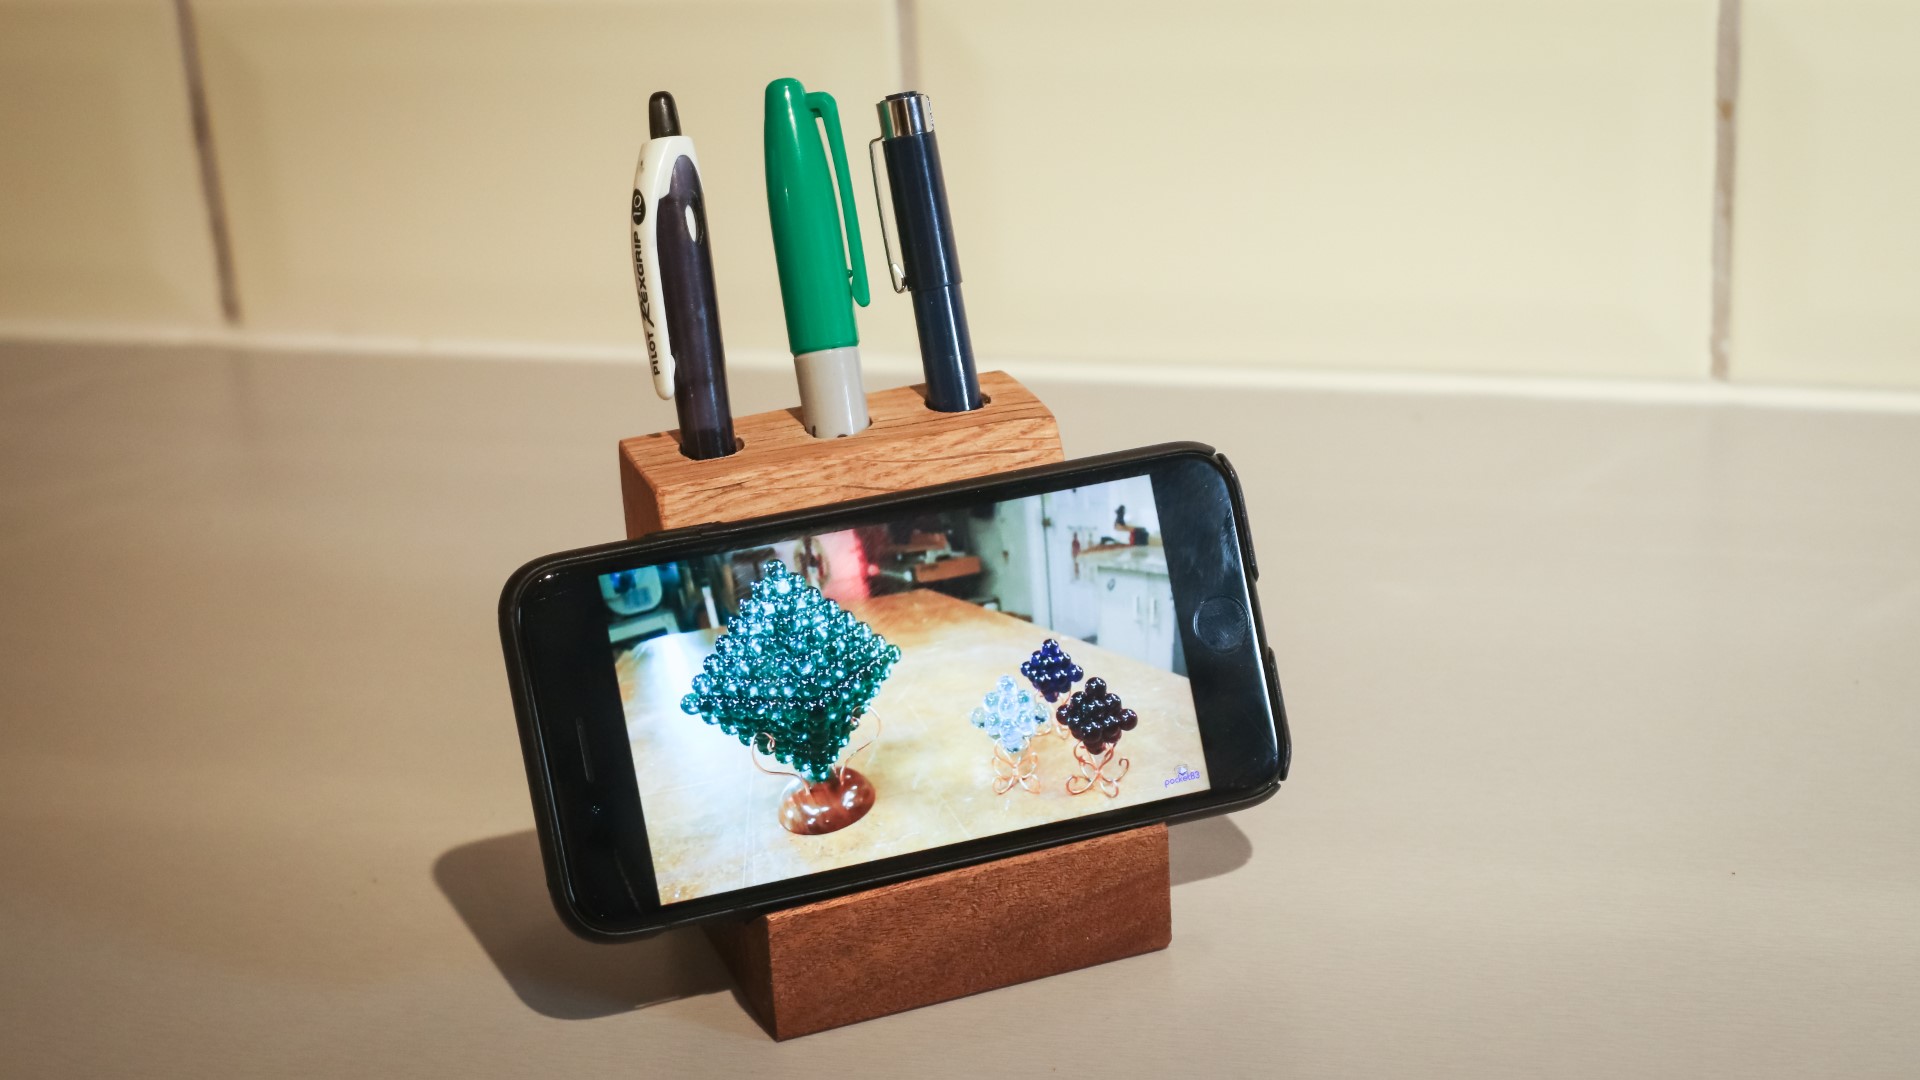
What I'm doing by clamping these boards together is getting a nice thick block that I could use to make lots of these - this a prototype of a desktop mobile phone stand I'd made out of some scraps of wood.
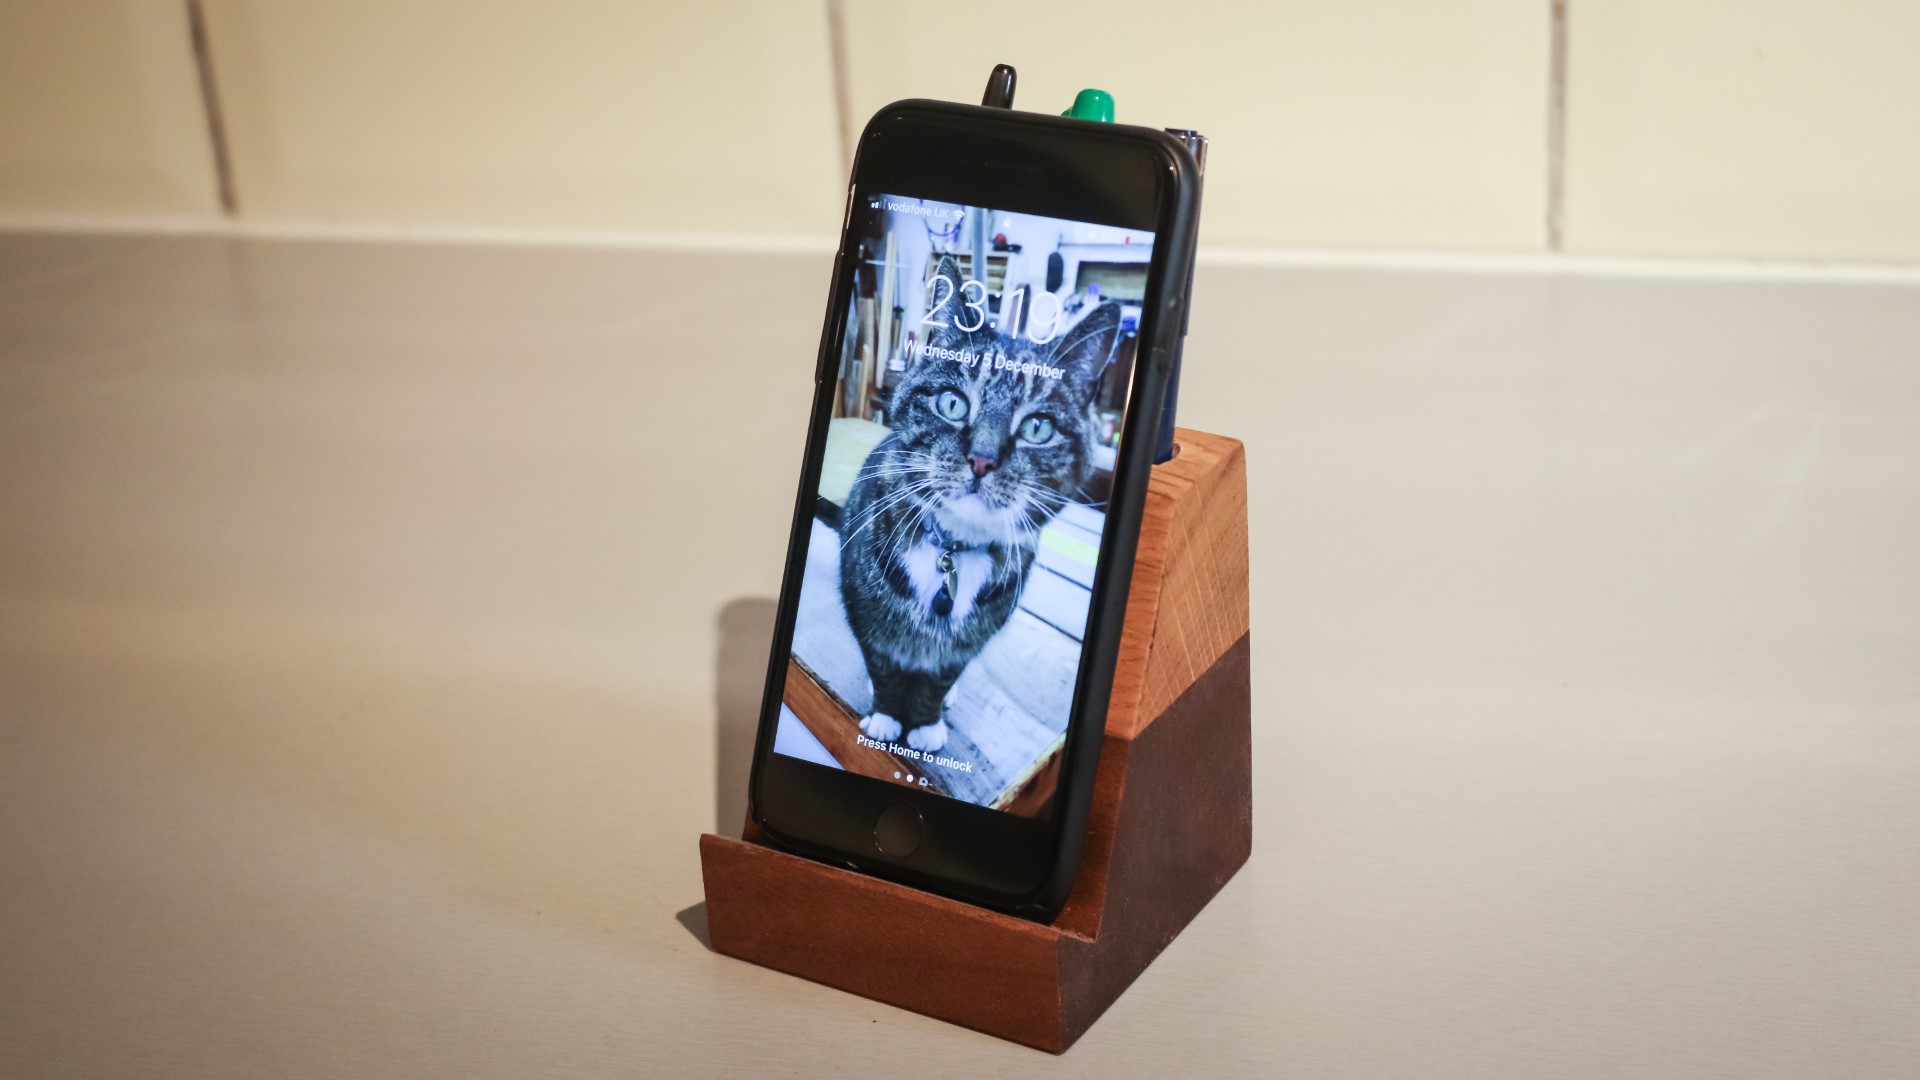
As you can see it holds my phone nicely in both orientations but I wanted to make sure it would hold bigger phones too, so I cut a piece of MDF to the dimensions of one of the larger phones that are available and as you can see it holds that nicely too.
Once the glue was dry I trimmed the edges at the mitresaw, and the block was a little bit too thick to cut through all the way so I needed to finish it off with a handsaw.
And I also needed to clean up the edges at the tablesaw, and I did that with multiples passes, raising the blade in between cuts just to take it easier on the saw.
I could then offer up my prototype to mark up the angled cuts I'd need to make on to the end.
And I tilted and lined up the blade with those markings by eye as closely as possible and made the cuts, again taking a little material away at a time, and raising the blade in between cuts.
Then I needed to cut the next angle to remove the excess material and I did that in one pass.
That seemed to work pretty well.
Those cuts had left some pretty sharp edges so I used my block plane to ease them over.
I also cleaned up where the two angled cuts met each other using a chisel.
I then sanded everything by hand
Then I needed to cut the block in to pieces and I first tried to use the mitre saw but again I couldn't get a deep enough capacity cut so again I finished off the cut with a handsaw and then I switched to using the bandsaw for the rest of the cuts.
And that worked much better
It did leave some rough cuts though so I did some sanding on the belt sander to clean them up.
Finally I added my makers mark to the bottom of each block.
And then I sanded all the sharp edges by hand
I finished the blocks using my handmade oil wax finish once again. I'm really pleased with how these turned out.
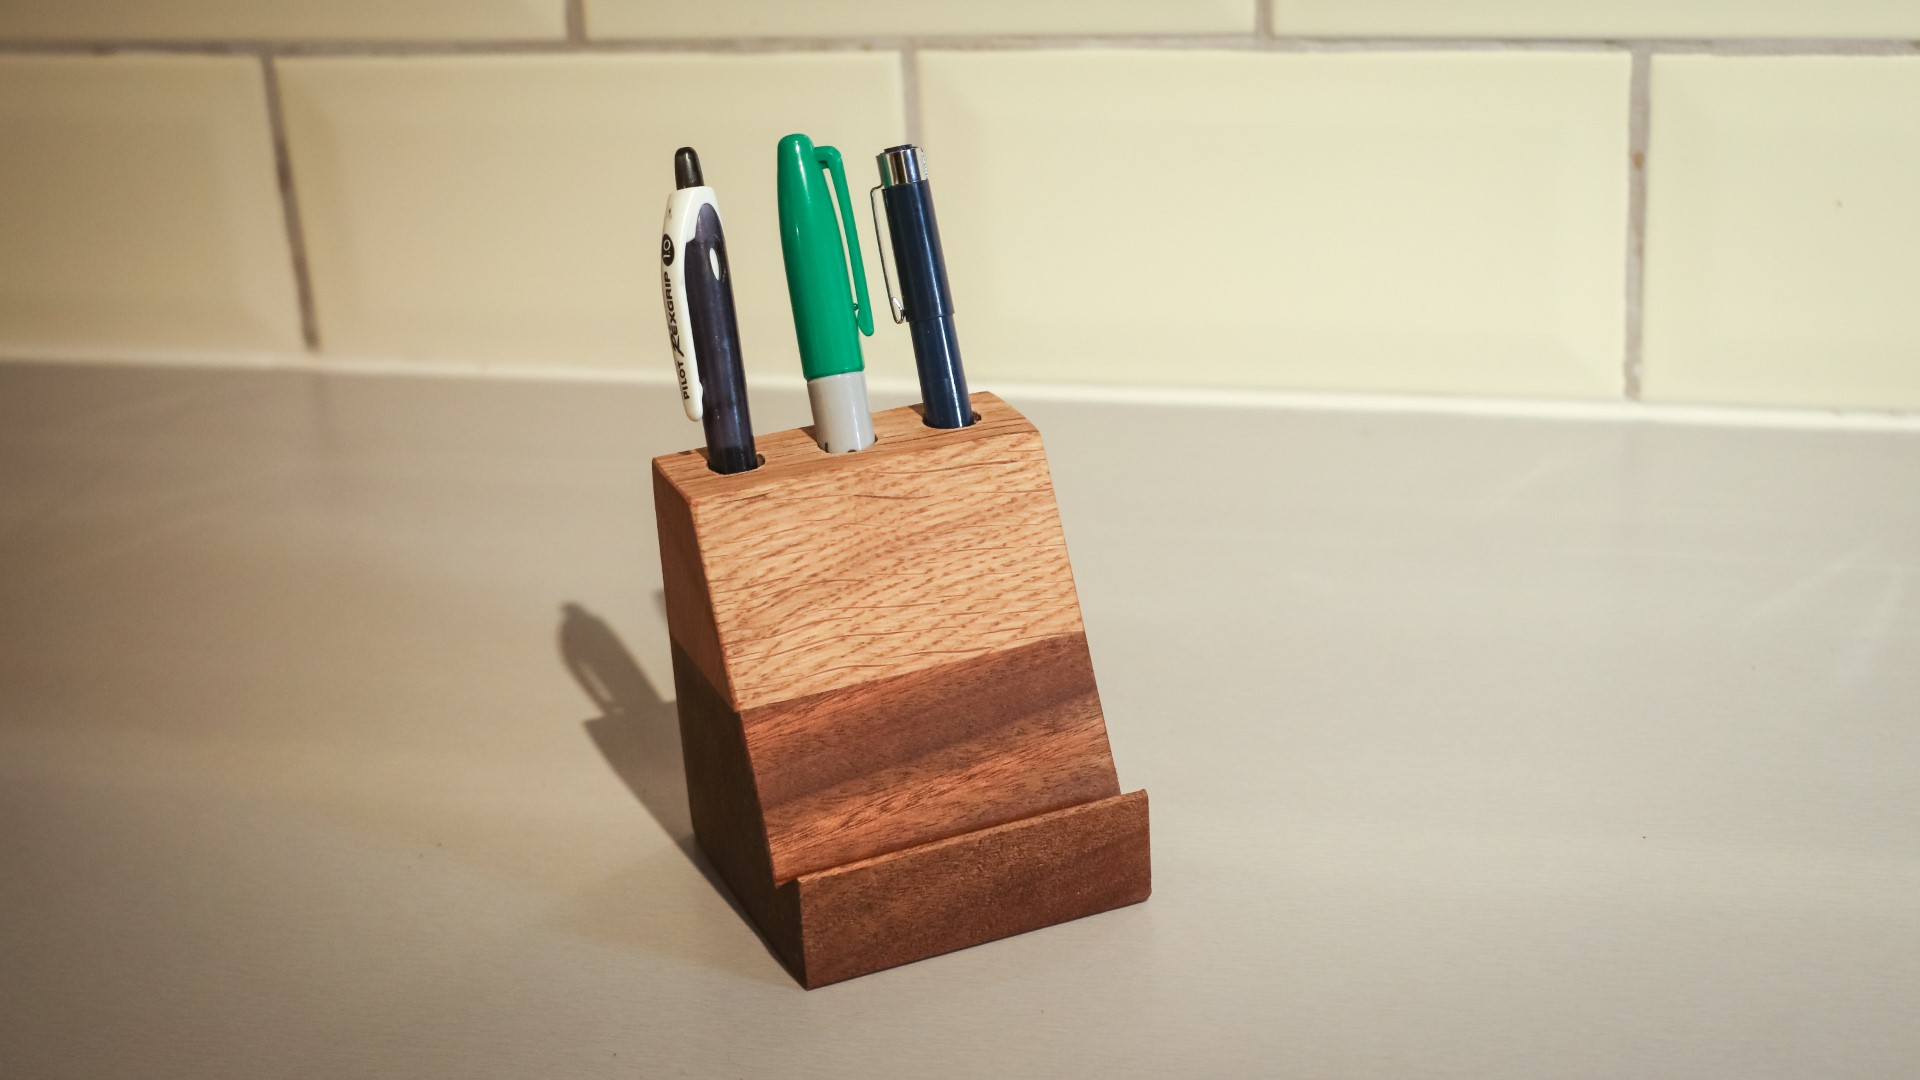
The sapele and oak together look really nice. I made 8 of these in total and I'm going to keep one for myself and the others will go on to my Etsy store for sale, but these would make great gifts too, so I might make some extras for Christmas.
Just after finishing them, I had another idea: I bought a 12mm drill bit on Amazon, this one is by Bosch and I'll leave a link to it in the description box, I wanted to drill some angled holes in the top. My drill press didnt have quite enough capacity to drill in to the block, so I needed to do it by hand. I measured and marked up where to drill the holes, and I'd go for three. Then I positioned the block in my vise at an angle so that I could just drill the holes vertically to give me the angle I wanted. I could then just make sure that I was holding the drill bit plum, and drill downwards. You can see I used some masking tape on the bit so I could drill to the depth I wanted.
These holes work geat for holding pens or pencils.